MOWizard
The MOWizard plugin is designed to streamline the creation of Manufacturing Orders (MOs) based on selected Sales Order lines, helping manage complex, multi-level product trees efficiently. This plugin is ideal for businesses dealing with large numbers of Manufacturing Orders associated with individual Sales Order lines, enabling swift processing and organization.
Installation
Below are the steps to install the MOWizard Plugin for SAP Business One:
-
Get the installation done.
-
Follow the detailed instructions to install the plugin on your SAP Business One system here
-
Once installed, go to the SAP Business One Launchpad and select the MOWizard plugin to begin using it.
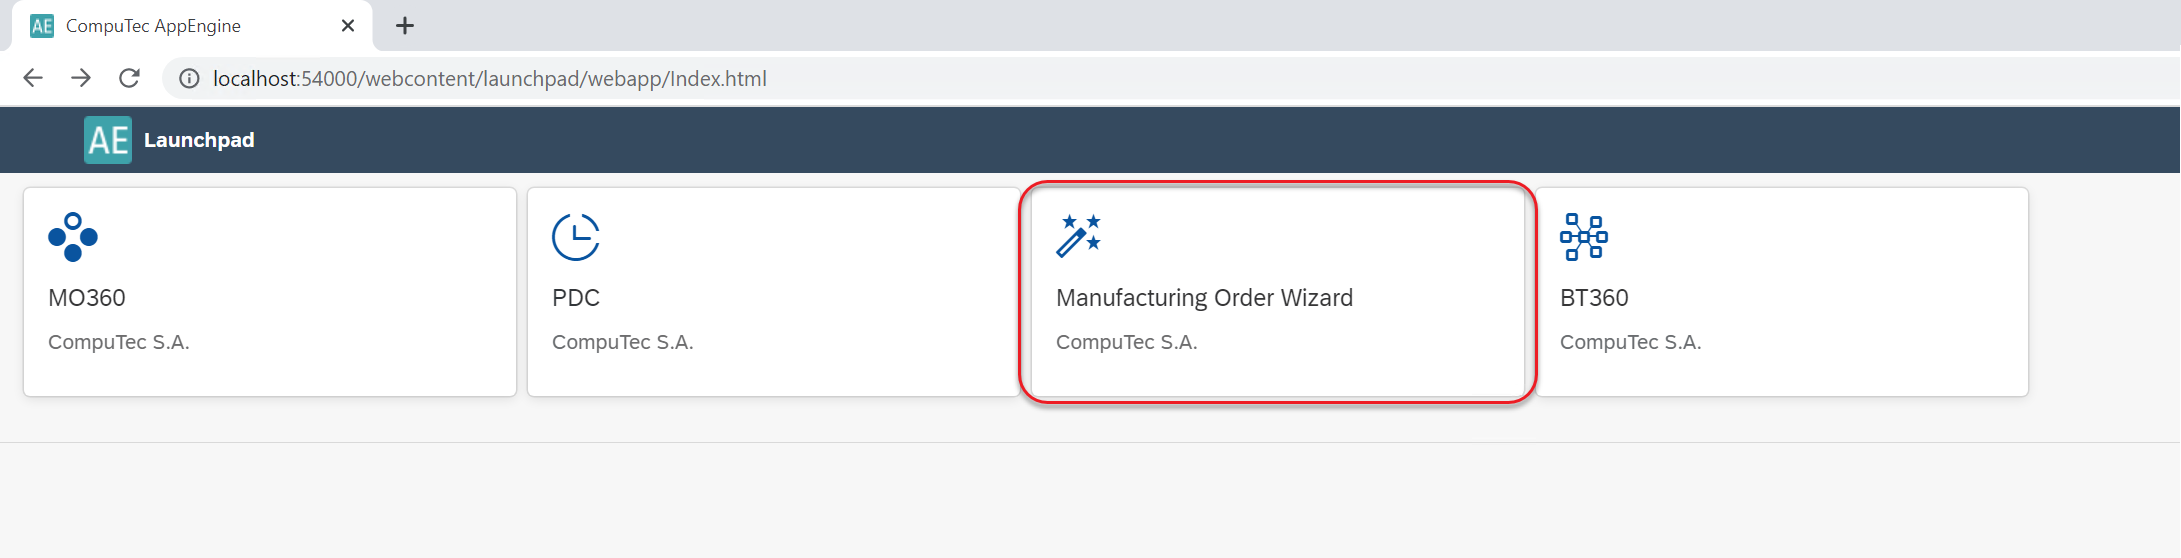
Alternatively (If the right option is chosen), you can access it from the SAP Business One main menu under: Production → MOWizard.
Usage
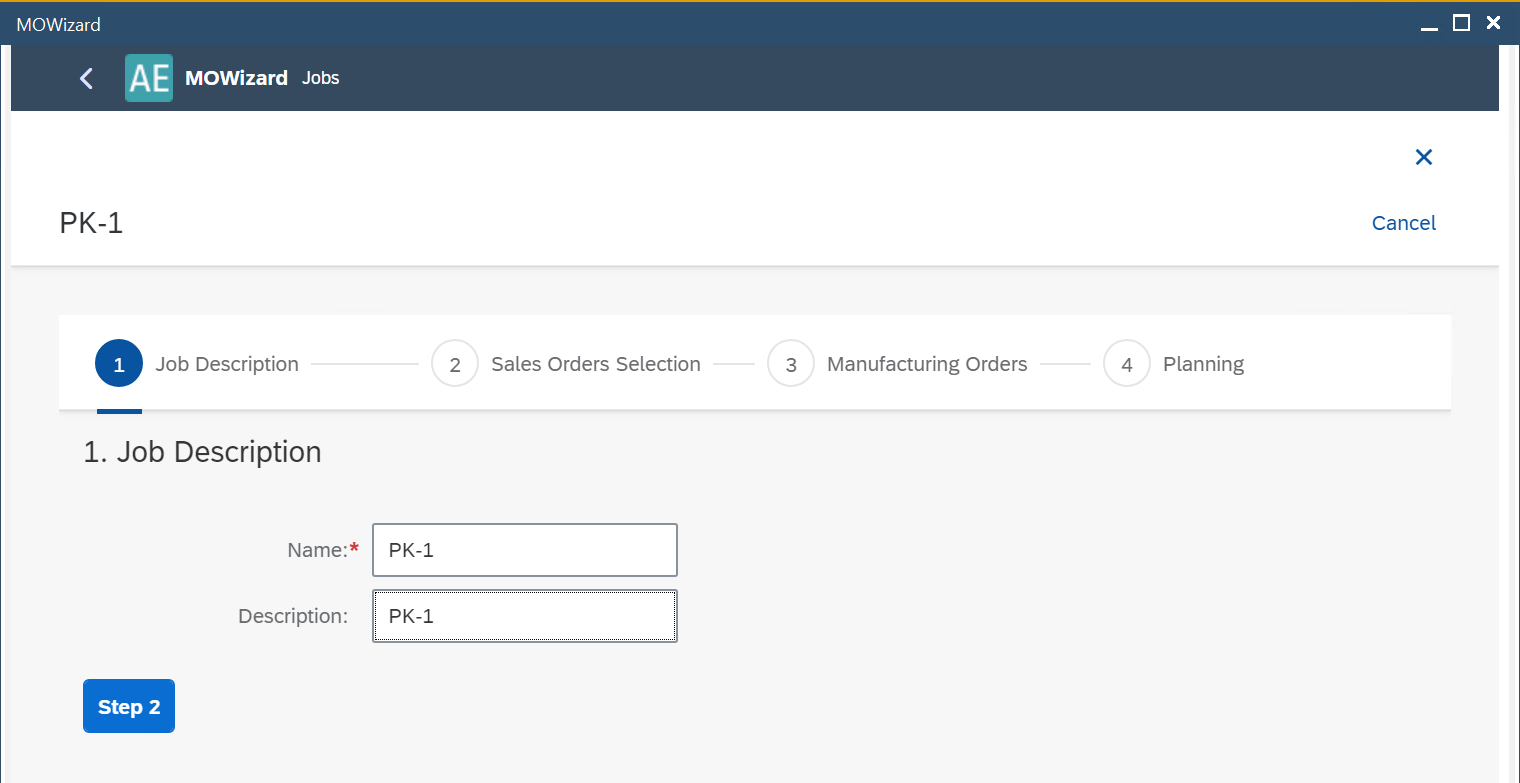
Start by clicking the plus icon to create a new Job. You can create many of these.

-
Job Description: choose any name (mandatory) and description (optional) and click the Step 2 icon:
-
Sales Orders lines selection - Filter the list by desired values (you can skip this step) and choose the required lines from the list:
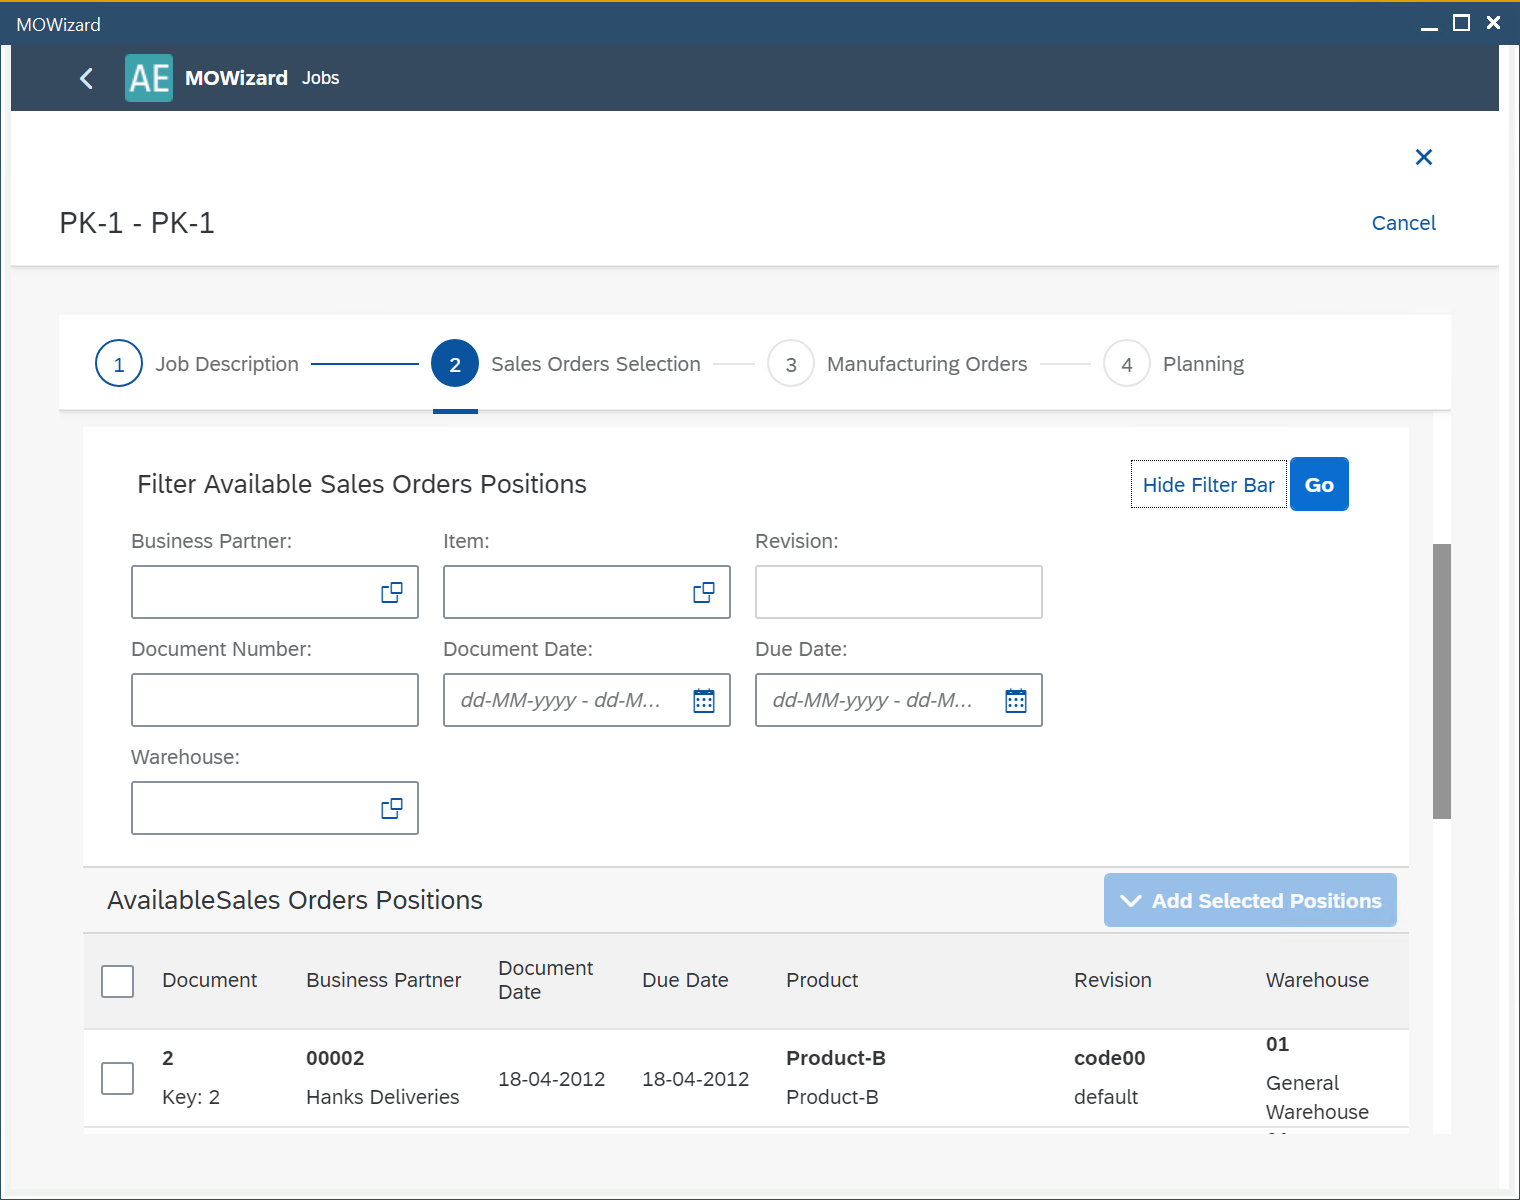
The Available Sales Orders Positions table displays Sales Order lines that can be filtered using various criteria (found in the Filter Available Sales Orders Positions section).
Select the desired lines by checking the appropriate checkboxes and click Add Selected Positions to move them to the Selected Sales Orders Positions table. To select all lines in the list, use the checkbox in the first row.
Here you can still change quantity:
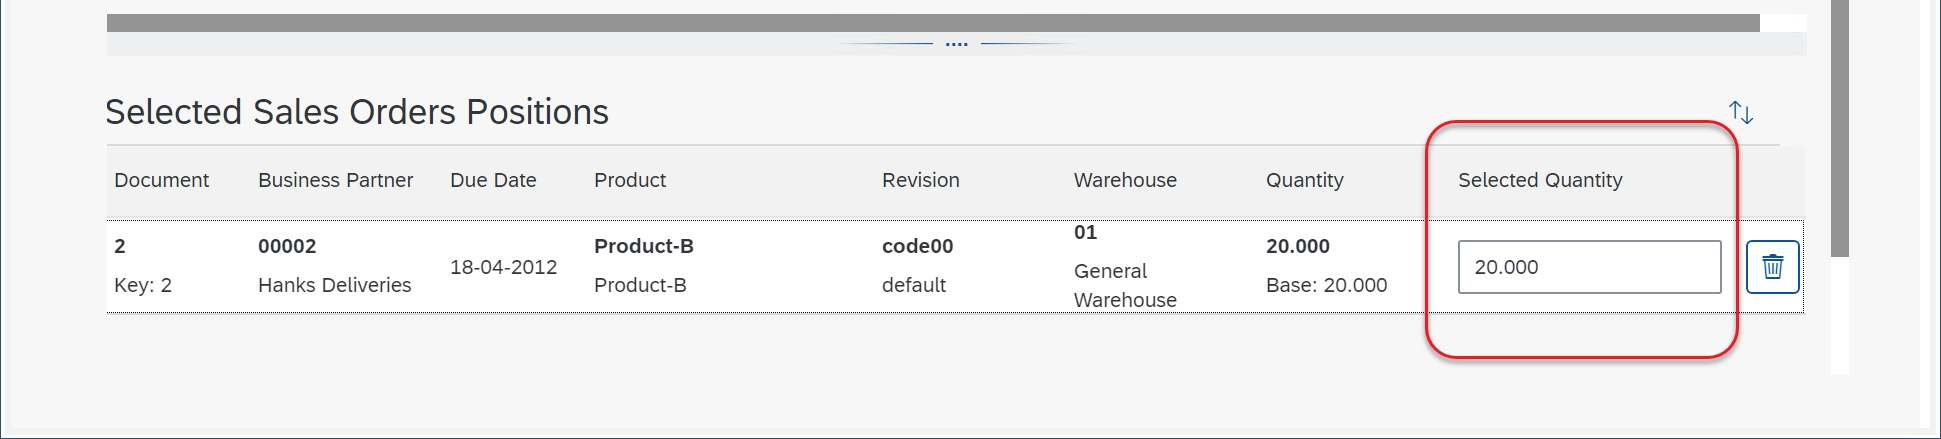
After this, Click Step 3.
-
Manufacturing Orders - Click Generate "Manufacturing Orders". Click "Yes" in the system message form:
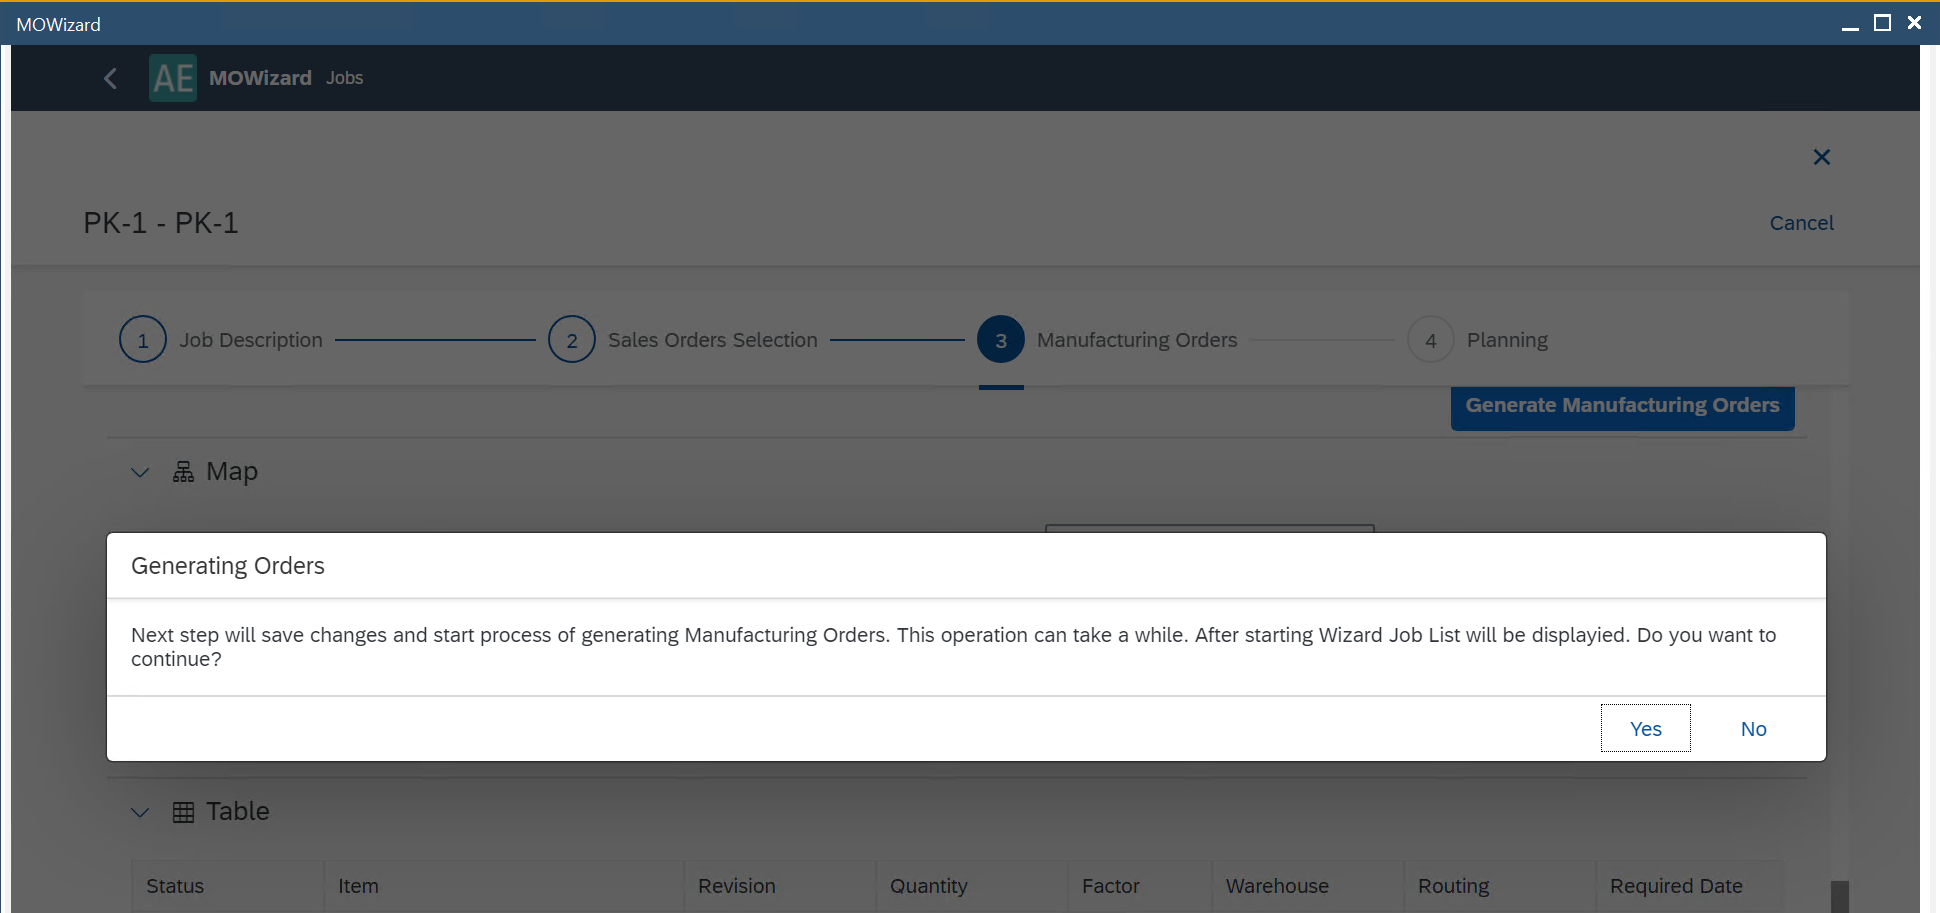
Click Yes to proceed. The creation process is not instantaneous and may take some time, depending on the number and complexity of the Manufacturing Orders. Ongoing jobs are displayed in the Running tab (refer to the second screenshot on this page).
You can see the prepared manufacturing tree in both map and table forms. At this stage, the manufacturing trees are prepared, but the Manufacturing Orders have not yet been created.
-
After the manufacturing tree is created, the job is moved from the Running tab to the Prepared tab. Once the job reaches this stage, no further changes can be made to its data. To view the related details, select the desired job in the Prepared tab. You can review the data in two formats:
- Map tab: Displays the manufacturing tree, showing relationships between linked Manufacturing Orders, organized by material groups.
- Table tab: Provides a structured, tabular view of the manufacturing tree.
This section is for data preview only.
-
Click the Step 5 button to navigate to the Planning section.
- Here, you can review details about the planned Manufacturing Orders.
- To select specific Manufacturing Orders, click the Edit button at the top of the form.
- You can modify the numbering series and Manufacturing dates. After updating the dates, ensure you click the Reschedule button.
- Once you complete the edits, proceed by clicking the Summary button.
-
At this stage, you can review the Manufacturing Orders scheduled for creation. Make sure the Link child MORs option is selected by default.
-
Click "Save and Run" to initiate the job. Once the planned Manufacturing Orders are created, the job will move to the Completed tab. If some Manufacturing Orders are not created (e.g., a child Manufacturing Order was selected in edit mode without its corresponding higher-level Manufacturing Order), the job will return to the Prepared tab. From there, you can review the job details to identify which Manufacturing Orders were successfully created and which failed. For any failures, click on the Manufacturing Order with a Failure status to view the specific error details.
Example usage
Click here to know more about Example Usage.
The MOWizard plugin for SAP Business One is a powerful tool designed to simplify the creation and management of Manufacturing Orders. By enabling businesses to process large volumes of orders tied to Sales Order lines and view complex manufacturing trees, MOWizard increases efficiency and reduces the potential for errors. With its intuitive interface and structured workflow, this plugin streamlines manufacturing processes, allowing you to plan and execute orders more effectively. Whether you're handling simple or complex production requirements, MOWizard is a valuable addition to your SAP Business One system.