You are currently viewing documentation for CompuTec ProcessForce 3.0, which is a plugin installed and managed through CompuTec AppEngine 3.0, built on .NET 8. If you are working with older environments, you may need the documentation for CompuTec ProcessForce 2.0: https://learn.computec.one/docs/processforce/2.0/.
Please note that CompuTec ProcessForce 2.0 will be supported only until December 31, 2026. After this date, the product will no longer receive regular support or maintenance updates. Read more
CompuTec AppEngine 3.0 introduces a new architecture, and all CompuTec components, including the CompuTec ProcessForce 3.0 plugin, must be updated together to ensure full compatibility.
Before starting your installation or upgrade process, we strongly recommend reviewing the CompuTec AppEngine 3.0 and CompuTec ProcessForce 3.0 documentation.
CompuTec Data Import & Export (PFI) Plugin
The CompuTec Data Import & Export (PFI) plugin helps you quickly import, update, and manage data in CompuTec ProcessForce. It replaces manual or script-based updates (such as PowerShell) with a clear, user-friendly interface designed for everyday business users.
CompuTec PFI is ideal for mass data updates, structured imports, and maintaining consistency across your CompuTec ProcessForce objects.
Before you start
Before using CompuTec PFI, ensure the following:
- The CompuTec ProcessForce plugin is installed and enabled for the relevant company.
- If a new UDF (User-Defined Field) is added to a CompuTec ProcessForce object, restart the CompuTec AppEngine service to reflect the changes in PFI templates.
Install the CompuTec PFI plugin
Follow the standard CompuTec AppEngine plugin installation steps described in our installation guide.
Access the CompuTec PFI plugin
To access the CompuTec PFI plugin, follow these steps:
-
In your browser, open the CompuTec AppEngine site and choose Launchpad.
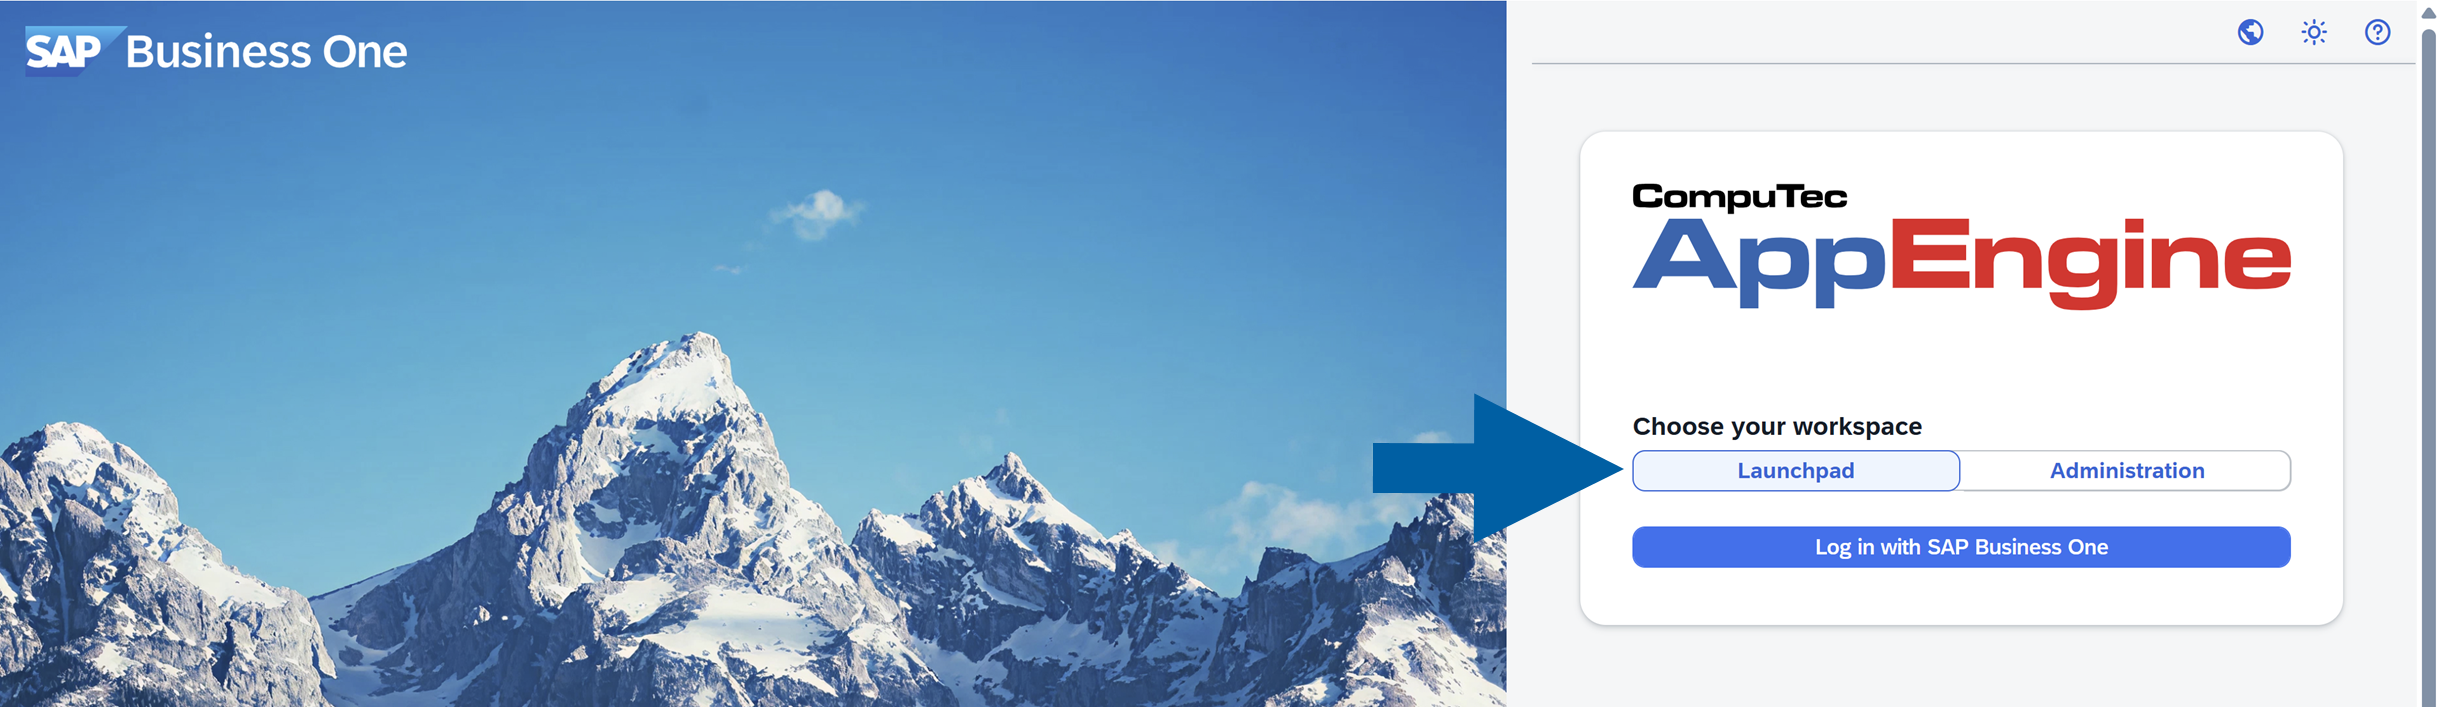
-
Click Log in with SAP Business One.

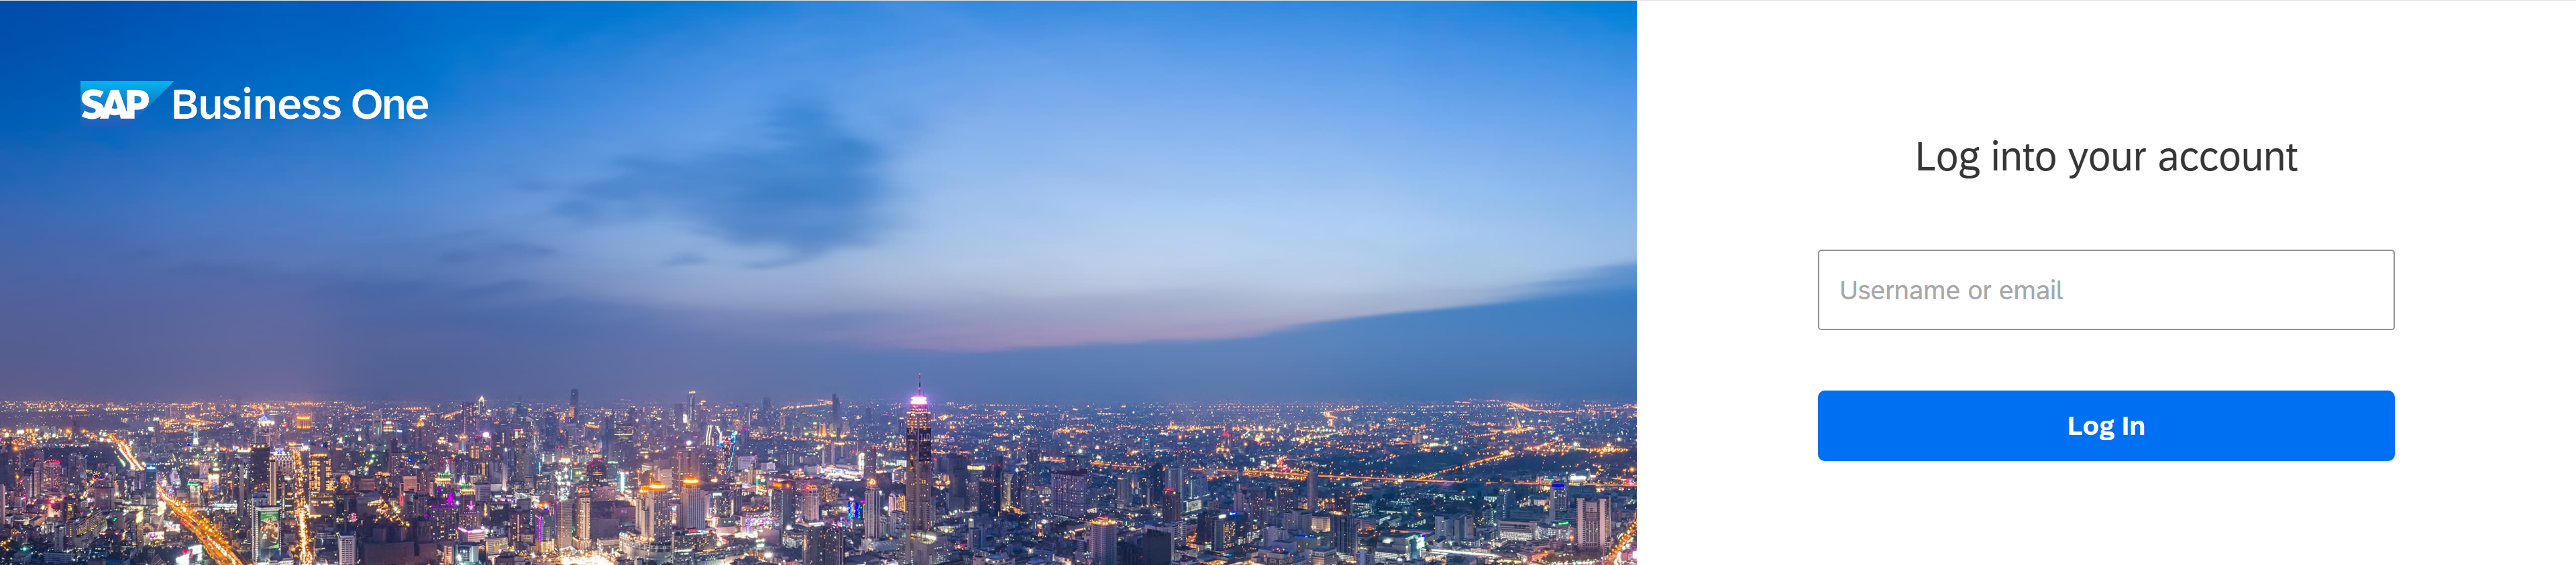
-
Log in using your SAP Business One credentials.
-
Select the PFI plugin tile.

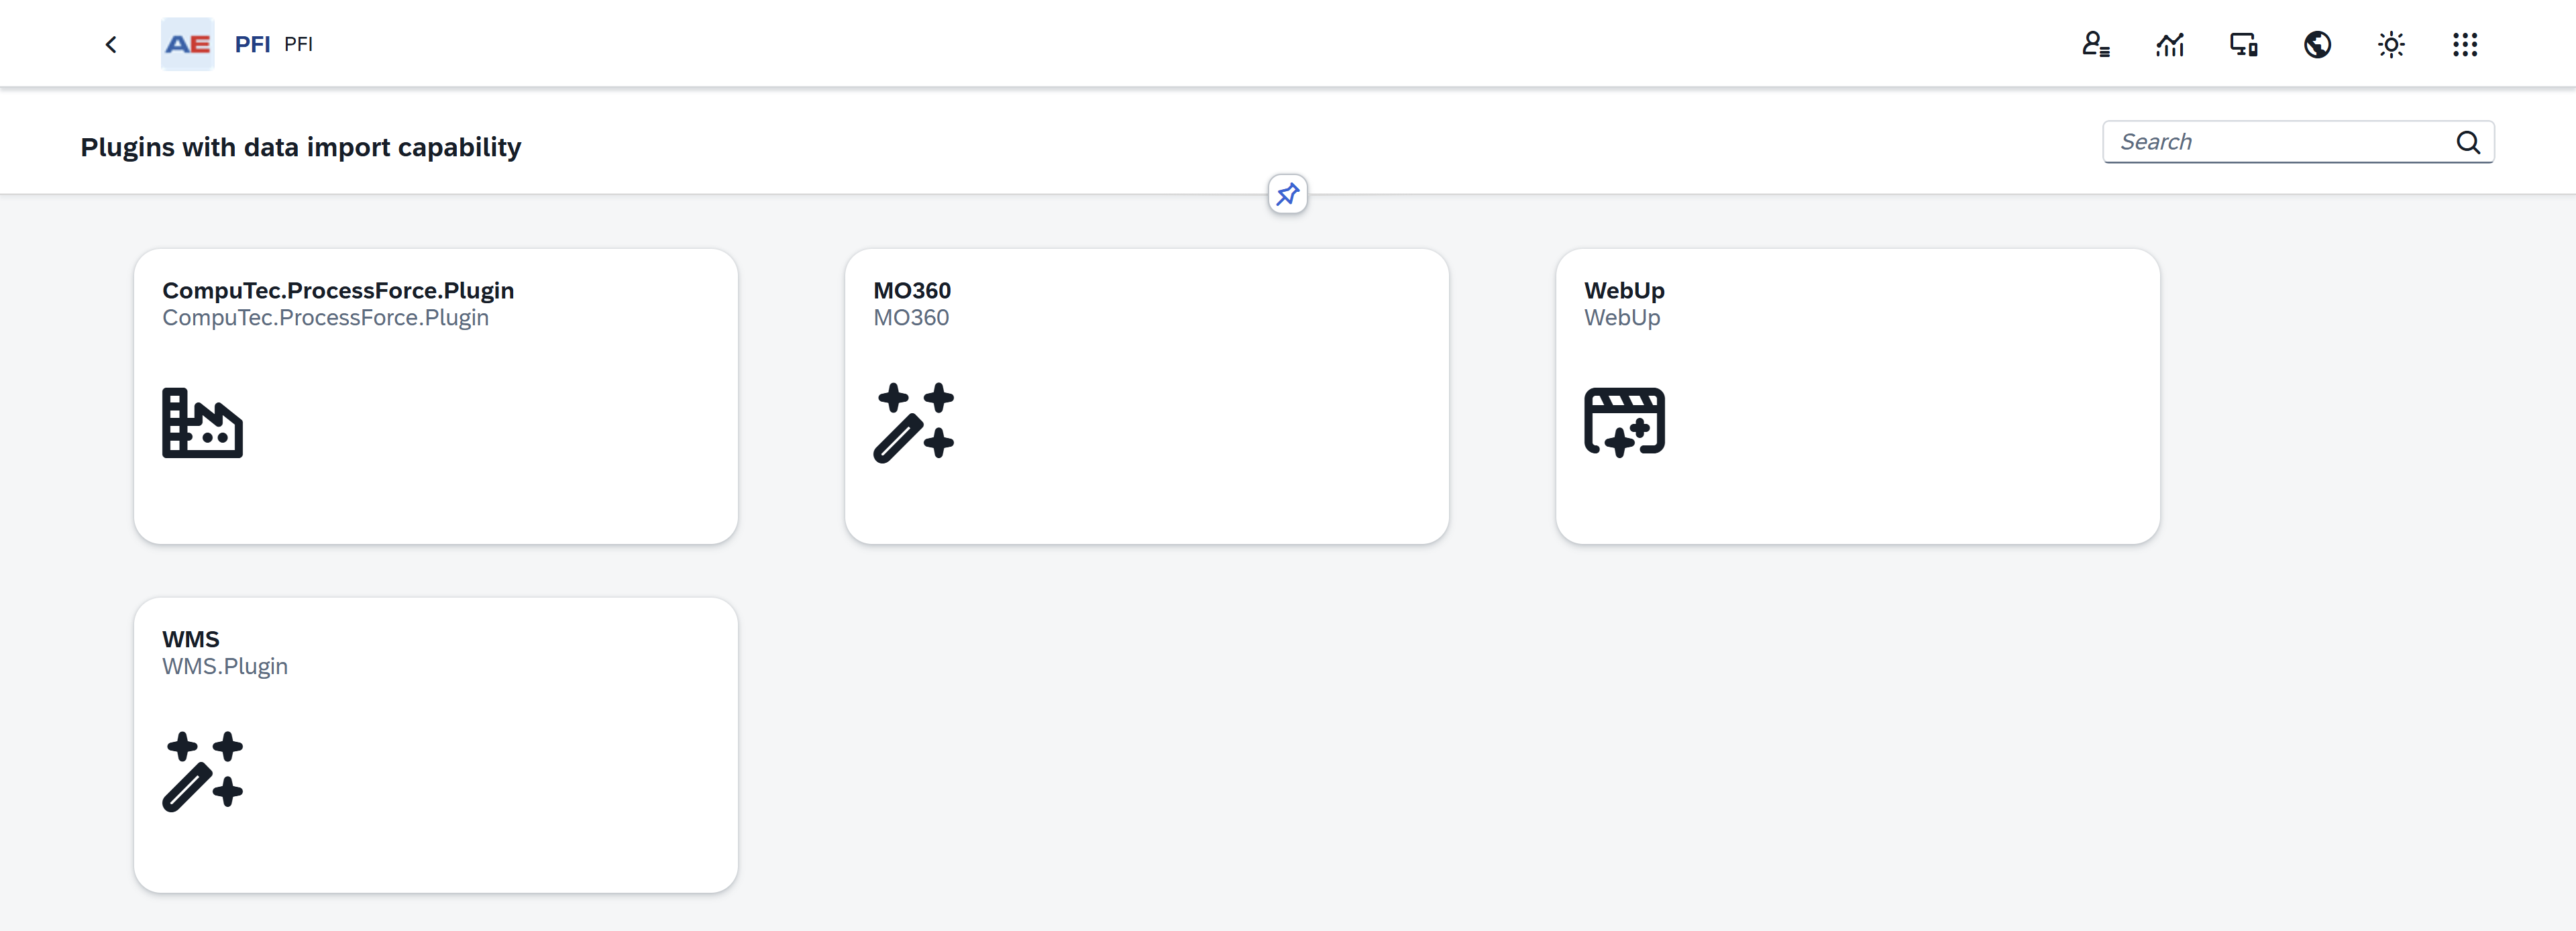
-
Choose the plugin with data import capability, for example, CompuTec ProcessForce plugin.
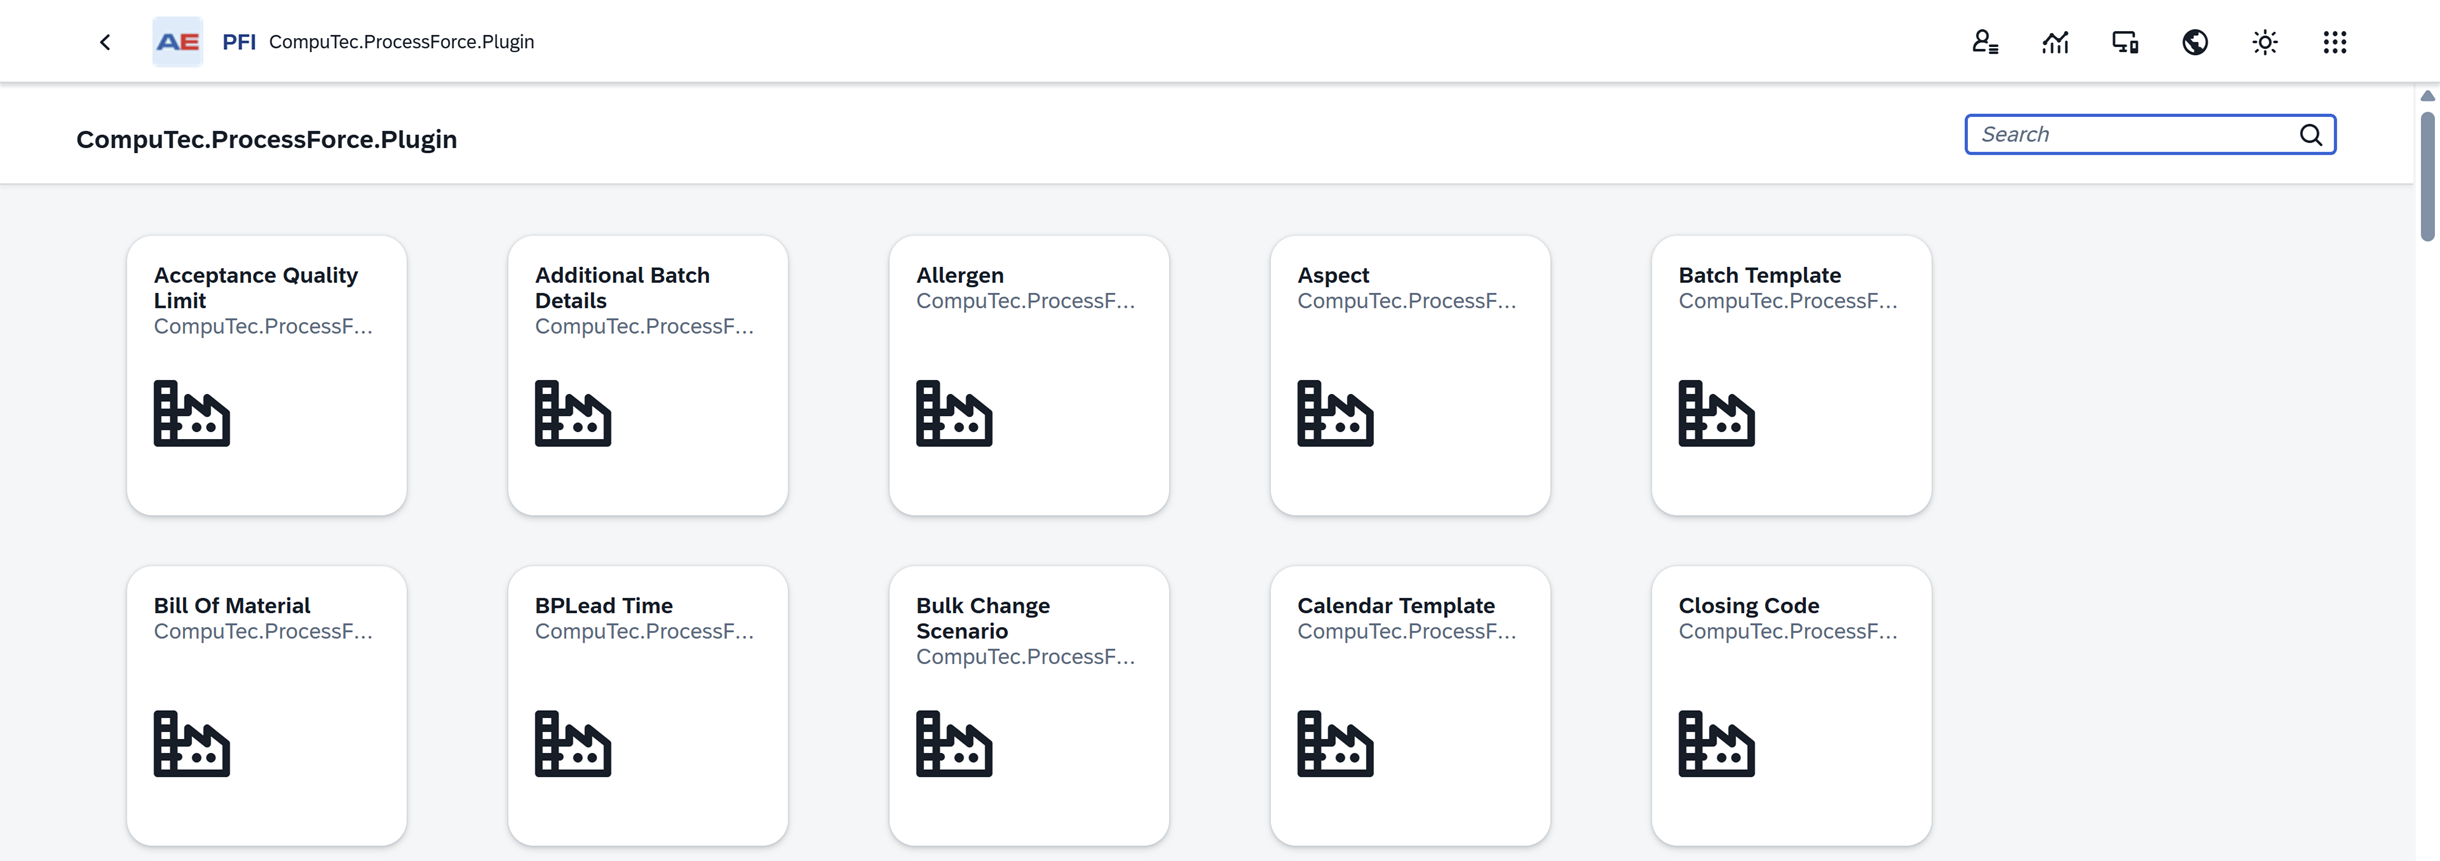
-
Choose the CompuTec ProcessForce object you want to work with, for example, Bill of Materials.
-
Done! Now you can start working with CompuTec PFI plugin.
Use the CompuTec PFI plugin
Header section
The header section provides key details and functionalities related to the selected object:
-
Object name: Shows the name of the current object.
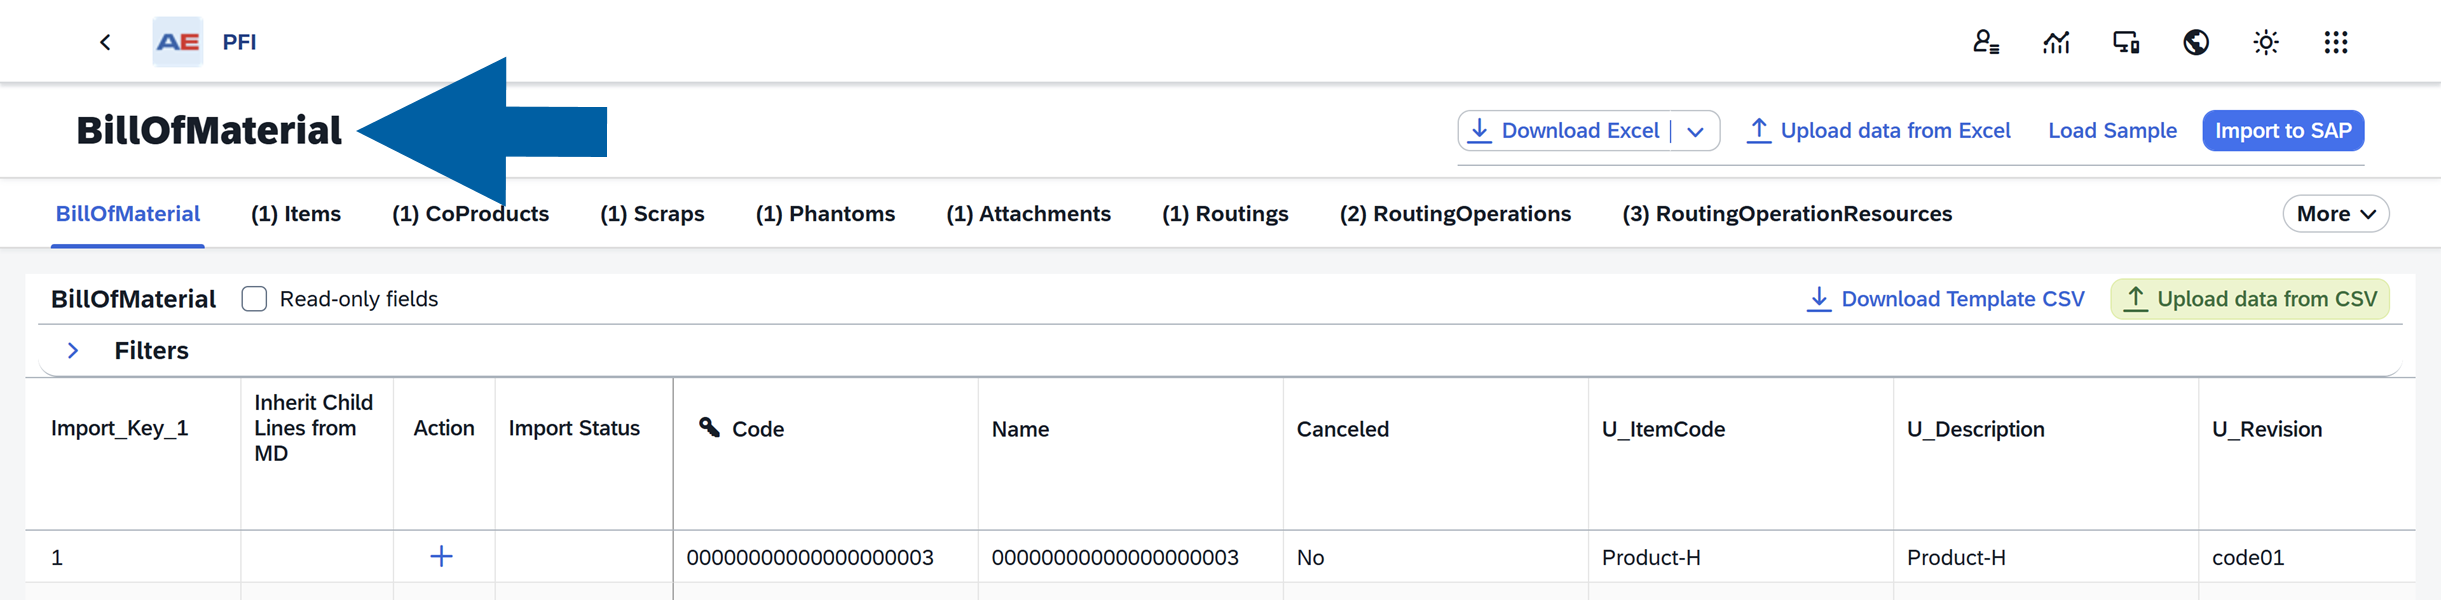
-
Related objects: Helps you navigate between object levels. Clicking on a related object name displays the corresponding columns (database table properties) in the table below. The numbers in brackets indicate the object's hierarchy level, e.g.,
BillOfMaterial 0>Items 1.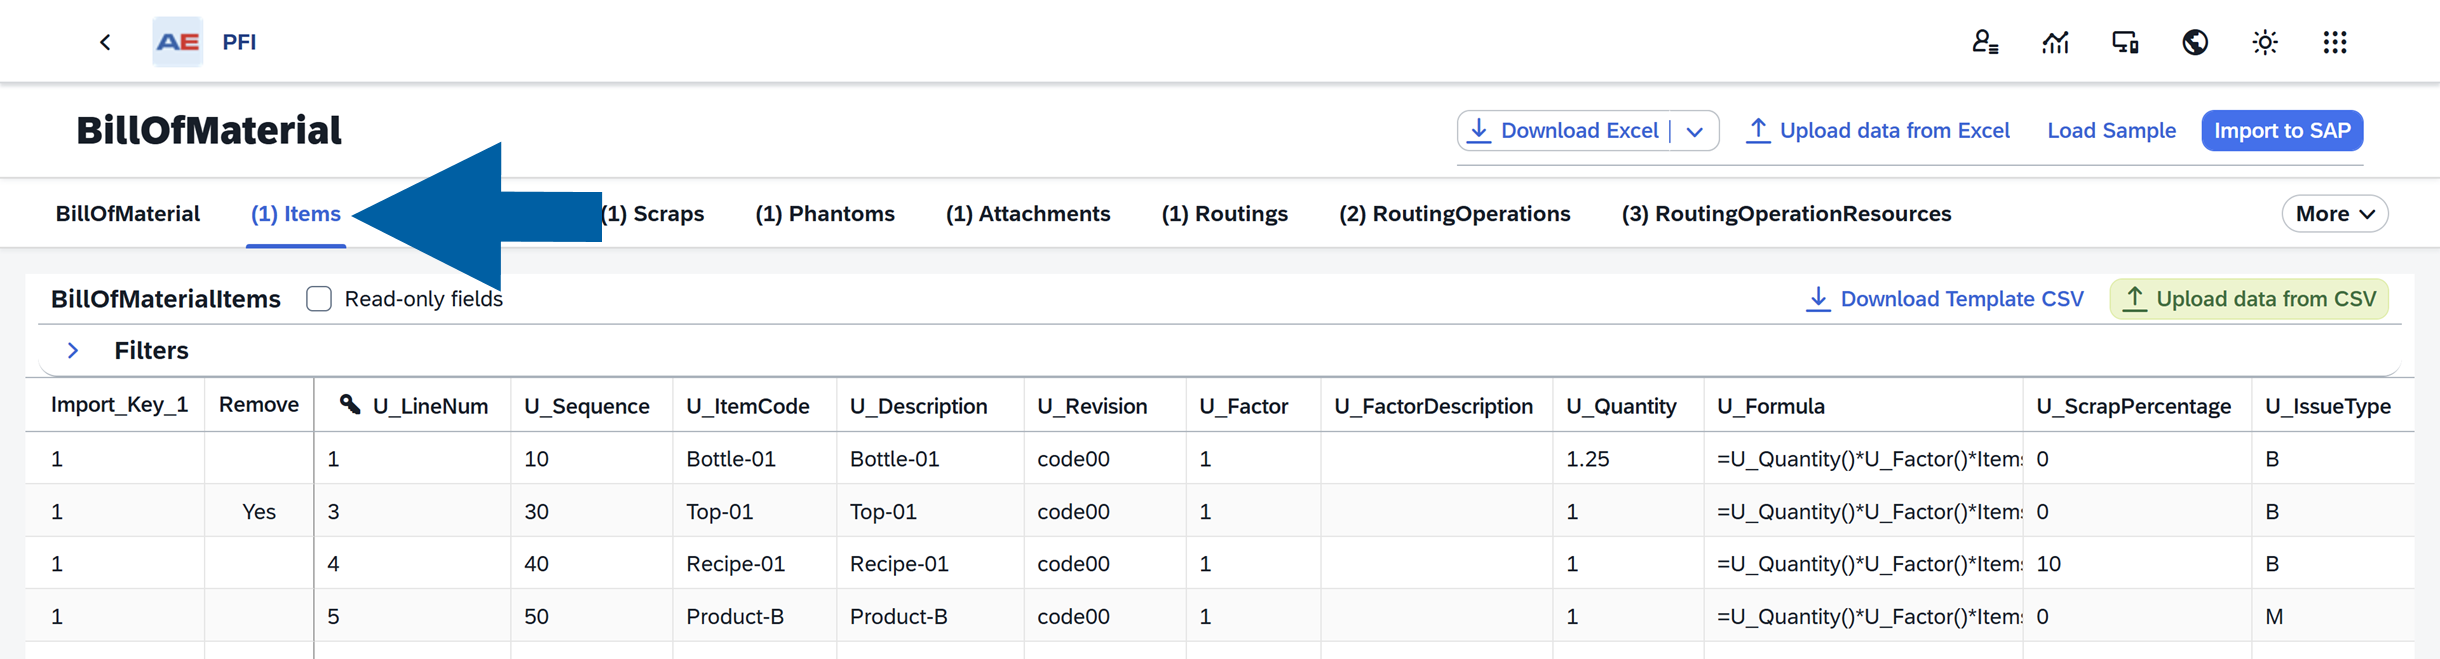
In the header section, you can:
-
Download Excel: Export the table's content, including column names, to a Microsoft Excel file. If no sample data is loaded (see the Load Sample option below), this will download an empty file with only column headers. You can edit this file in Excel, save it, and upload it back into the plugin using the Upload Data from Excel option.

-
Download with advanced settings: This option is available after clicking the arrow next to Download Excel option.
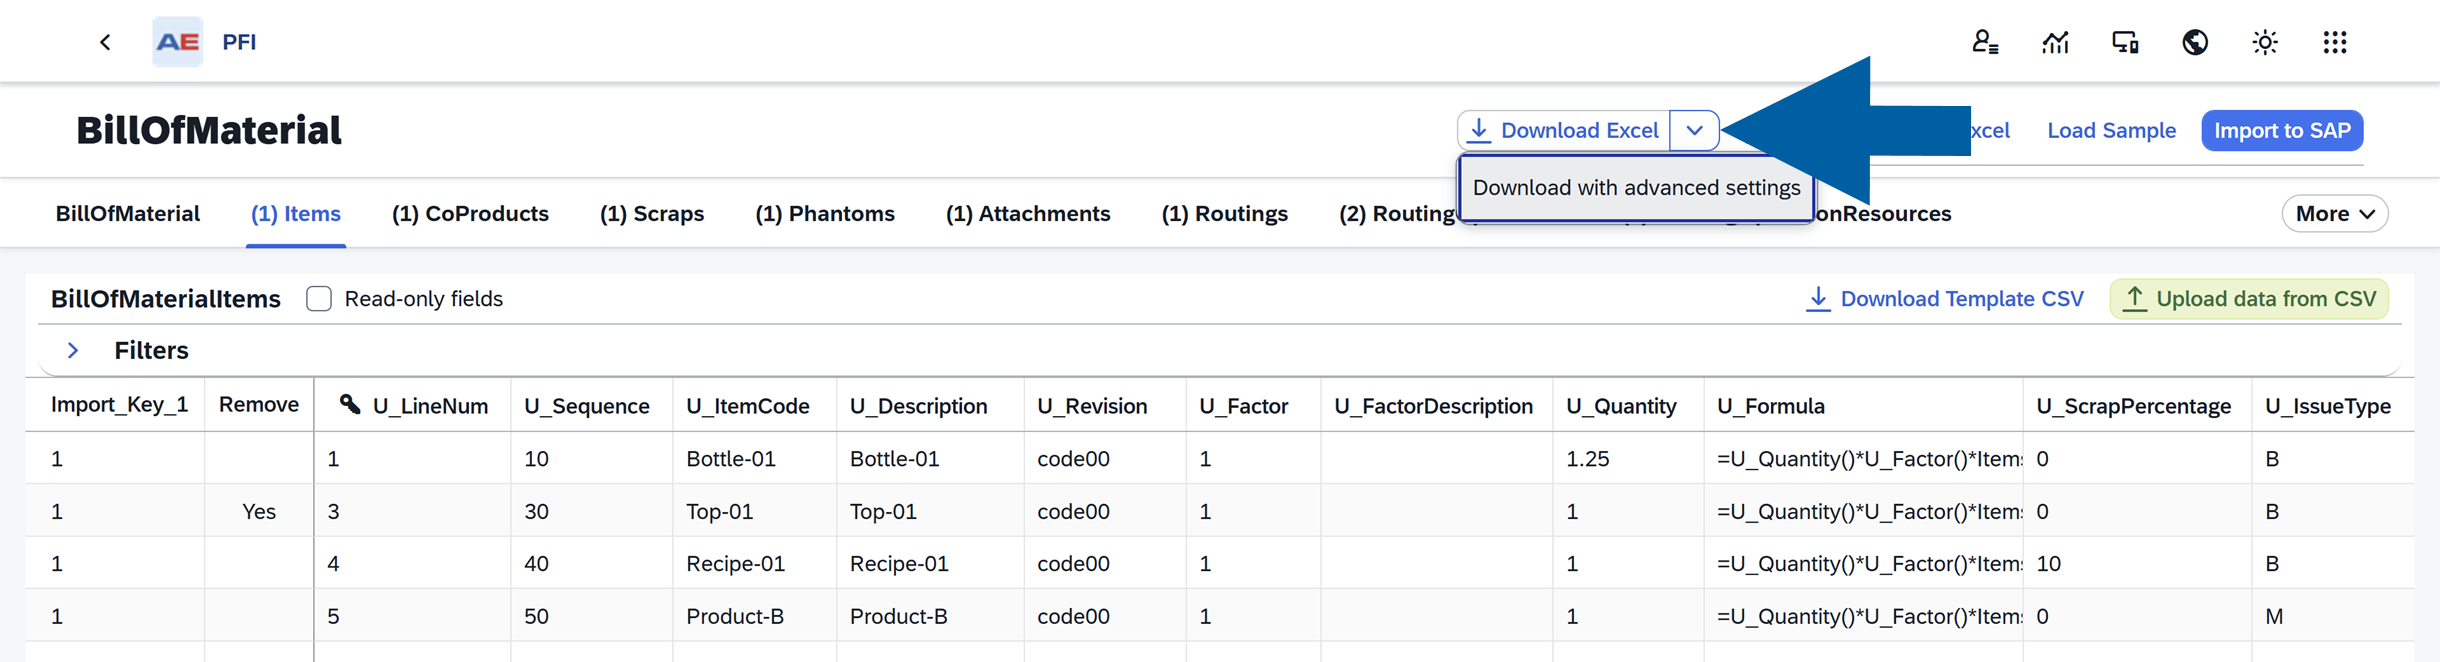
Select Download with advanced settings to see additional export settings.
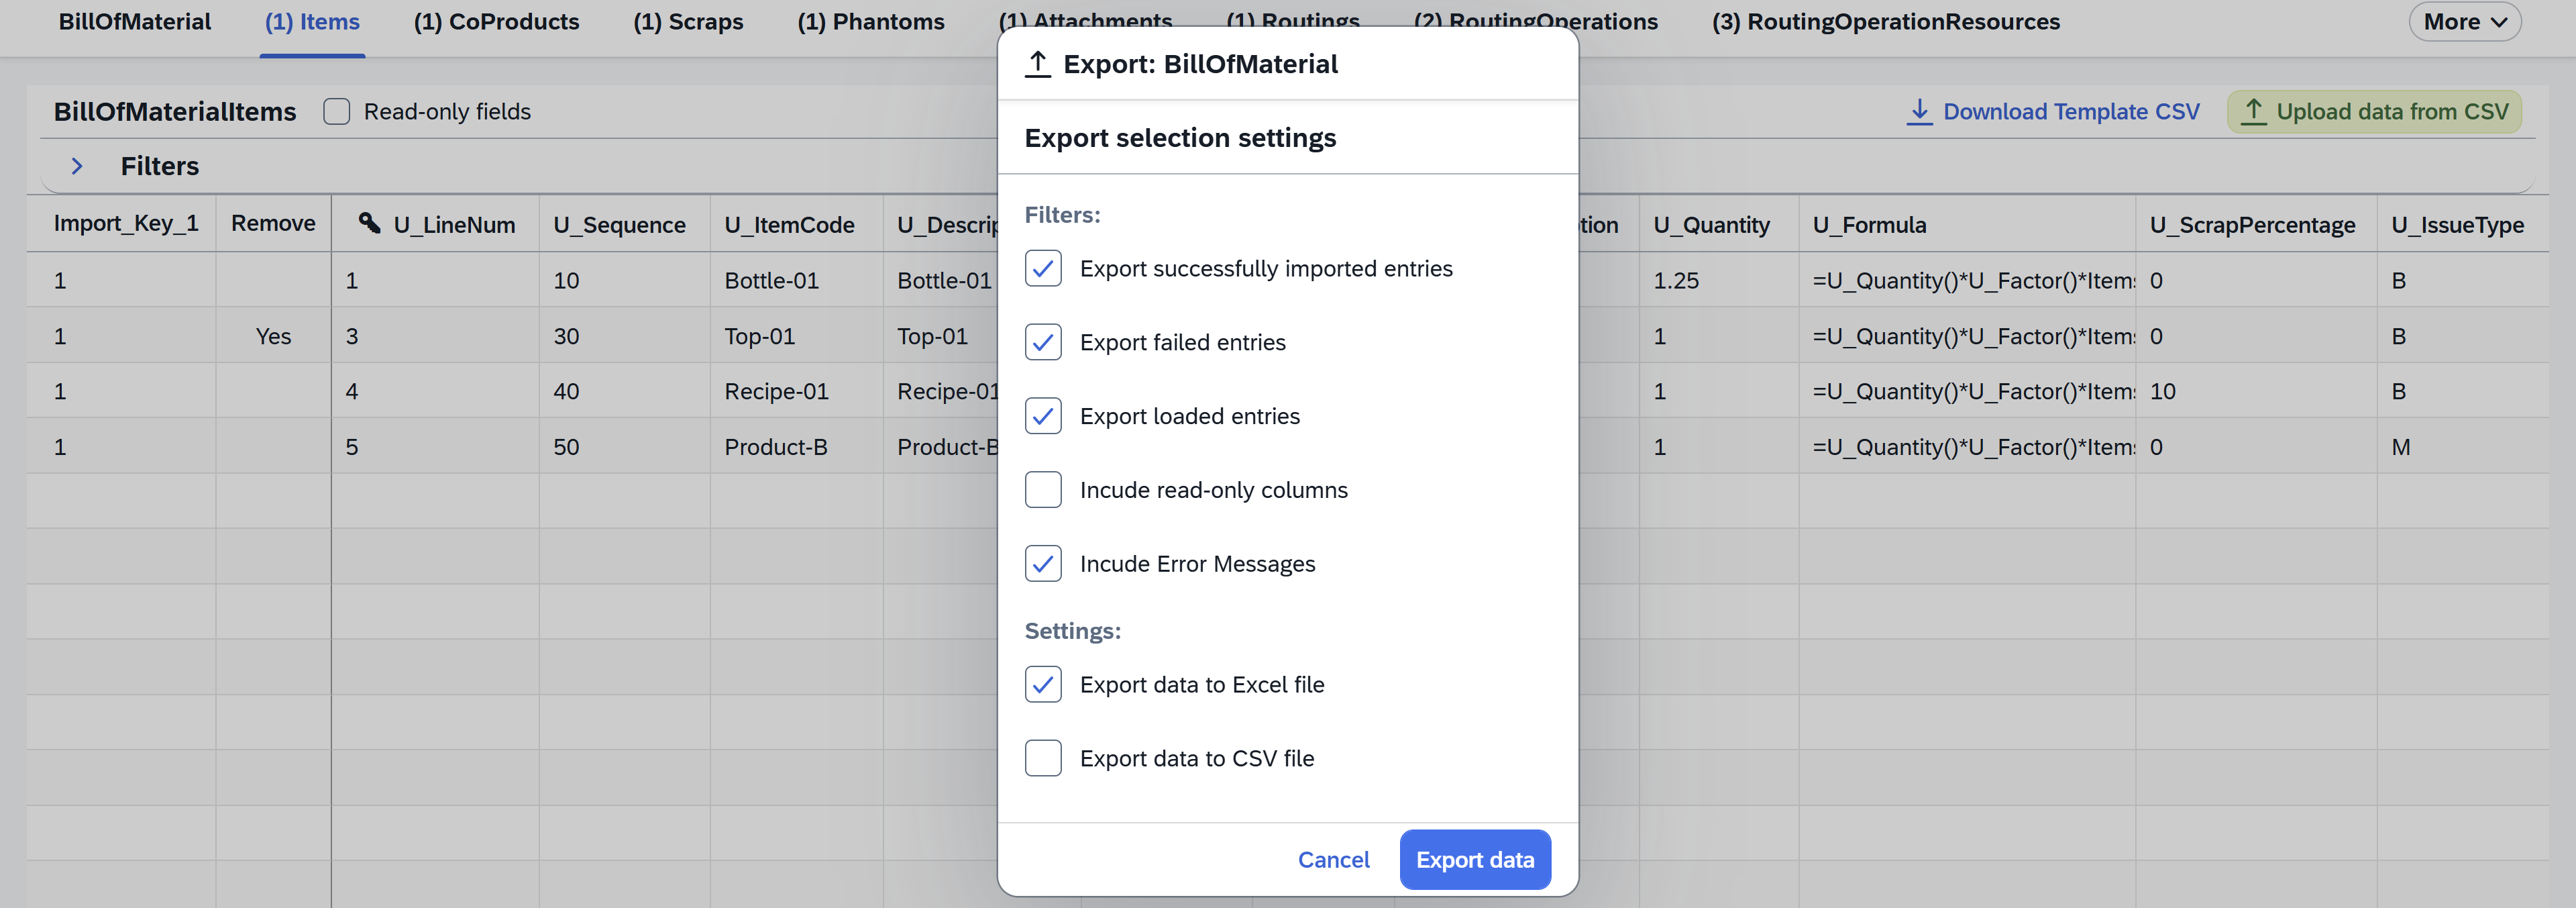
Here you can choose to:
- Export successfully imported entries
- Export failed entries
- Export loaded entries
- Include read-only columns
- Include Error Messages
And then decide if you want to Export data to Excel file and/or Export data to CSV file.
-
Upload data from Excel: Import data from an MS Excel file. Blank cells are ignored and don't overwrite existing values. To explicitly set a property to blank, use a forward slash (
/). Read more
-
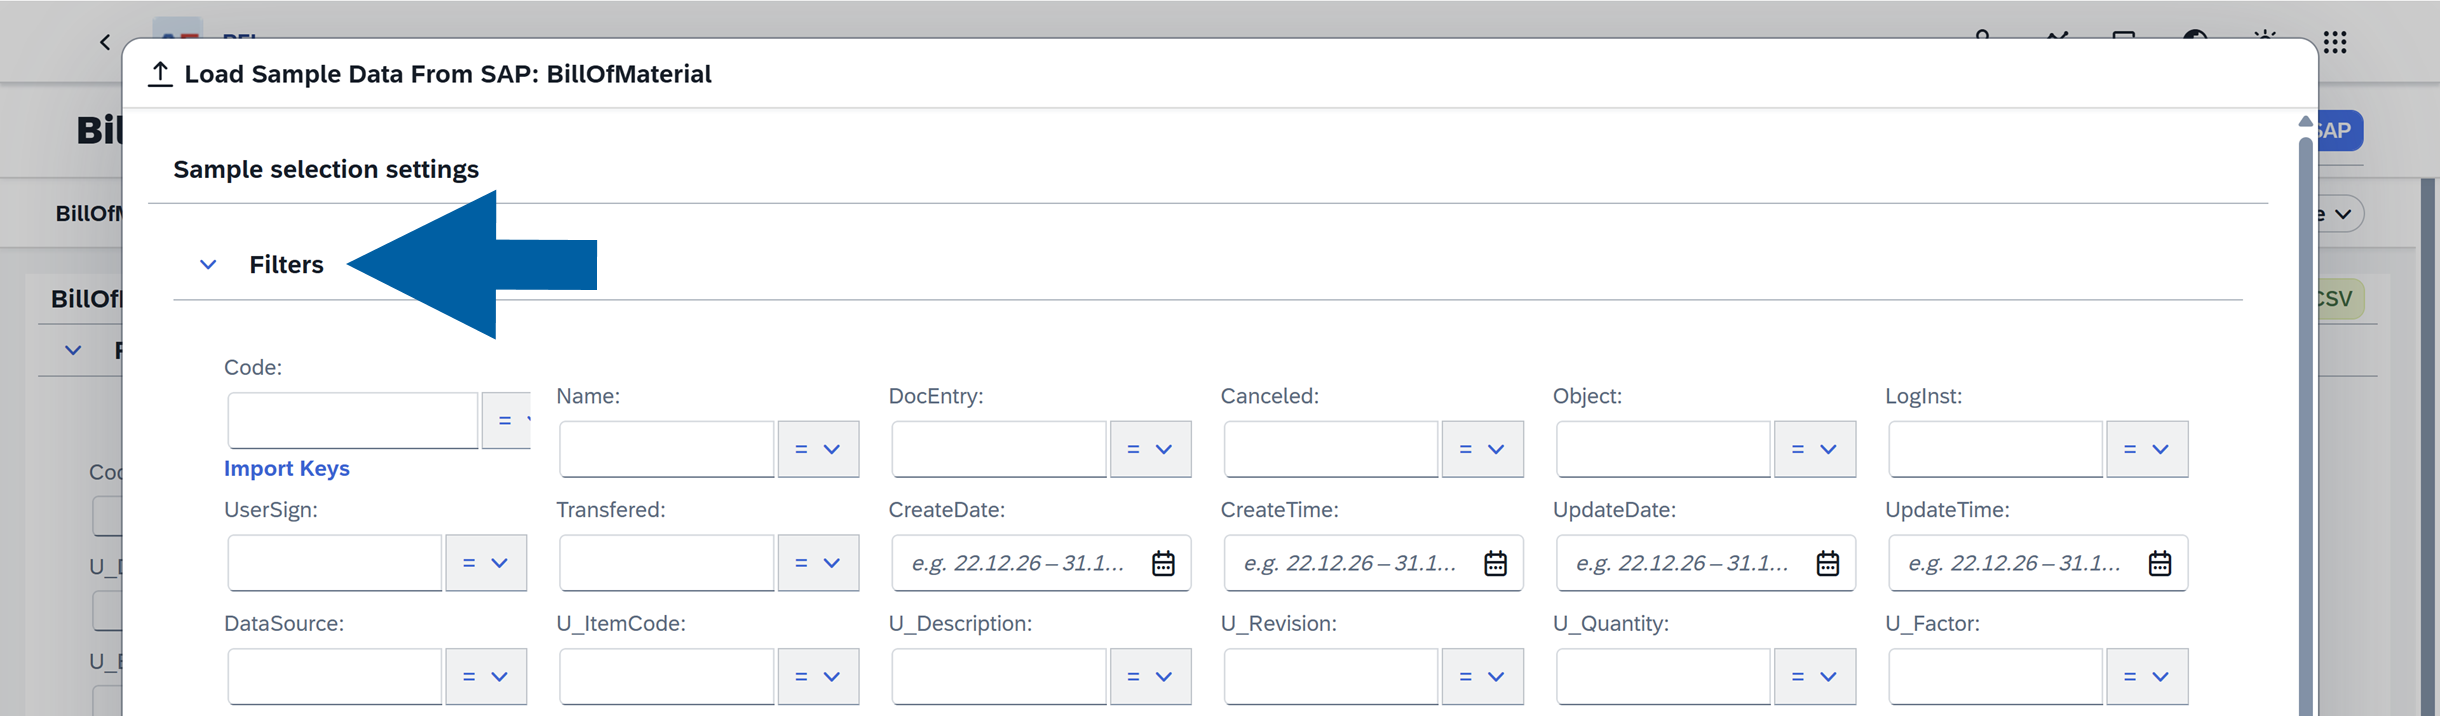
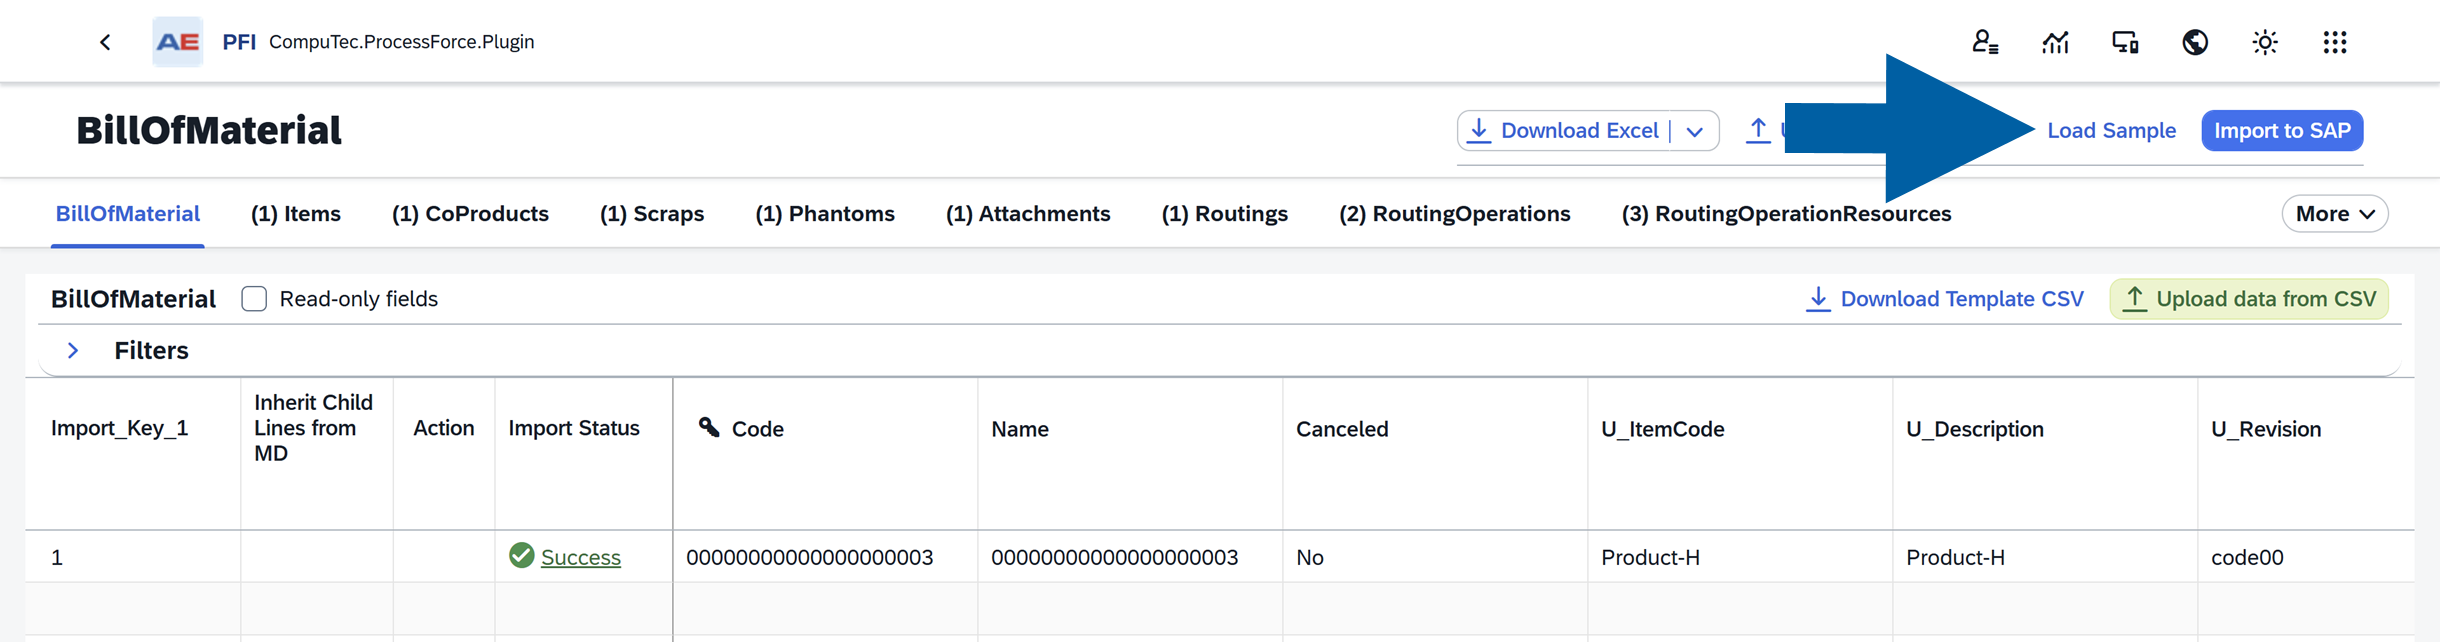
Load Sample: Load data from the database into the table for mass updates.

To load a sample, follow these steps:
-
(Optional) Filter data using specific field values.
-
Choose the number of records to load.

-
Click Load to populate the table with the selected object and its lower-level components, for example, Bill of Materials with Items, CoProducts, Scraps, etc.

-
After editing, you can re-upload the data for updates.
-
-
Import to SAP: Transfer the data to the SAP database.

-
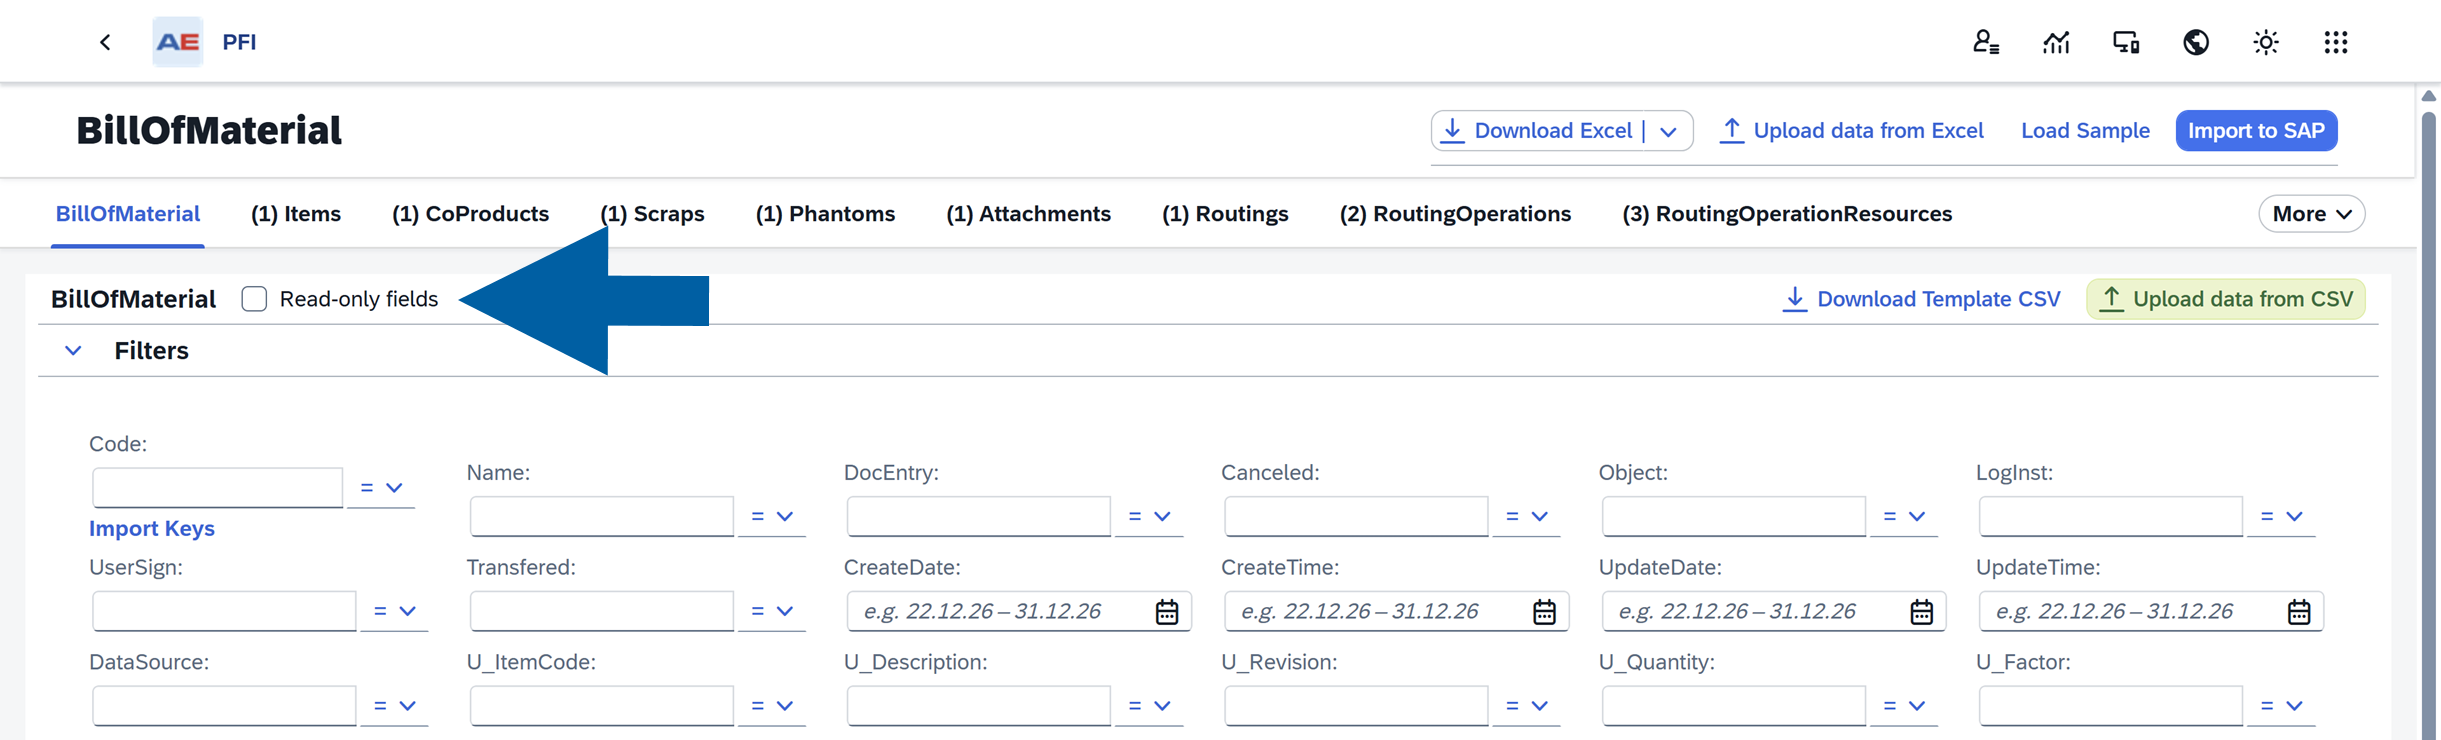
Download Template CSV: Download a CSV template for the currently displayed object, for example, Bill of Materials > Items. Unlike the advanced download option, this exports templates for only the displayed object without including its lower-level components.

-
Upload Data from CSV: Import data from a CSV file.

-
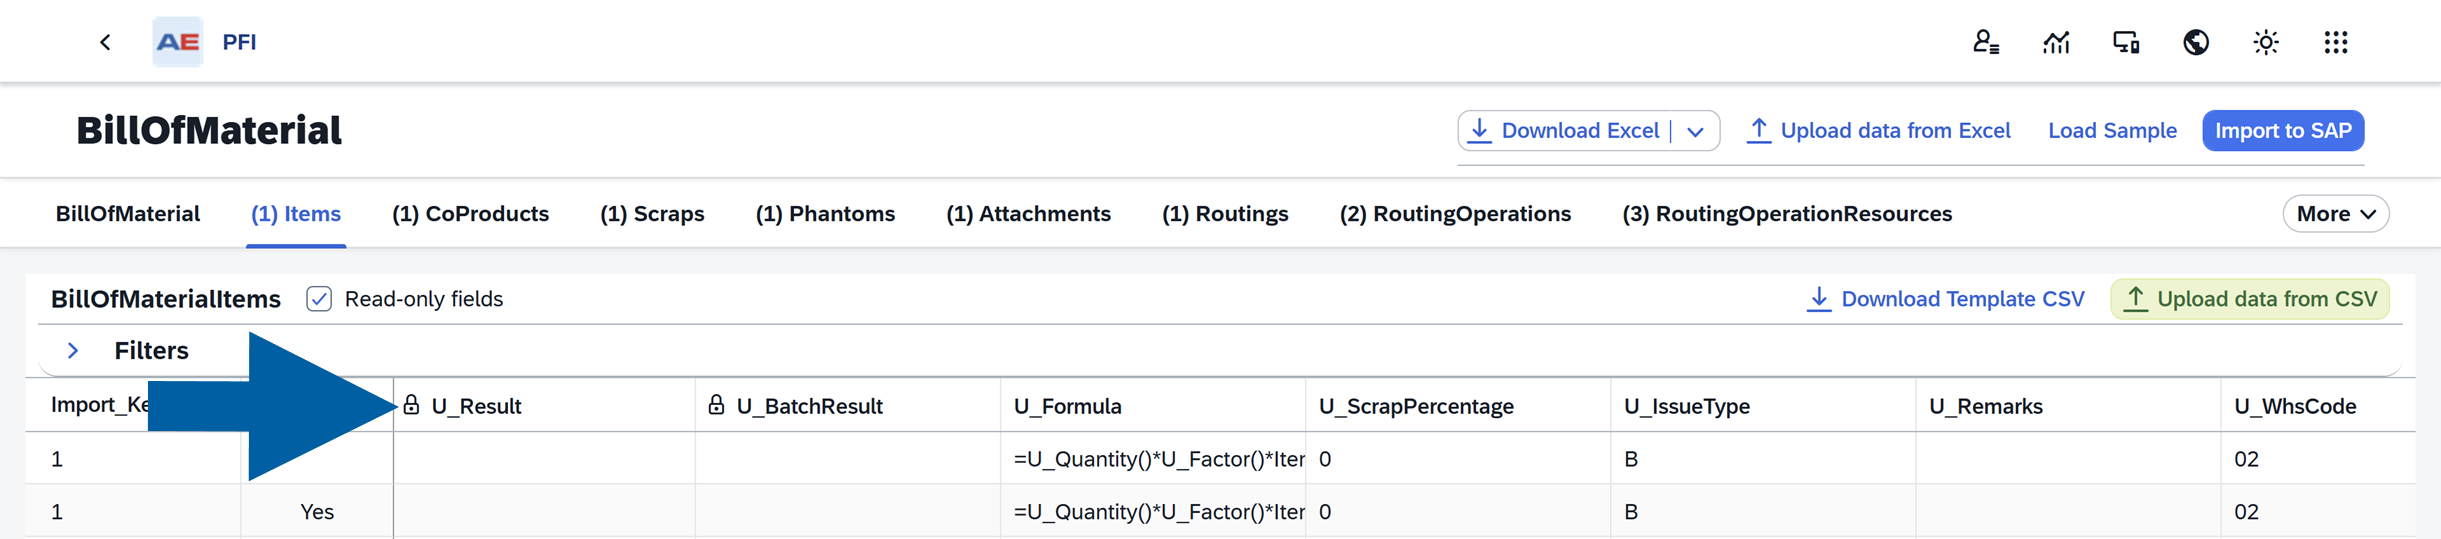
Read-only fields: When you uncheck this option, you'll only see the editable fields. Checking the box will display all available fields.
 info
infoRead-only fields are marked with a padlock icon for an easier identification.
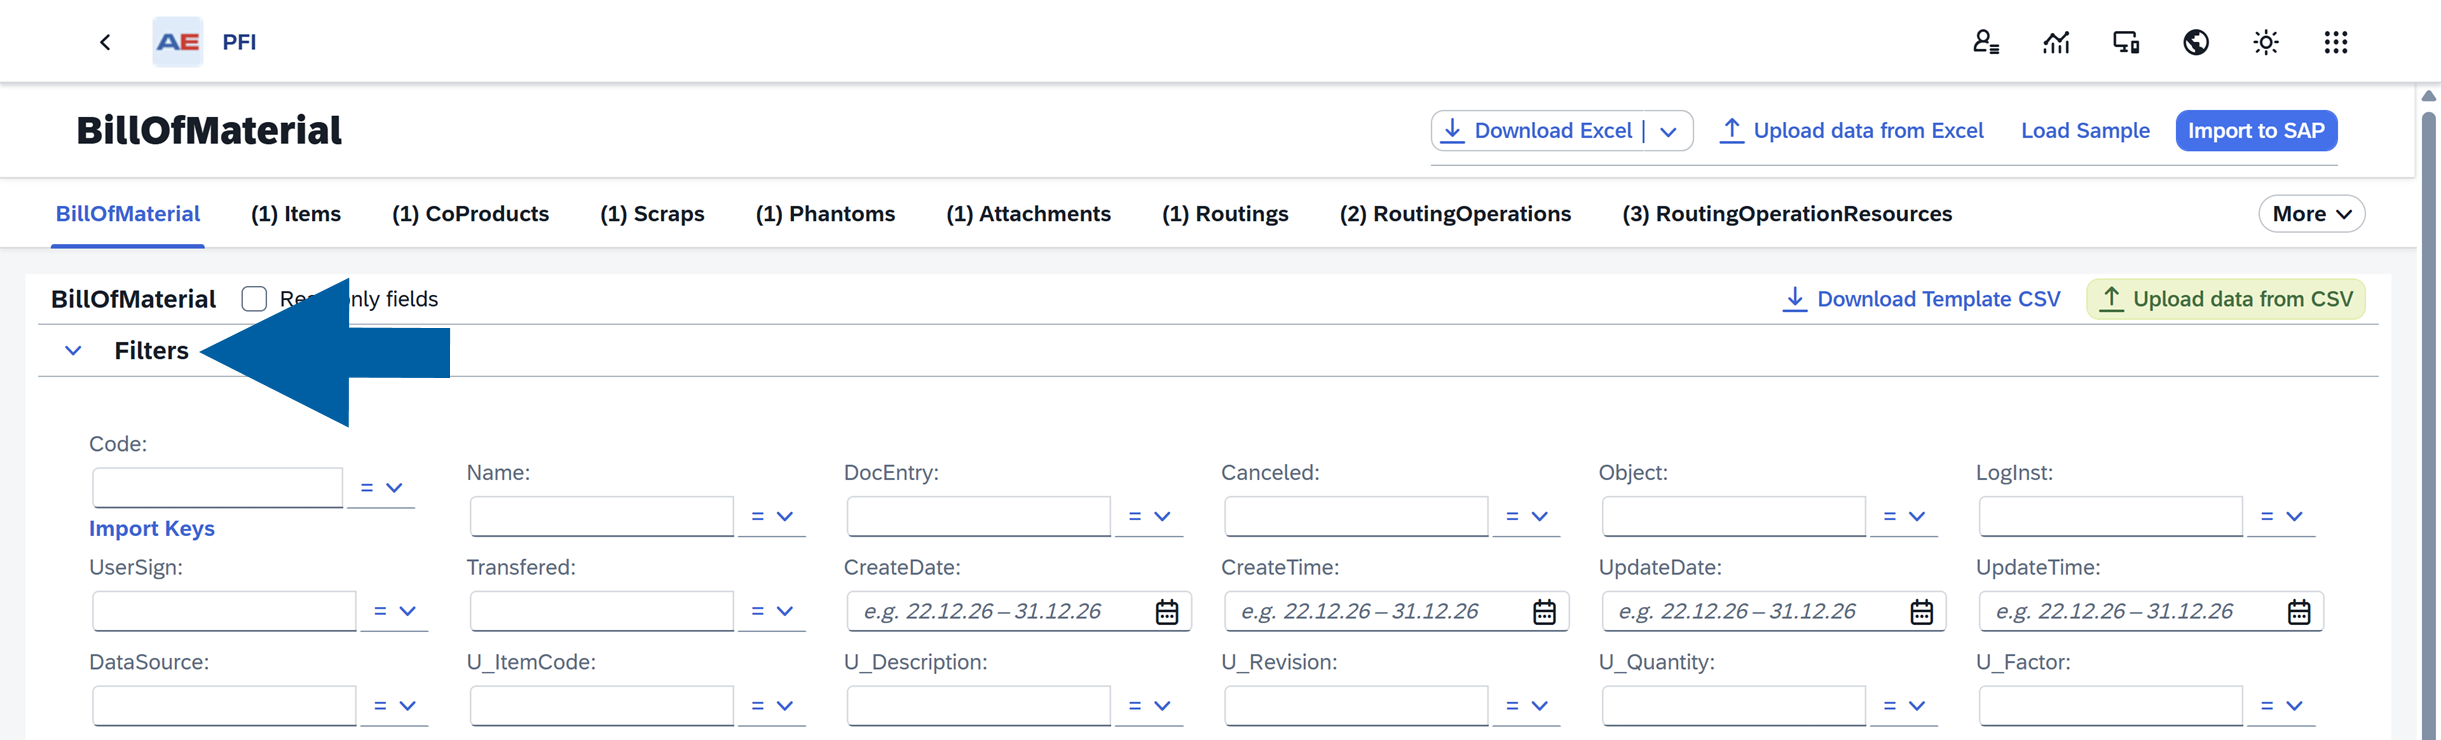
Filters
Use filters to narrow down your data. You can edit the filter section to display only the fields you wish to use.
Table
The table displays data associated with the object selected in the header, including all columns and User-Defined Fields (UDFs) located at the far-right end of the table. This data can be imported into SAP using the relevant header options. Before importing, the table must first be populated using the appropriate actions in the header.
Key Features of the Table:
- Import Key – The first column in the PFI table, acting as a link for the template. For example, it connects the Bill of Materials to its subordinate components.
- The key icon – Indicates the primary field for the object. Leaving this field empty during editing will add a new record. If a value is present, the existing record will be updated.
- Action – Specifies the type of operation (Add/Update) for each row after uploading an Excel file.
- Import Status – Displays the success or failure of each line's import into SAP Business One.
Upload data
To upload data from Excel file, follow these steps:
-
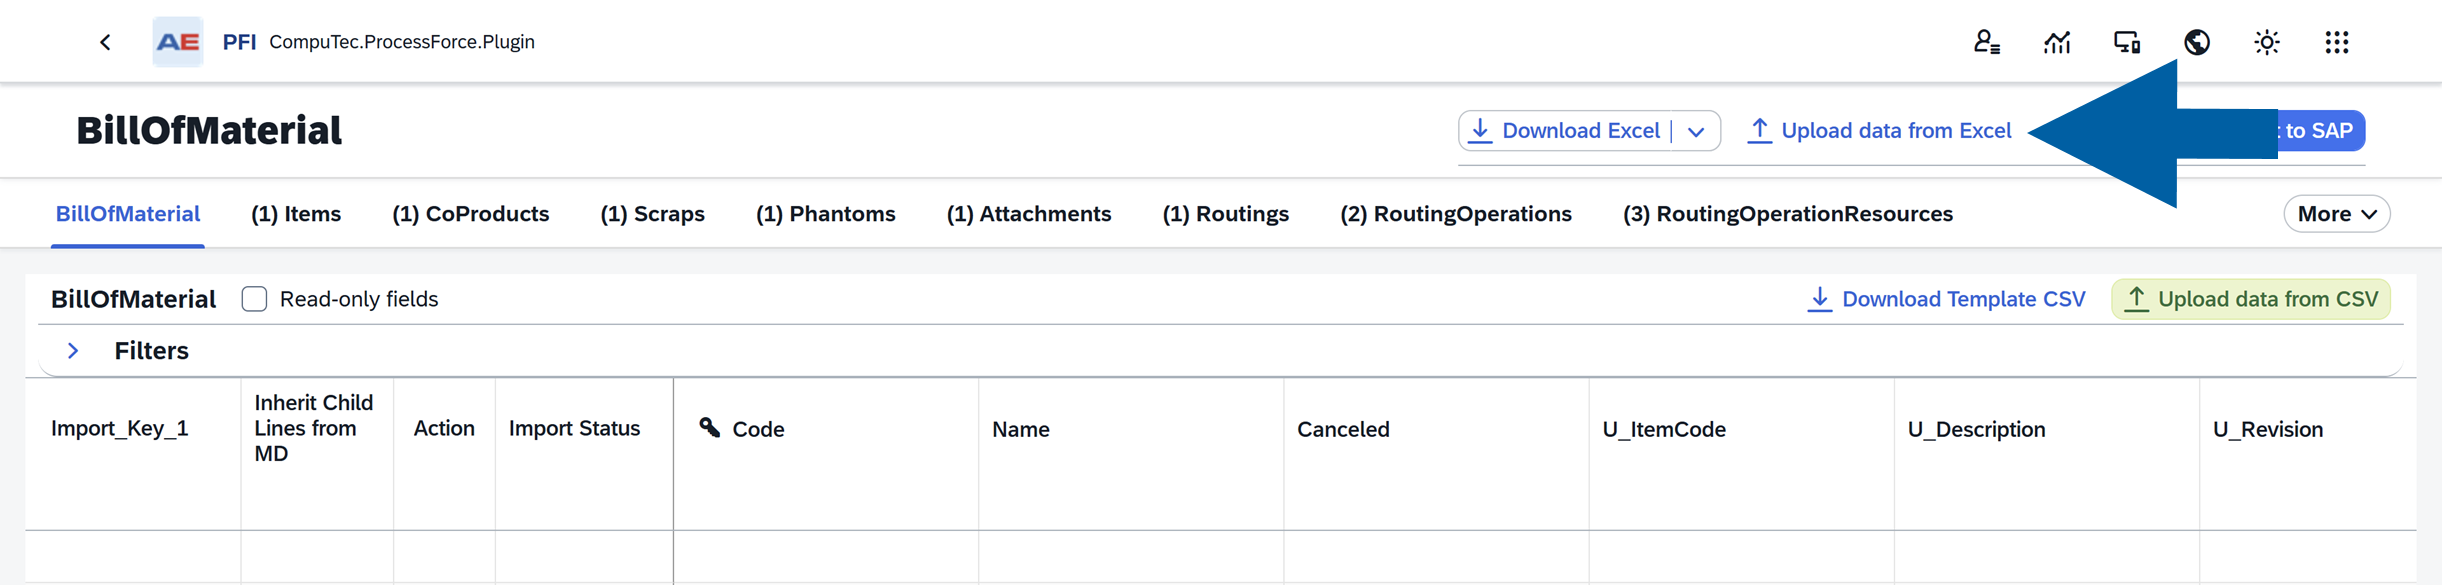
Navigate to the CompuTec PFI object where you want to upload data, for example, Bill of Materials.
-
Click Upload data from Exacel.
-
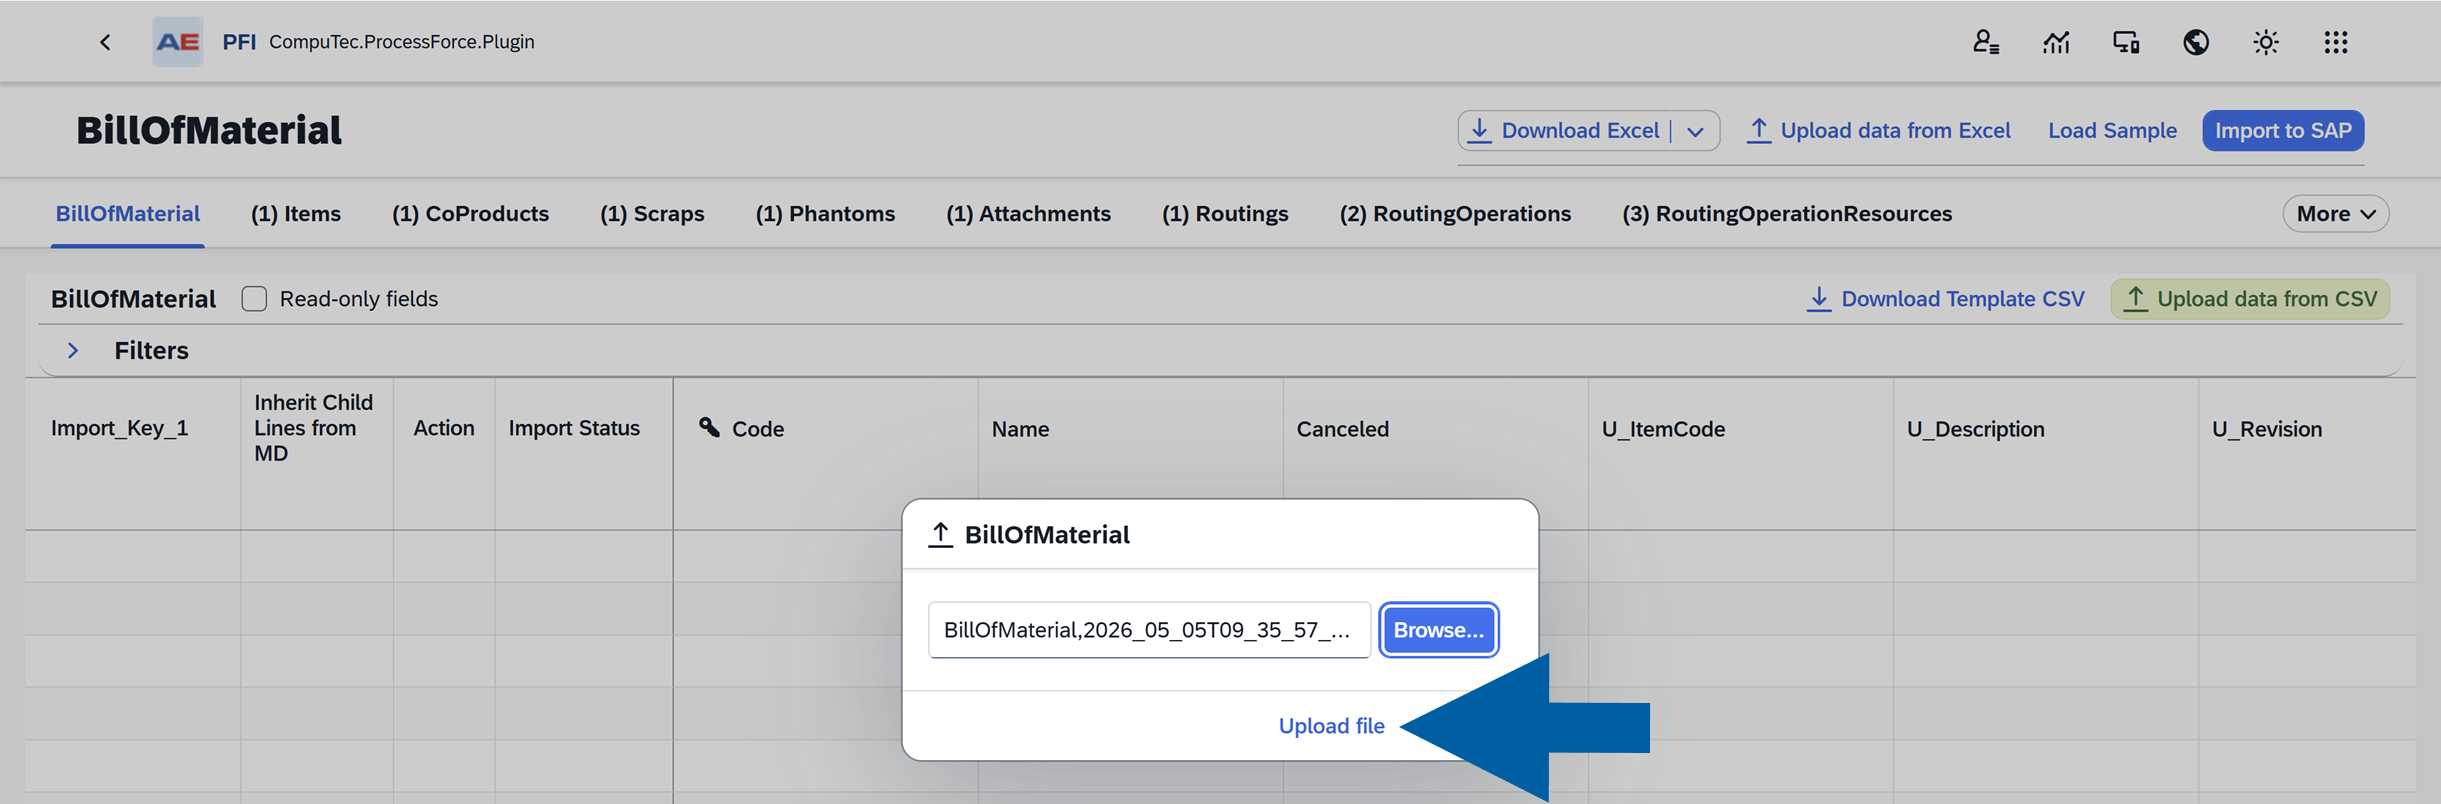
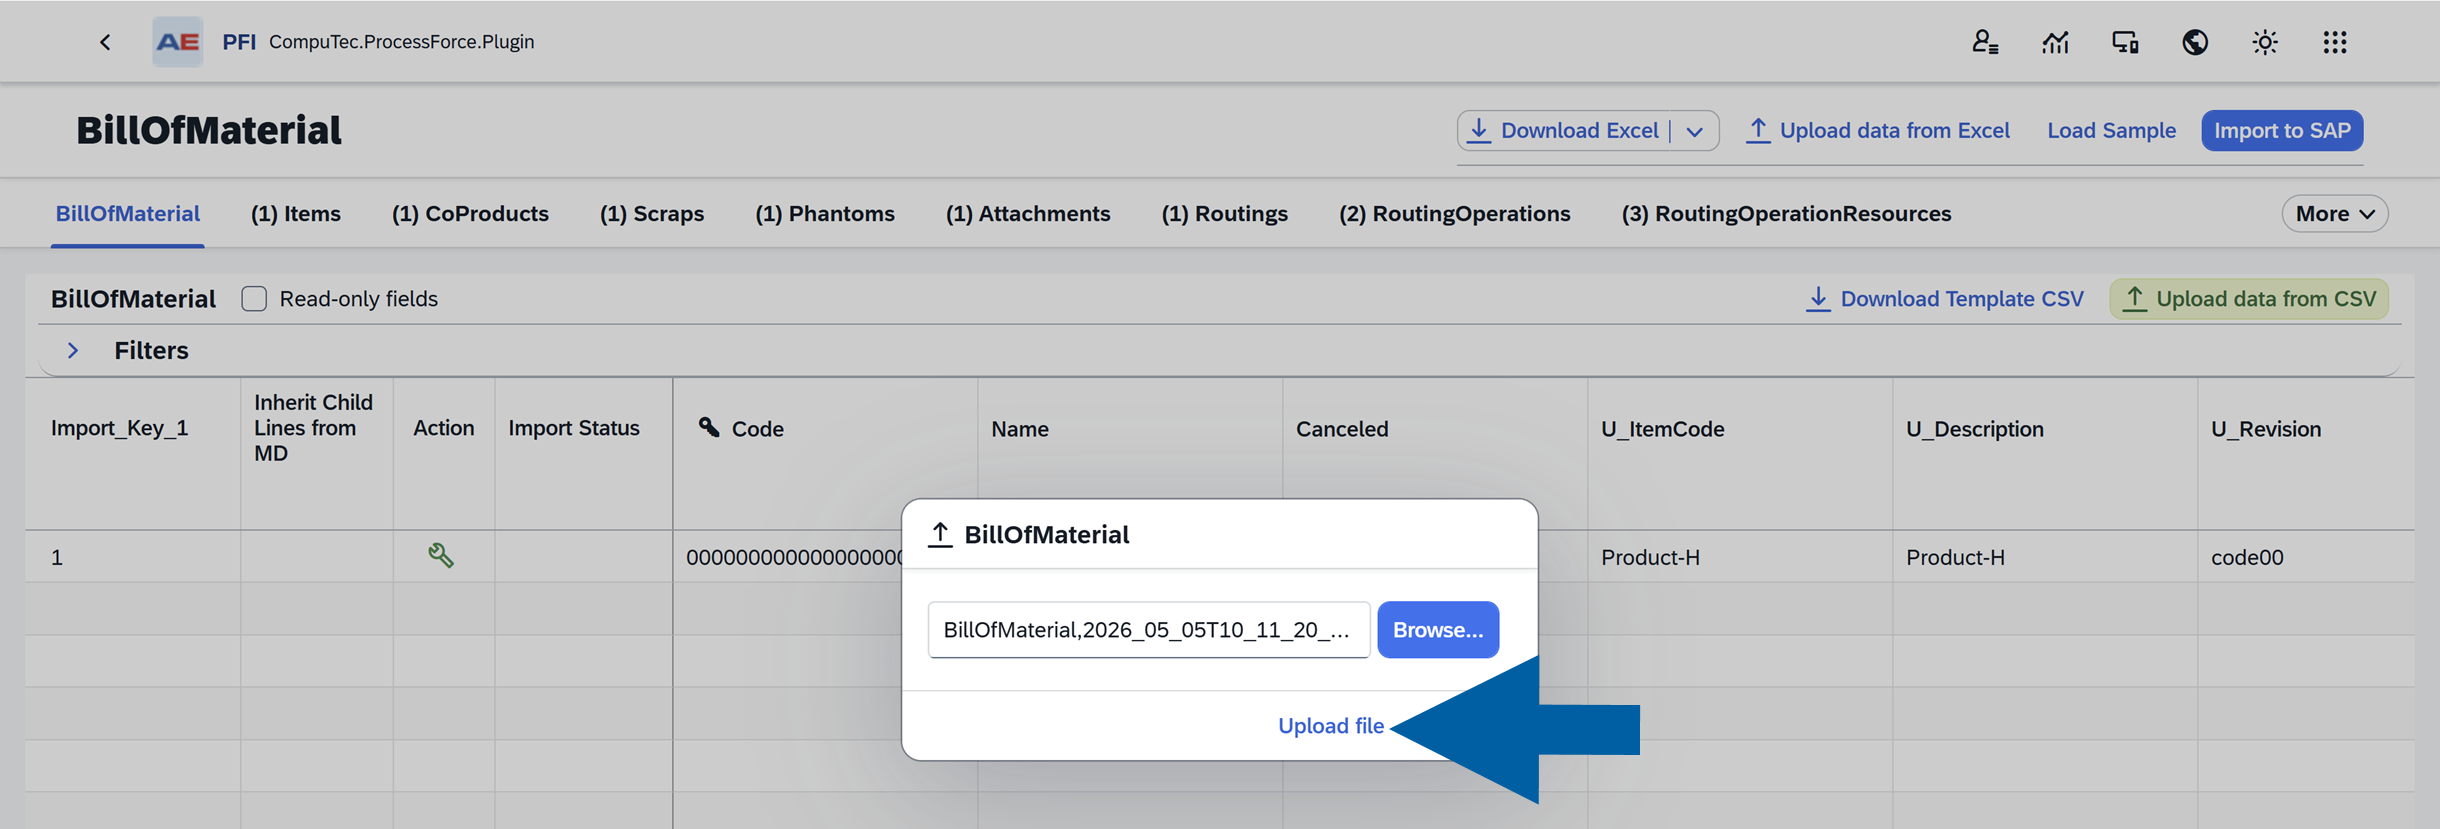
Select the Excel file you want to import, then clik Upload file.
-
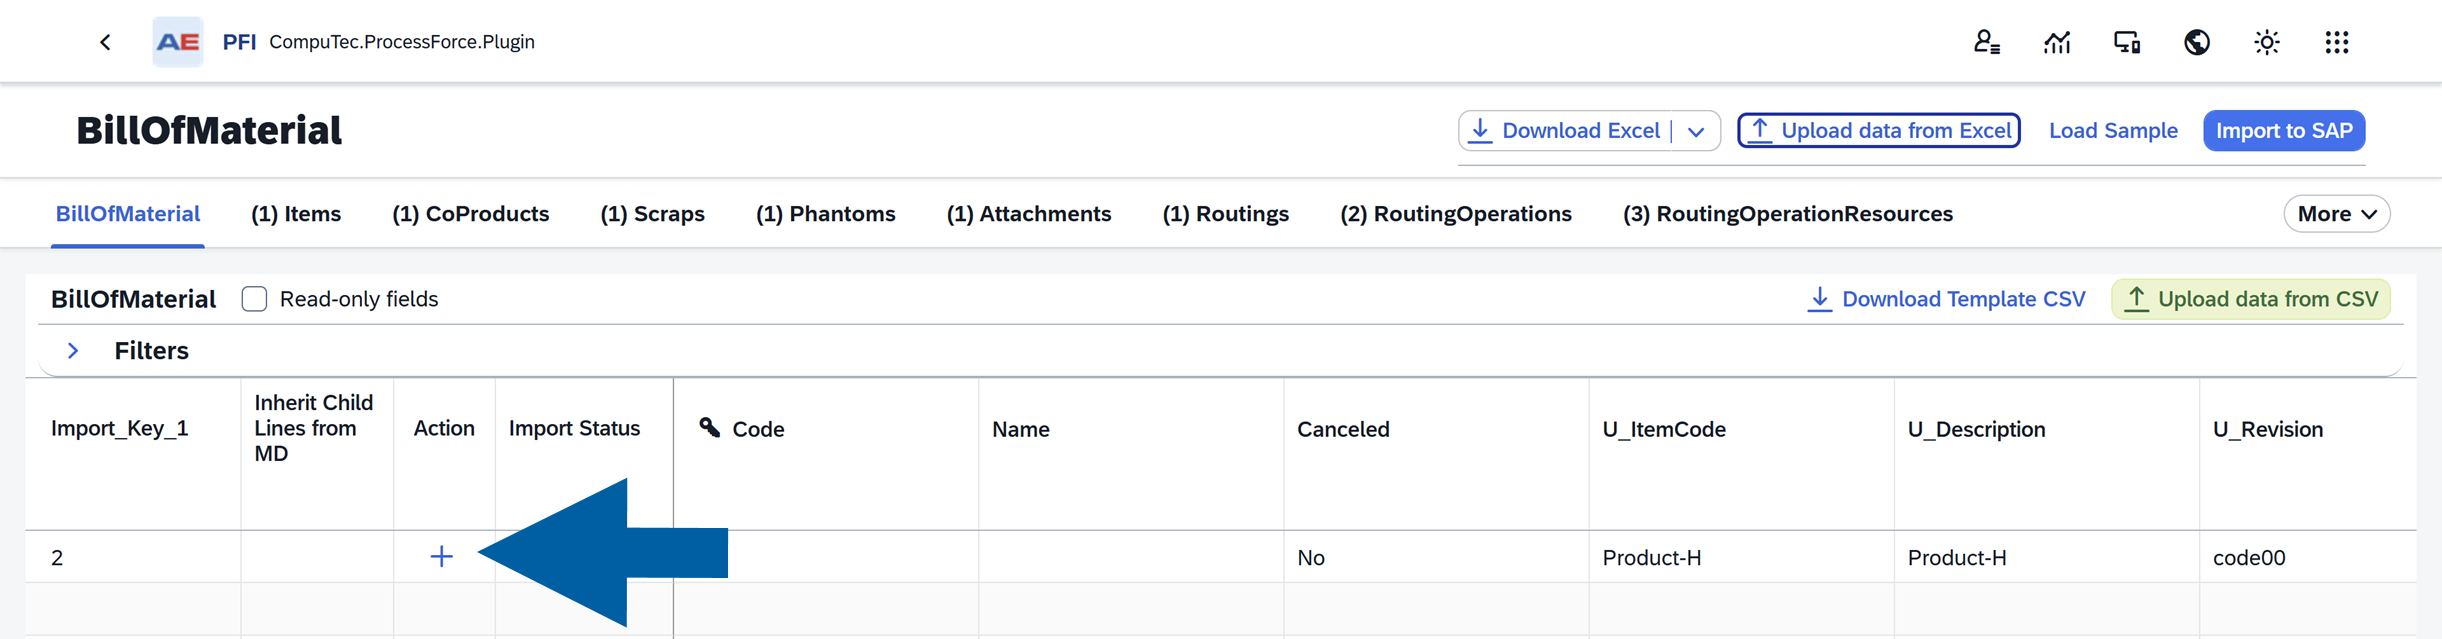
After the upload id completed, an Add (+) icon appears in the Action column.
-
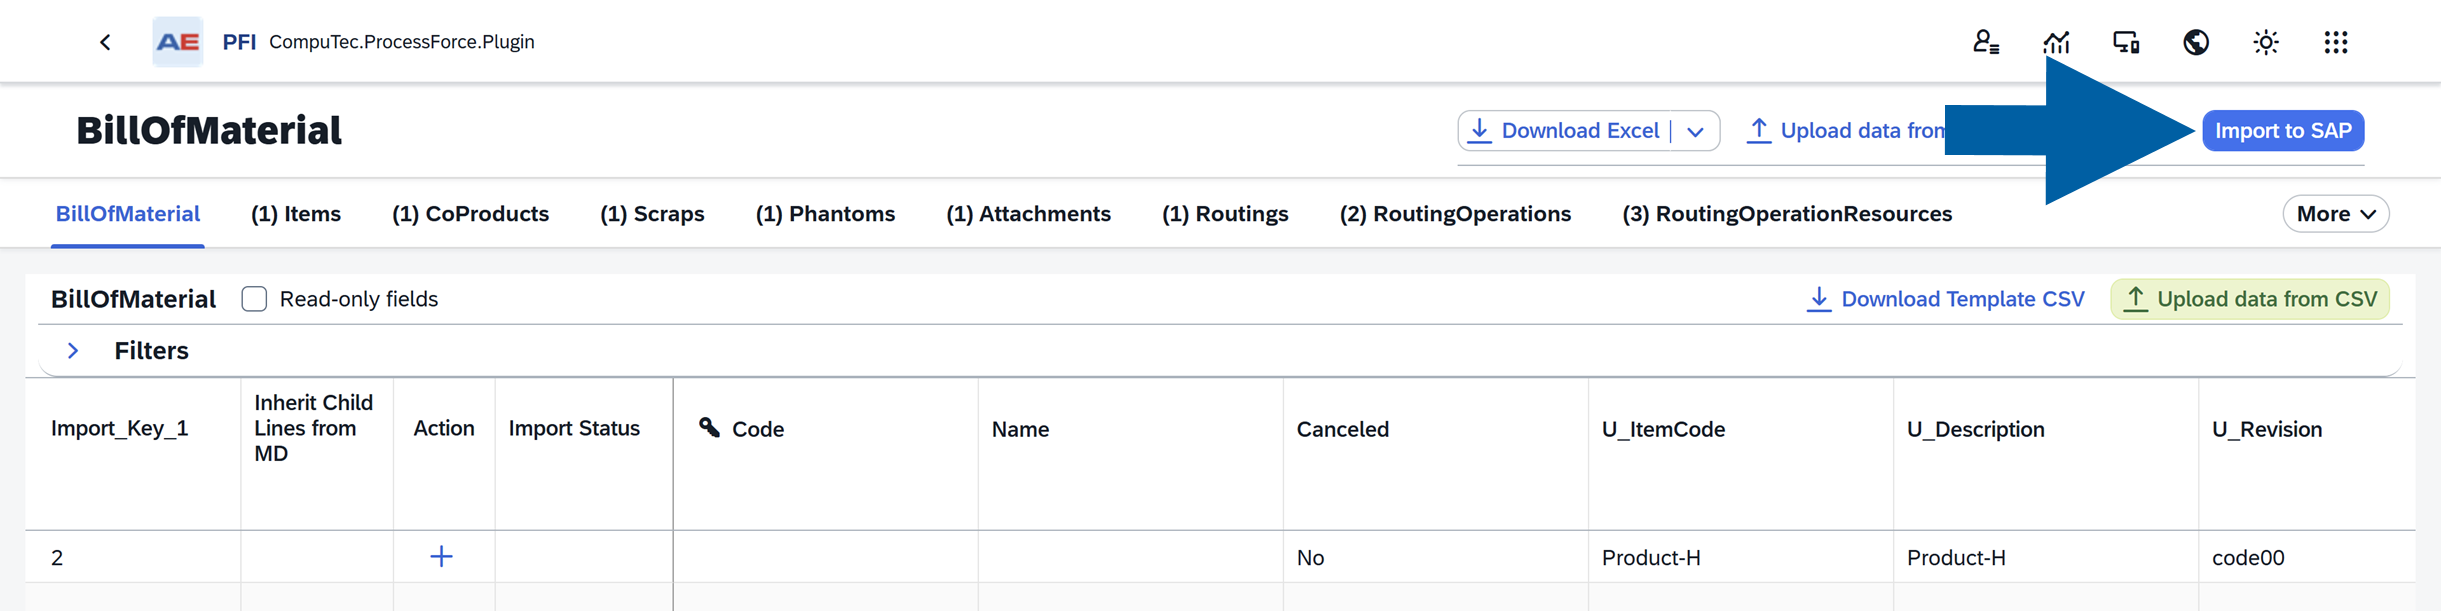
Review the uploaded records to confirm they are correct, then click Import to SAP.
-
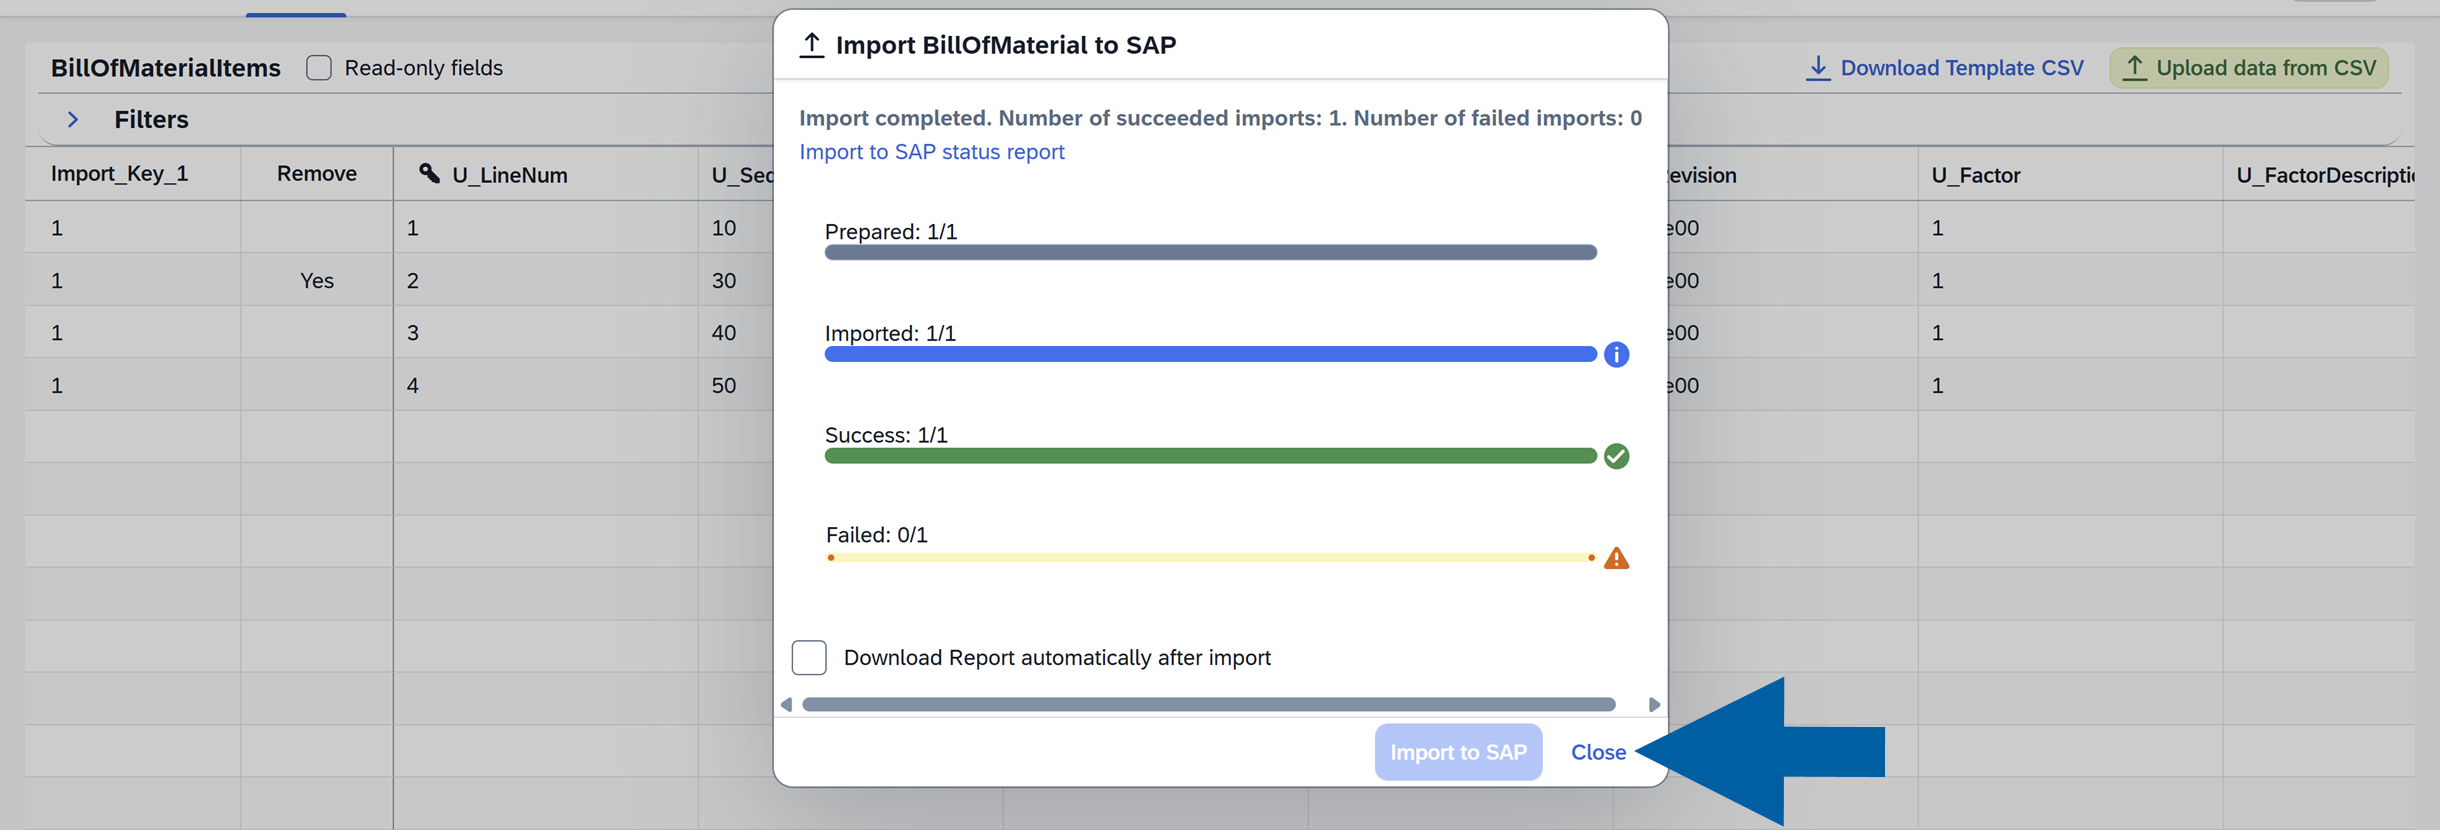
Choose whether you want to download the import report automatically, then click Import to SAP.
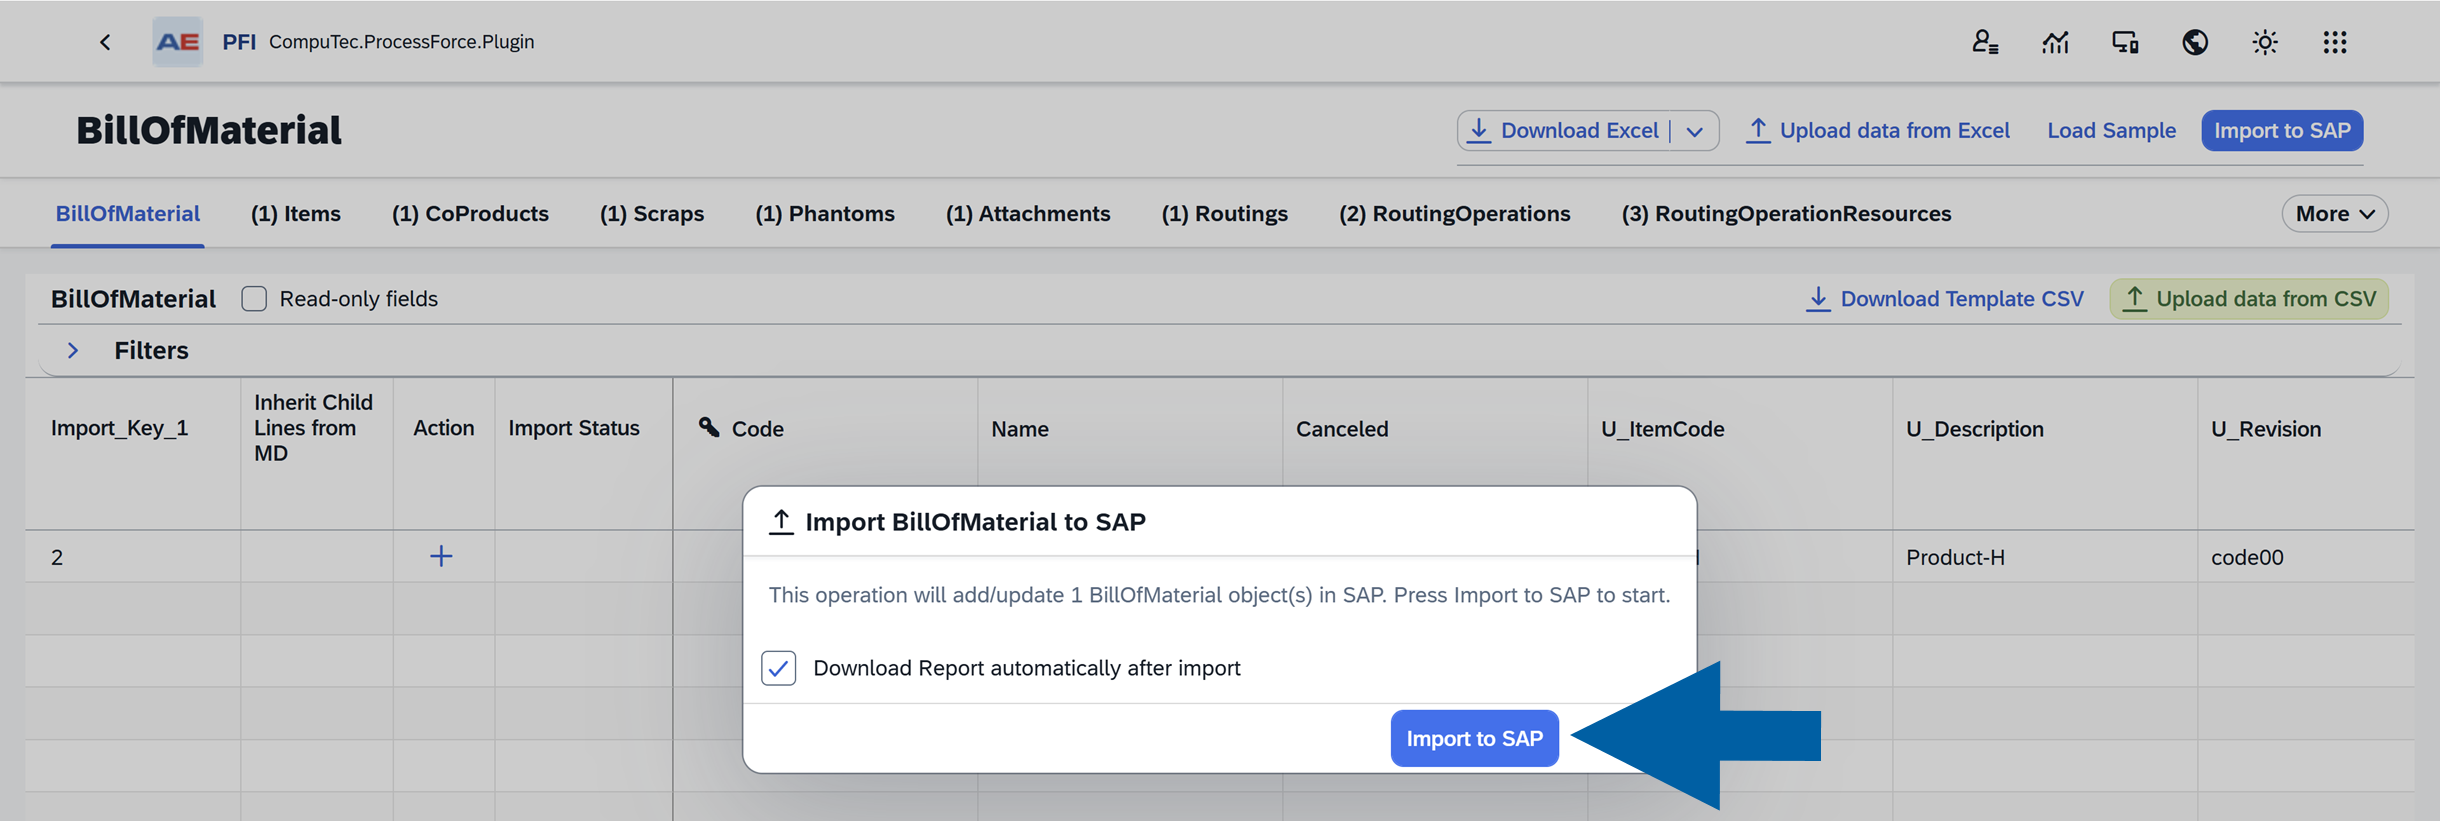
-
When the process is complete, the Import Status column will display
Success.
Remove a record
To remove a record, follow these steps:
-
In the CompuTec PFI object, for example, Bill of Materials, upload the file you want to modify.
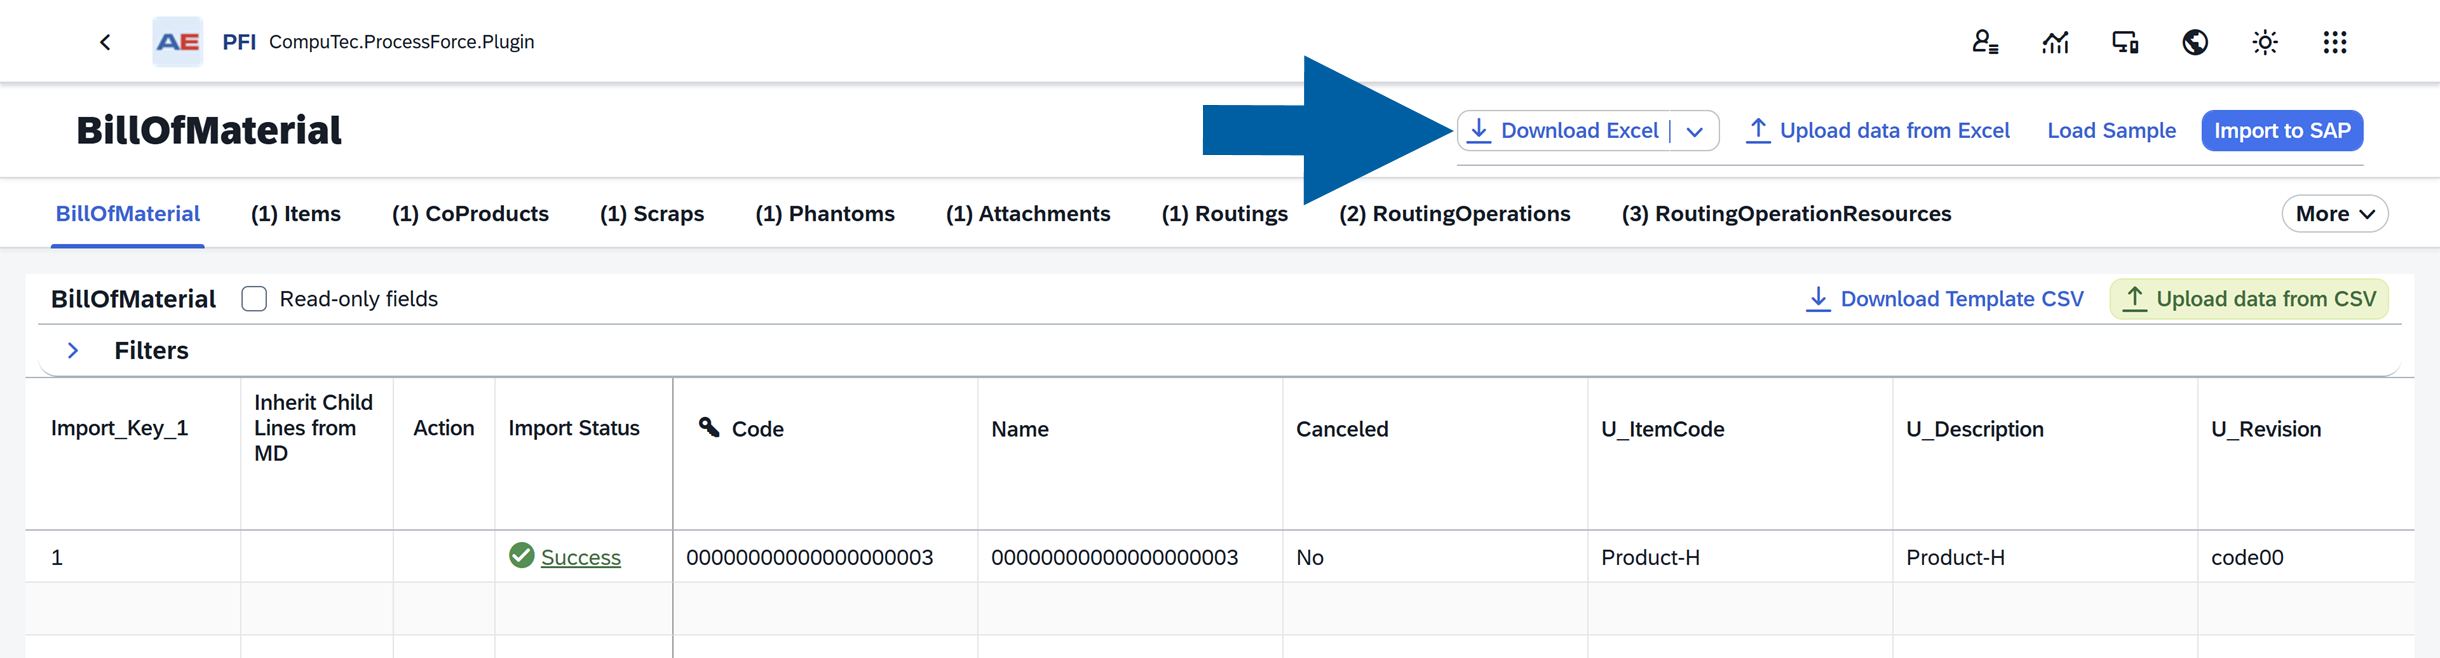
-
Click Download Excel to export the current data.
-
Open the Excel file and go to the relevant worksheet, for example, Items.
-
Locate the Remove column and enter
Yesin the row for the record you want to delete.
-
Save the Excel file.
-
Return to CompuTec PFI and click Upload Data from Excel.
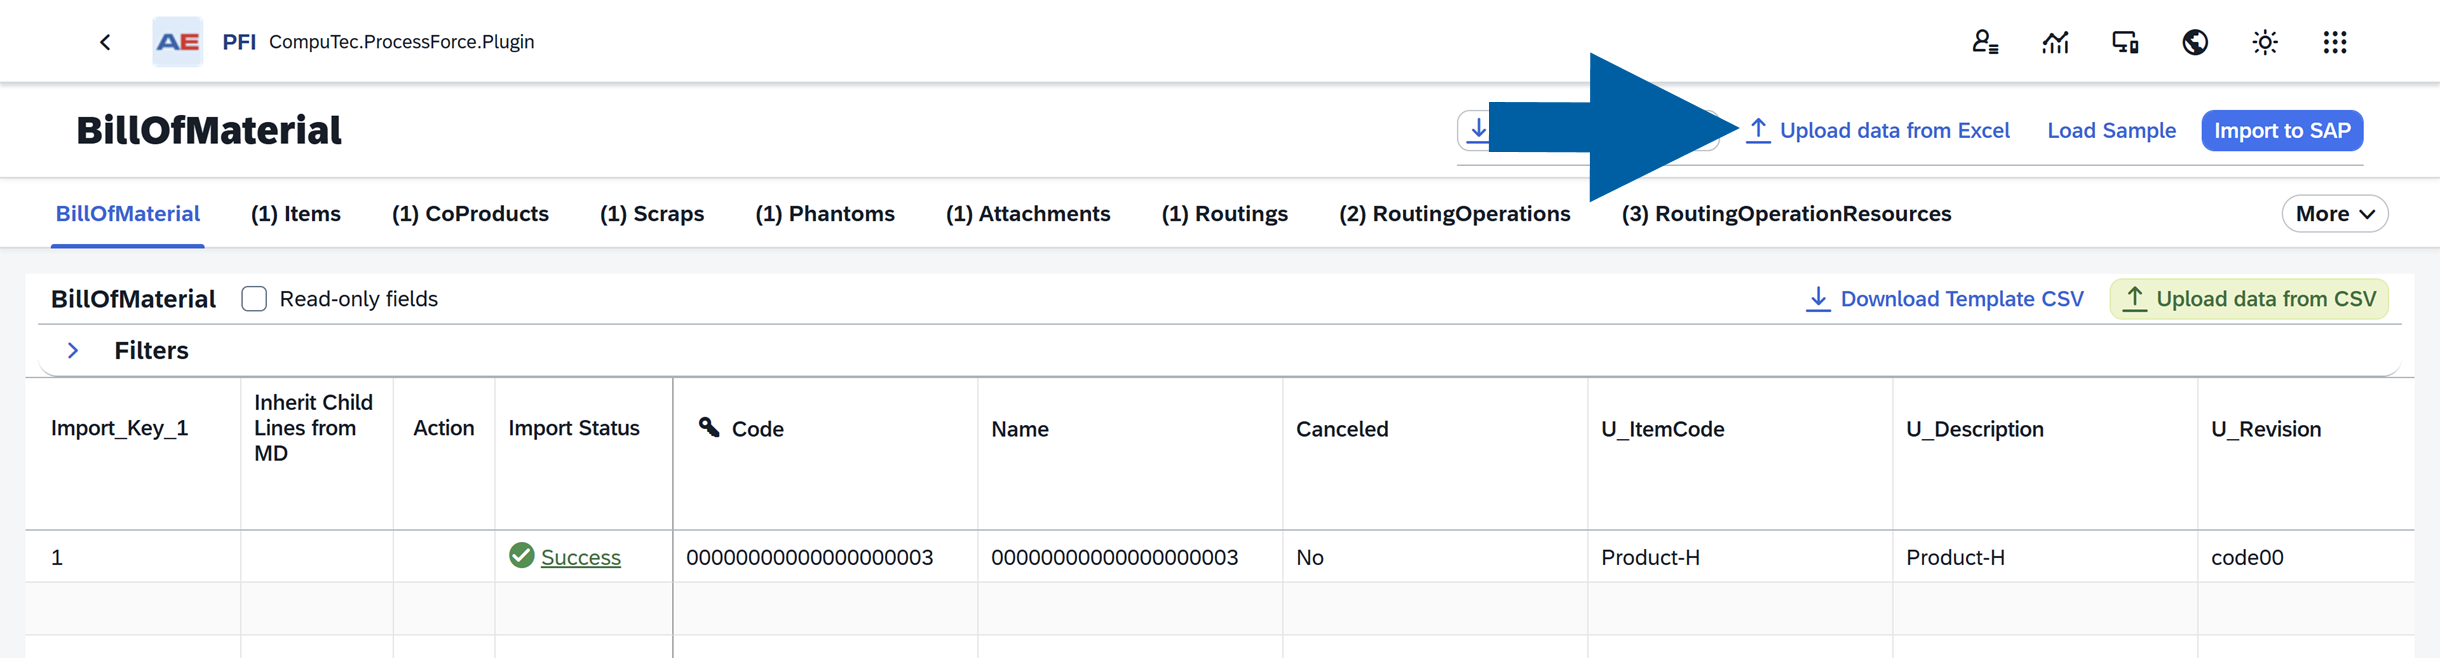
-
Select the updated Excel file, then click Upload file.
 info
infoAfter the upload of the modified file, the Action column in CompuTec PFI will change to
Update.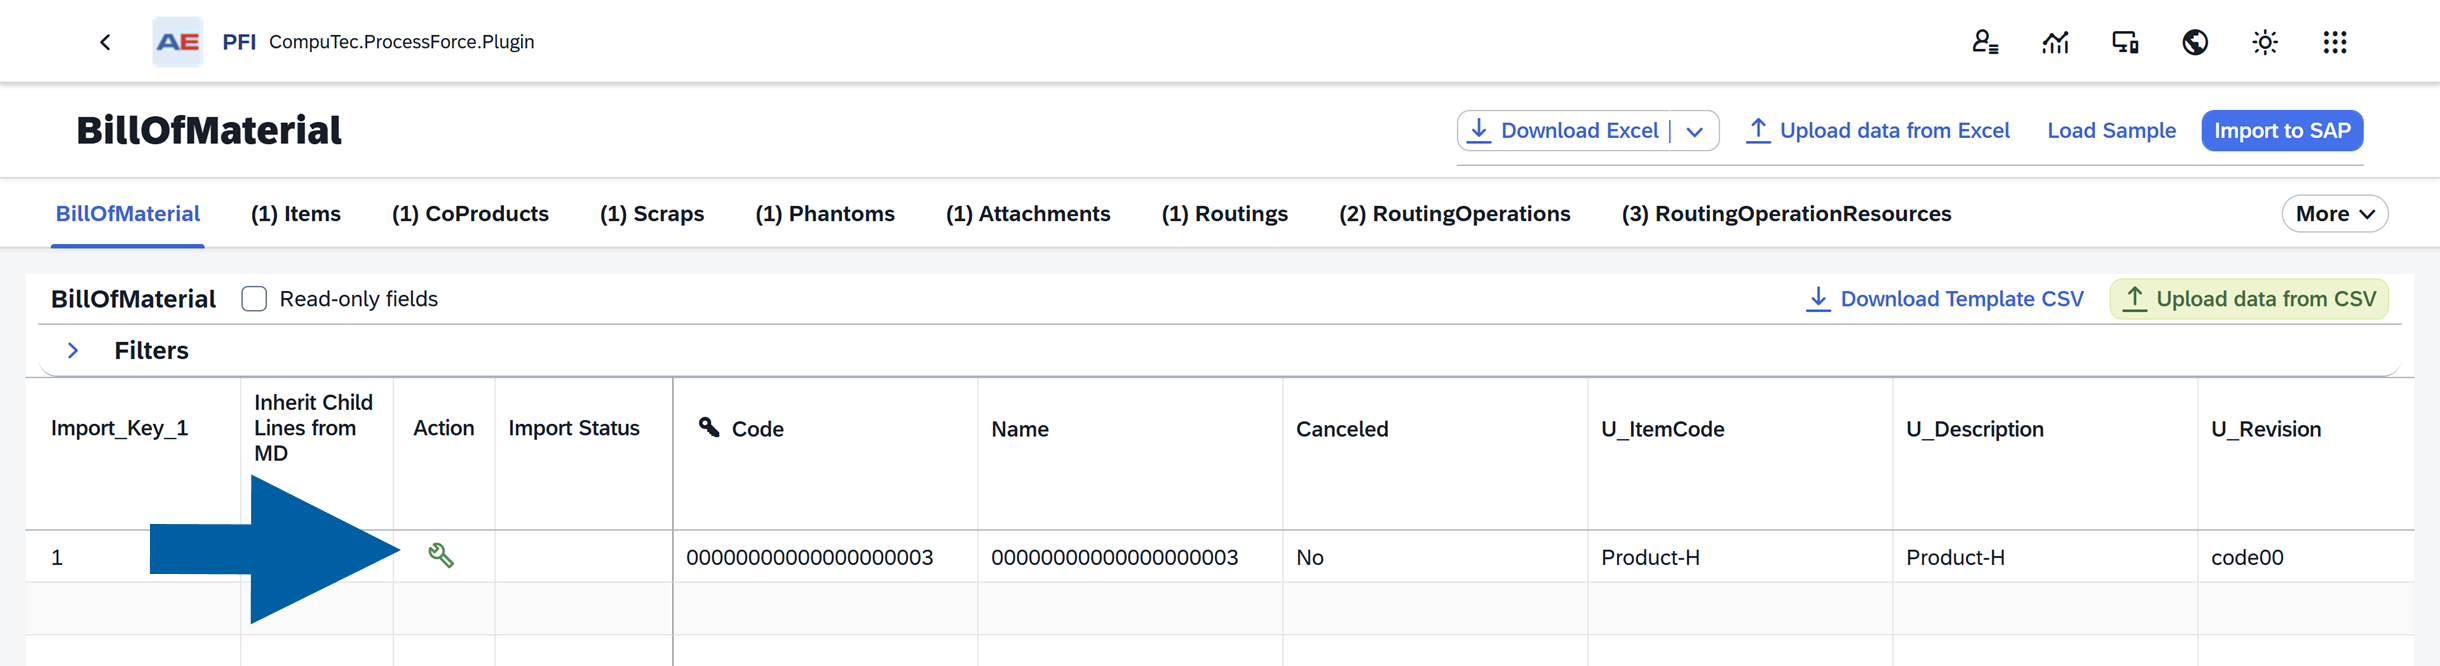
-
Verify that the Remove column contains
Yesfor the correct record.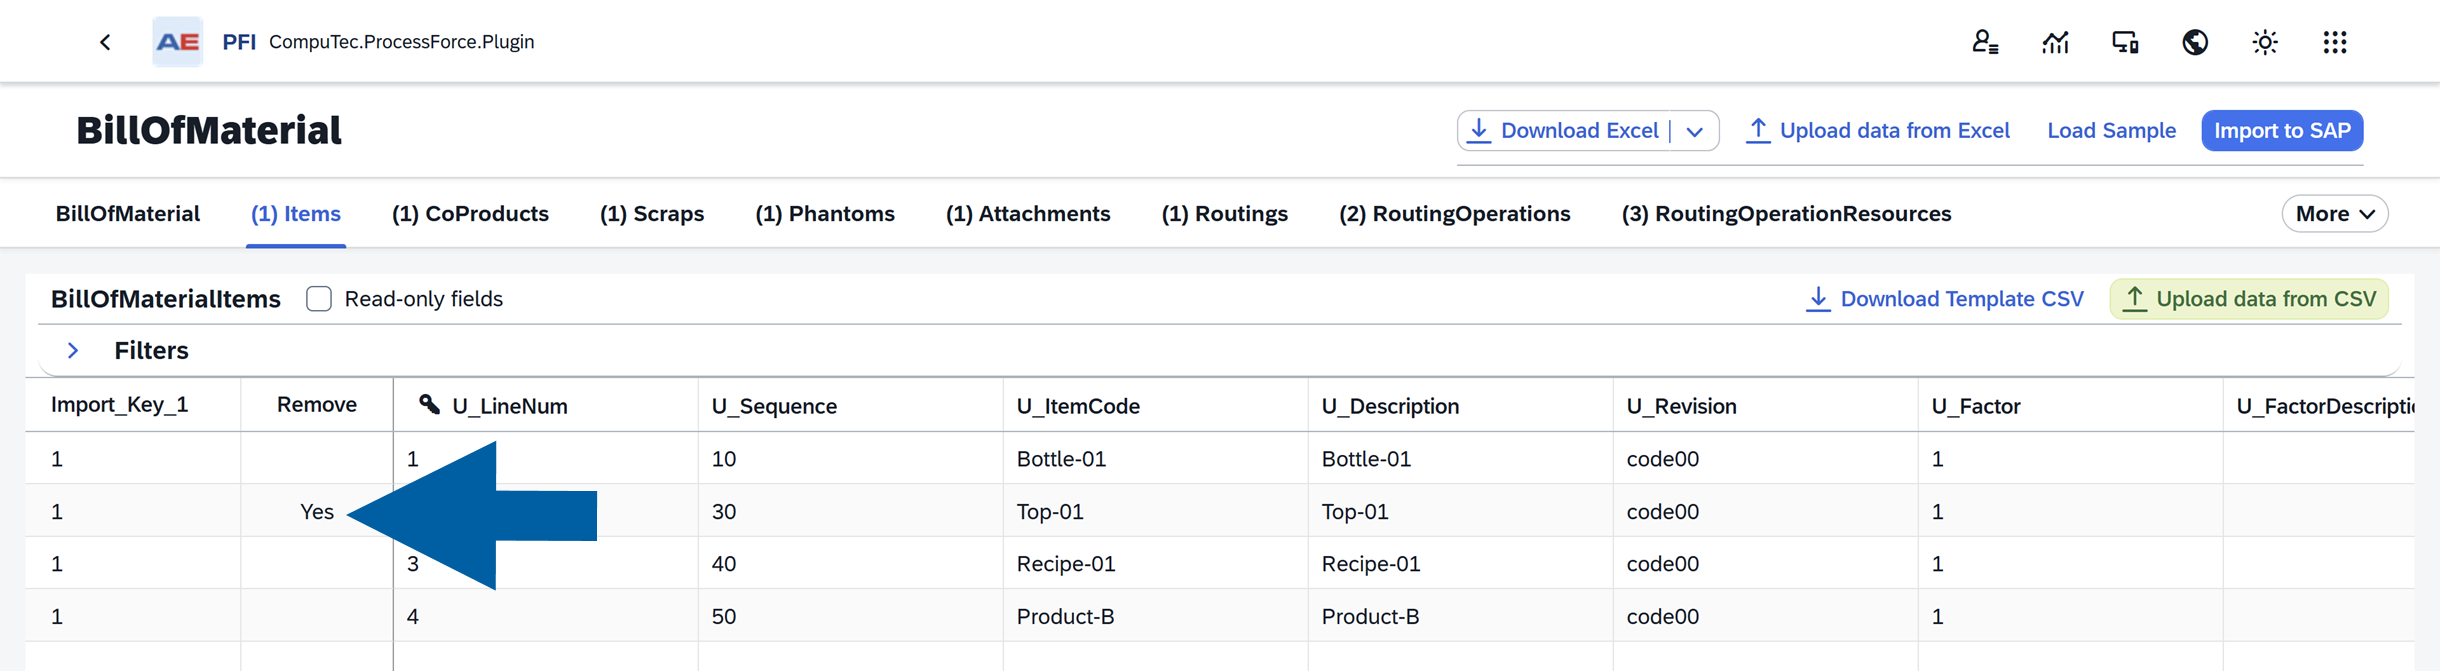
-
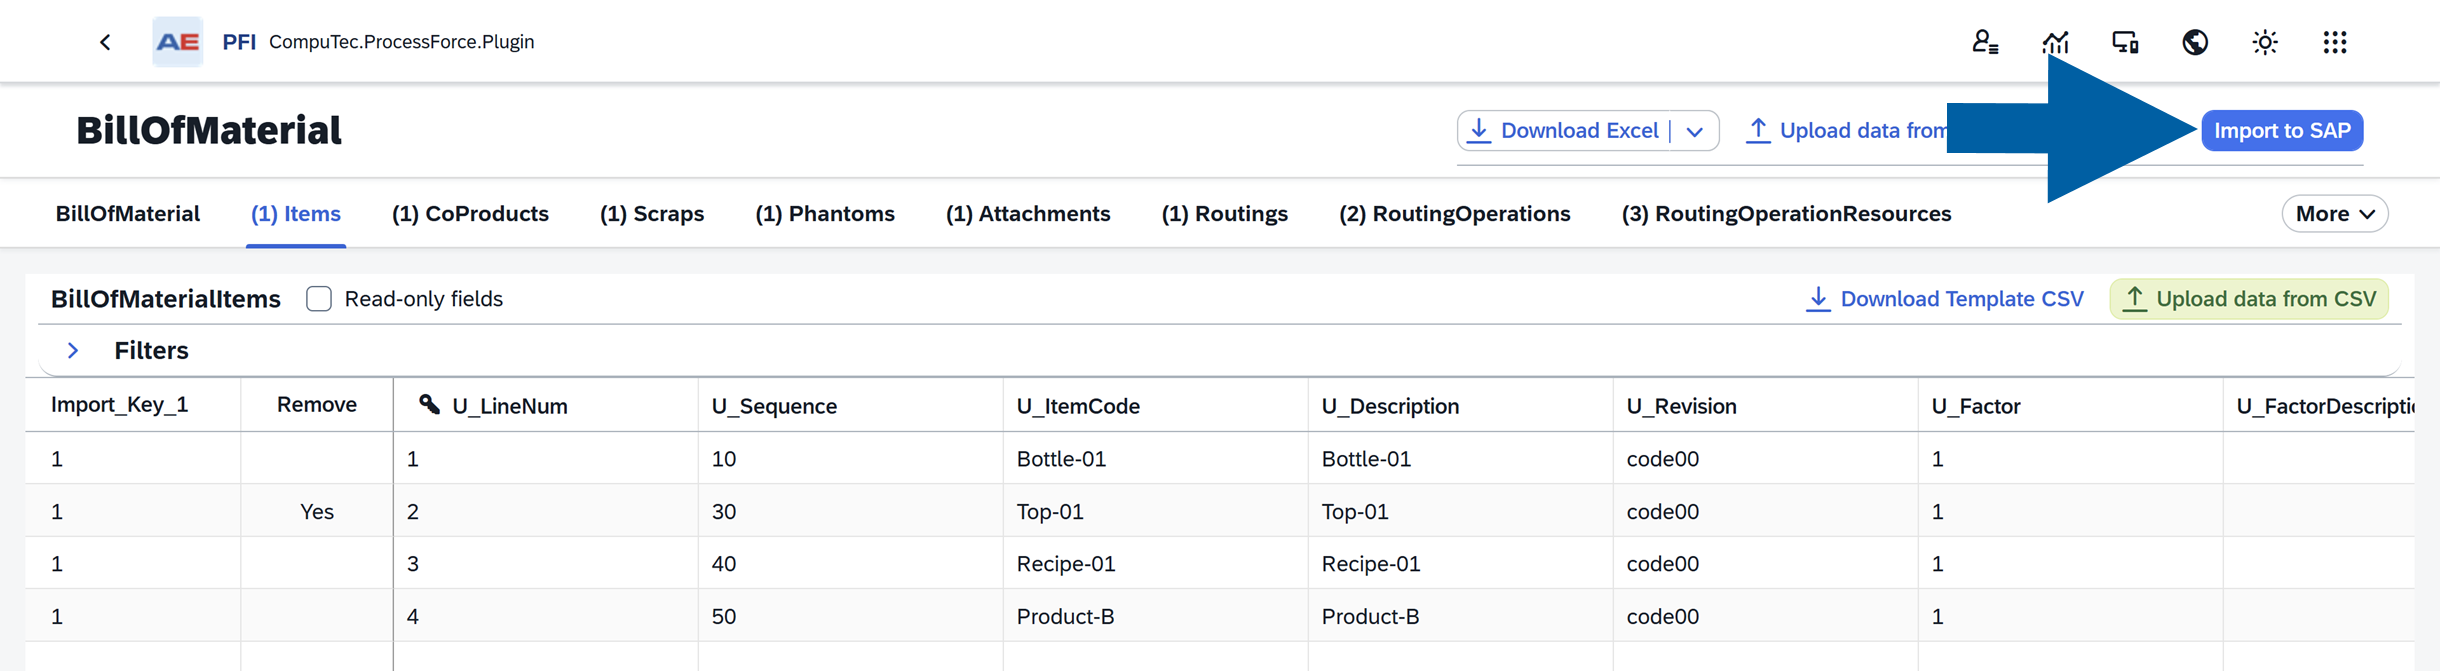
Click Import to SAP.
-
Choose whether you want to download the import report automatically, then click Import to SAP.

-
Wait for the import process to finish. When it is complete, click Close.
-
Verify the result in the Import Status column. A successful operation will display
Success.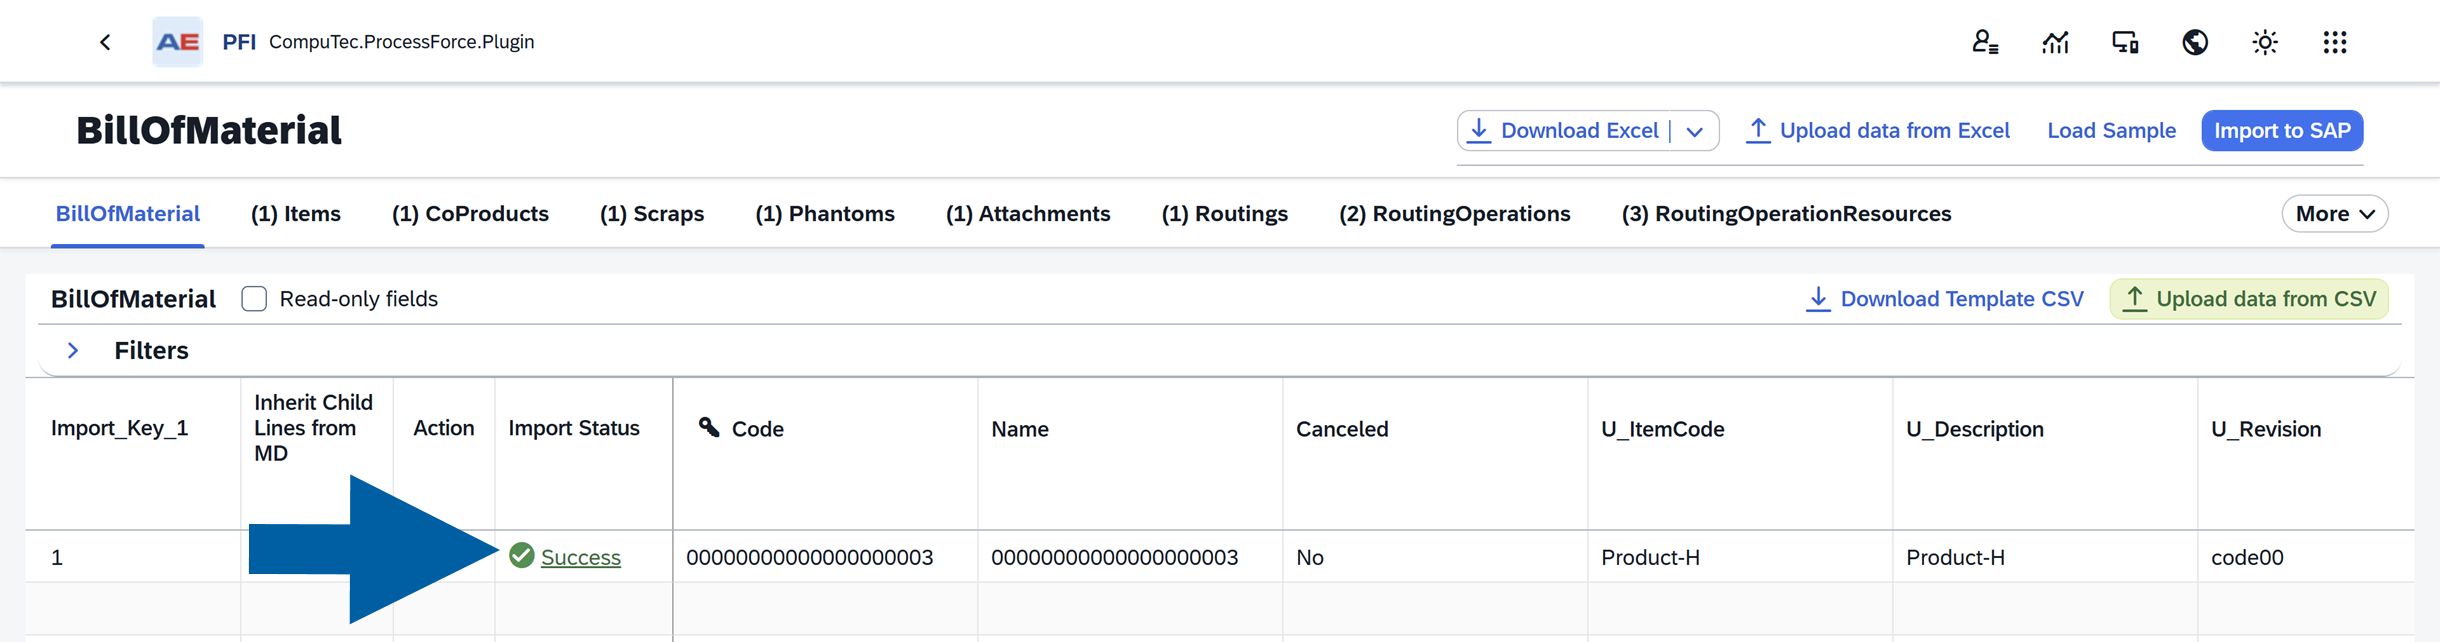 note
noteTo verify that the record was removed, follow these steps:
-
Download the current Excel file again by clicking Download Excel.
-
Click Load Sample and select the downloaded file.
-
In the Load Sample window, enter the code from the Code field of your table, then click Load.

-
Review the results. The deleted record should no longer appear in the list.

-
Parallel import limit configuration
CompuTec PFI plugin includes a feature that lets you control how many records are processed in parallel during import. This helps you balance performance and system stability.
Here's what you need to know:
- Higher values mean faster imports, but require stronger servers.
- Lower values are safer for smaller environments.
- Recommended values:
- Standard systems: 20–30
- High-performance servers: up to 100
- Maximum allowed: 100
Configure parallel import limit
To configure parallel import limit, follow these steps:
-
Log in to the CompuTec AppEngine Administration Panel.

-
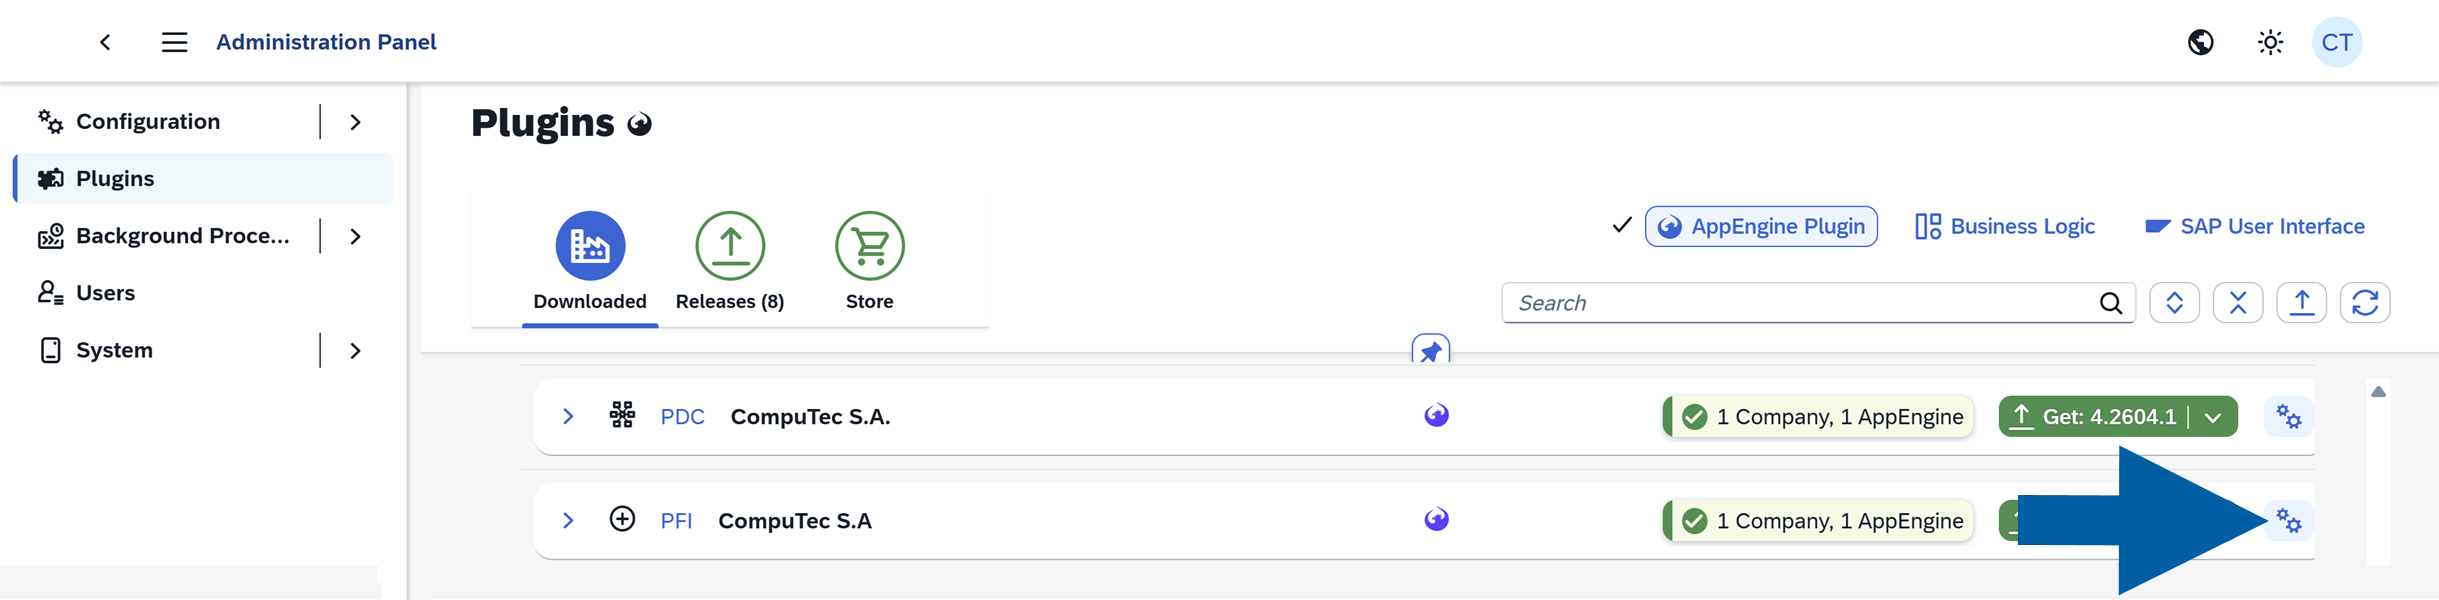
Go to Plugins > Downloaded.

-
Locate the CompuTec PFI plugin, and click the gear icon next to it.
-
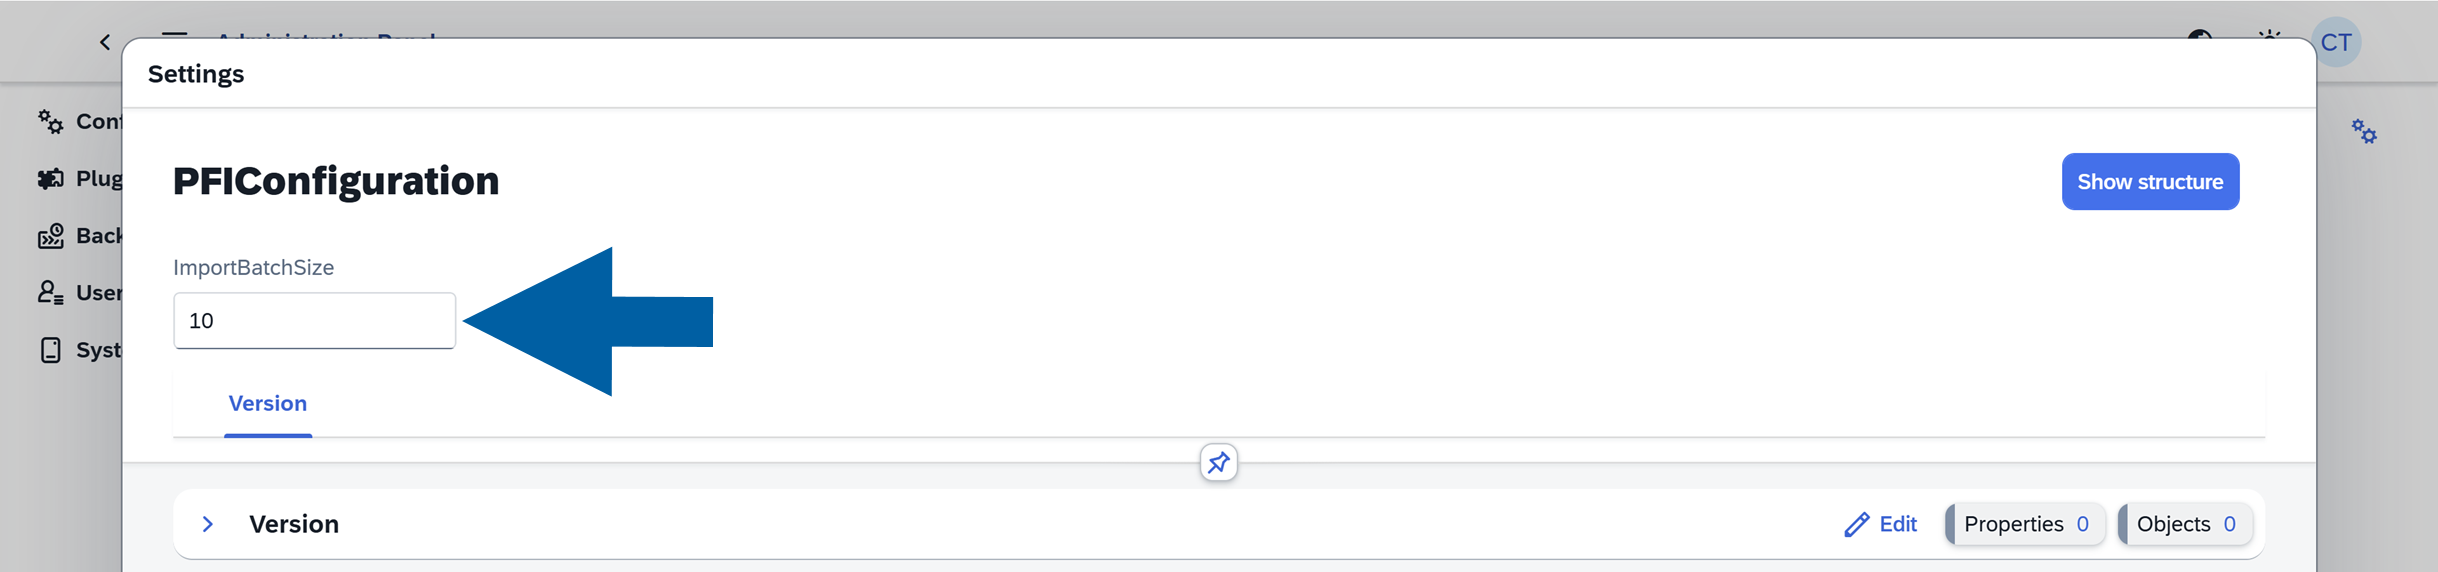
Click Additional Settings.

-
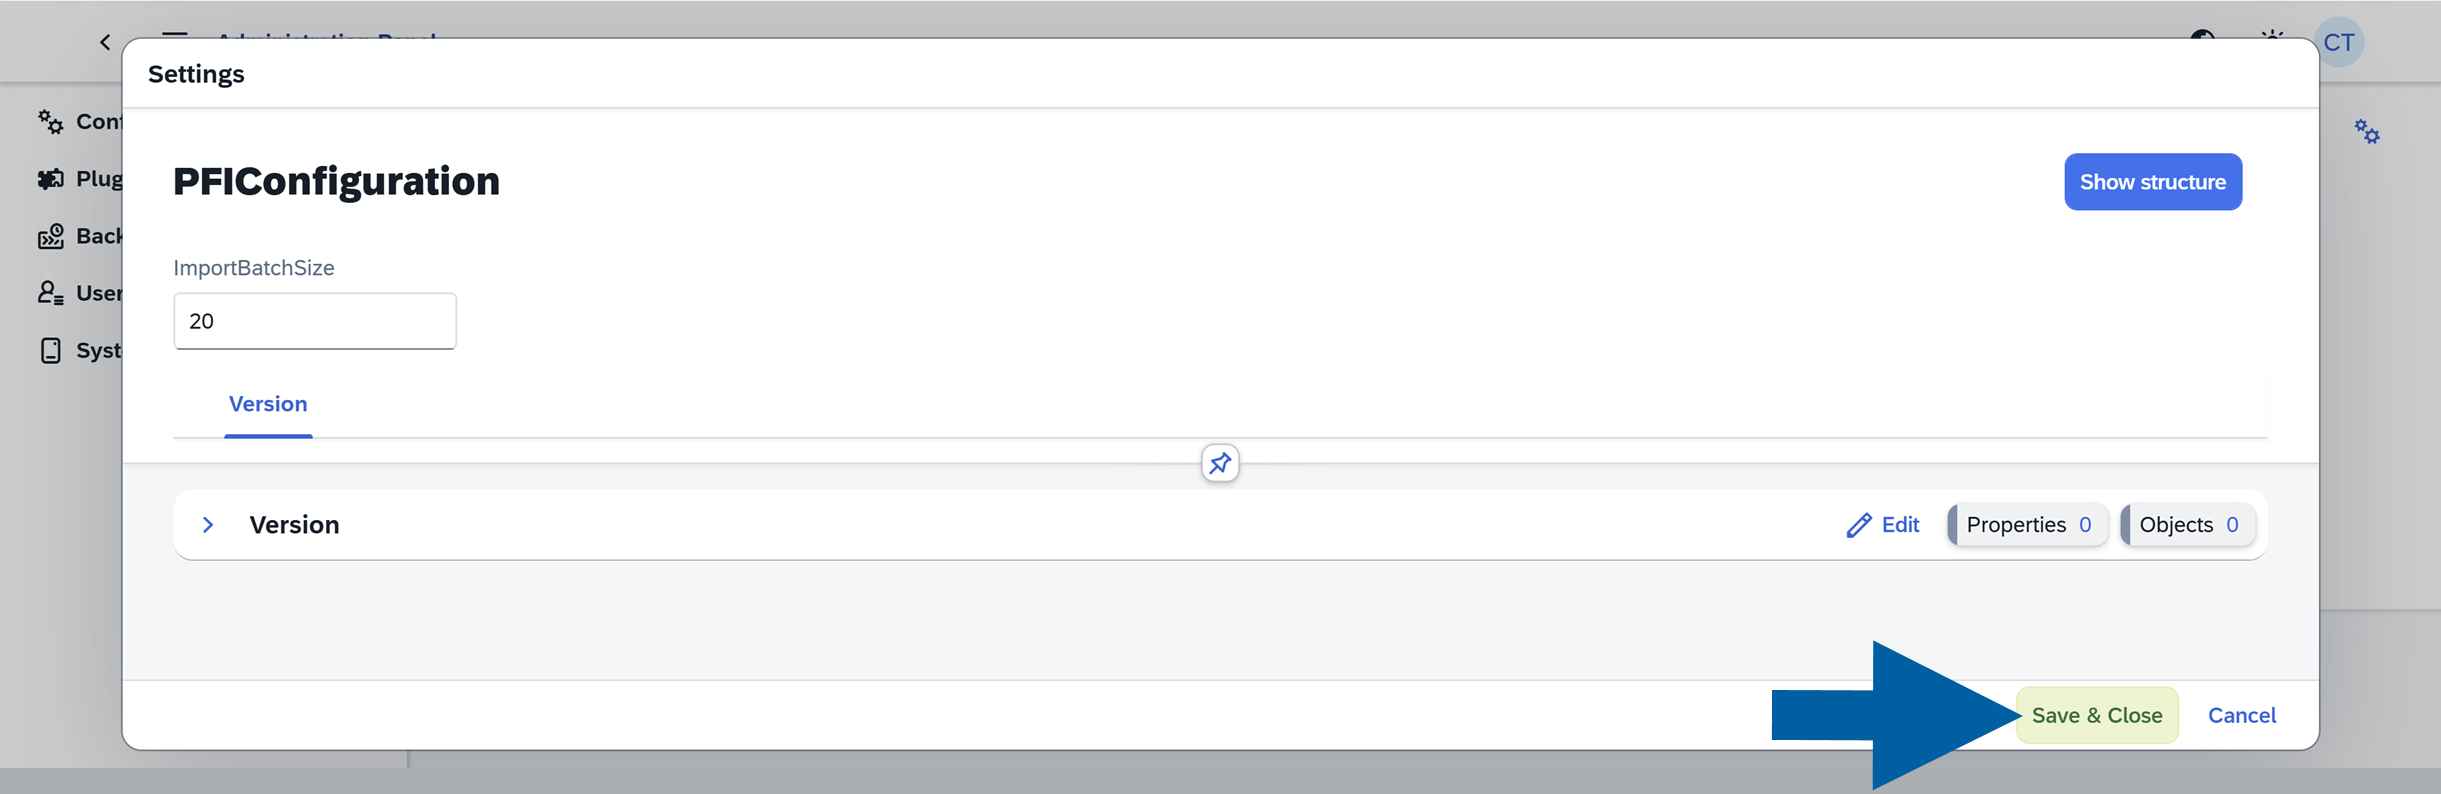
In the Settings window, find ImportBatchSize, and enter your desired number of parallel records.
-
Click Save & Close.
- Start with 20–30 records and increase gradually
- Monitor system performance during large imports
- Use Load Sample before mass updates to reduce errors
If you have any questions, contact us using CompuTec Support Portal.