Install CompuTec KSeF Plugin
The CompuTec KSeF plugin runs in CompuTec AppEngine and must be installed and activated for each SAP Business One company that will use the KSeF integration.
You install the plugin from the Plugins page in the CompuTec AppEngine Administration Panel.
The setup consists of three steps:
- Download the CompuTec KSeF Plugin – Adds the required plugin version to the CompuTec AppEngine repository.
- Install the CompuTec KSeF Plugin for a company – Assigns the plugin to the selected SAP Business One company and applies any required database changes.
- Activate the CompuTec KSeF Plugin on a CompuTec AppEngine instance – Assigns the plugin to an instance and makes the KSeF functionality available at runtime.
Only one version of the CompuTec KSeF Plugin can be active on a single CompuTec AppEngine instance at a time.
Before you start
Before you start, make sure that:
- CompuTec AppEngine is installed and activated. Read more
- You have access to the CompuTec Administration Panel.
- At least one CompuTec AppEngine instance is configured and active. Read more.
- Disable any custom code in the
SP_TransactionNotificationandSP_PostTransactionNoticestored procedures before installing the plugins. After the installation is completed successfully, you can re-enable your custom code.
Install and activate CompuTec KSeF
To install and activate CompuTec KSeF follow these steps:
-
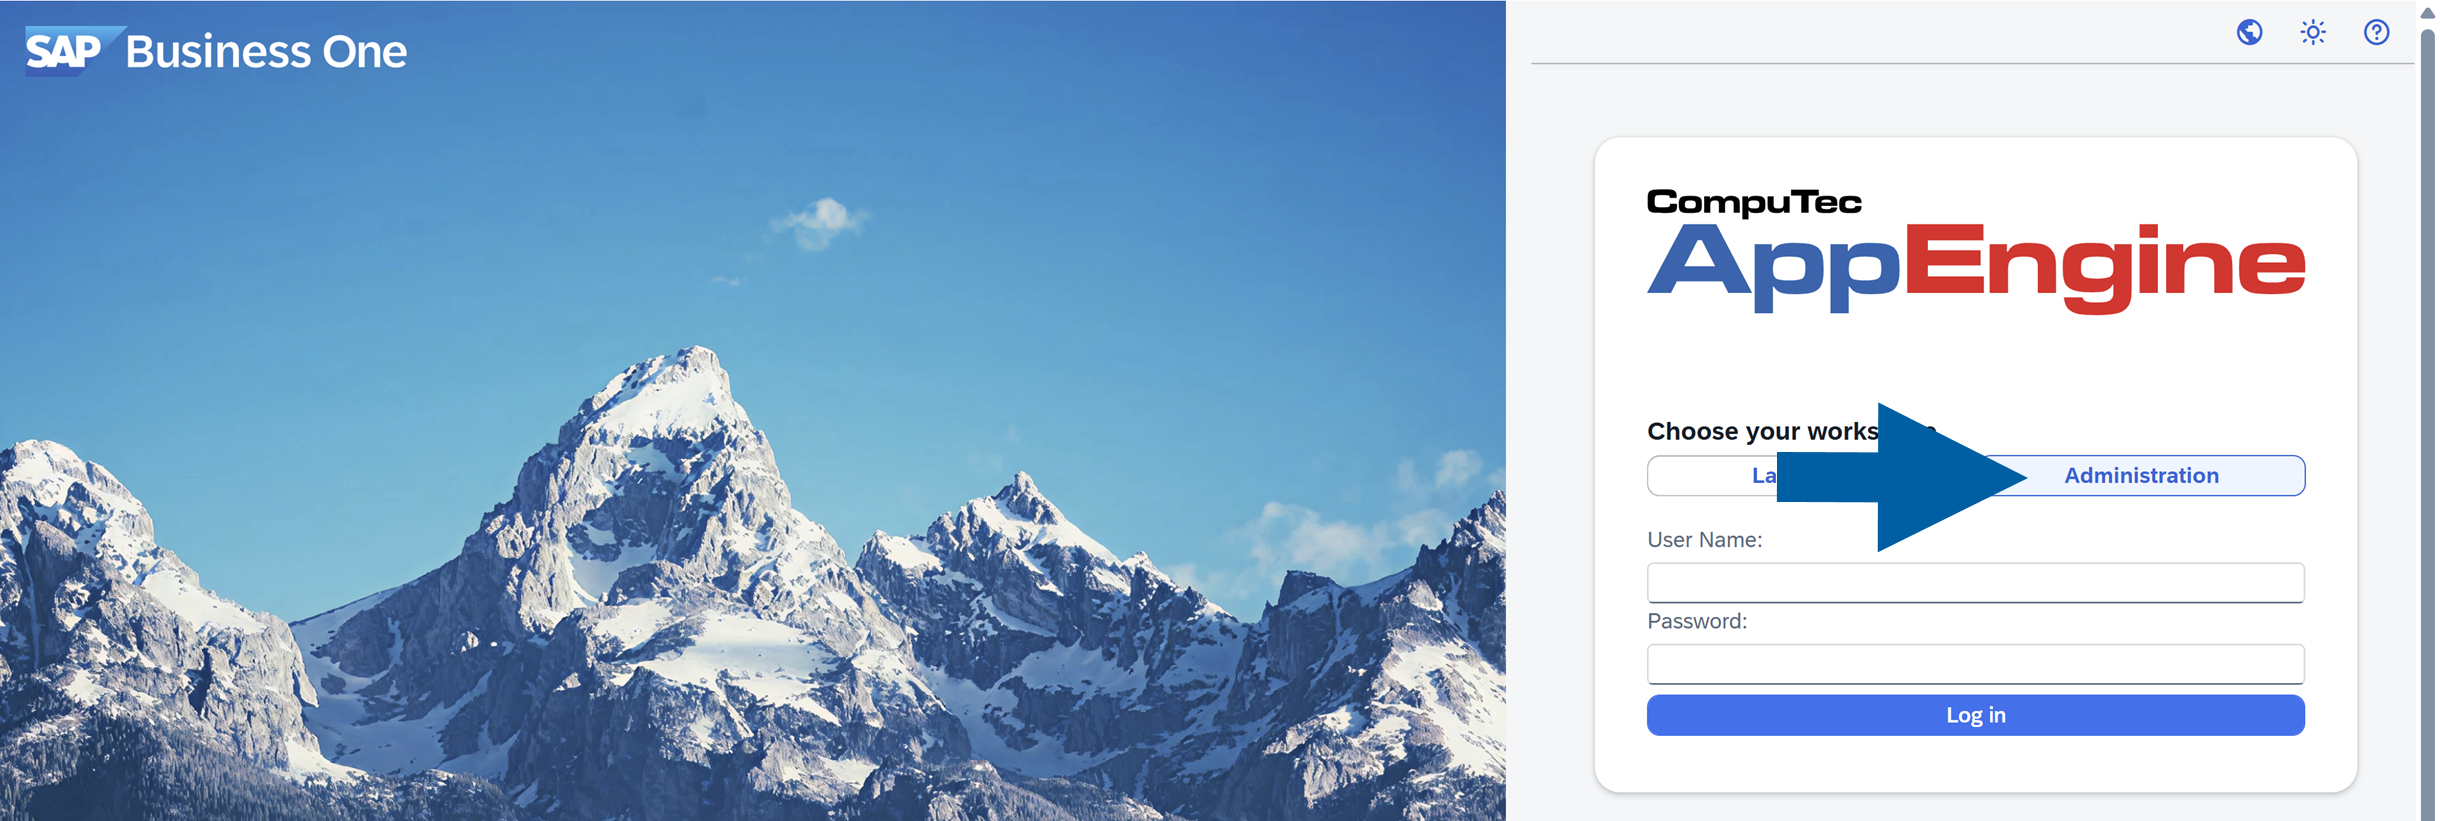
Log in to CompuTec AppEngine Administration Panel.
-
Go to Plugins.

-
Navigate to Store.

-
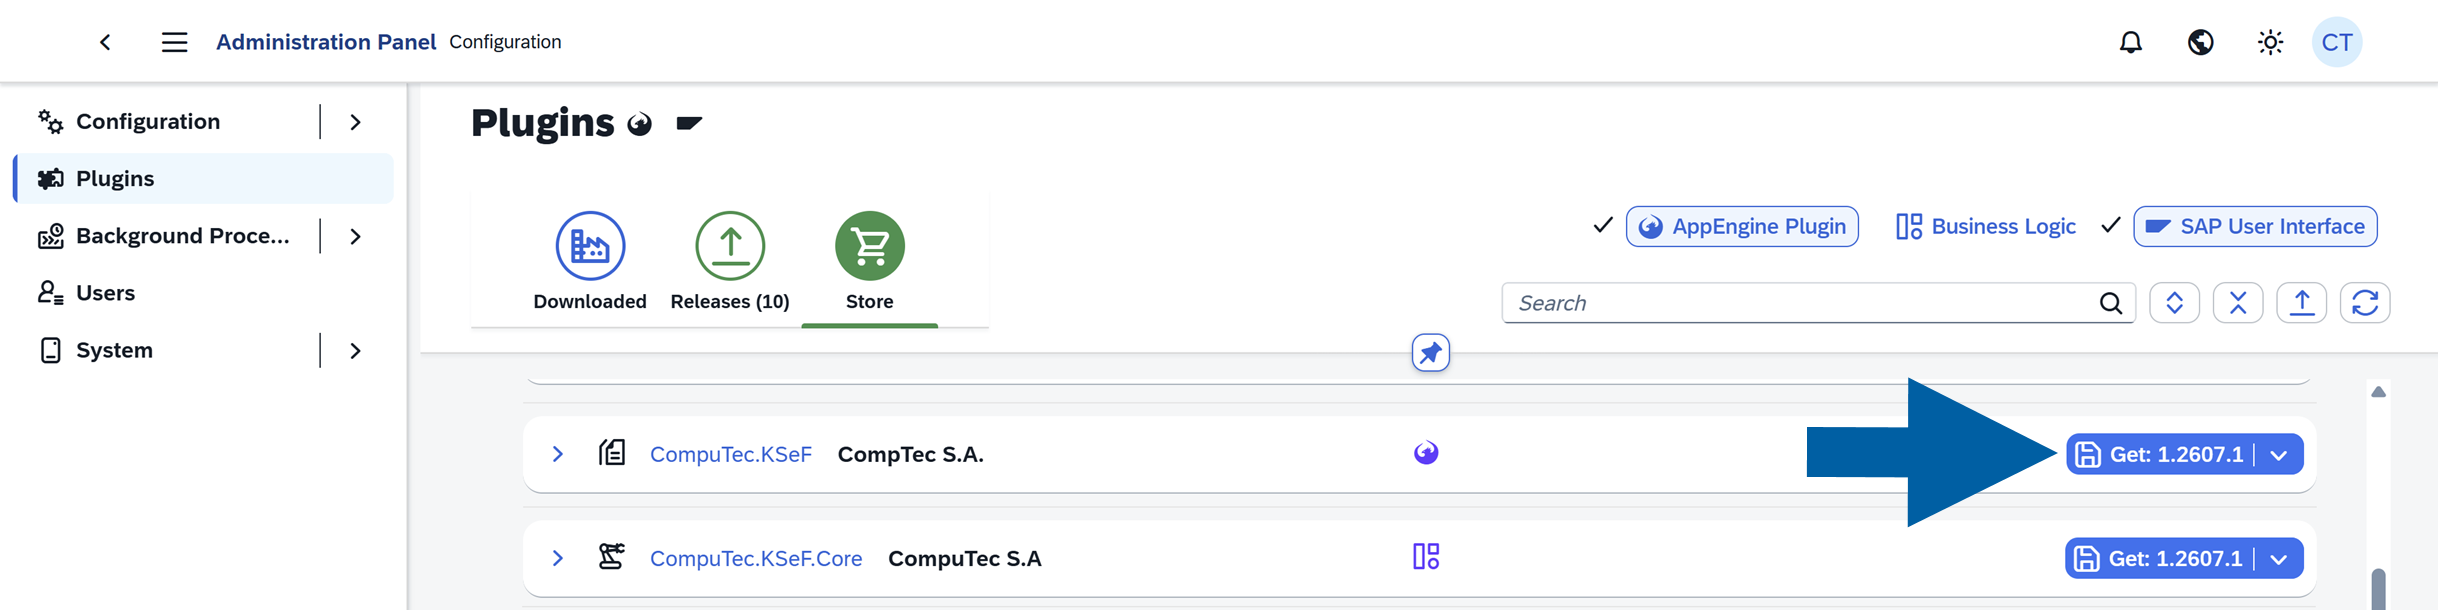
Find the CompuTec.KSeF plugin, and click Get... next to the plugin name on the list to install the latest plugin version.
 info
info(optional) To install a different version of the plugin:
- Click the plugin name or the arrow next to the version number and click Find different version.
- You will see the plugin details with all the available versions. Read more
- Find the version you want to install and click Get.
-
Click Get & Install.

-
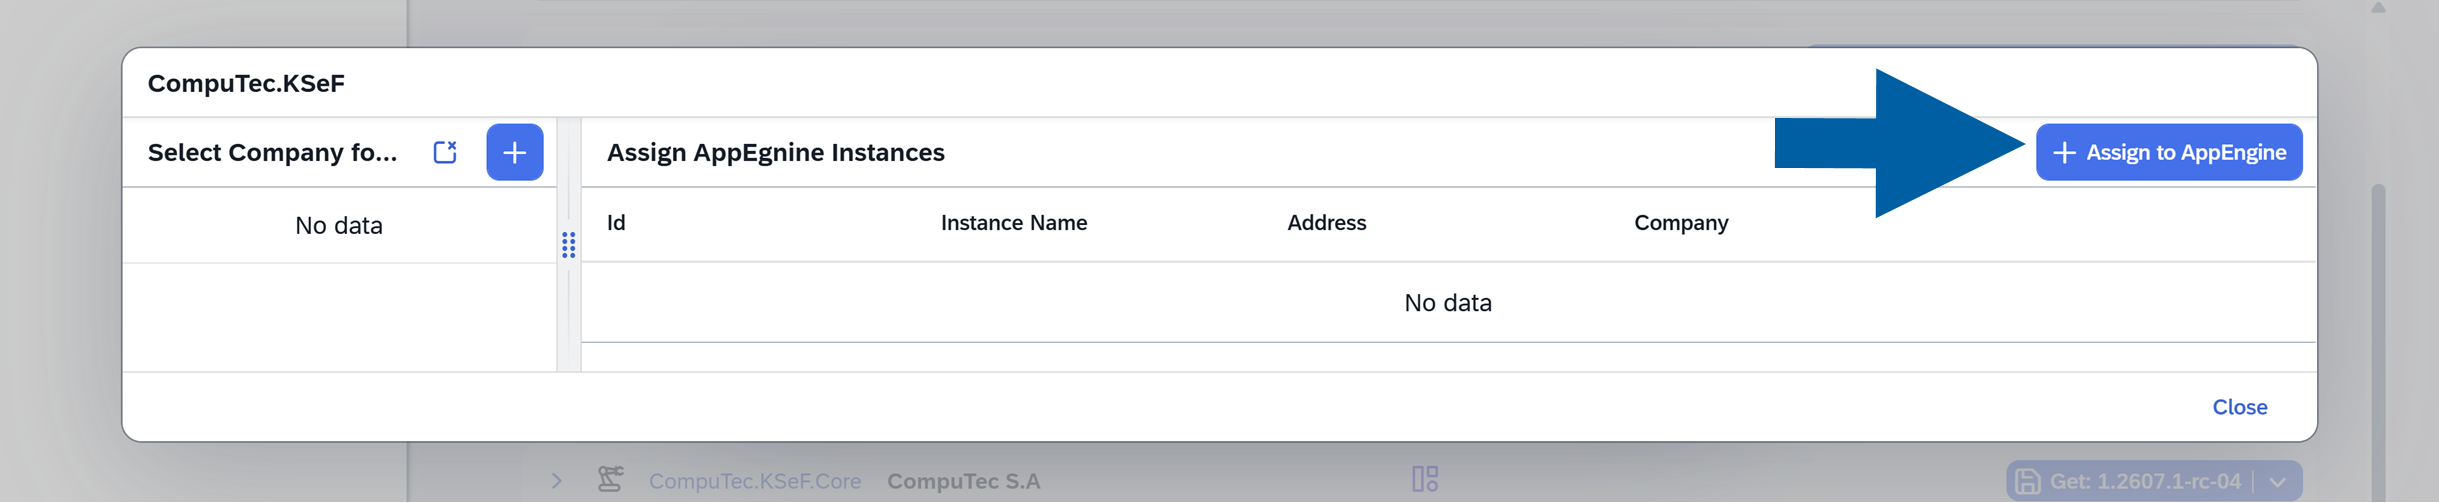
Click + Assign to AppEngine.
-
Select Company for installation and click Accept.

-
Select CompuTec AppEngine Instance for installation and click Accept.

-
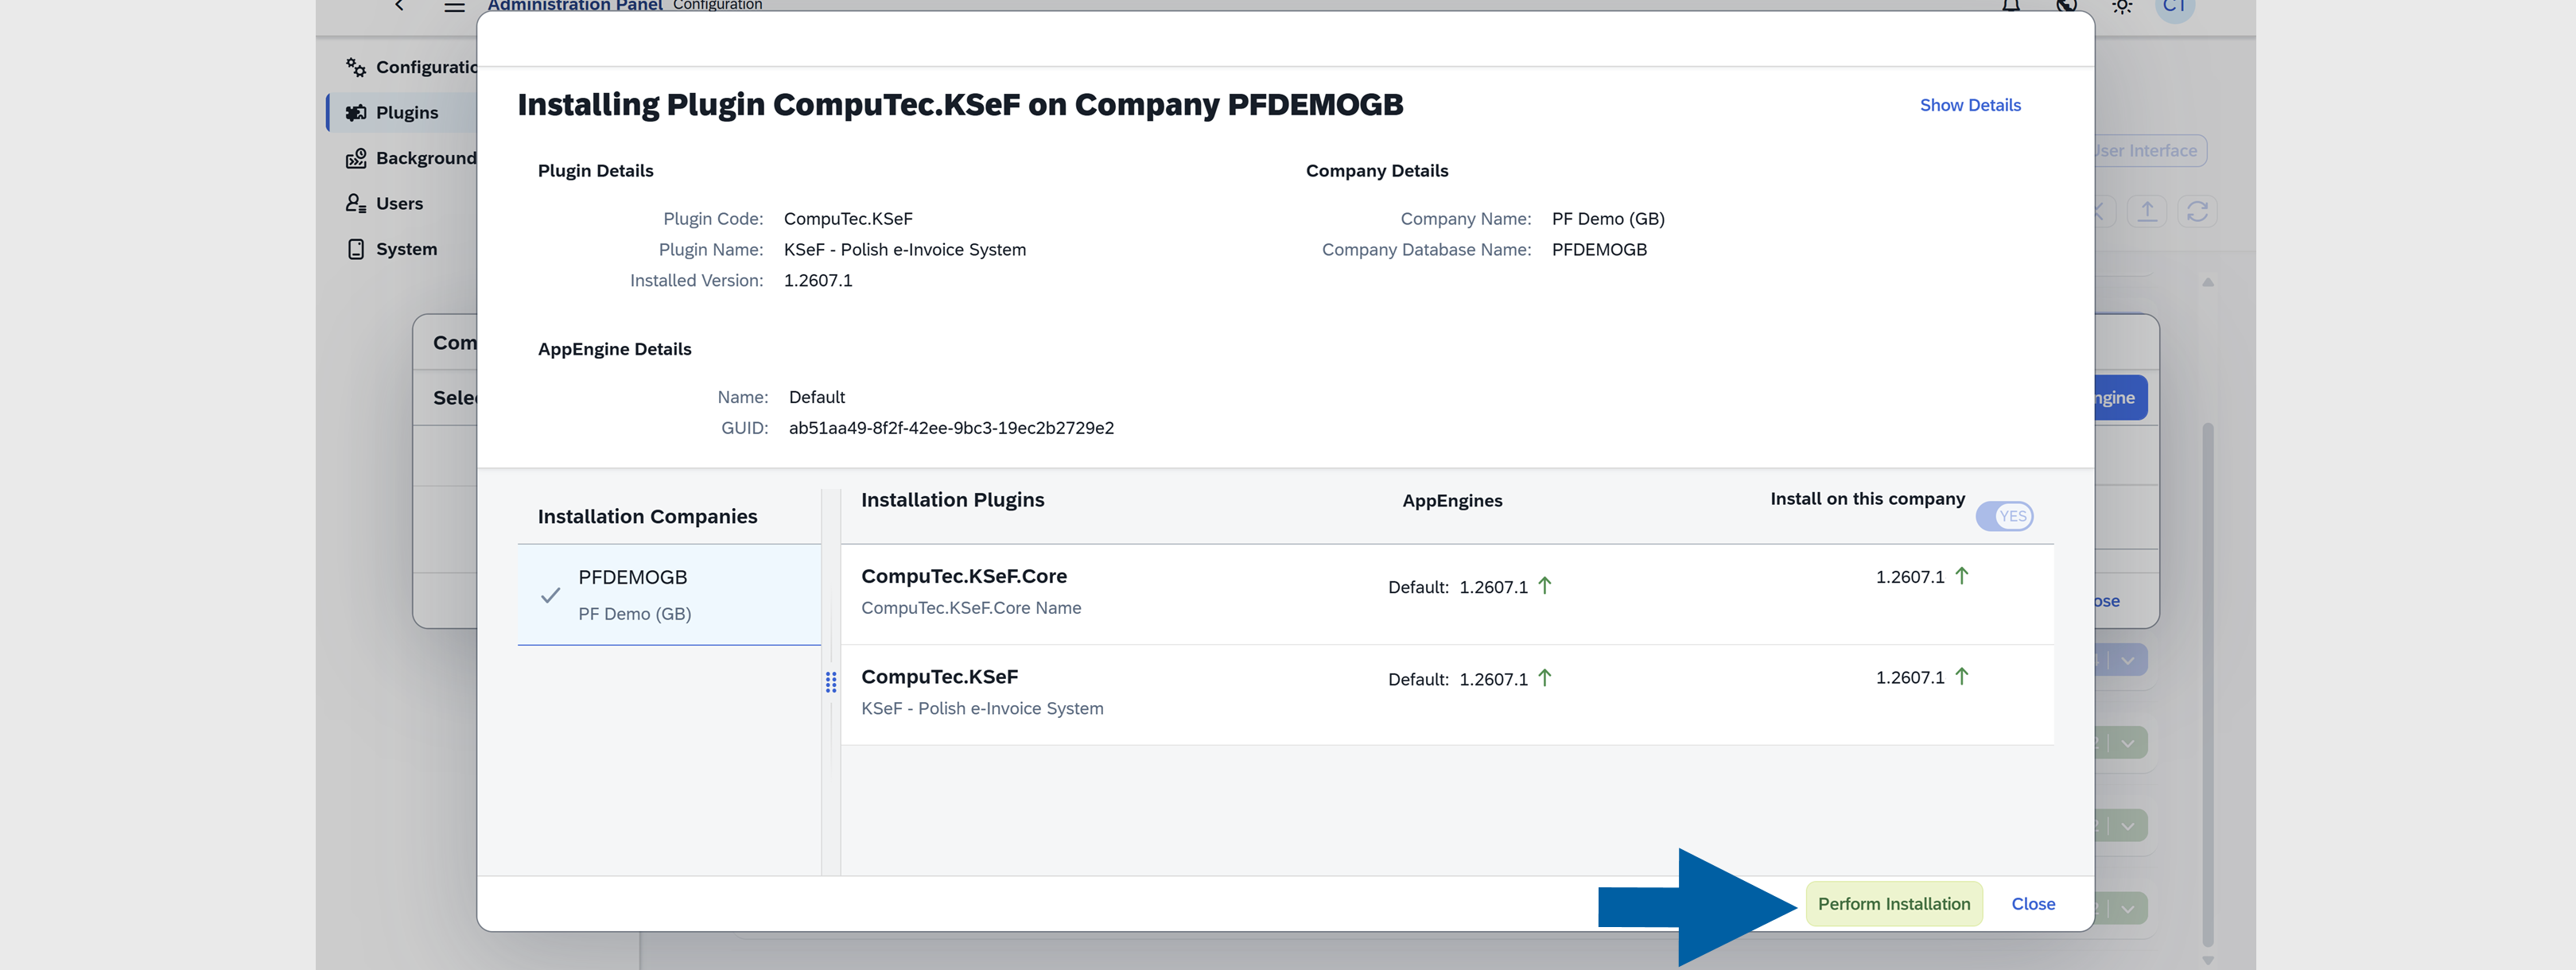
Review the installation details and click Perform Installation.
-
Click OK to confirm the plugin installation.

-
You can now track the installation progress. Once the installation is complete, click Close.

-
Click Yes to restart the CompuTec AppEngine.

-
Once the restart is complete, click OK.
-
Done! The plugin is now installed and ready to use.
You do not need to manage dependencies for the CompuTec KSeF plugin manually. During installation, CompuTec AppEngine automatically:
- Installs any required plugins and components.
- Selects compatible versions.
- Adds any missing dependencies.
No additional dependency configuration is required.
After installation
After you successfully install and activate the CompuTec KSeF plugin:
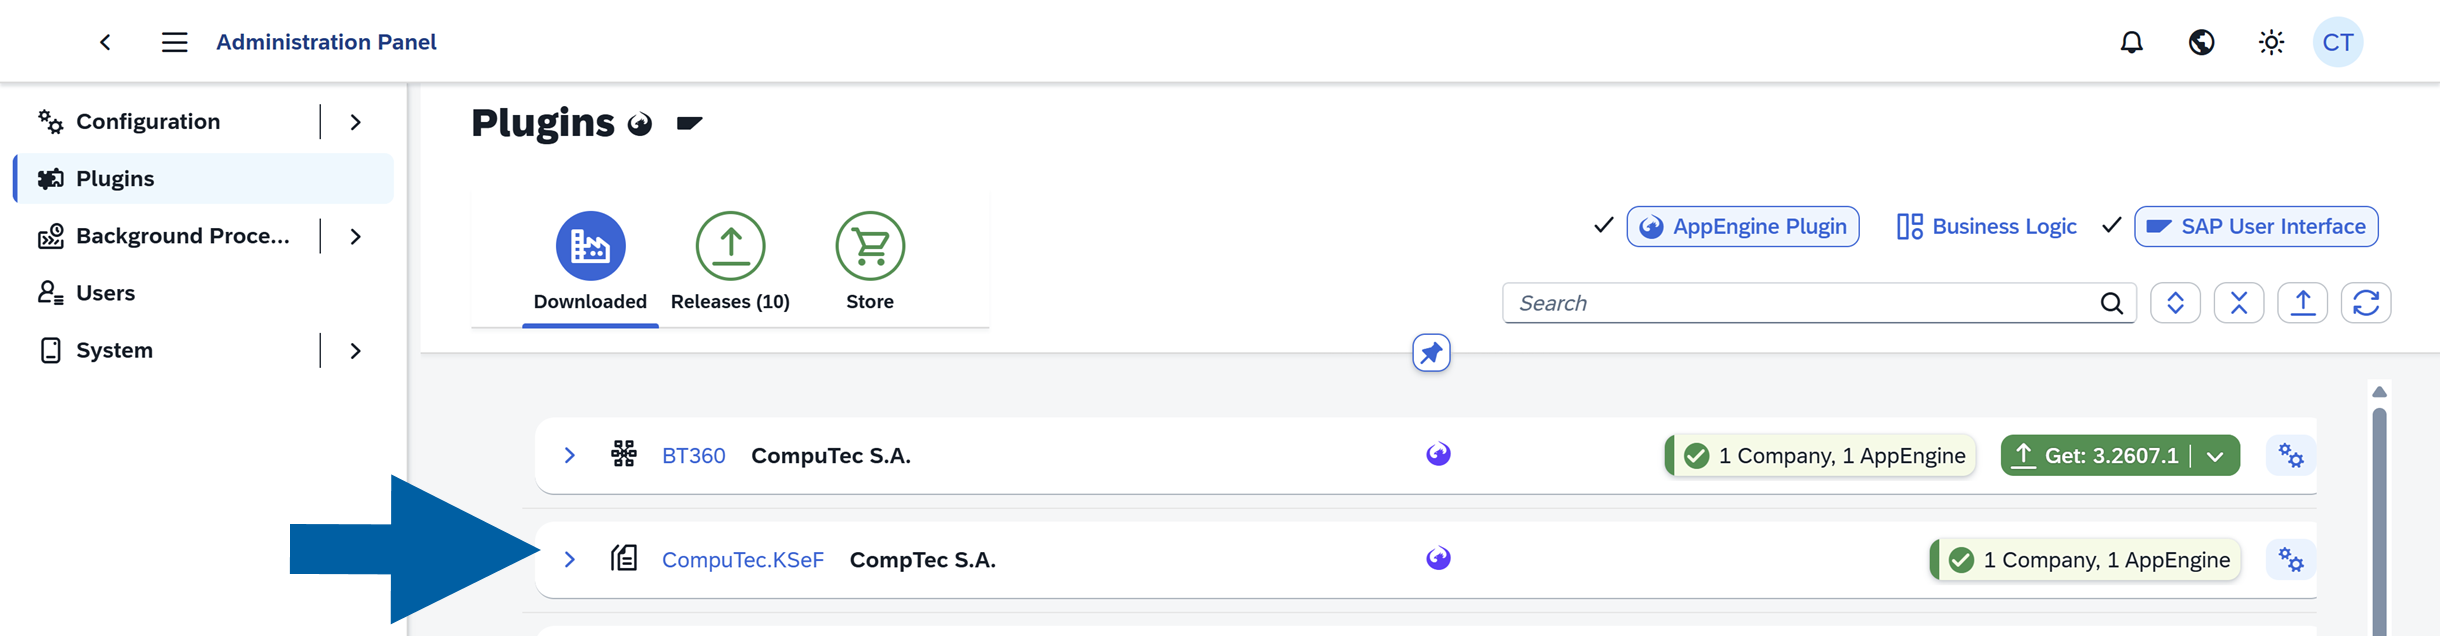
- The plugin appears on the Downloaded tab.
- The plugin is assigned to the selected SAP Business One company.
- The plugin is active on the selected CompuTec AppEngine instance.
- CompuTec KSeF is available from the CompuTec AppEngine Launchpad.
Next steps
After installing and activating CompuTec KSeF, configure it for the selected SAP Business One company.
See Configure CompuTec KSeF for the complete configuration process, including certificates, CompuTec KSeF Core, background processing, incoming document categories, if required, and SAP Business One authorizations.
For information about new CompuTec KSeF features, improvements, fixes, and other changes, see the CompuTec KSeF Release Notes.