Based on Existing Document
Goods Receipt PO (GRPO) can be created directly based on an existing base document such as a Purchase Order or an A/P Reserve Invoice. This approach helps reduce data entry errors, ensures consistency, and speeds up the receiving process. Below is a step-by-step guide on how to create a GRPO based on an existing document.
Step-by-Step Process
-
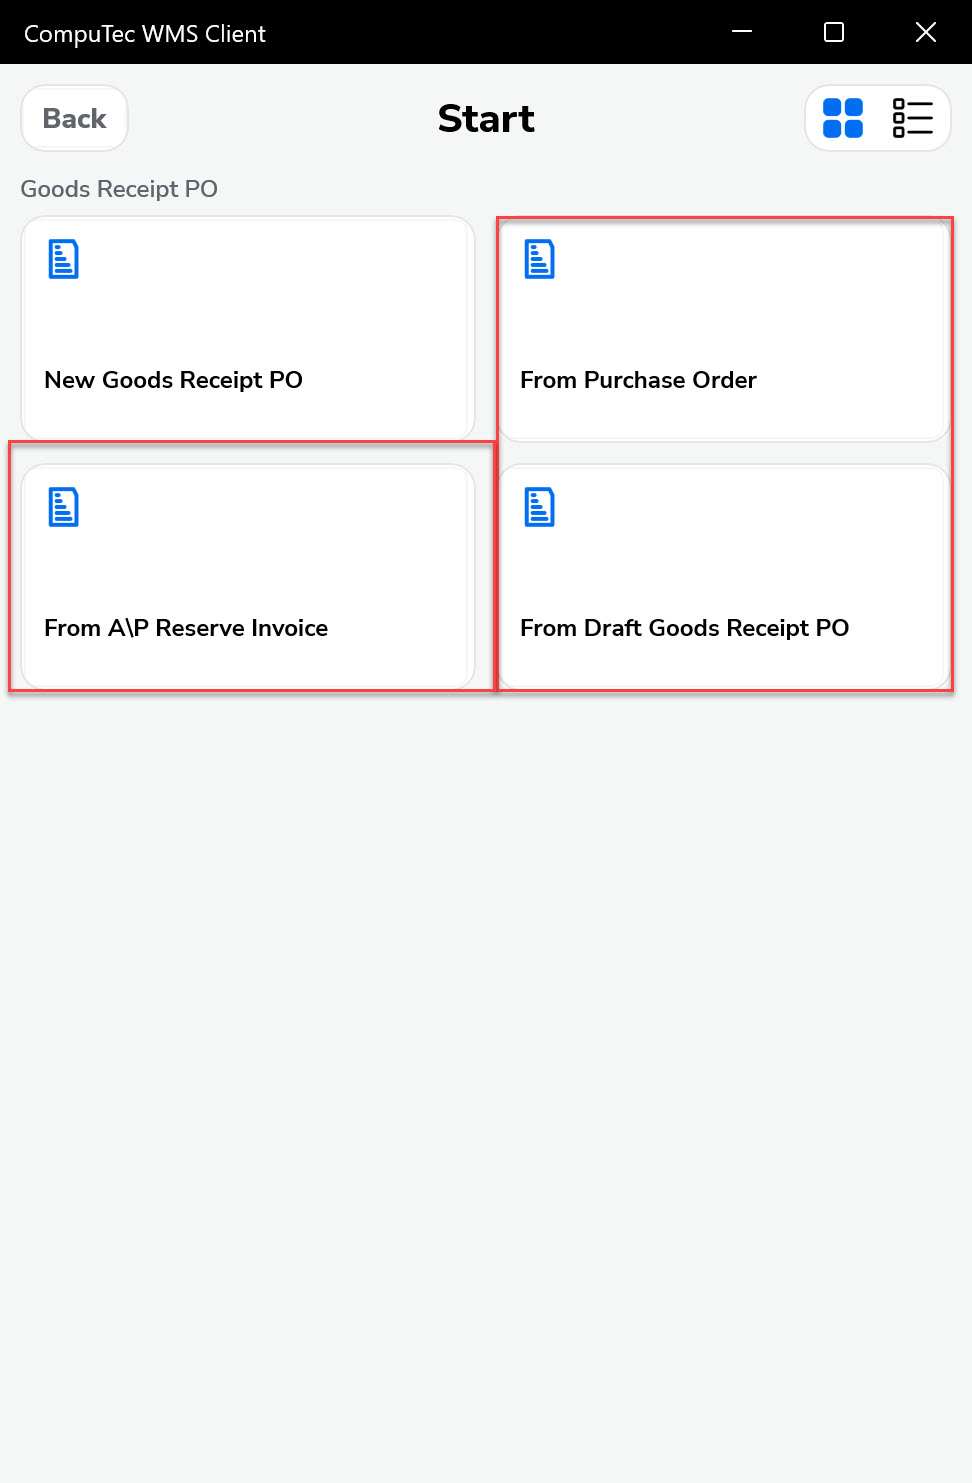
Navigate to the main menu and choose the relevant base document type.
Note: When basing your GRPO on an A/P Reserve Invoice, ensure the quantities match the base document exactly.
Note: UDFs (User Defined Fields) at the header level now display default values for Warehouse and Bin Location for easier processing.
-
Choose a document number by clicking its line. You can also scan a barcode or filter using the filter field.

-
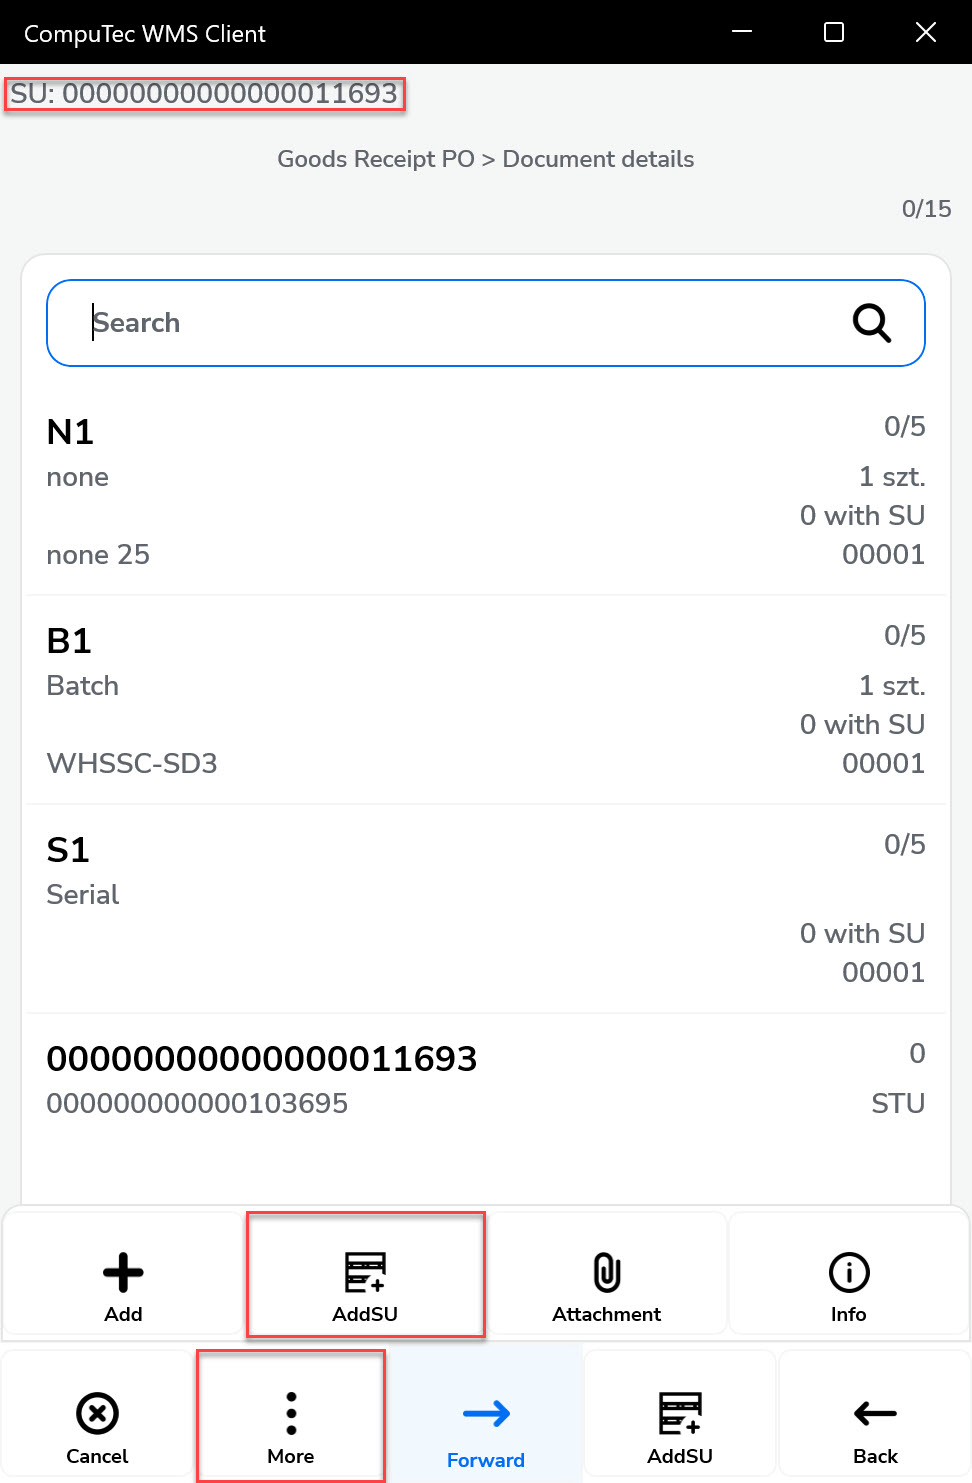
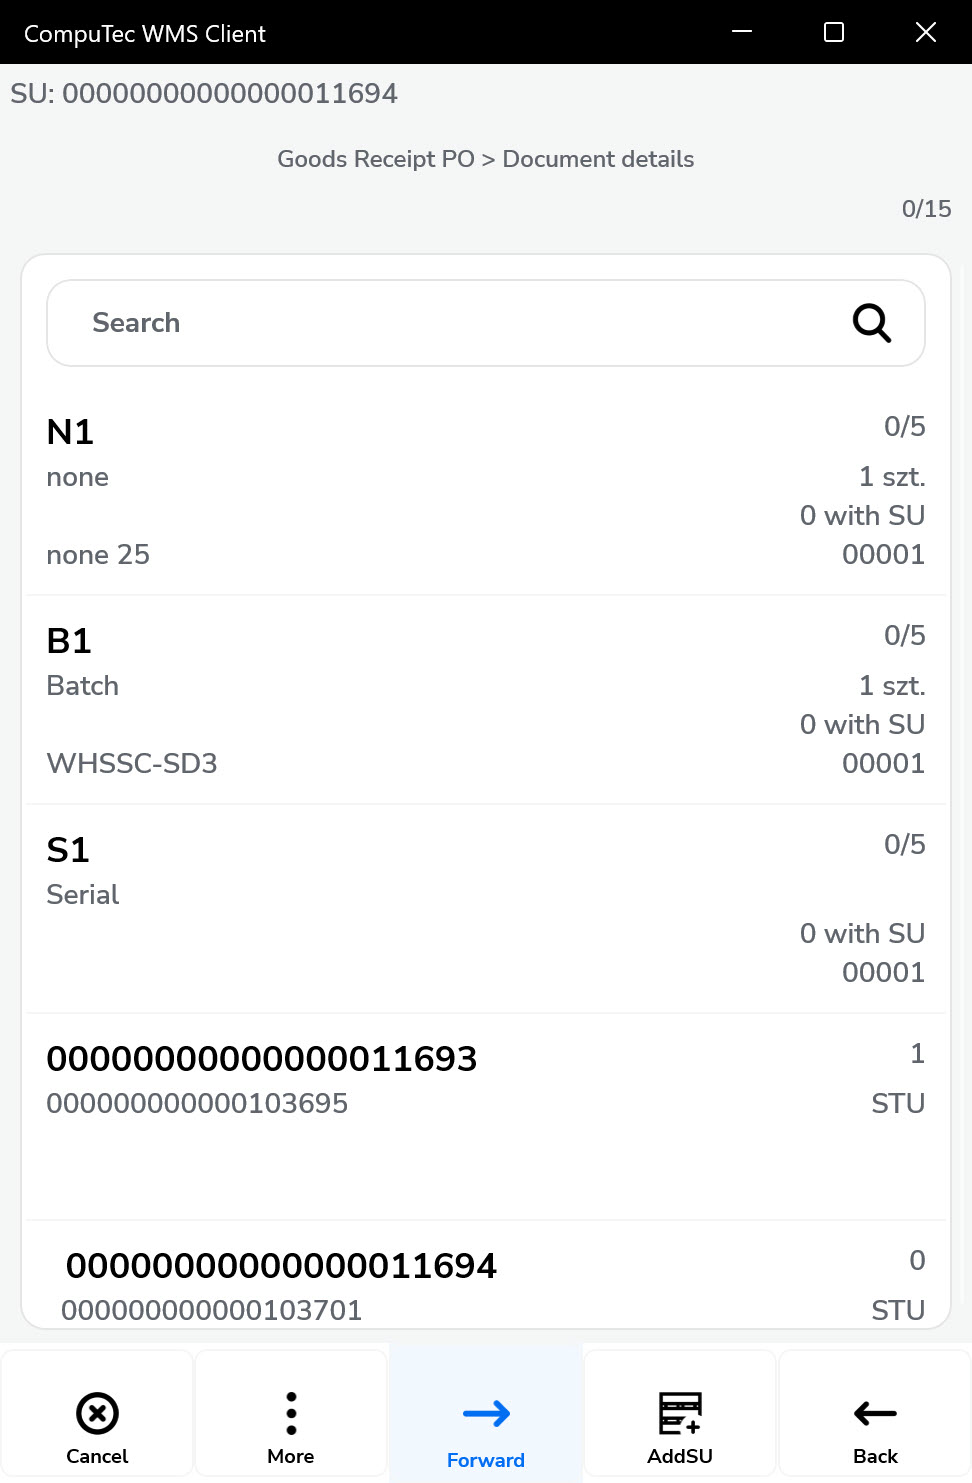
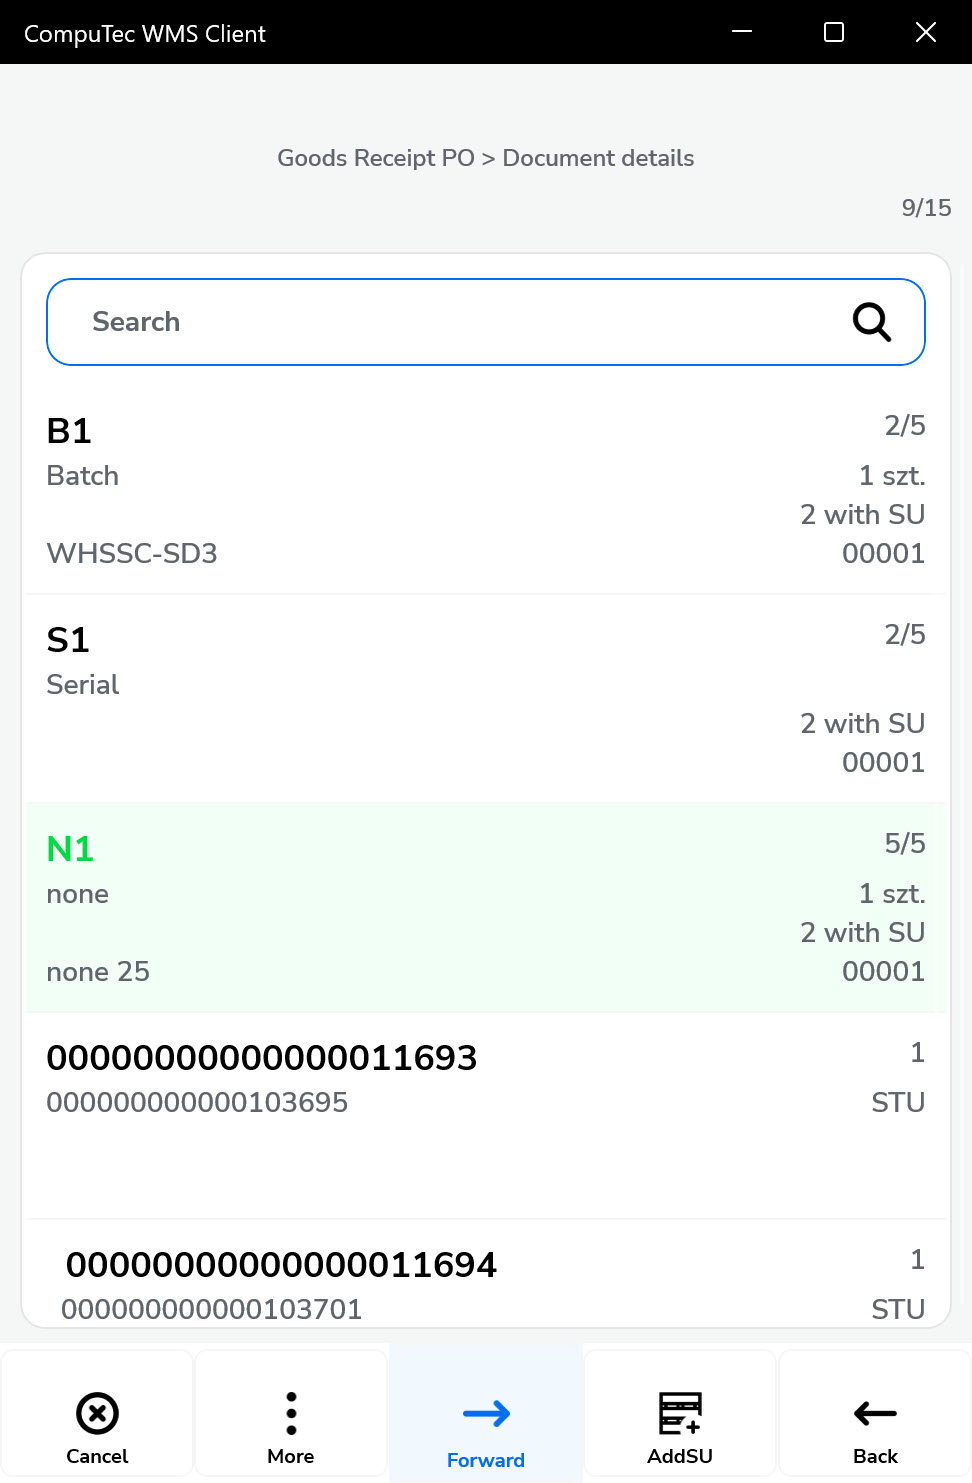
There are additional elements in the Document Details screen:

- Warehouse: Automatically selected if all items are received into the same warehouse. Otherwise, select it manually for each item or Storage Unit (SU).
- Picked/Overall Quantity: Displays progress.
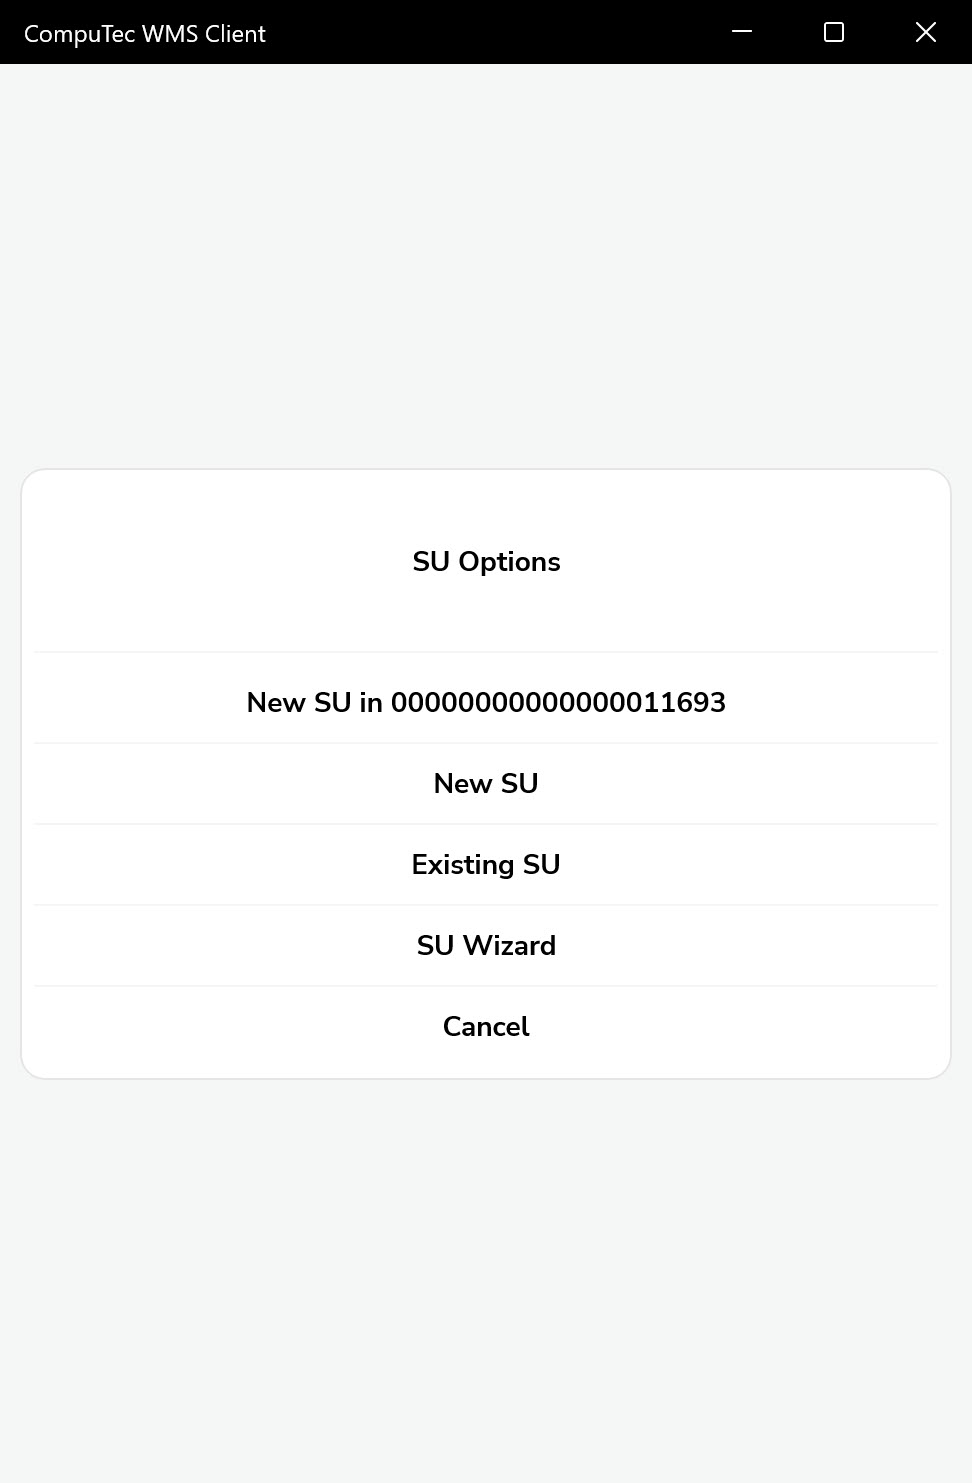
- New SU Button: Creates a new Storage Unit. If "Hide SU" is enabled and Bin Locations are disabled, SU details won’t be shown.
- Tooltip: A tooltip lets you add a new item or open the SU menu.
-
You can add Items to already existing SU and also to those with Created status (CR).
-
If you’re in SU adding mode and scan an item barcode, all items are added to the SU displayed at the top.
-
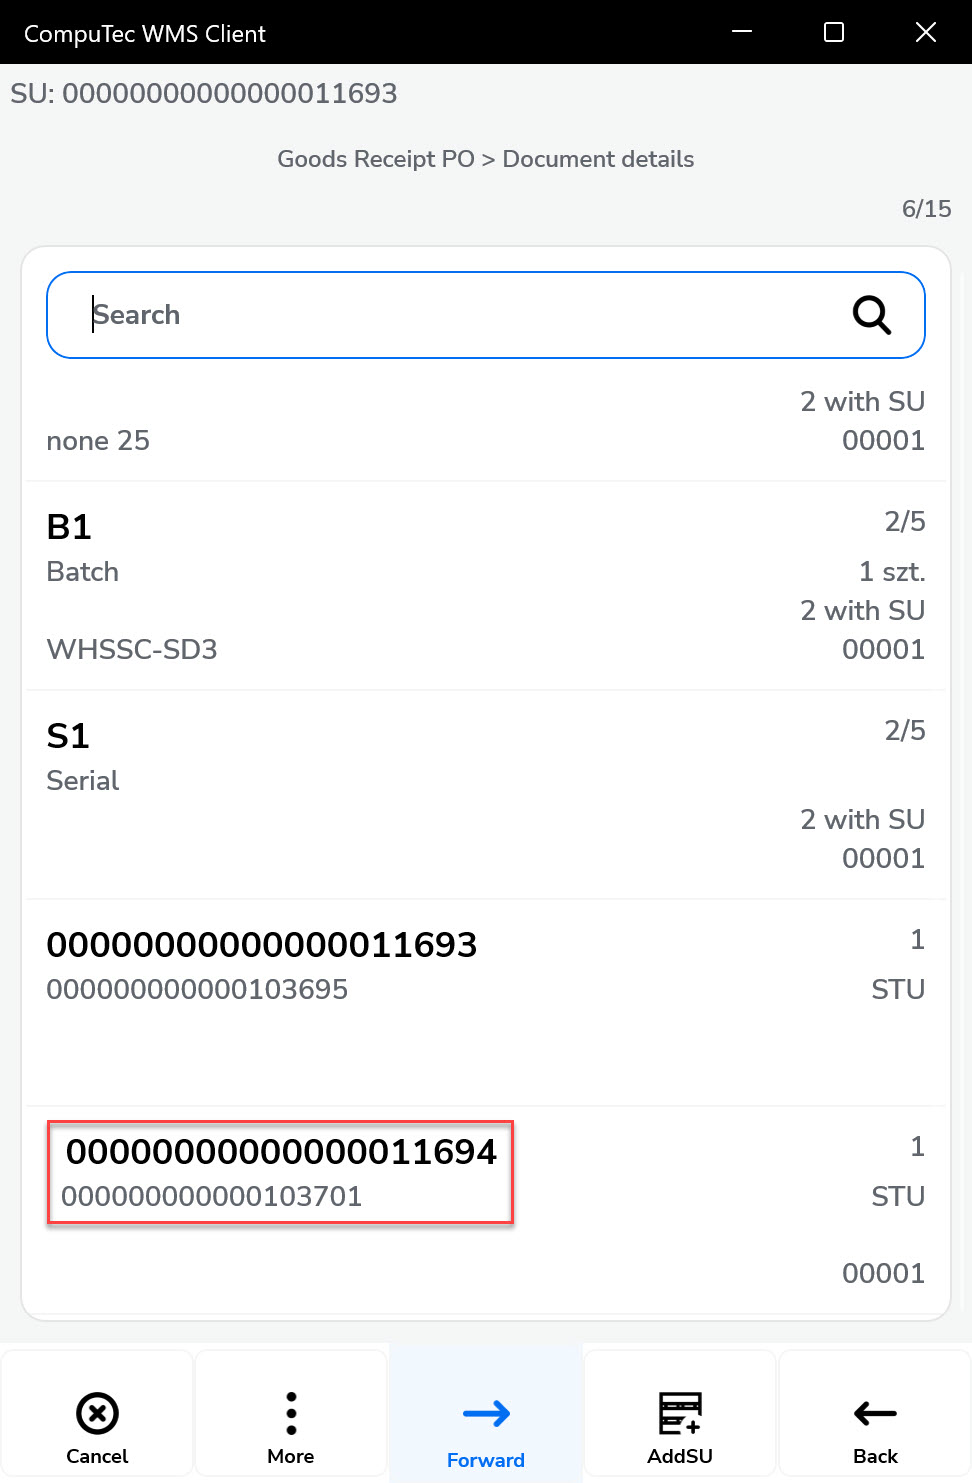
To leave the SU, click the top bar with its number or scan a barcode of another existing (only on this document) SU.
-
You can also click the SU line on a list to see its details.
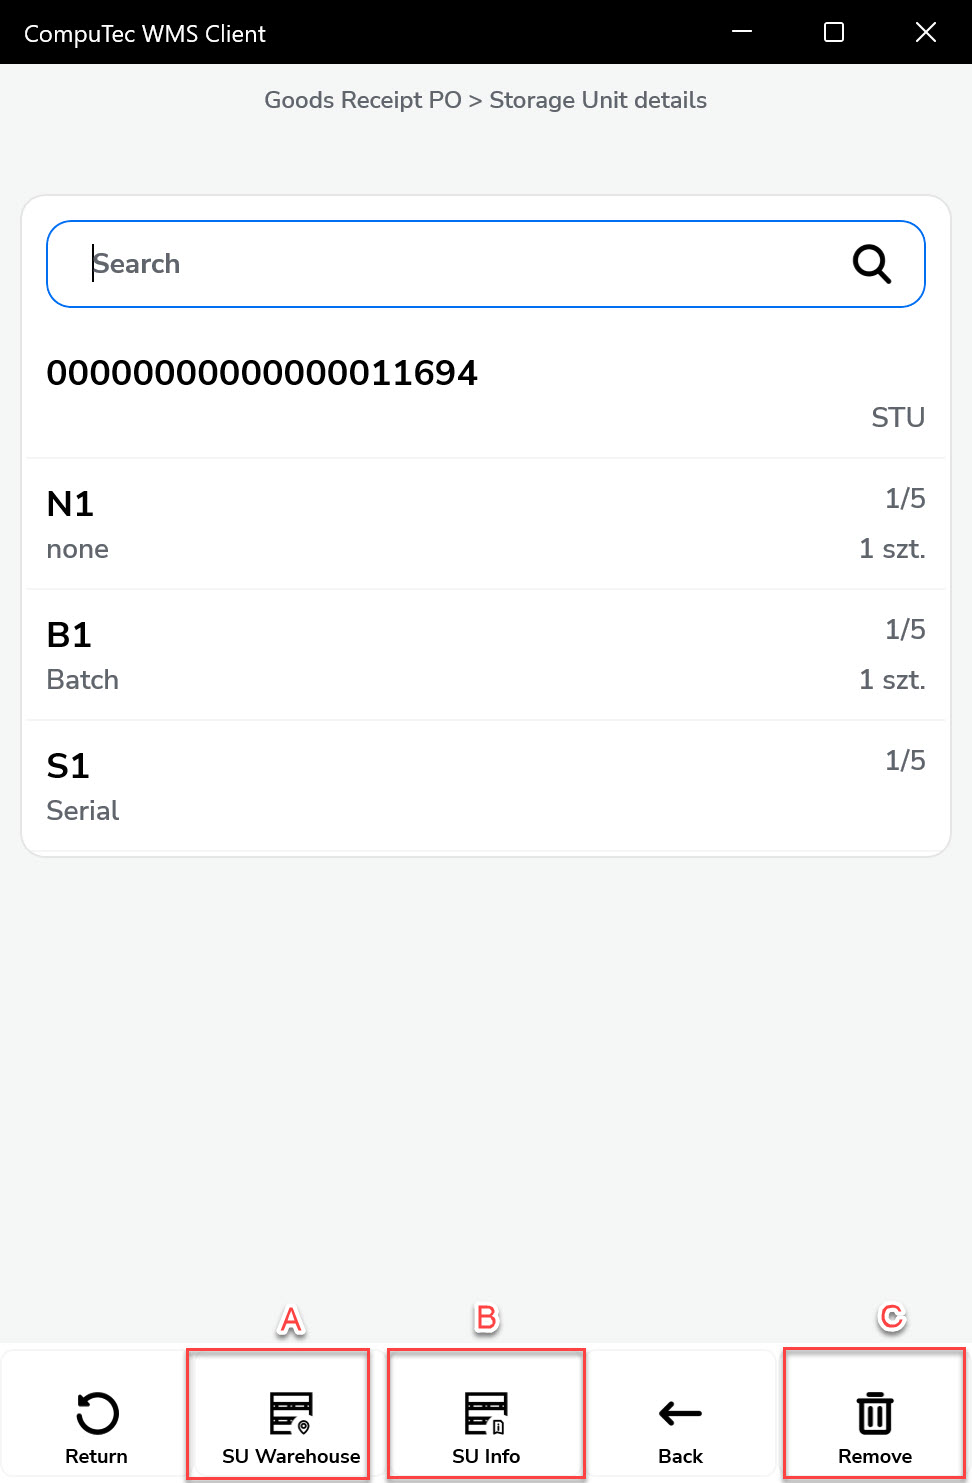
- Exit the SU (or enter, when you are not in the SU adding mode).
- SUs UDFs.
- Delete SU.
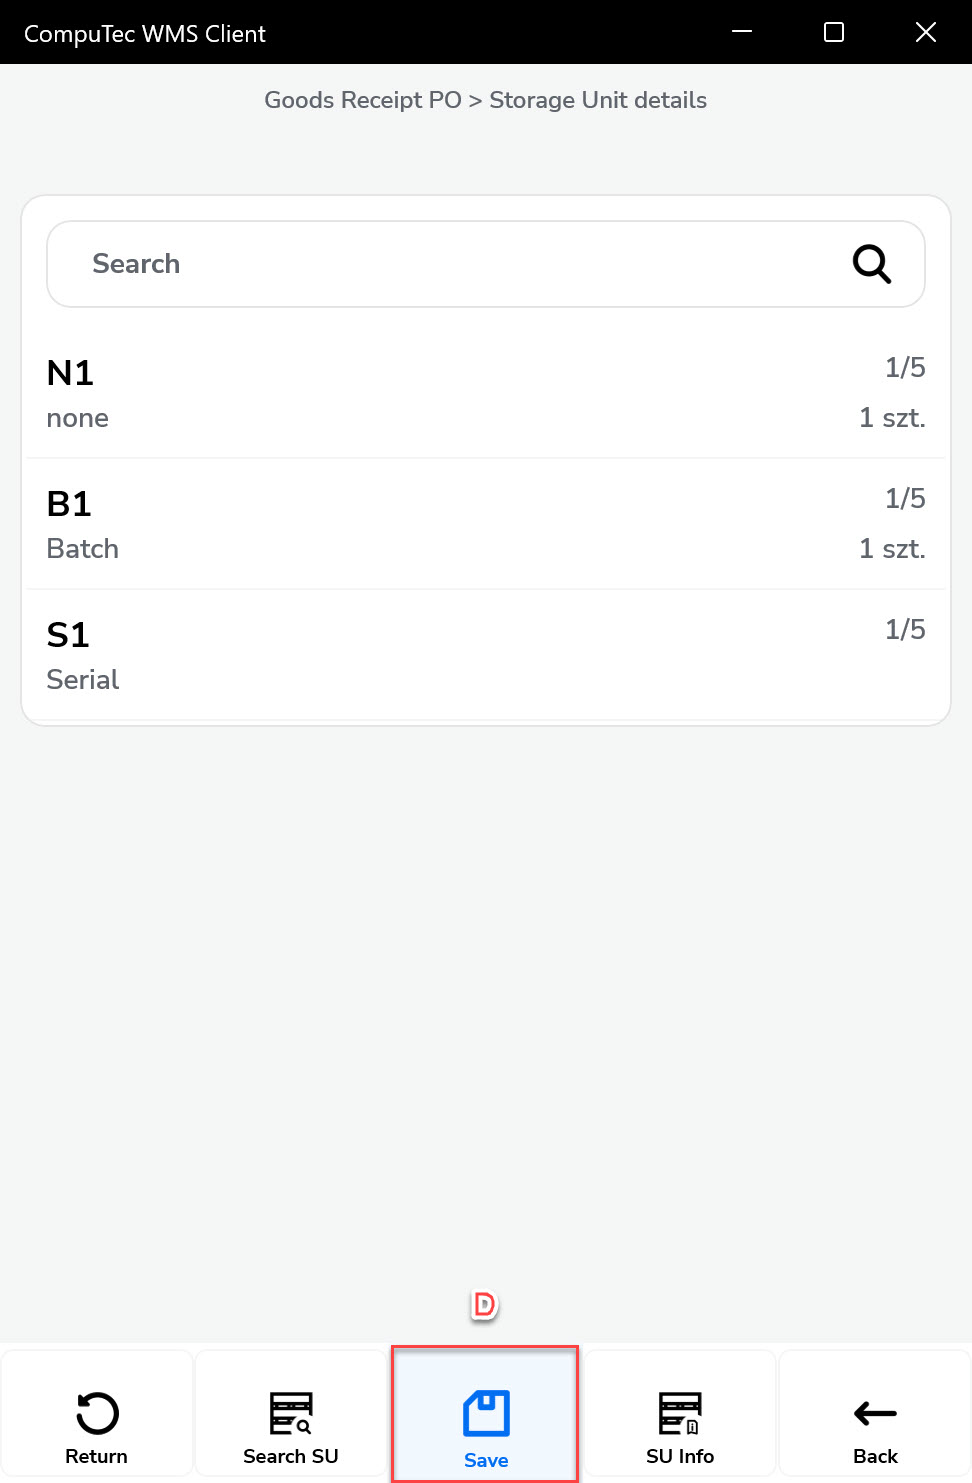
- Save changes.
-
Nested SUs (SU within SU) are displayed with an indented line.
-
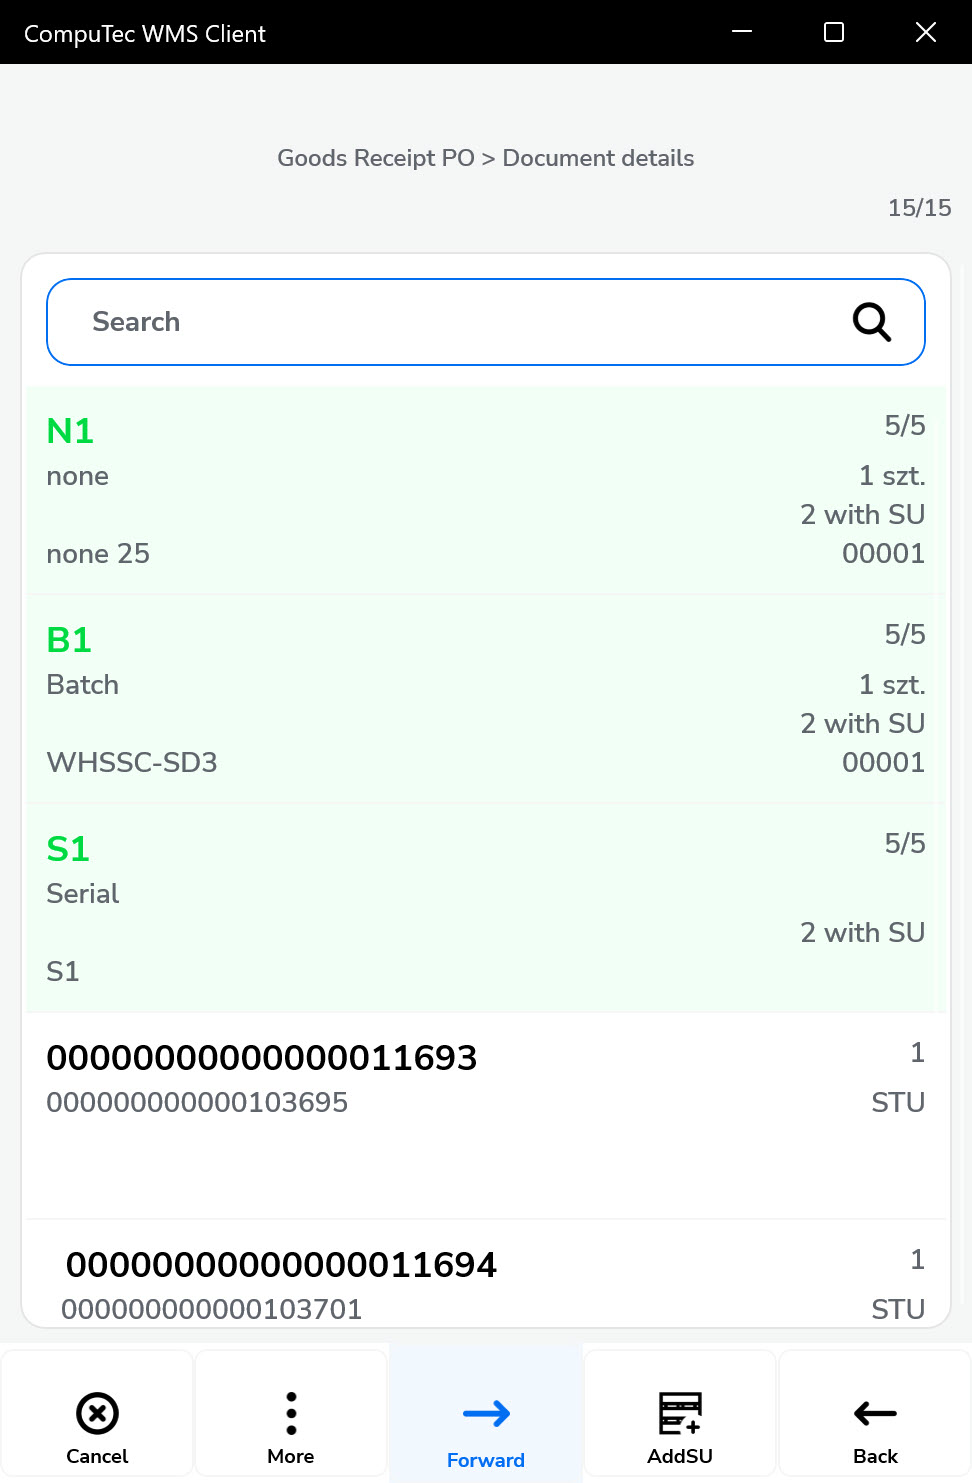
Fully added items are automatically moved to the bottom of the list.
-
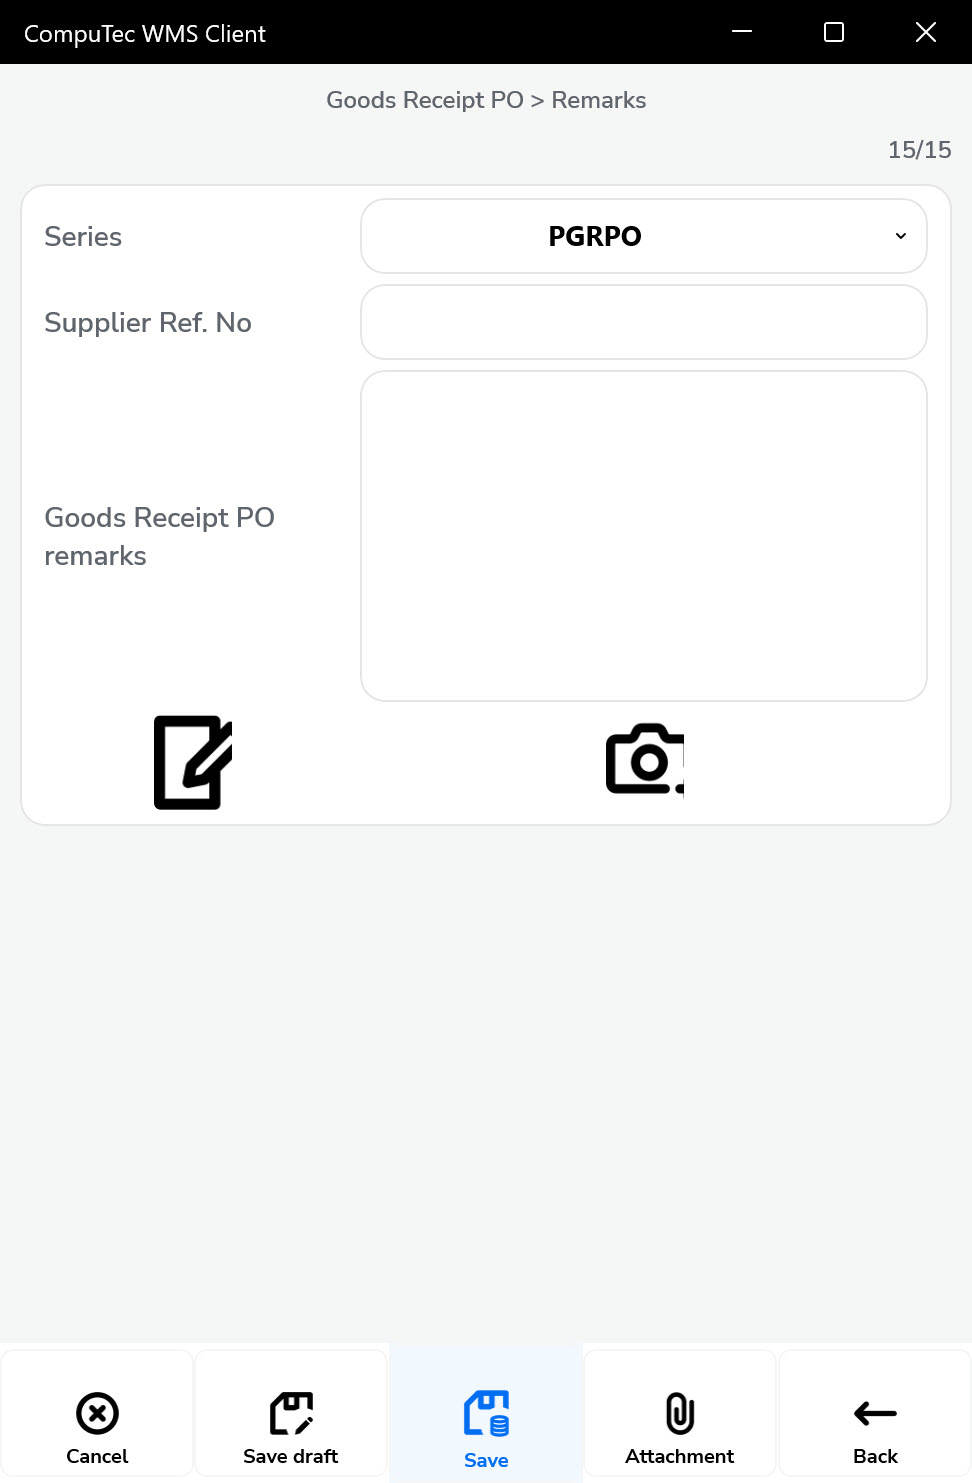
You can go to the Remarks when the document is complete.
-
Remarks.
-
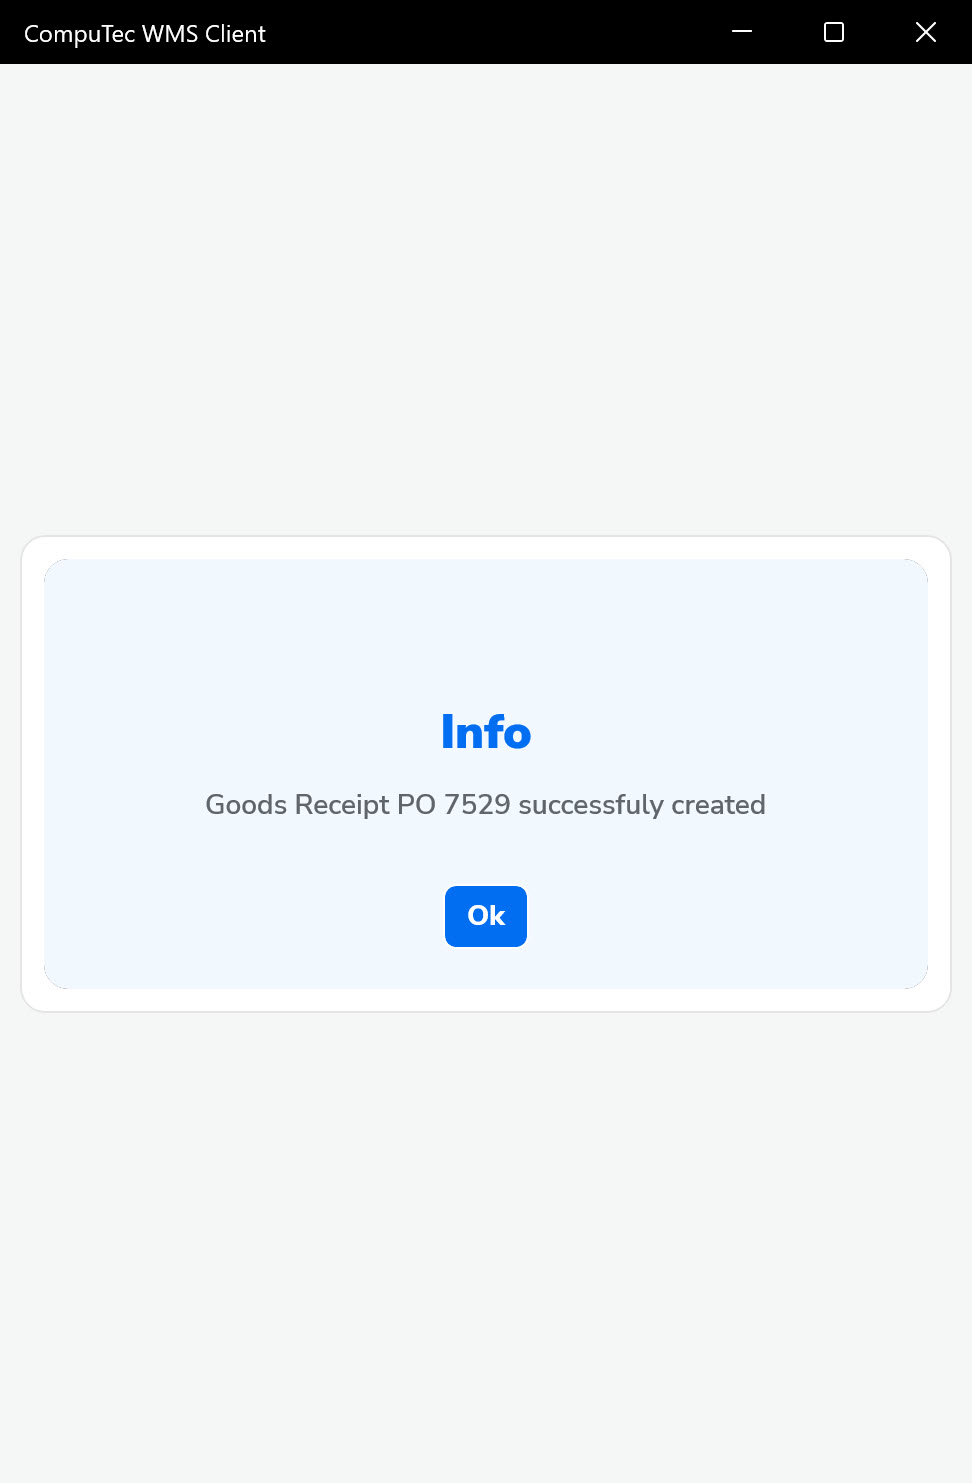
Upon saving, a confirmation message will appear indicating successful GRPO creation.