Example Usage: Clustering
The example on this page is for a clustering process using the SEC Unique Numbered Product (UNP) standard.
SEC Standard
SEC is short for Single European Coding and it is a unique identifier standard for marking human tissues and cells distributed in the European Union. The SEC is a mandatory requirement for all tissue establishments in the EU effective 29 April 2017.
The SEC consists of a donation identification number (SEC-DI, 21 characters) and a product identification sequence (SEC-PI, 19 characters).

-
ISO Country Identifier: identifies the country of the TE issuing the SEC. The code used is the ISO 3166-1 alpha-2 country identifier
-
TE Code: Tissue Establishment code of the manufacturer creating products out of the received human tissue. TEs are listed in the EU Tissue Establishment Compendium
-
Unique Donation Number: identifies an individual donor
-
Coding System Identifier: identifies a system which the Product Code is derived from. So far in the EU the following 3 coding systems are used:
Coding System Identifier ISBT 128 A Eurocode B EUTC E -
Product Code: identifies the product created out of the donated tissue
-
Split number: used to uniquely identify each produced product, unique within each Donation Identification/Product Code combination
-
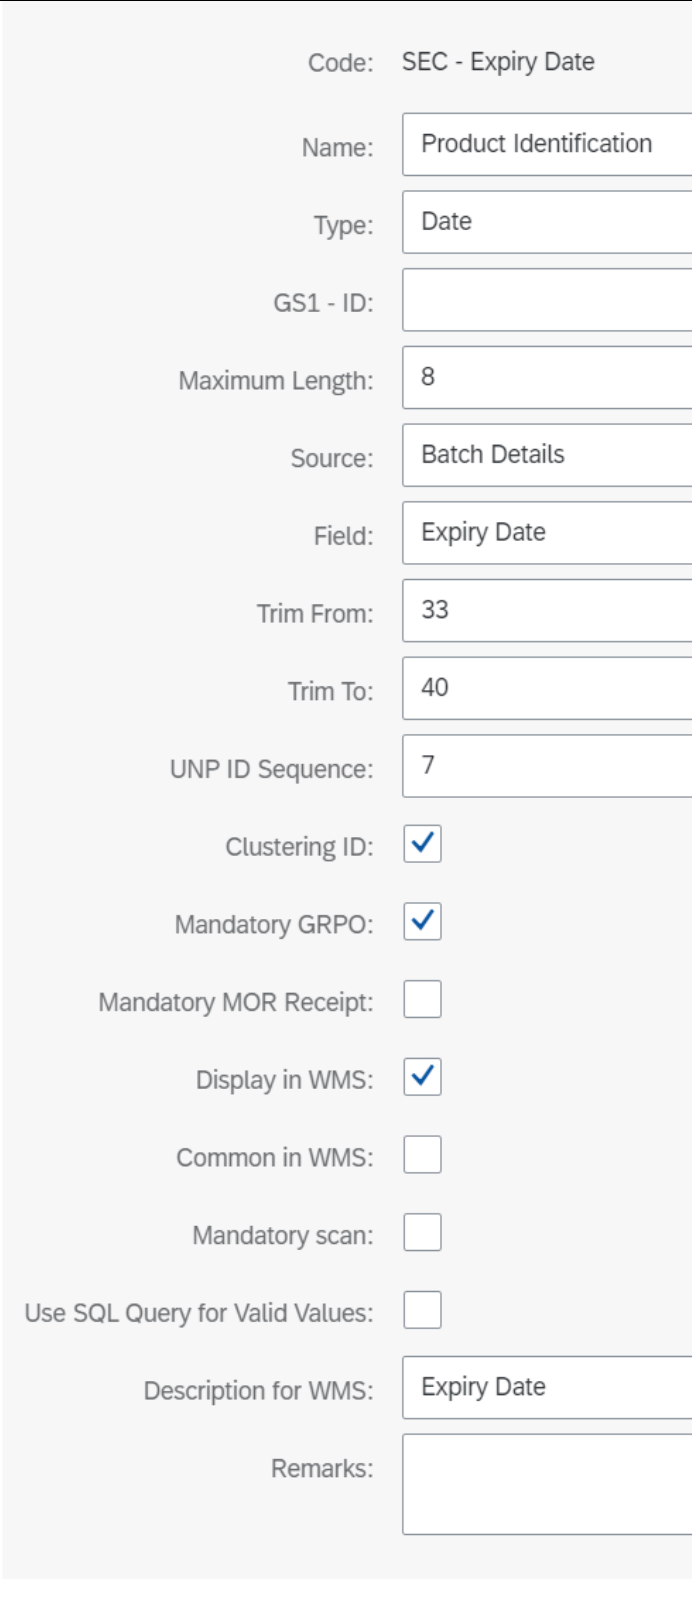
Expiry Date: Expiry date of the created/produced product in YYYYMMDD format.
Clustering
On Goods Receipt PO, Supplier Batch AND Supplier Serial Numbers are recorded and Internal Batch numbers generated. The Receiver requires different scenario groups for Internal Batch number generation. The received items are clustered into Internal Batch numbers based on scenario group identifiers such as: same Item, same PO, same supplier DN/PL, same Supplier Batch, same Expiry Date.
It is required to define identifiers for clustering per organisation/Item group/Item. E.g. for Receiver 1 the scenario of clustering of a received product into one Internal Batch number has to be based on unique Item/PO/PackList/Supplier Batch combination, for Receiver 2 a scenario of clustering should be based on Item/PO/PackList/Expirydate. If these are all identical the same Internal Batch number can be assigned to the received product.
Because Supplier Serial numbers are only unique within the UDI Lot number, and multiple Lots can be received on one single PO-line, the serial number registration should not only have a link to the Internal Batch, but also a link to the Supplier Batch.
Below you can find an example of how Internal Batches from one company (Supplier) are received by the other company (Receiver) and what identifies the clustering into one single Internal Batch.
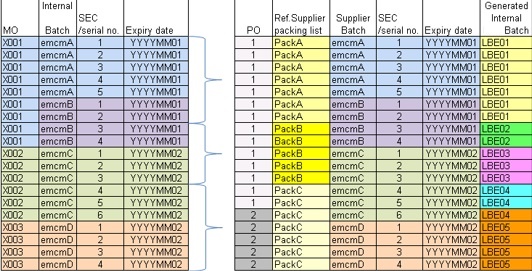
Clustering rule:
| GRPO type | DN/PL # supplier | PO | Item | Supplier Batch # | Expiry Date |
|---|---|---|---|---|---|
| Receiver SEC/Serial# GRPO | Y | Y | Y | Y |
Item Declaration for Serialization
For Items (managed by Batch) to be serialized, set UDF: Serialization enabled=Yes in Item Master Data. Thanks to this, all revisions of this Item will be subject to Rules controlling the selection of SPT for a given Item/ Revision.

WEB Application – log in
Please check this section of the documentation.
Attributes Templates – Definition
The first step is to define Attribute Templates that can be used to build various variants of the Serialization Parameter Template (SPT). Each UNP member has assigned a separate Attribute. It is also necessary to define Attributes that allow the clustering process to be carried out.


Below you can check the list of attributes in accordance to the SEC standard and other attributes required for the clustering process. For clustering to work according to a defined rule, you have to define attributes according to the following list:

SEC Standard – donation identification:
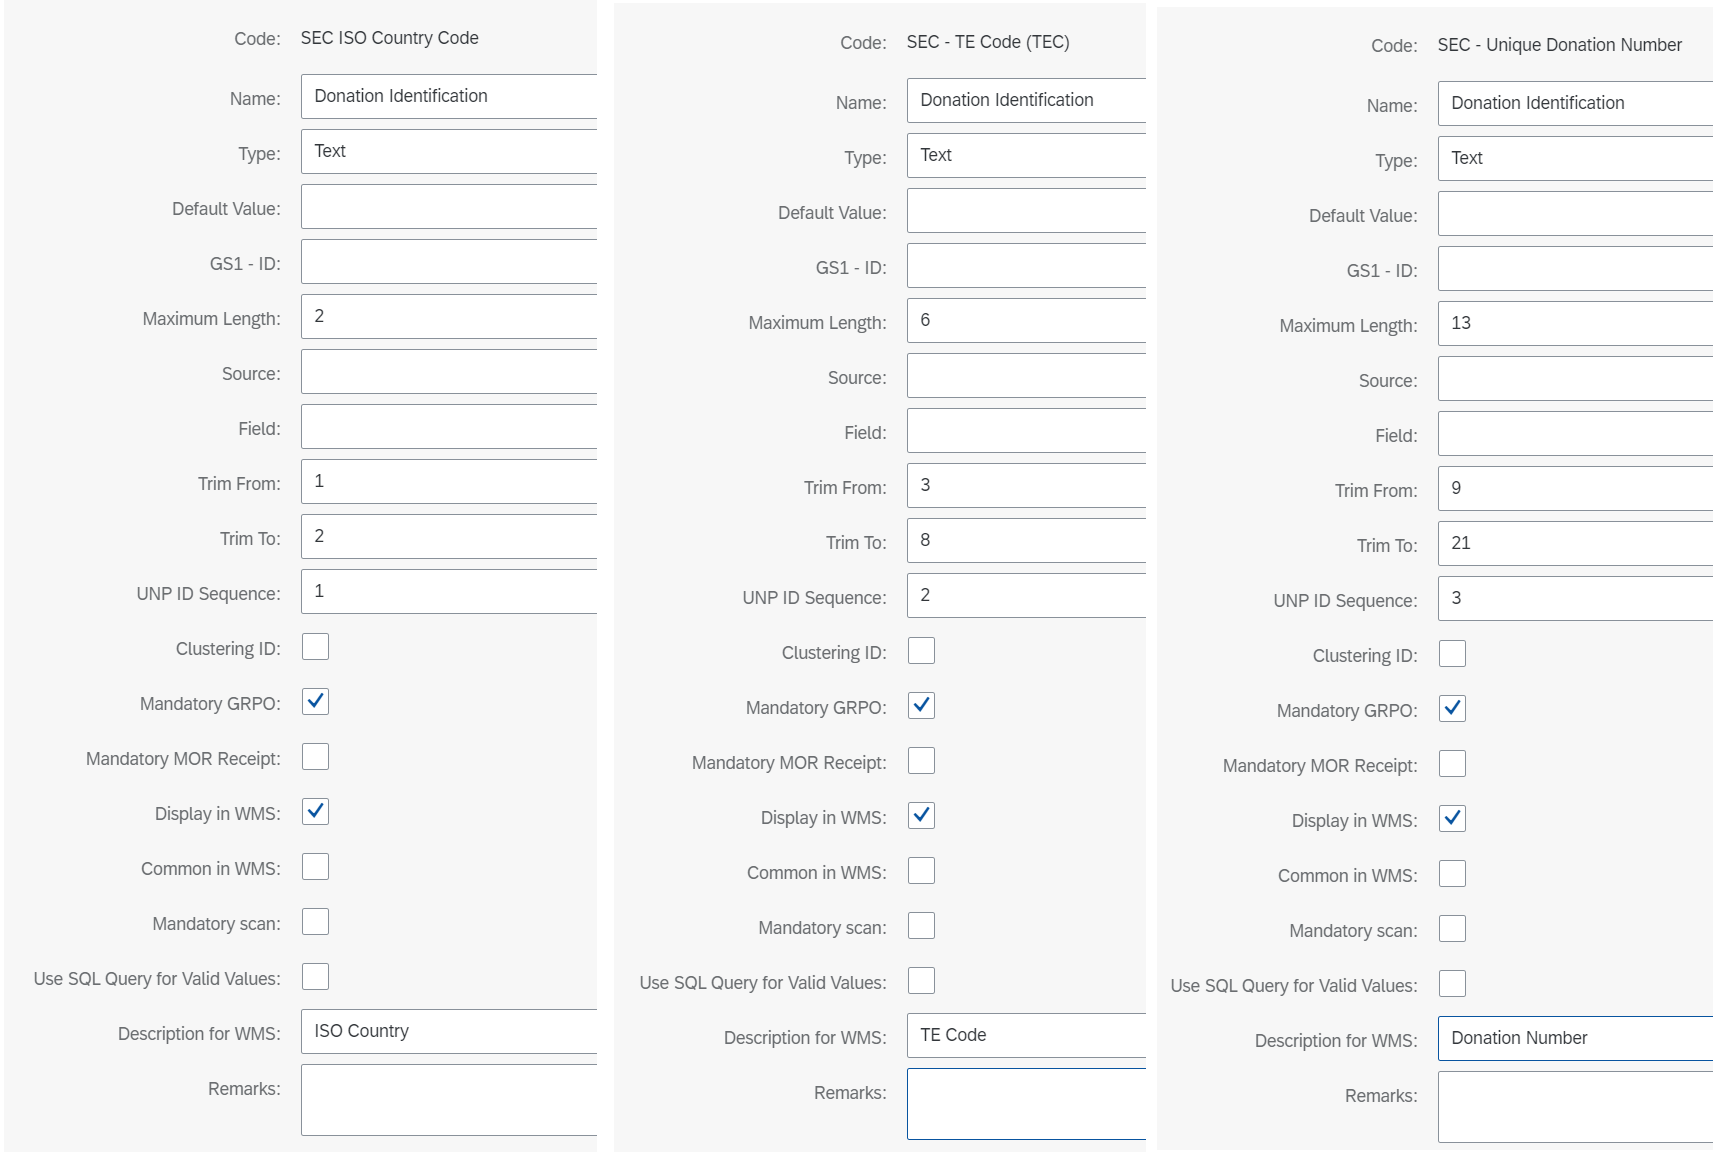
SEC Standard – product identification:
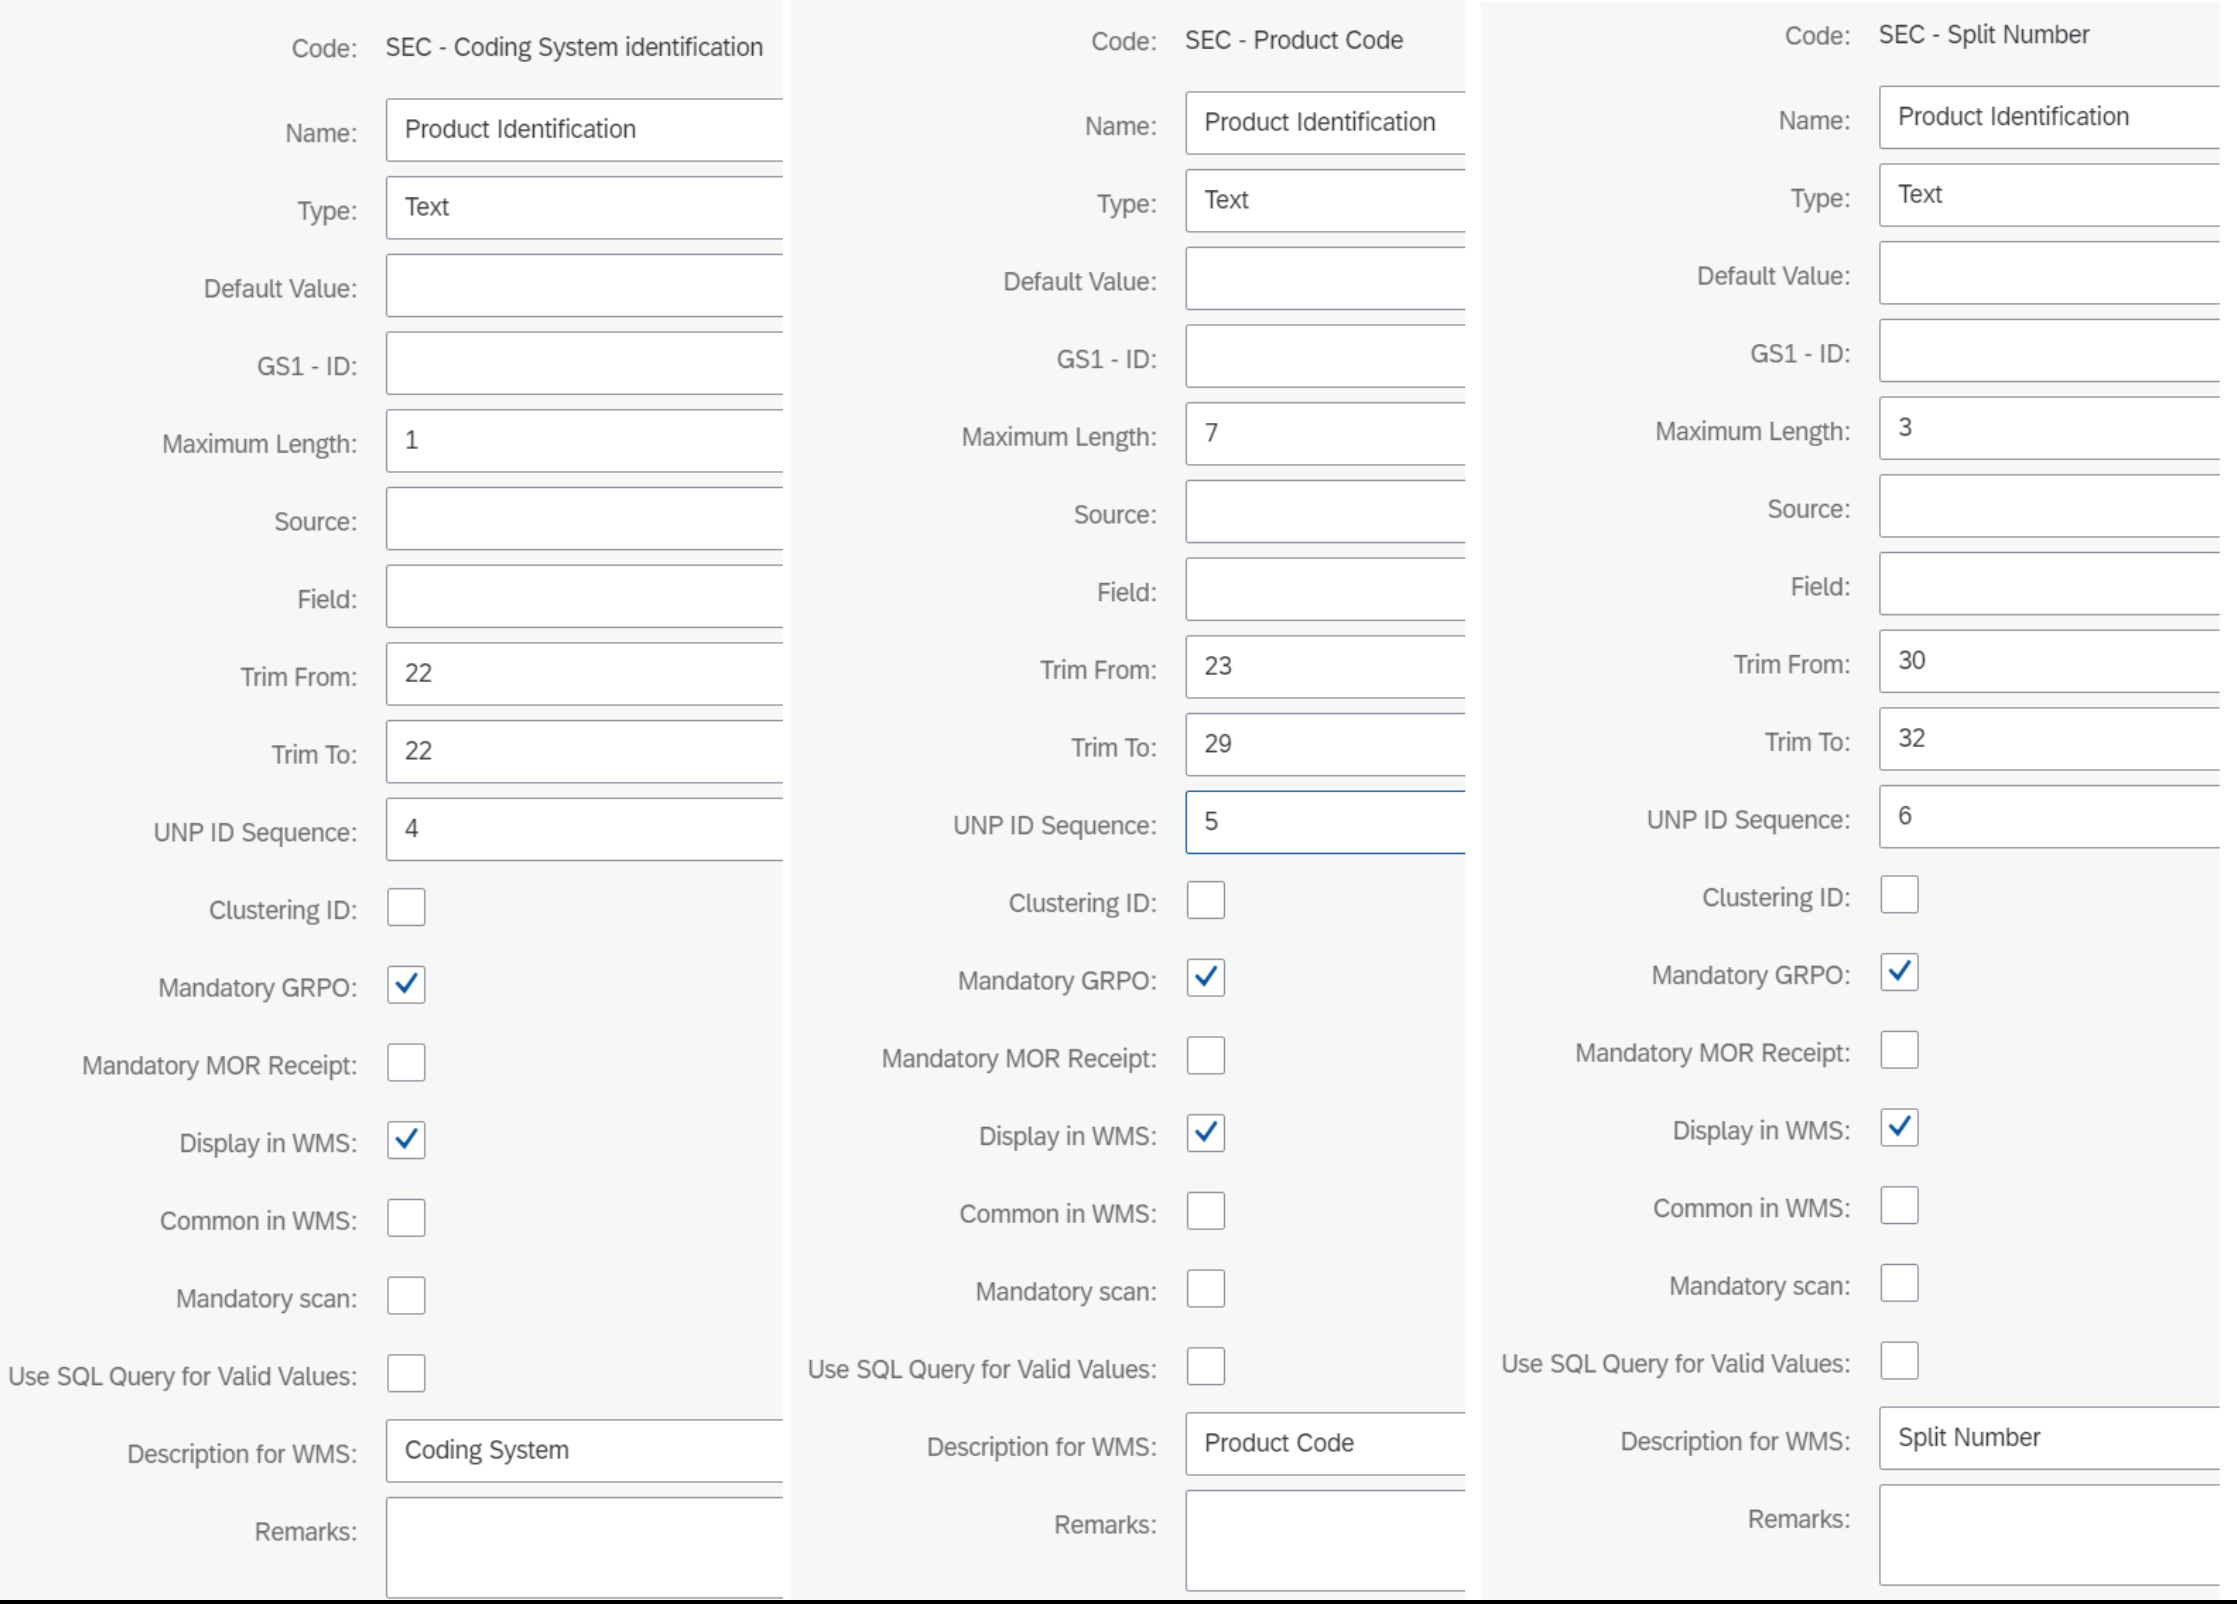
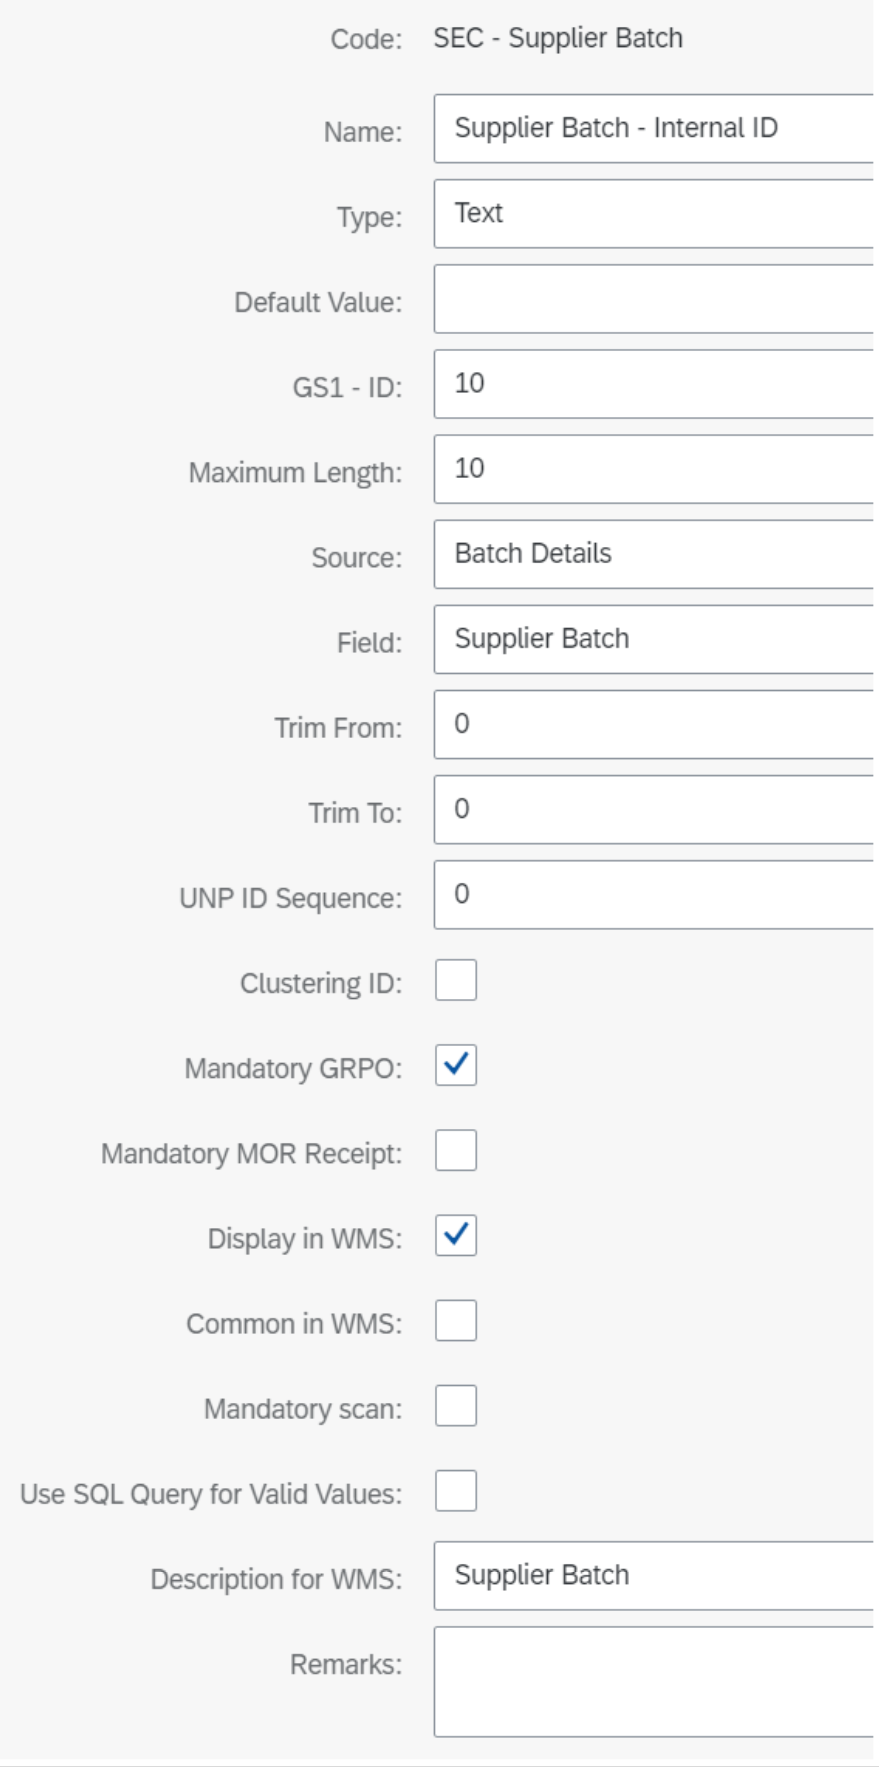
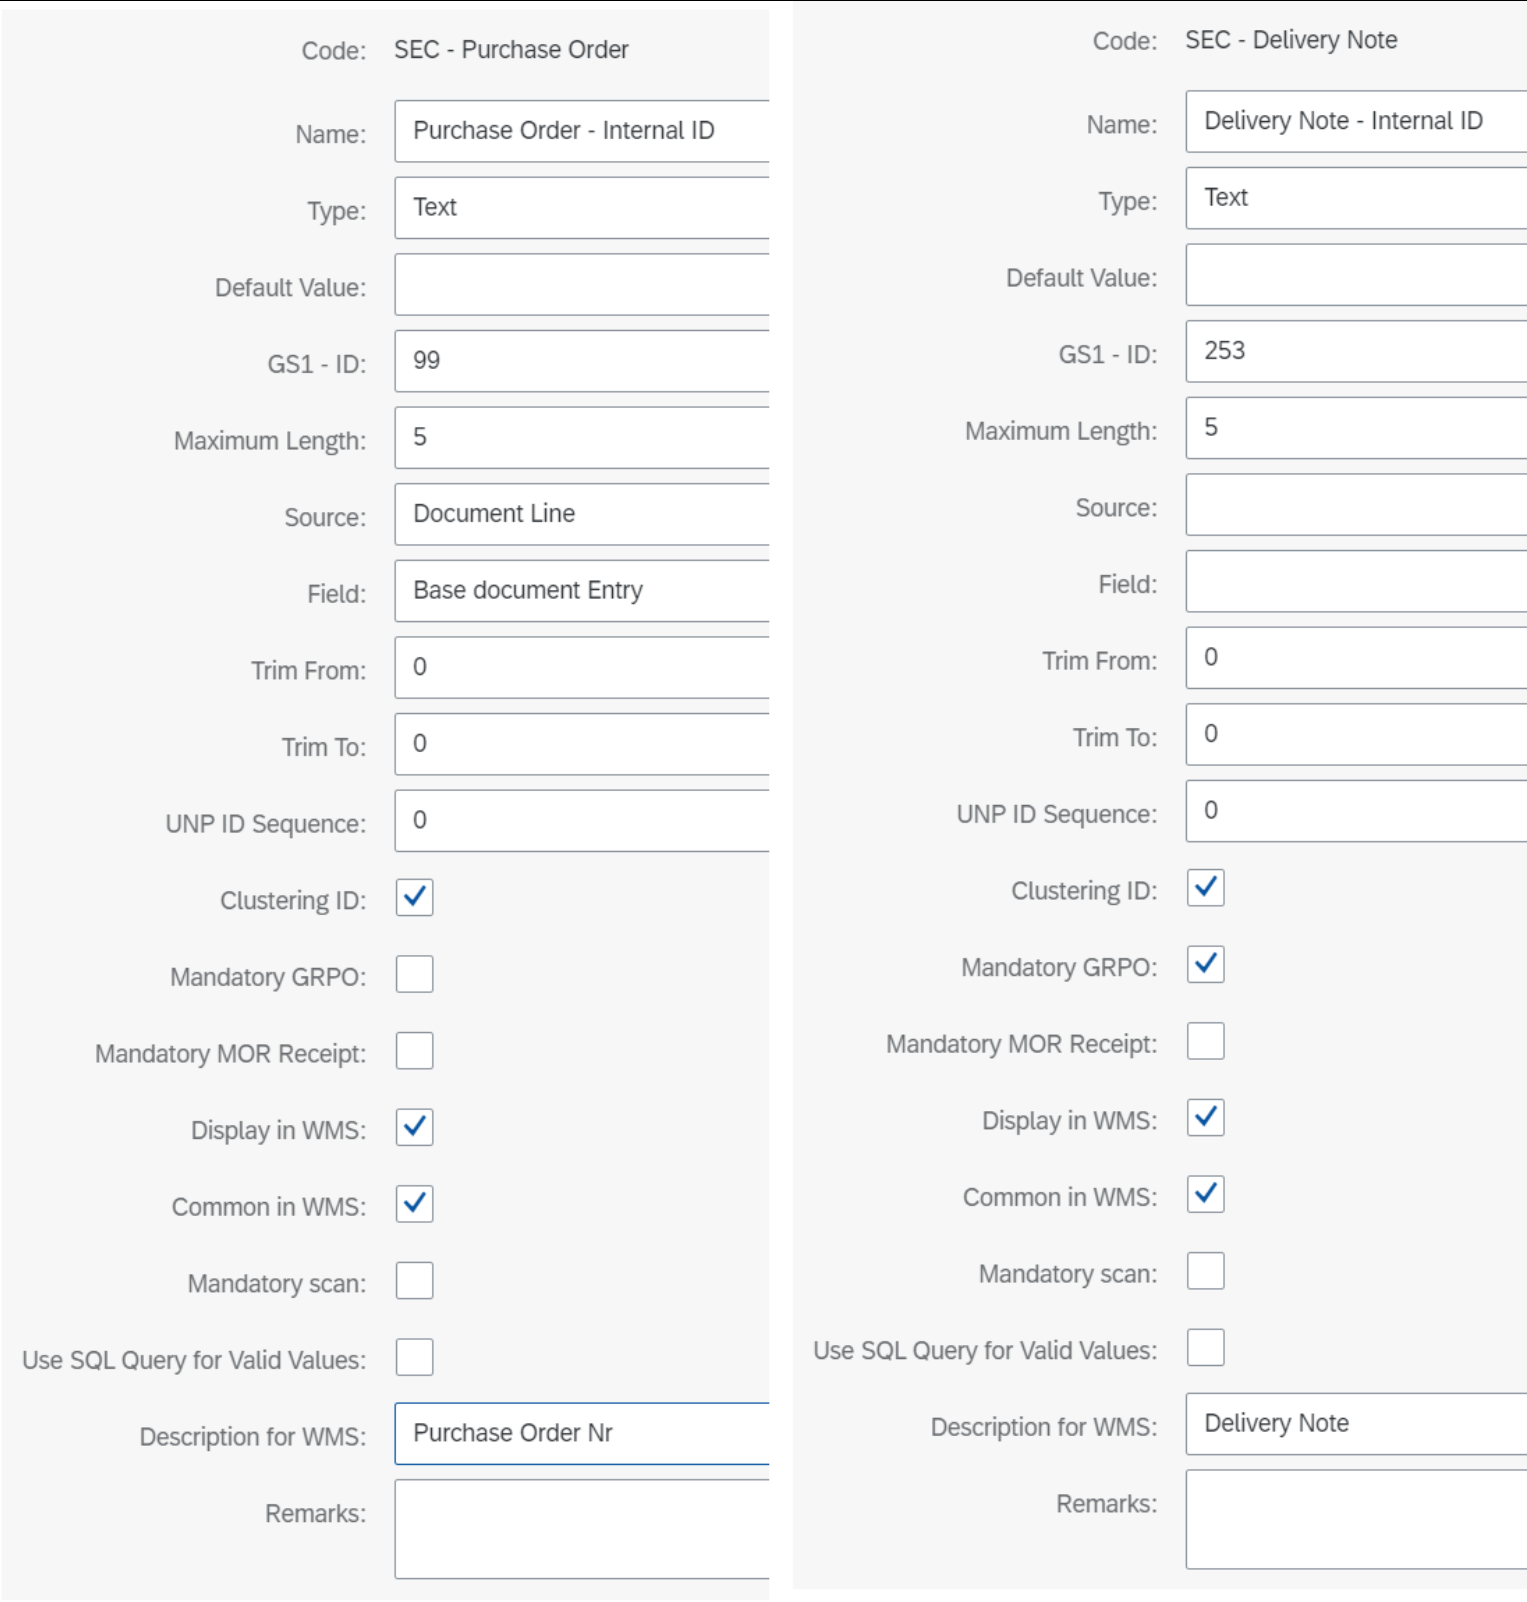
Clustering components:
SEC Serial Number component is obligatory and is a key to Track & Trace Table:
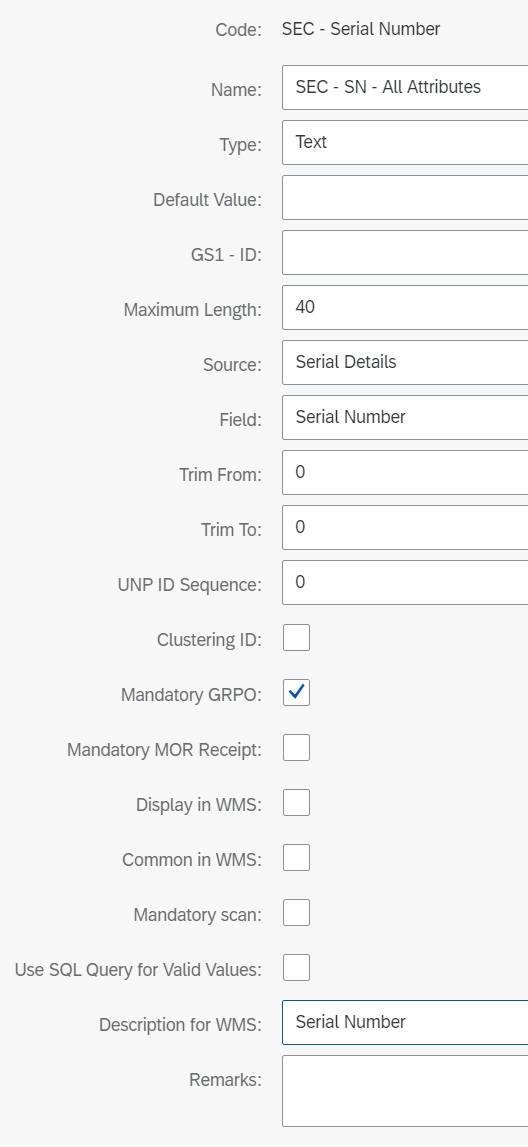
Clustering is sensitive to Item changes by default. The rest of the parameters to which clustering is sensitive is determined at the Attribute level. These are the ones for which Clustering ID = Yes: SEC - Purchase Order, SEC - Delivery Note, SEC - Expiry Date.
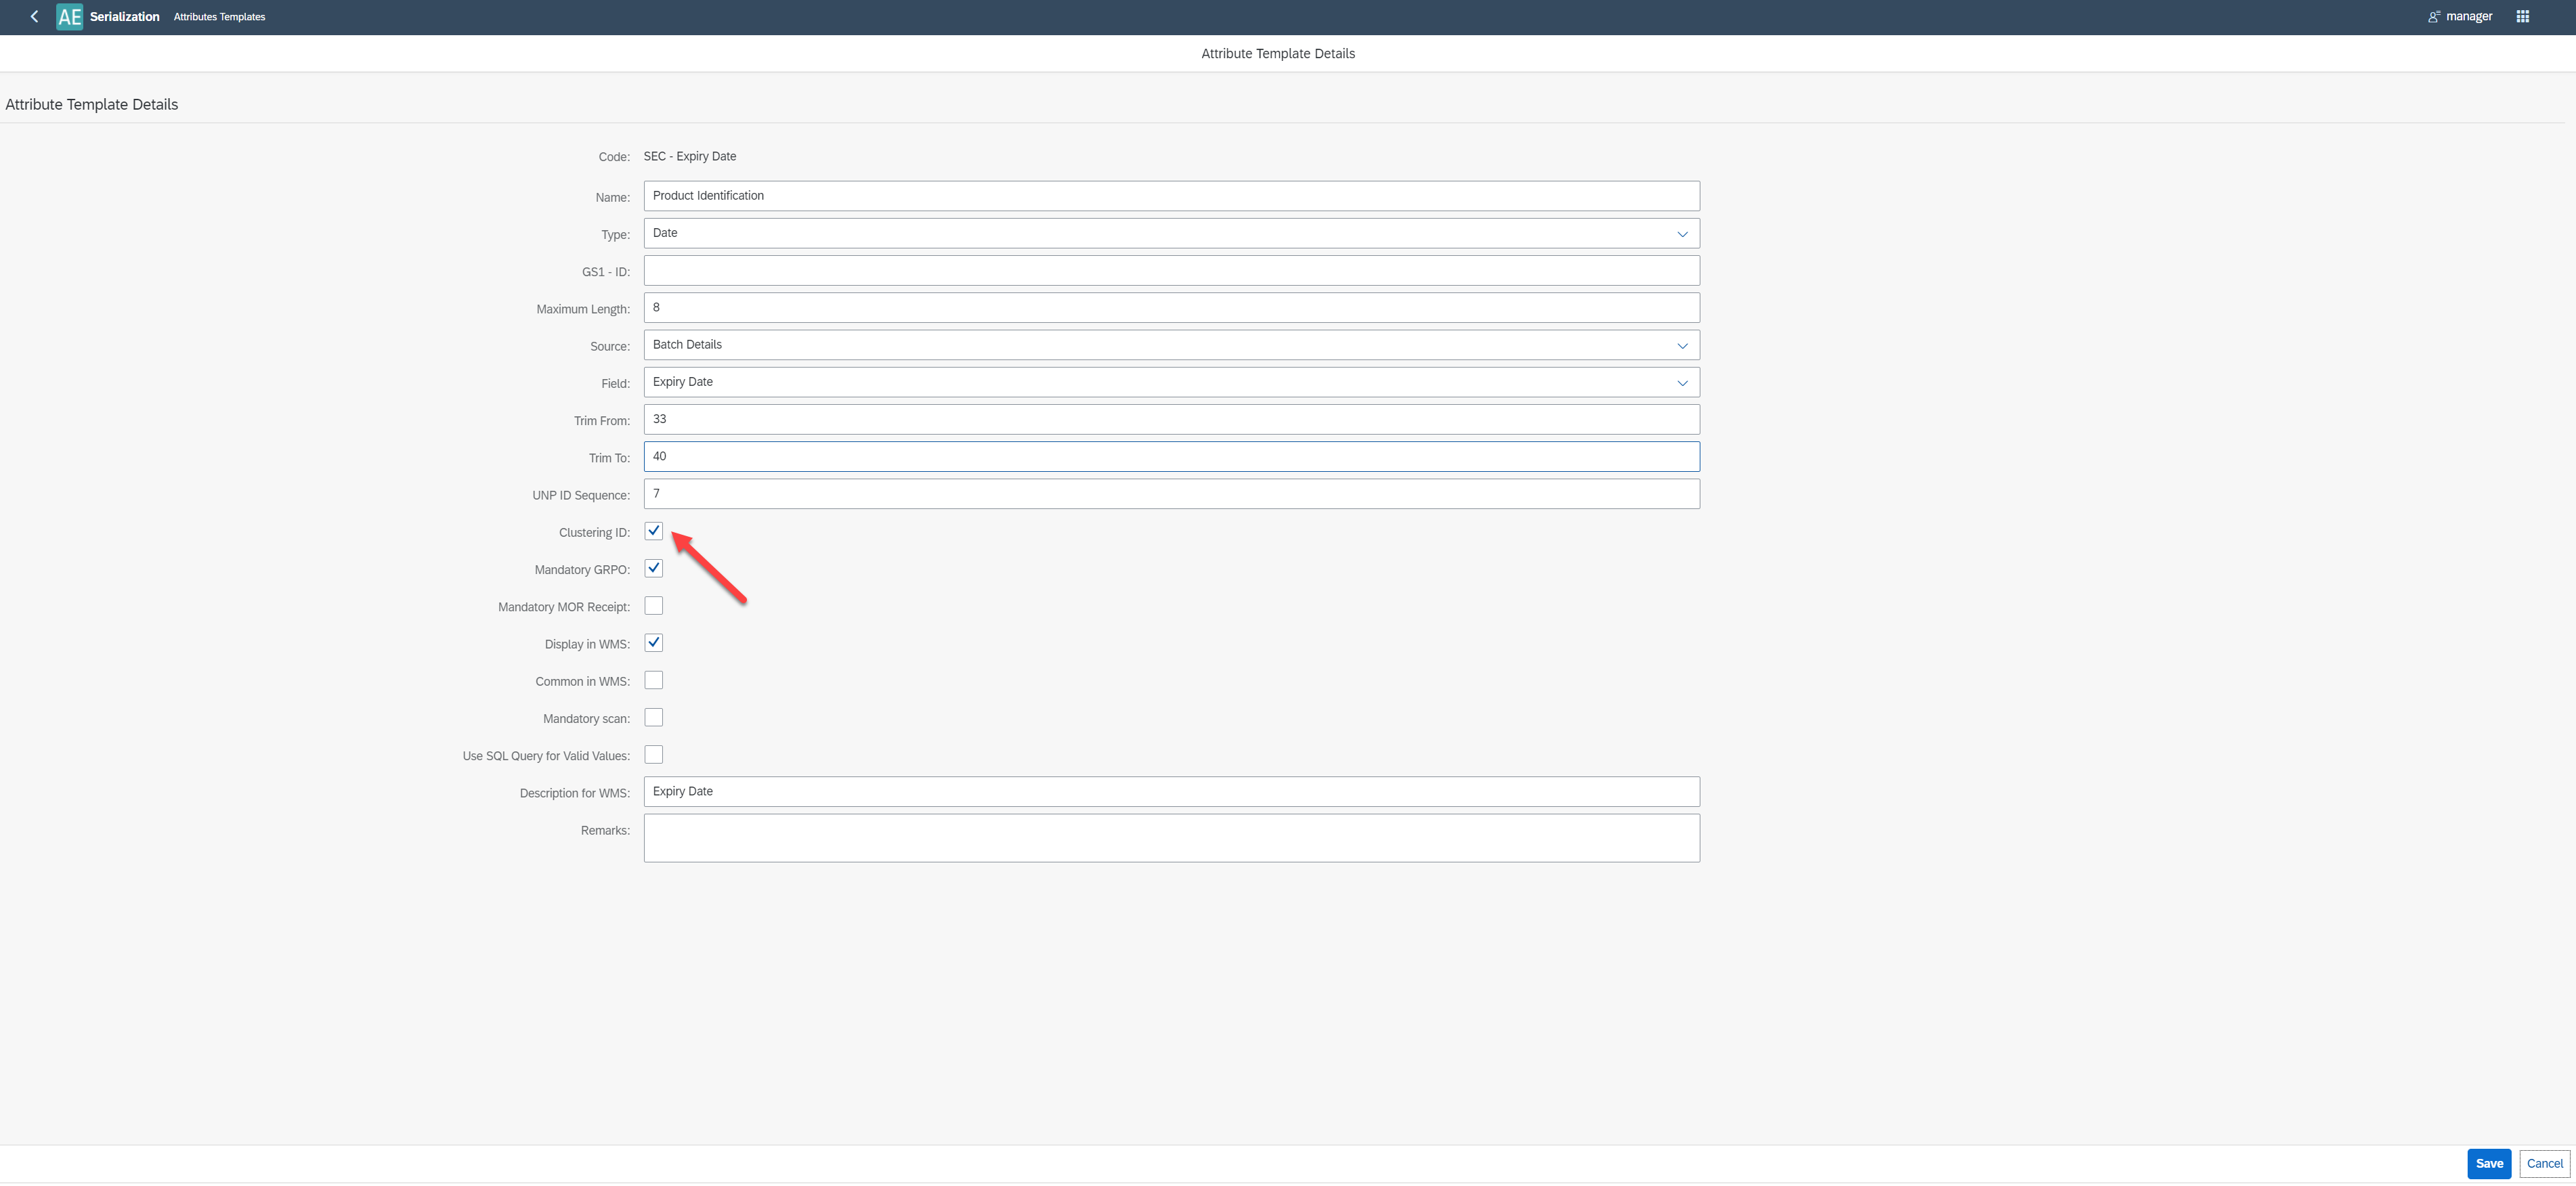
For field description please check here
Serialization Parameters Templates – definition
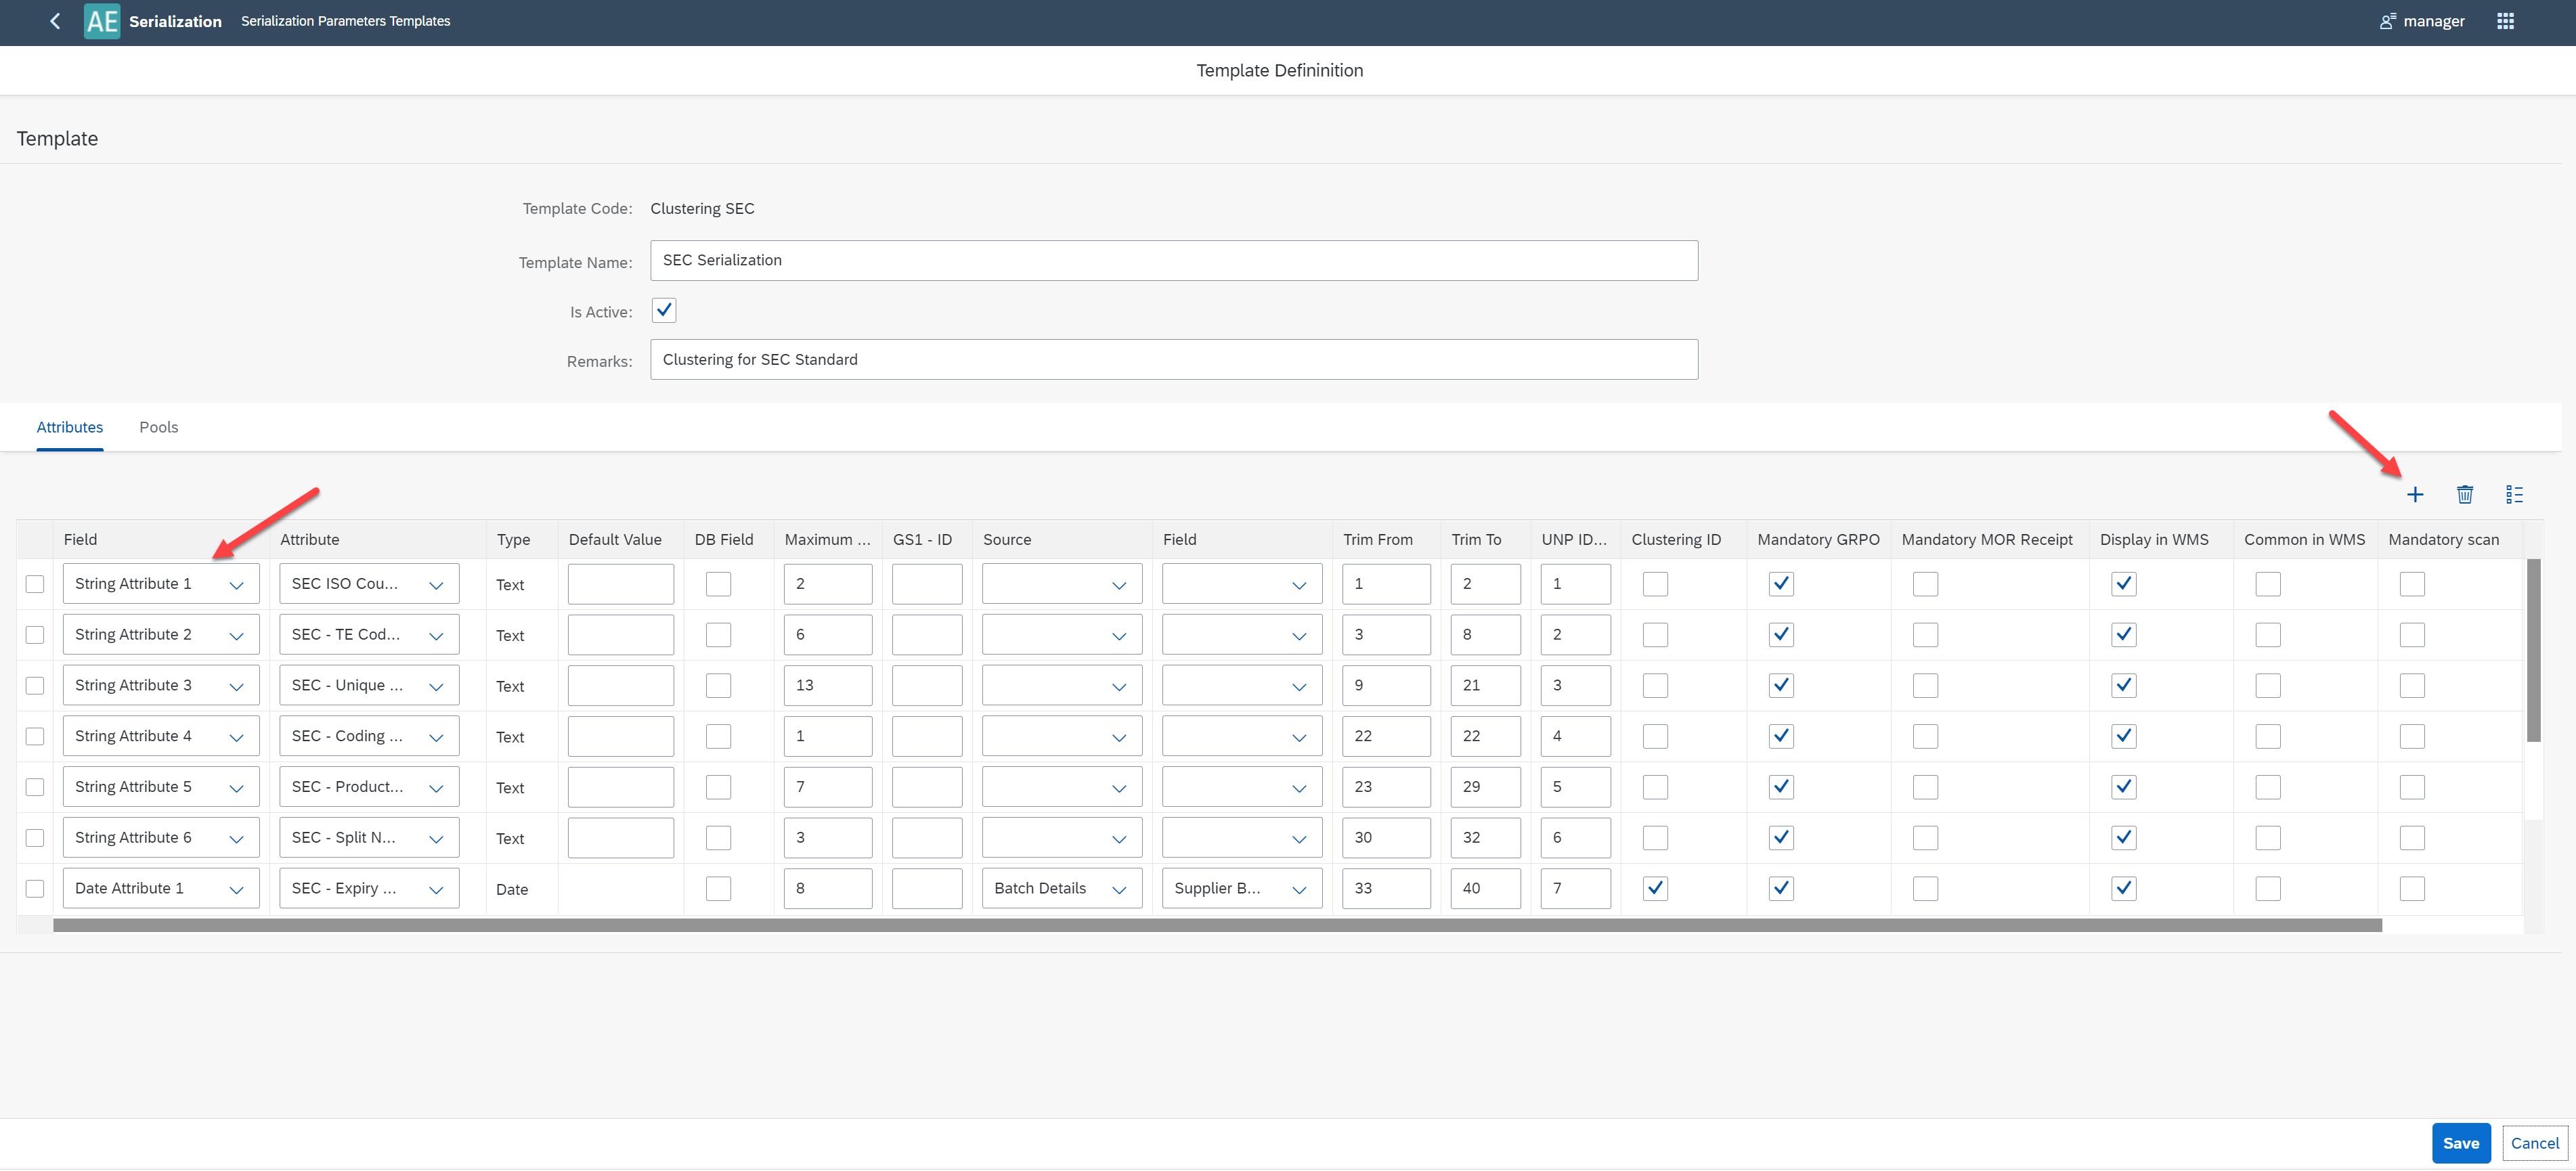
Attributes associated to SPT are a parameter of the rules that determine the use of a given SPT for clustering a given Item. SPT is created by combining previously defined attribute templates. The user can modify Attribute's parameters. When defining SPT, it is required to assign a given attribute to predefined Field (from Track & Trace Table) of a type compatible with the type of the given Attribute. This action allows you to create a dedicated Track & Trace Table for each Item in accordance to the defined SPT.


Please create a new SPT and add the predefined Attributes Templates to it, assigning them to predefined Field from Track & Trace Table.
Rules – definition
In order to be able to carry out the clustering process for a given Item/Revision, it is necessary to define at least one Rule that will cover this Item.

If in the Rule you specify only the Item Group, the SPT selected in the Result SPT column will be used for all of the Items in this Group.
If you specify Item Code, then the Result SPT will be applied to all Revisions of the Item.
If for a given Item you provide its revision, then Result SPT will be used only for this Item's Revision.
The above applies to Items that have UDF set: Serialization enabled = Yes in Item Master Data.
In our example, we will define a rule that specifies that previously defined SPT is applied to all of the revisions of a given Item.

Start the clustering process
The clustering process is saved in a serialization document. This document is a subject to approval and verification. Serialization documents are visible in the WMS's Packing Hierarchy tile: here.
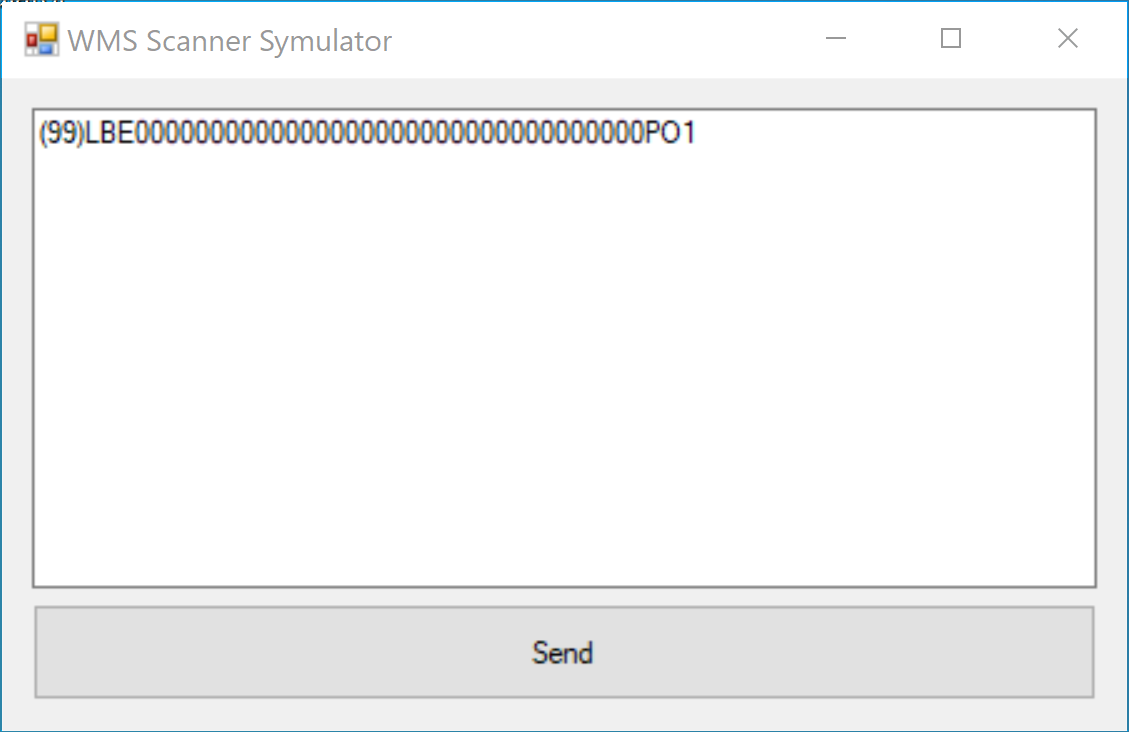
For testing purposes, you can use the scanner simulator available here: WMSScannerSimulator.exe.
For sample test data you can use the attached file: SEC Clustering Test Case 09.01.2020 - 01.xlsx..
Attributes that have a GS1-ID defined must be preceded by it in the simulator, e.g. SEC - Purchase Order must be preceded (99).
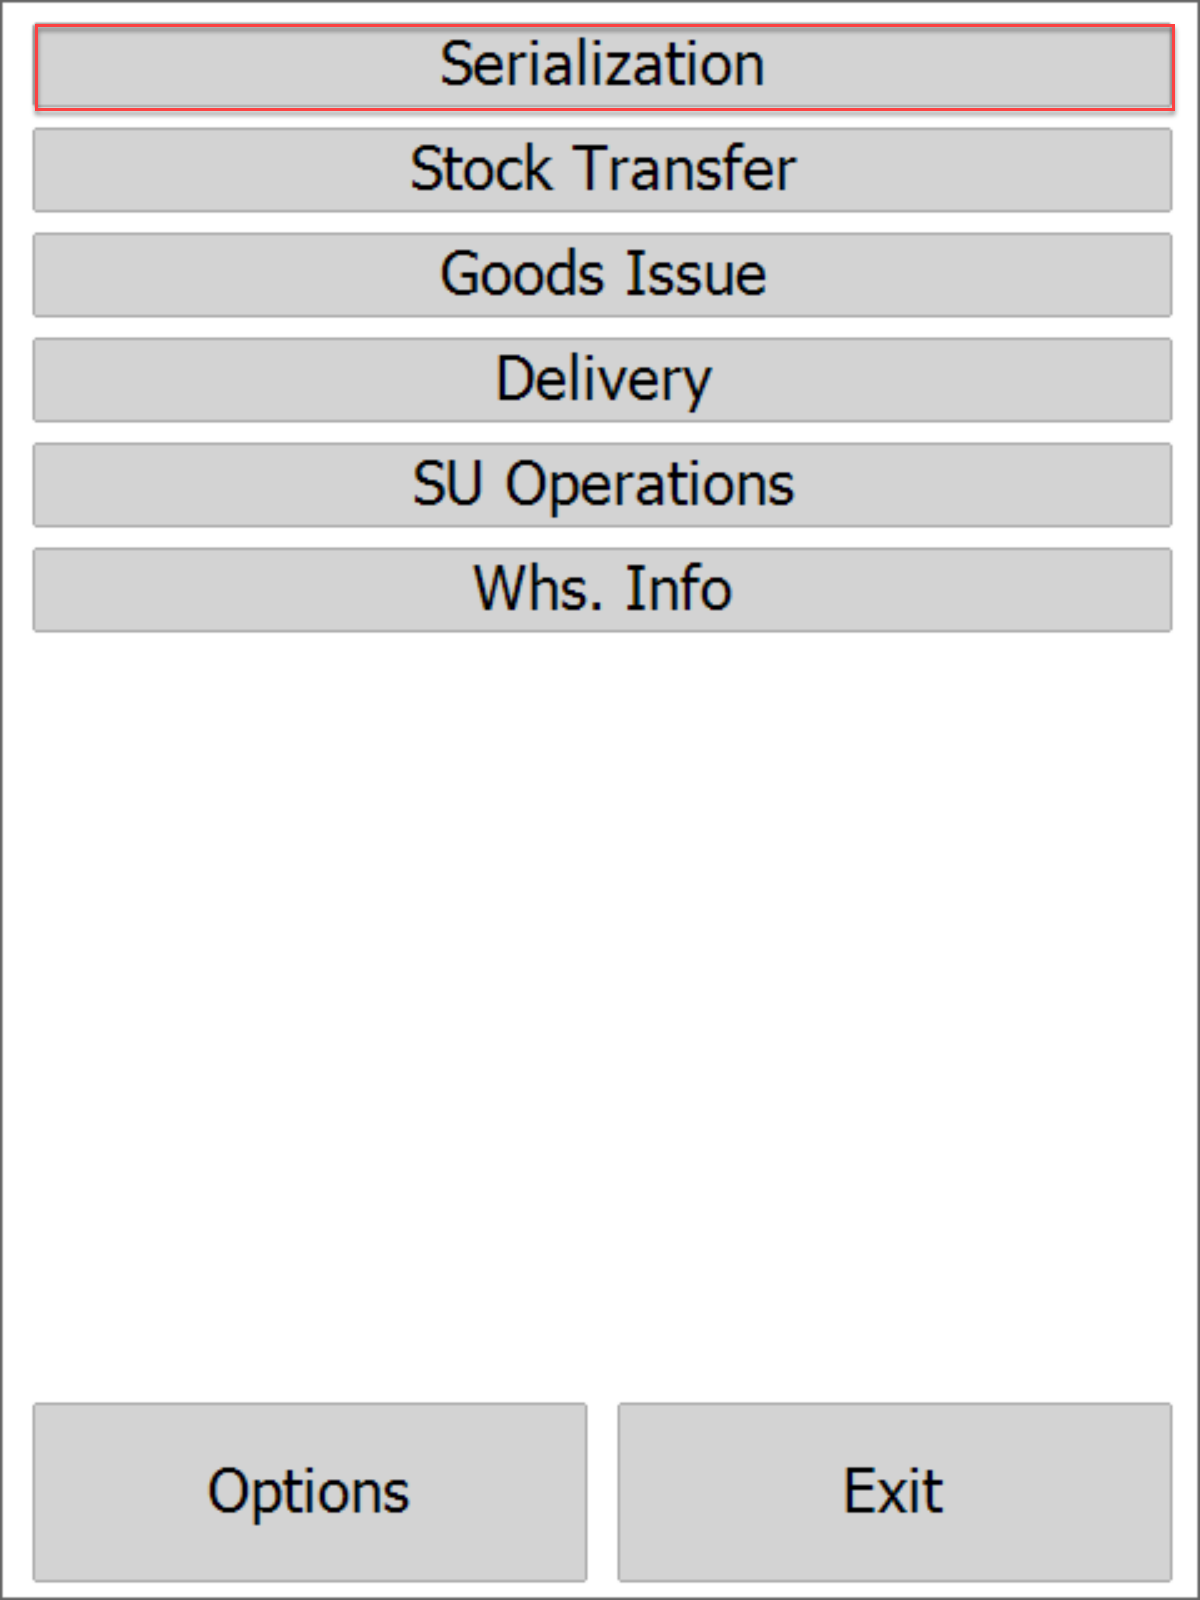
Enable Serialization in CompuTec WMS (check here). Log in to CompuTec WMS (check here).
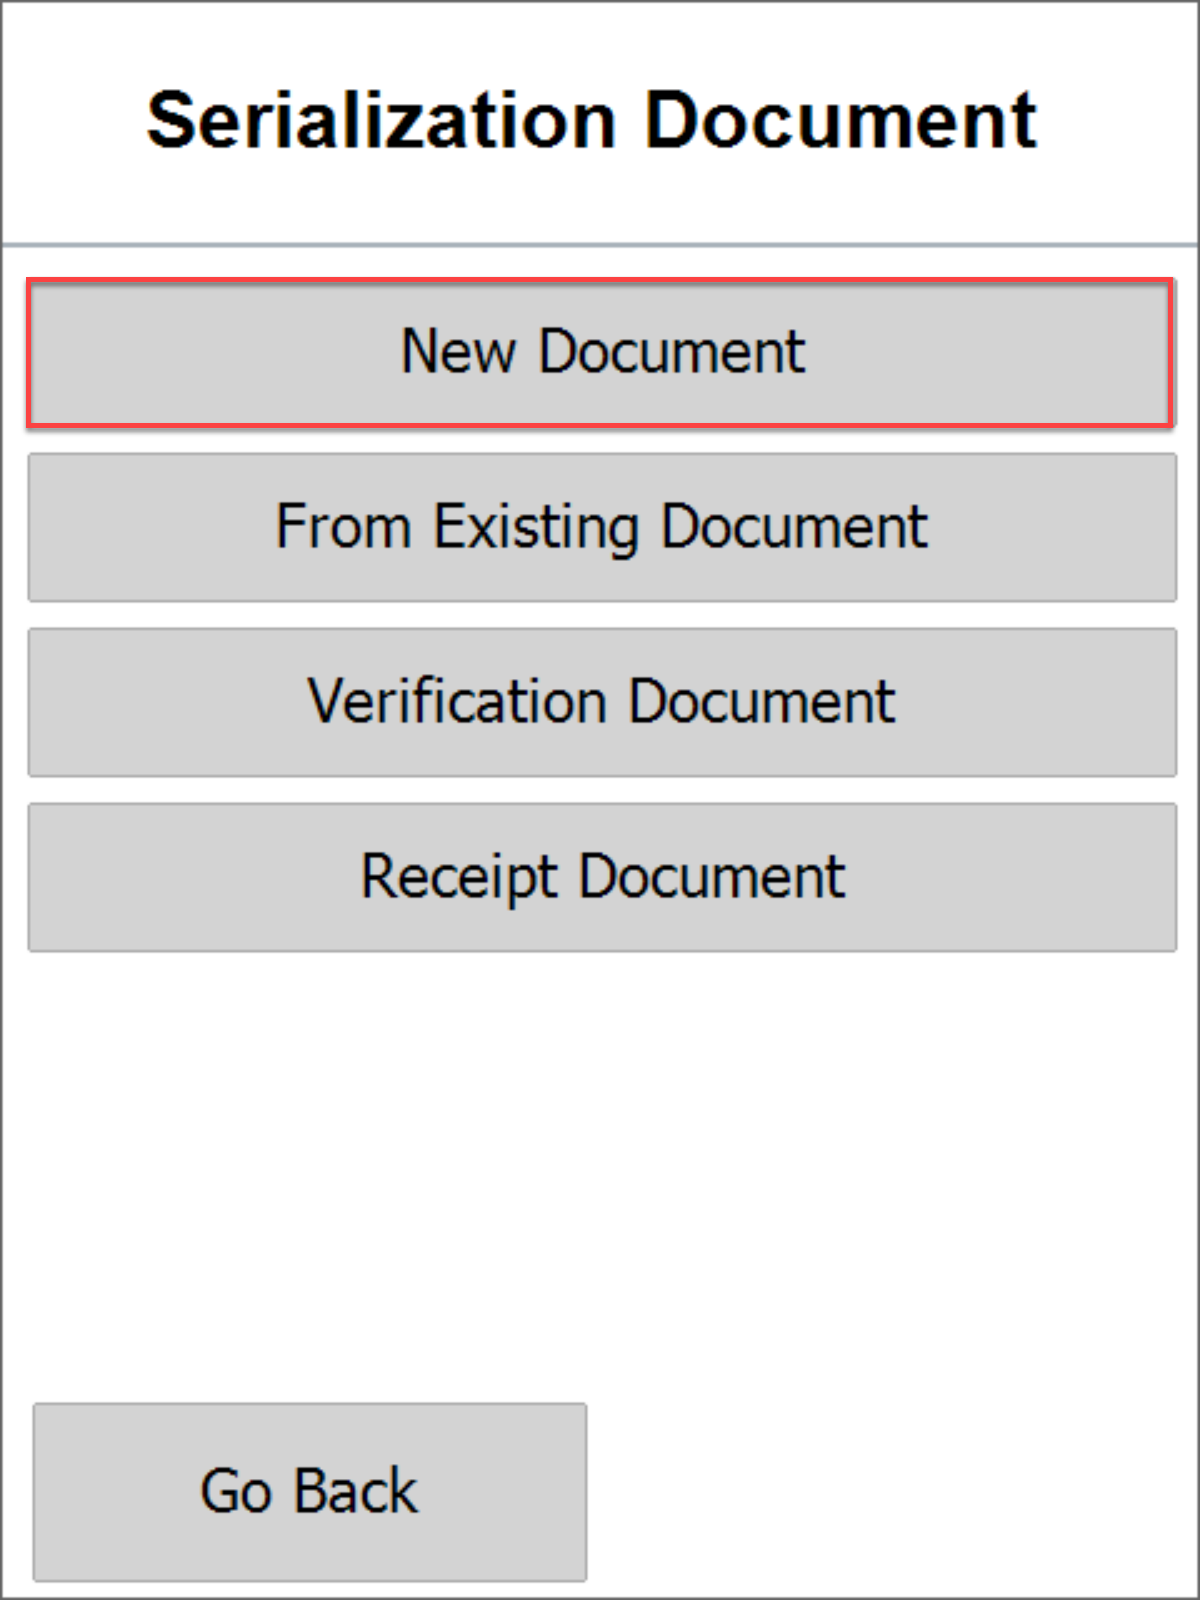
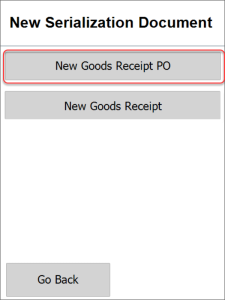
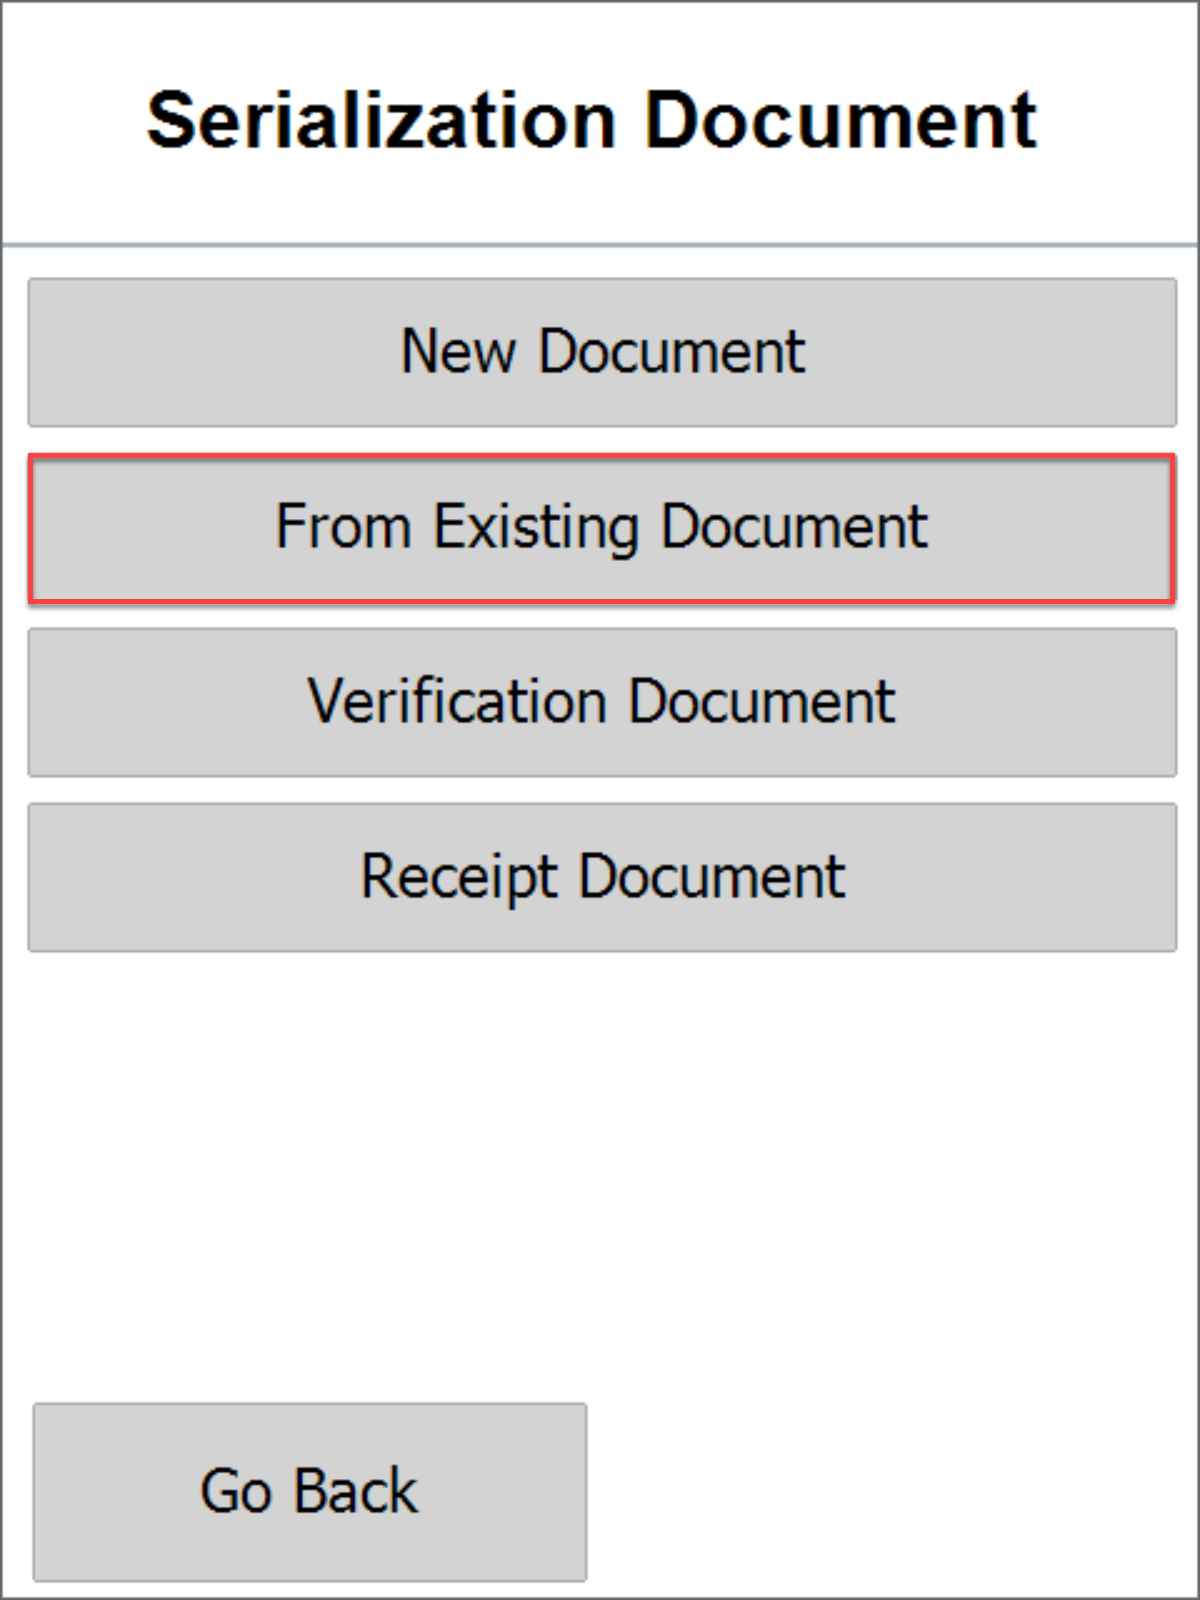
Start Serialisation Document:
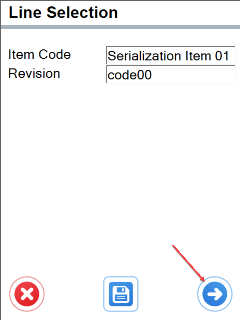
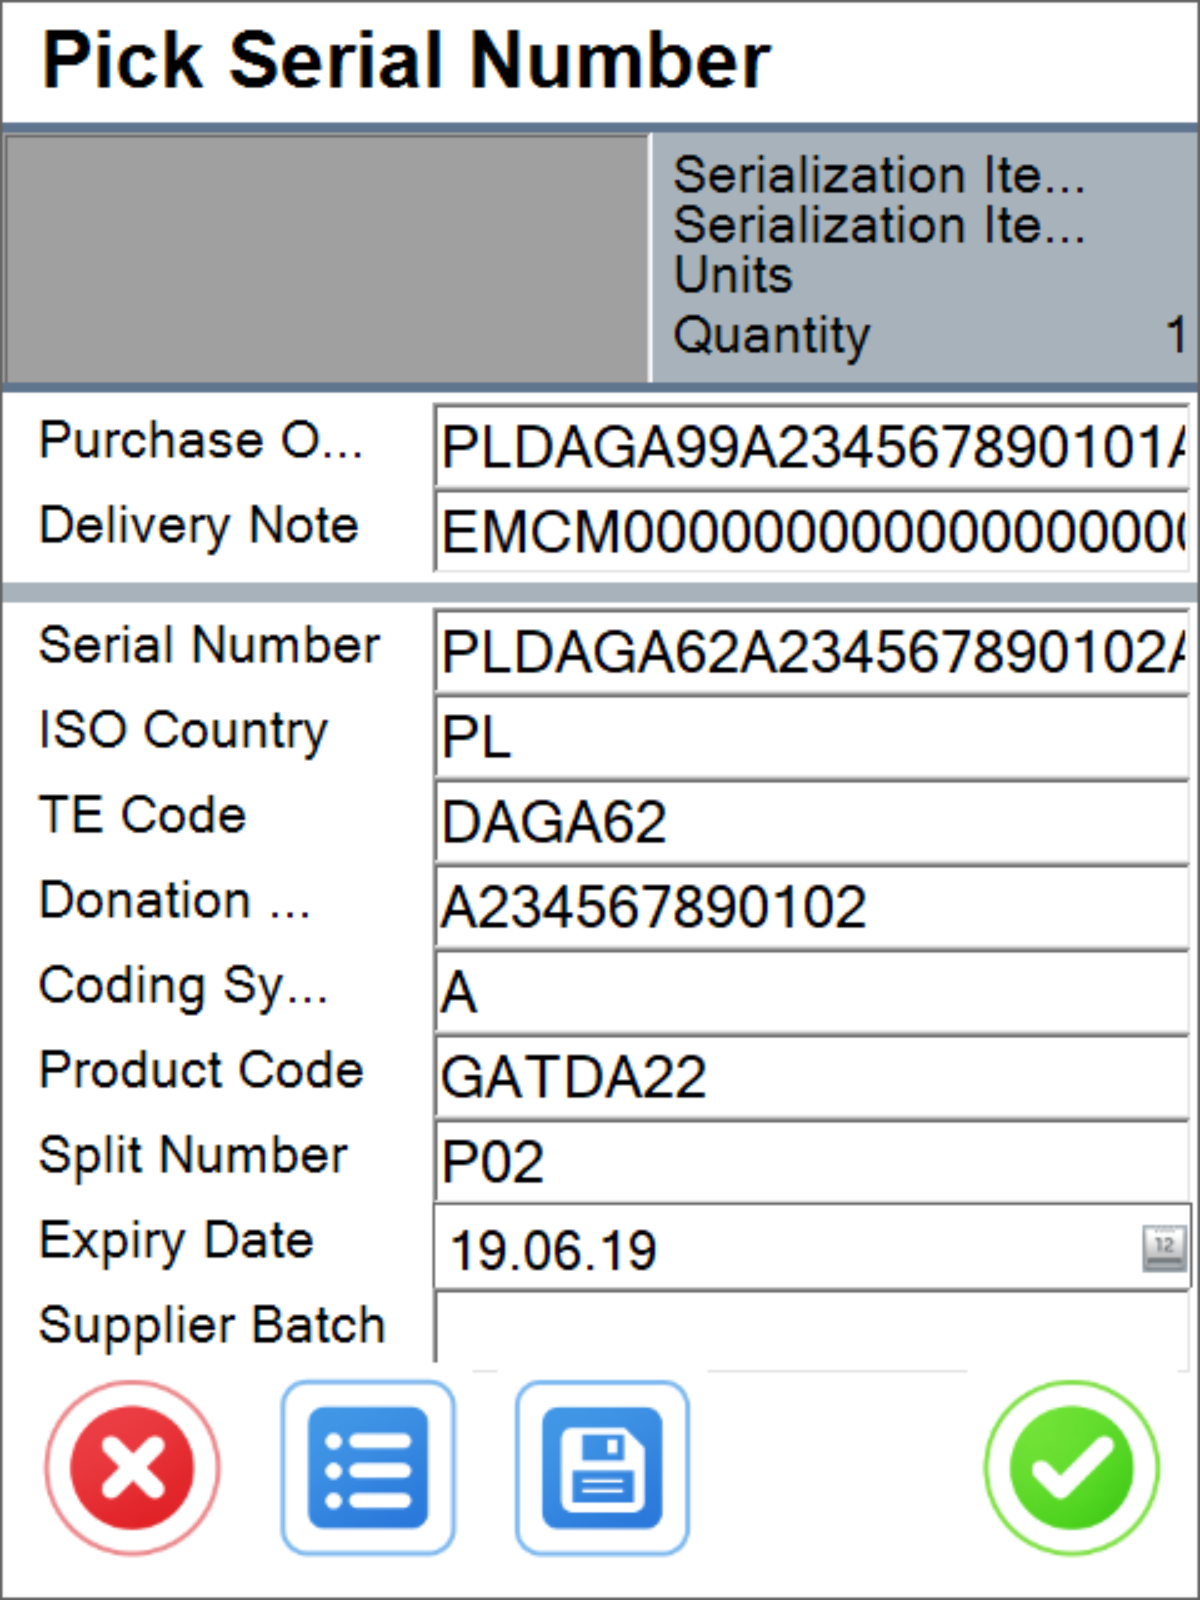
Start scanning data for the first serial number:
- Purchase Order.
- Delivery Note.
- Serial Number.
- Supplier Batch.
After scanning the data of the first serial number you will be redirected to scan the next one.
(You can also choose the New Goods Receipt option to receipt goods serialized Items without a Purchase Order)
If you want to cancel scanning, select Clustering, and then  . You will be able to return to this document.
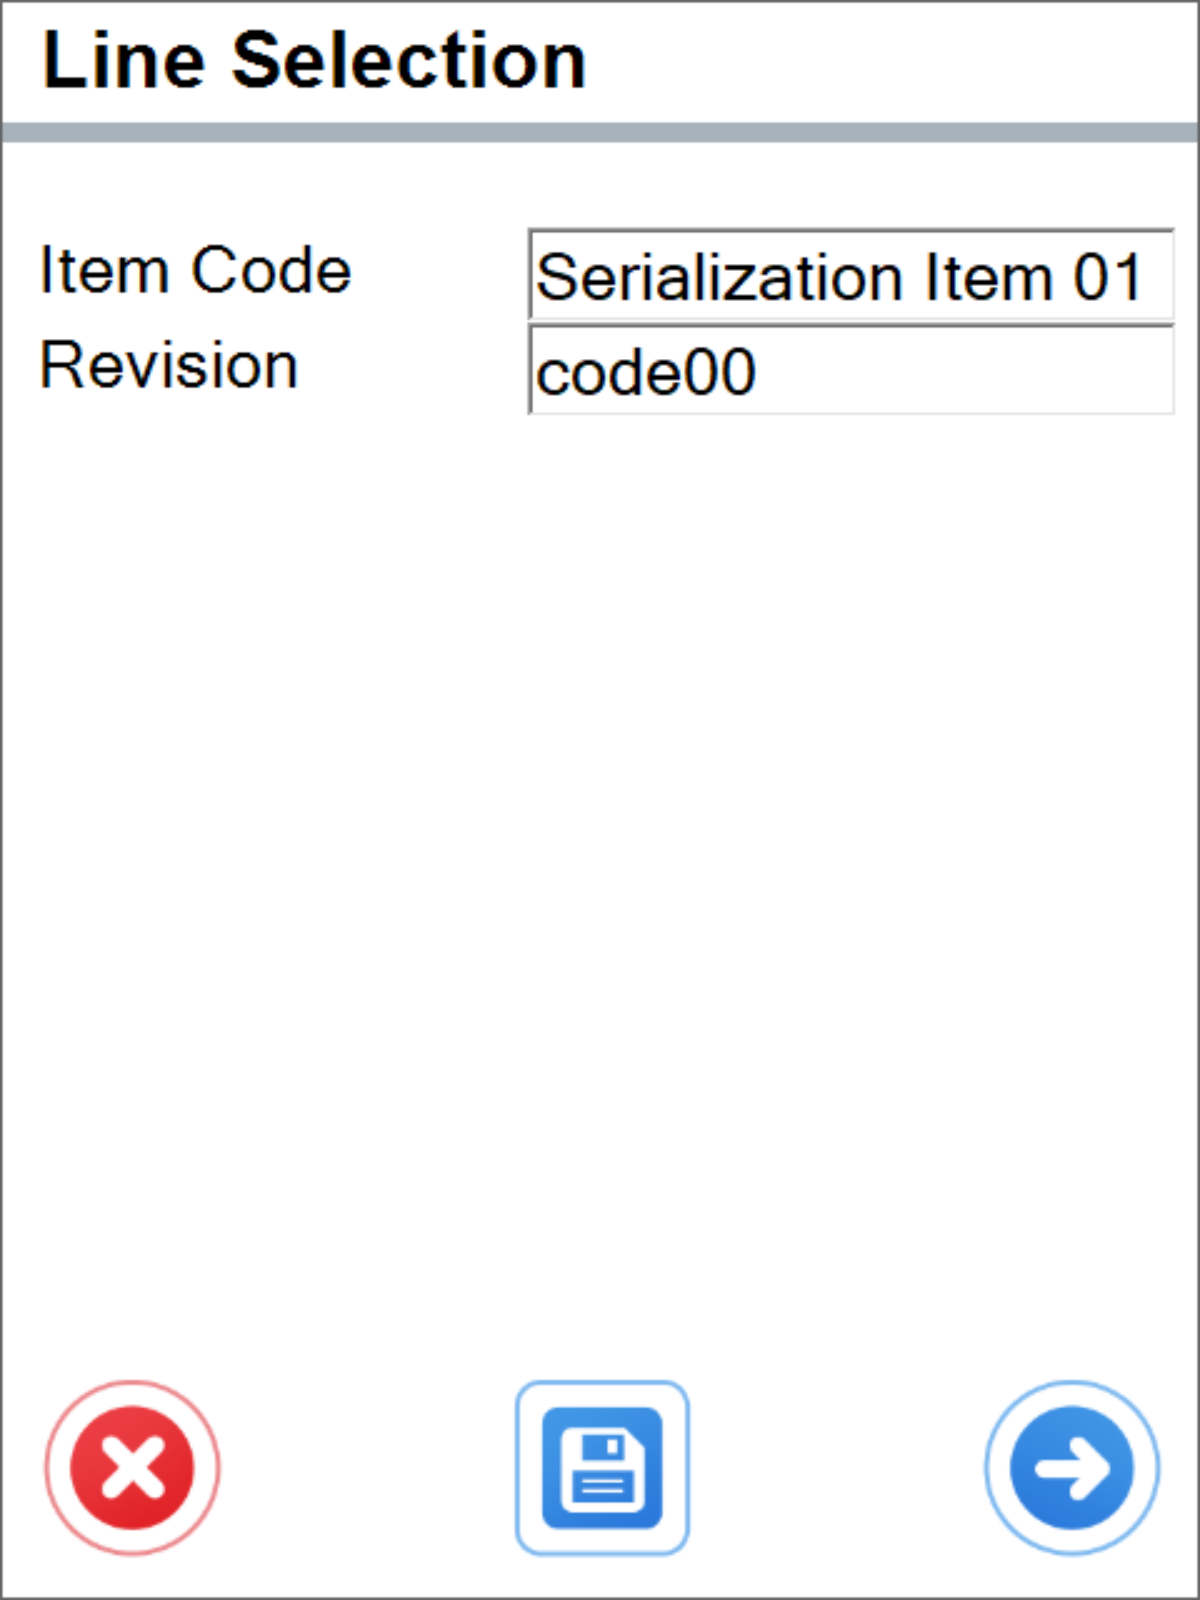
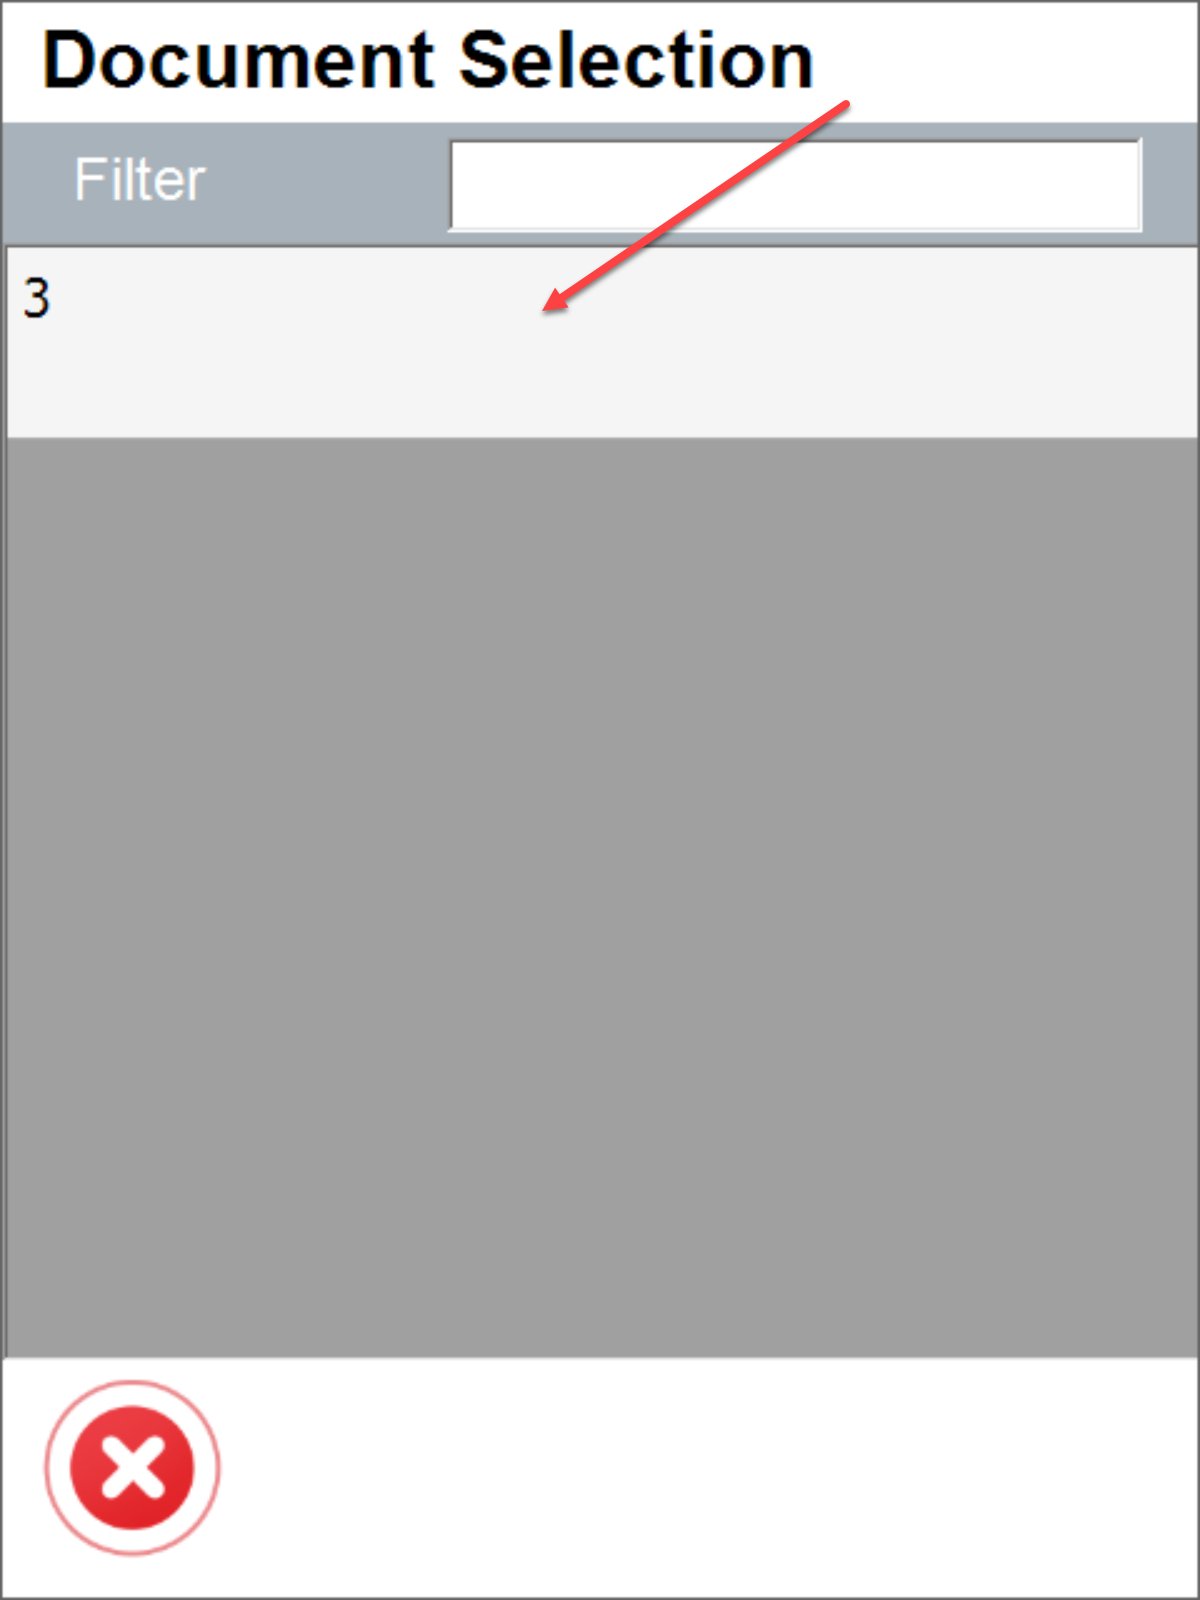
Return to editing the serialization document.
Continue scanning serial numbers.vTo finish the serialization document, select  , and then
  .
.
Deleting SN in CompuTec WMS
When receiving a serialised item the SN is generated directly at GRPO scanning. When an employee notices it was received on a wrong PO, or wrong Pack List, it is possible to delete it.
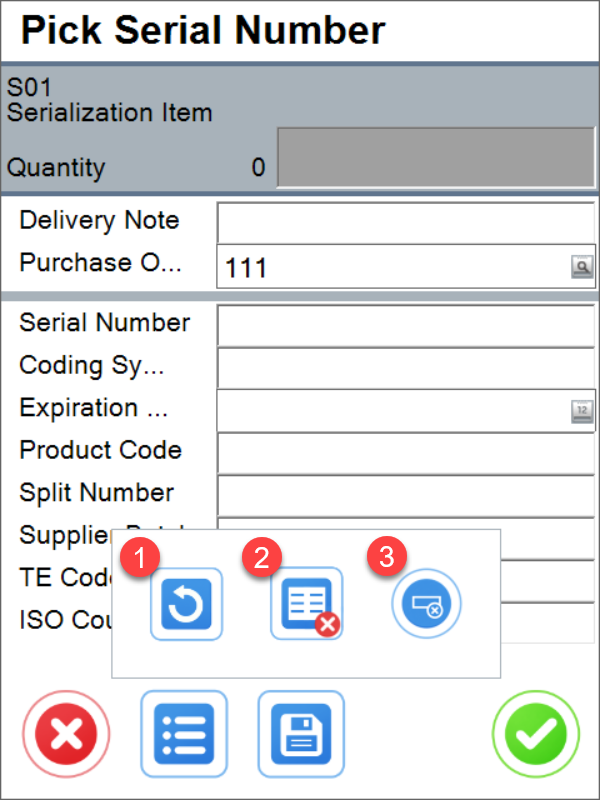
- Clear Common Fields.
- Clear SU List.
- Delete Serial Numbers.
Check serialisation document
The unfinished document is in Open status. The finished document is in the status of Ready To Accept. The document has to be accepted for further processing. Document in status Ready To Accept can be edited to make corrections. To do this, go to the WEB application and select:


Add or remove batch – RMBM option on batch line:

Change of SN assignment to batch:

Finally, accept the serialization document:
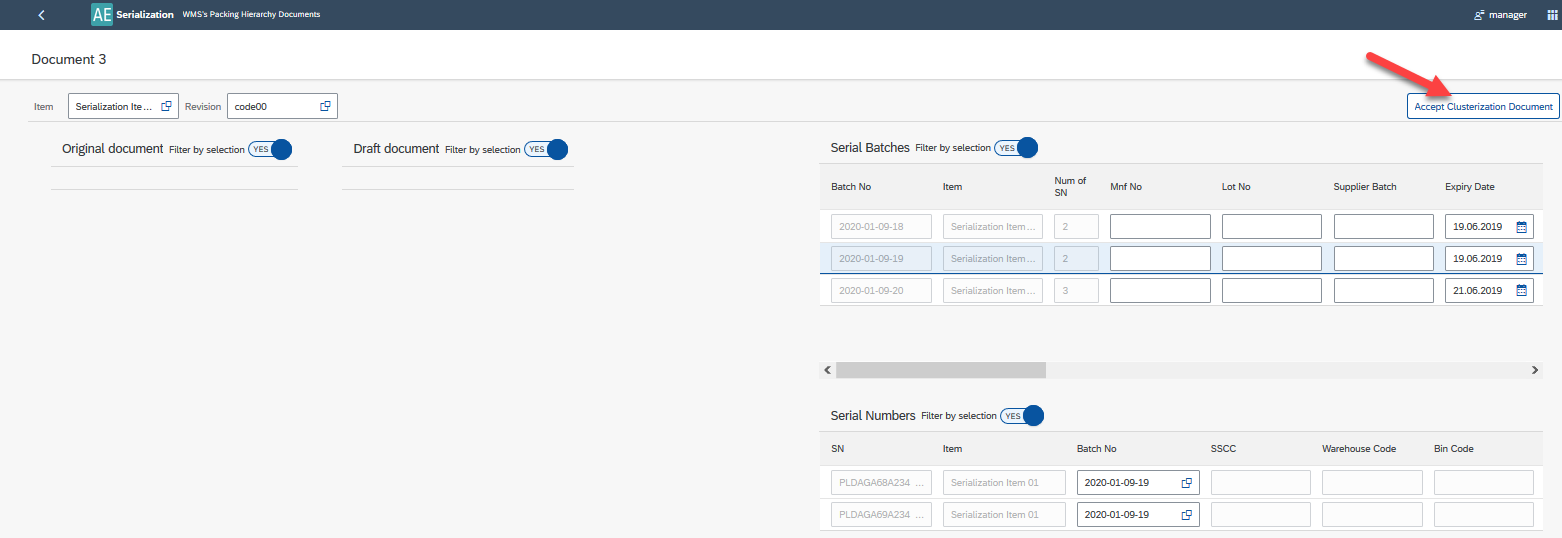
Once accepted, the status of the document changes to Verification.

Verification Document
The accepted serialization document is subject to verification in WMS:
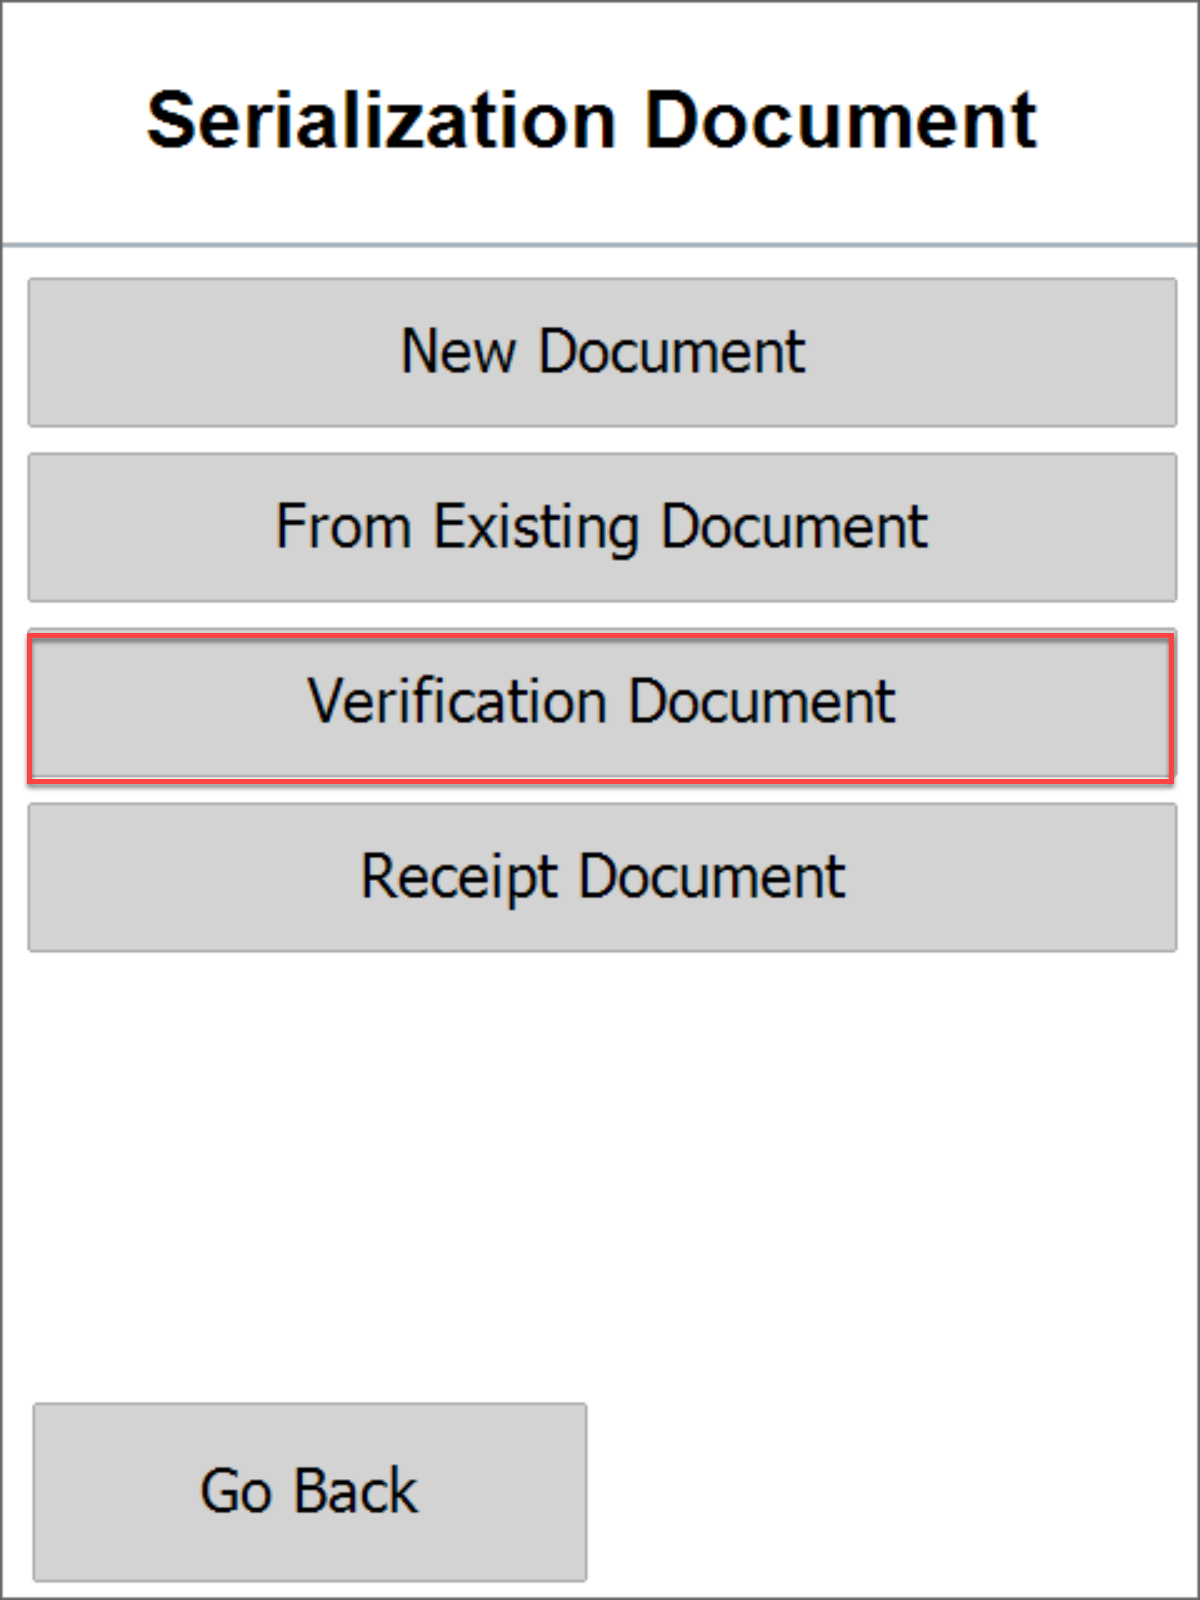
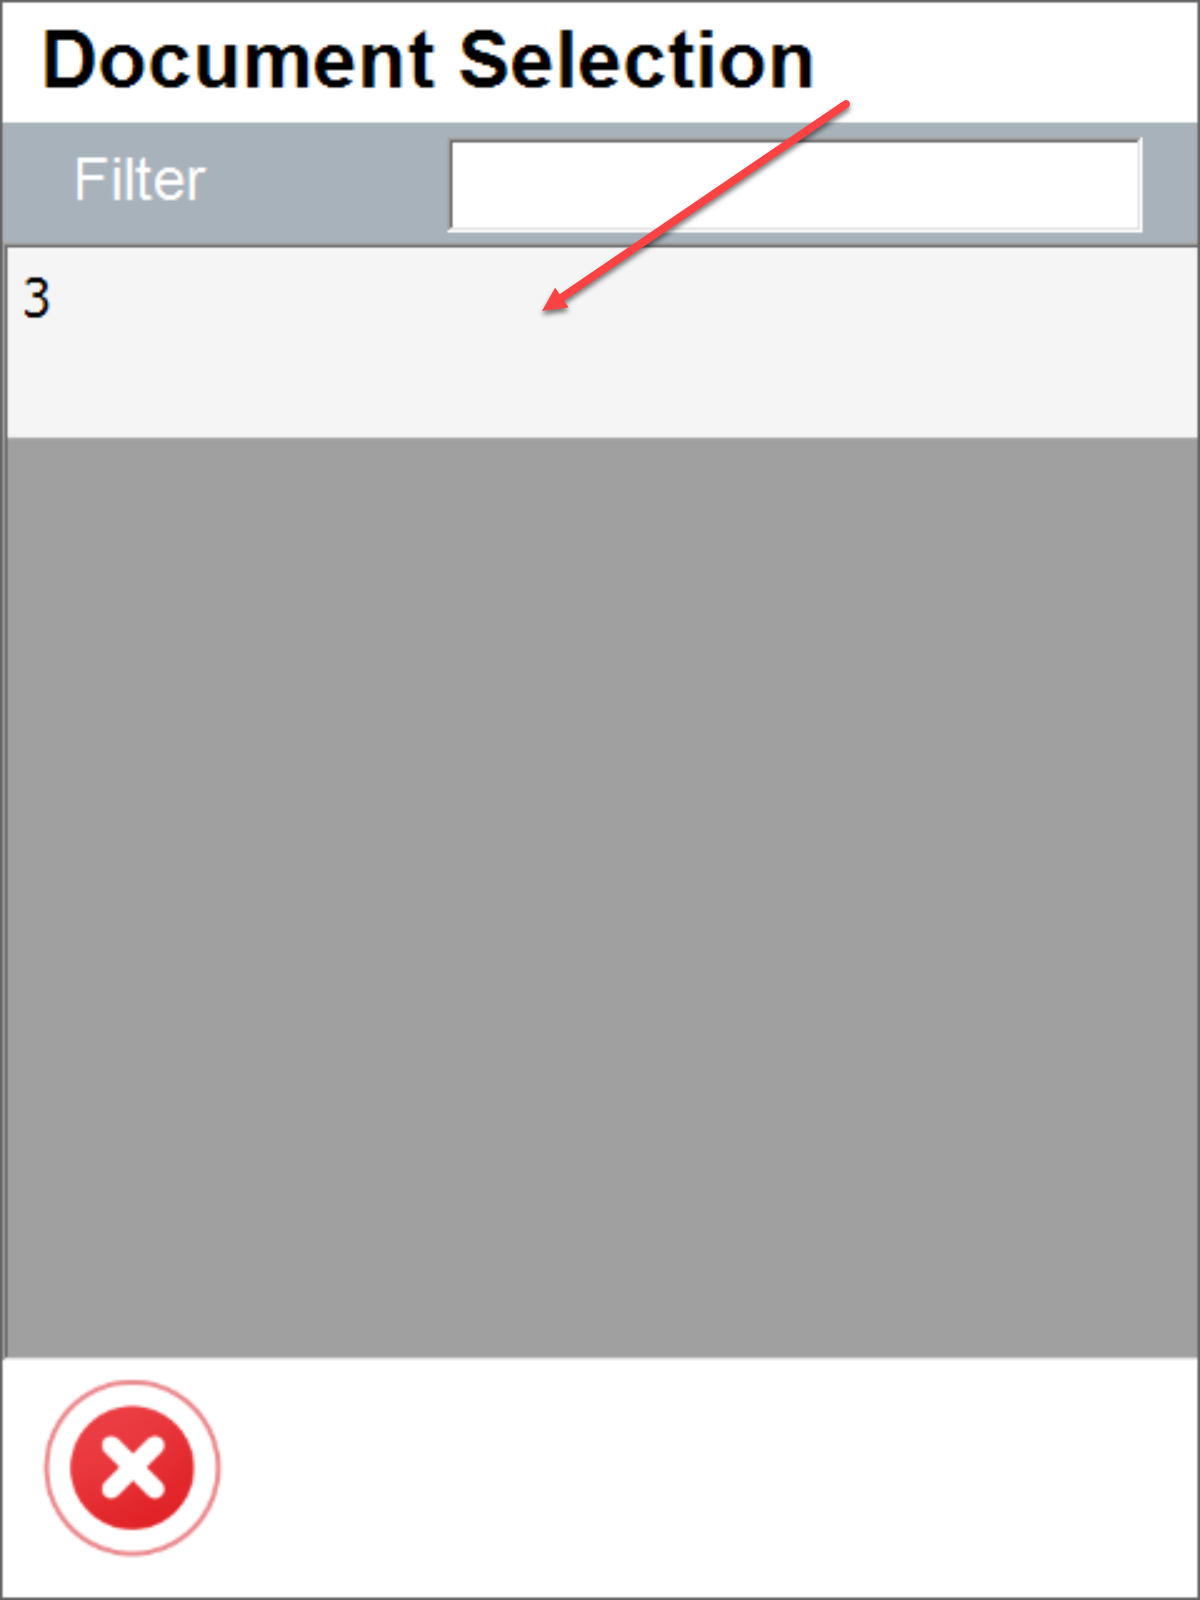
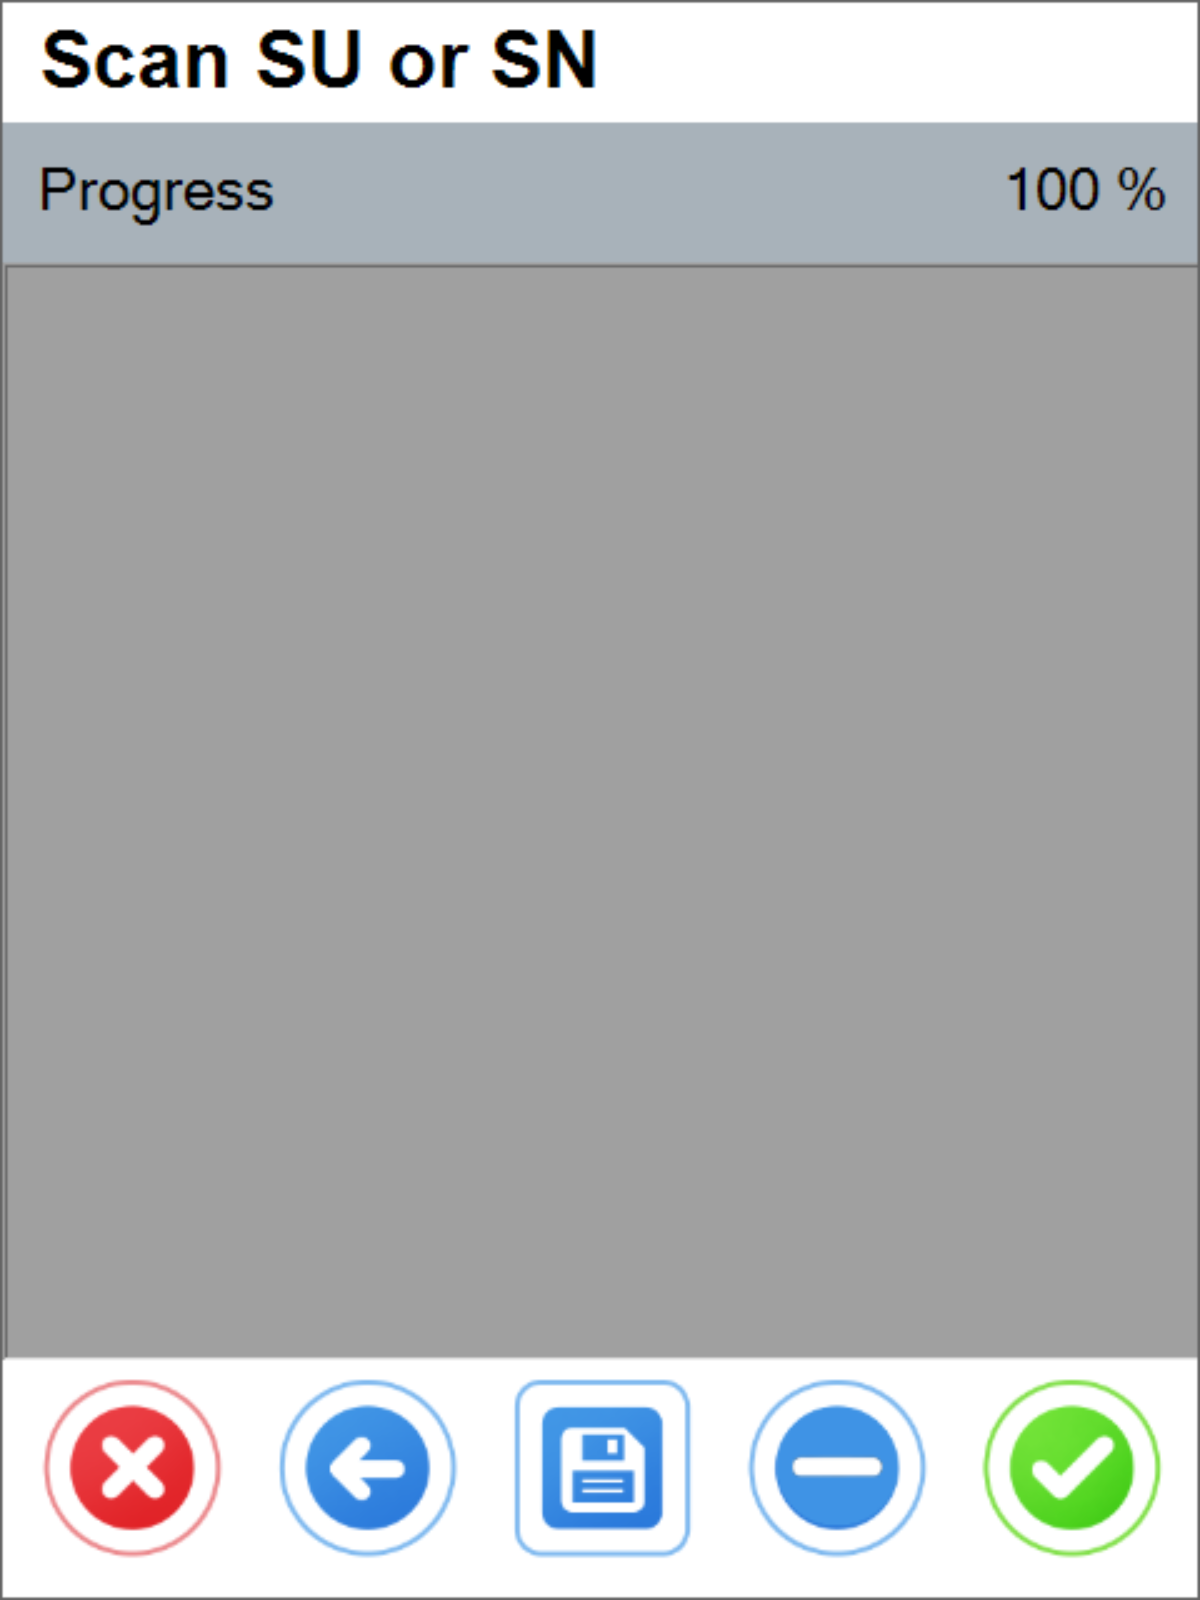
To confirm verification, select  .
.
The document status changes to Closed which is visible in the WEB application in the document list.

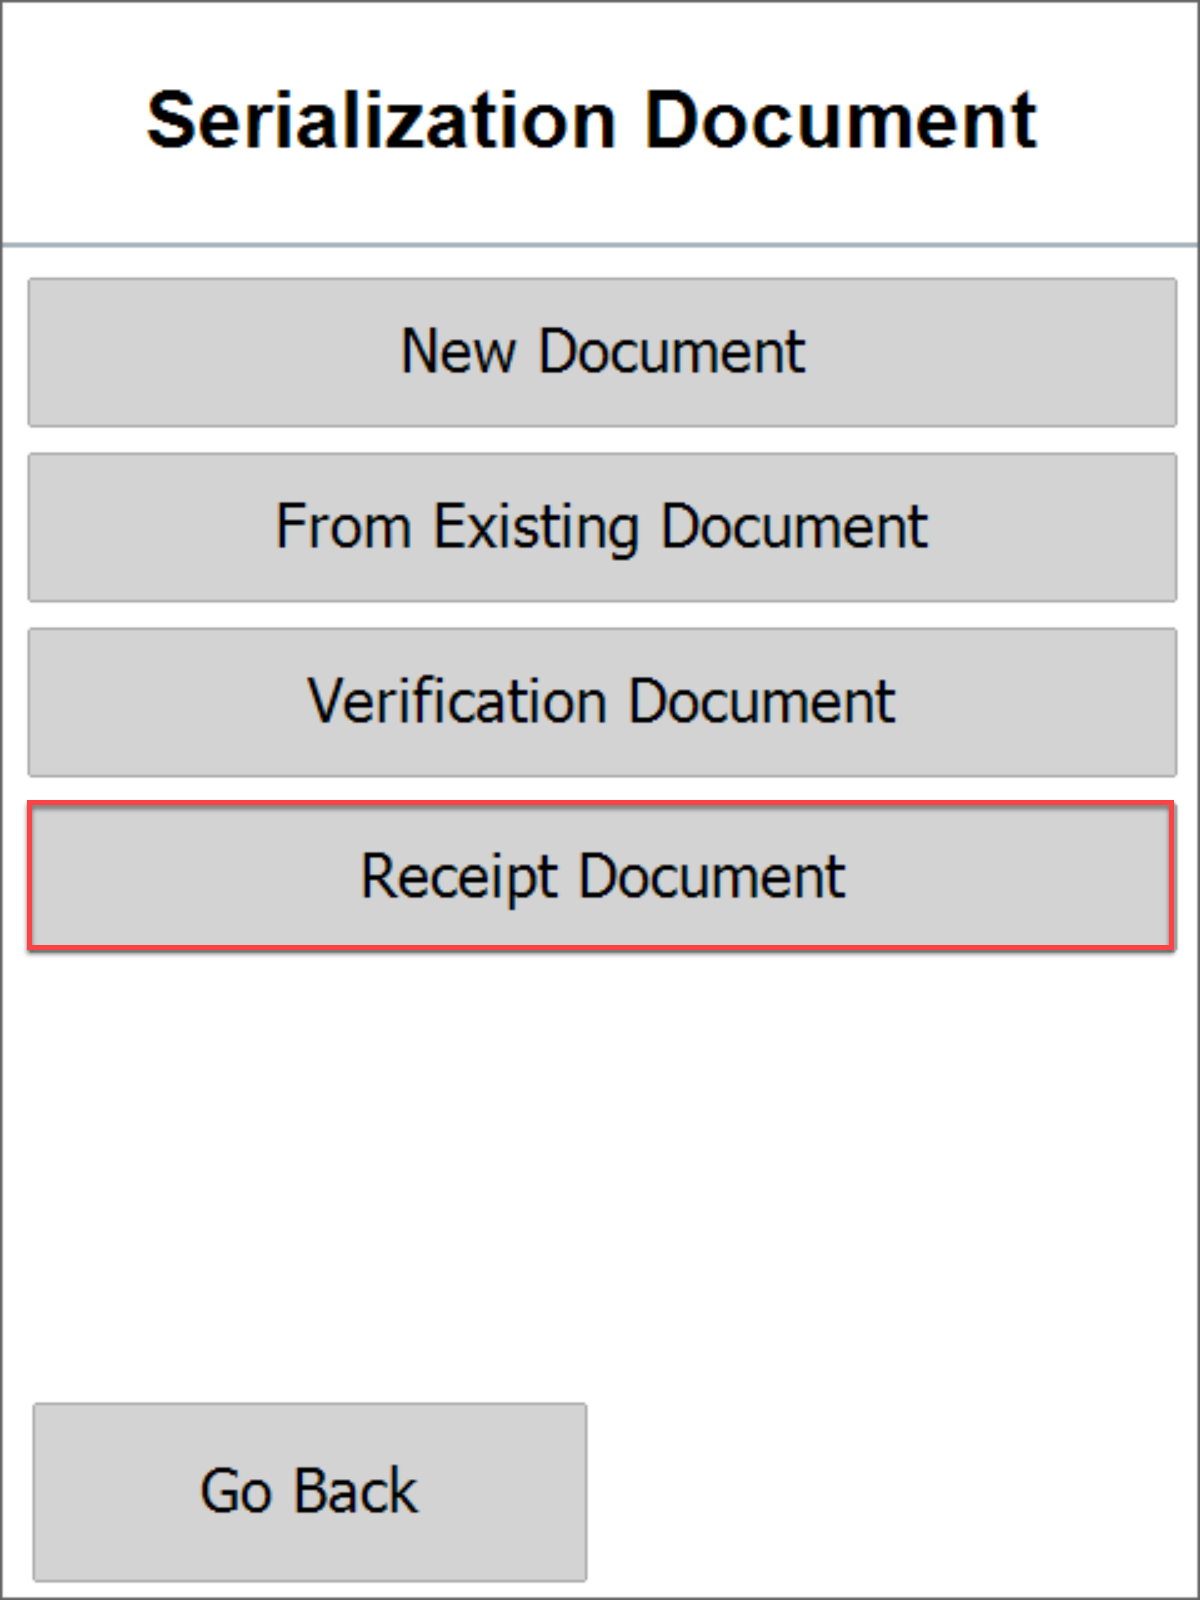
Receipt Document
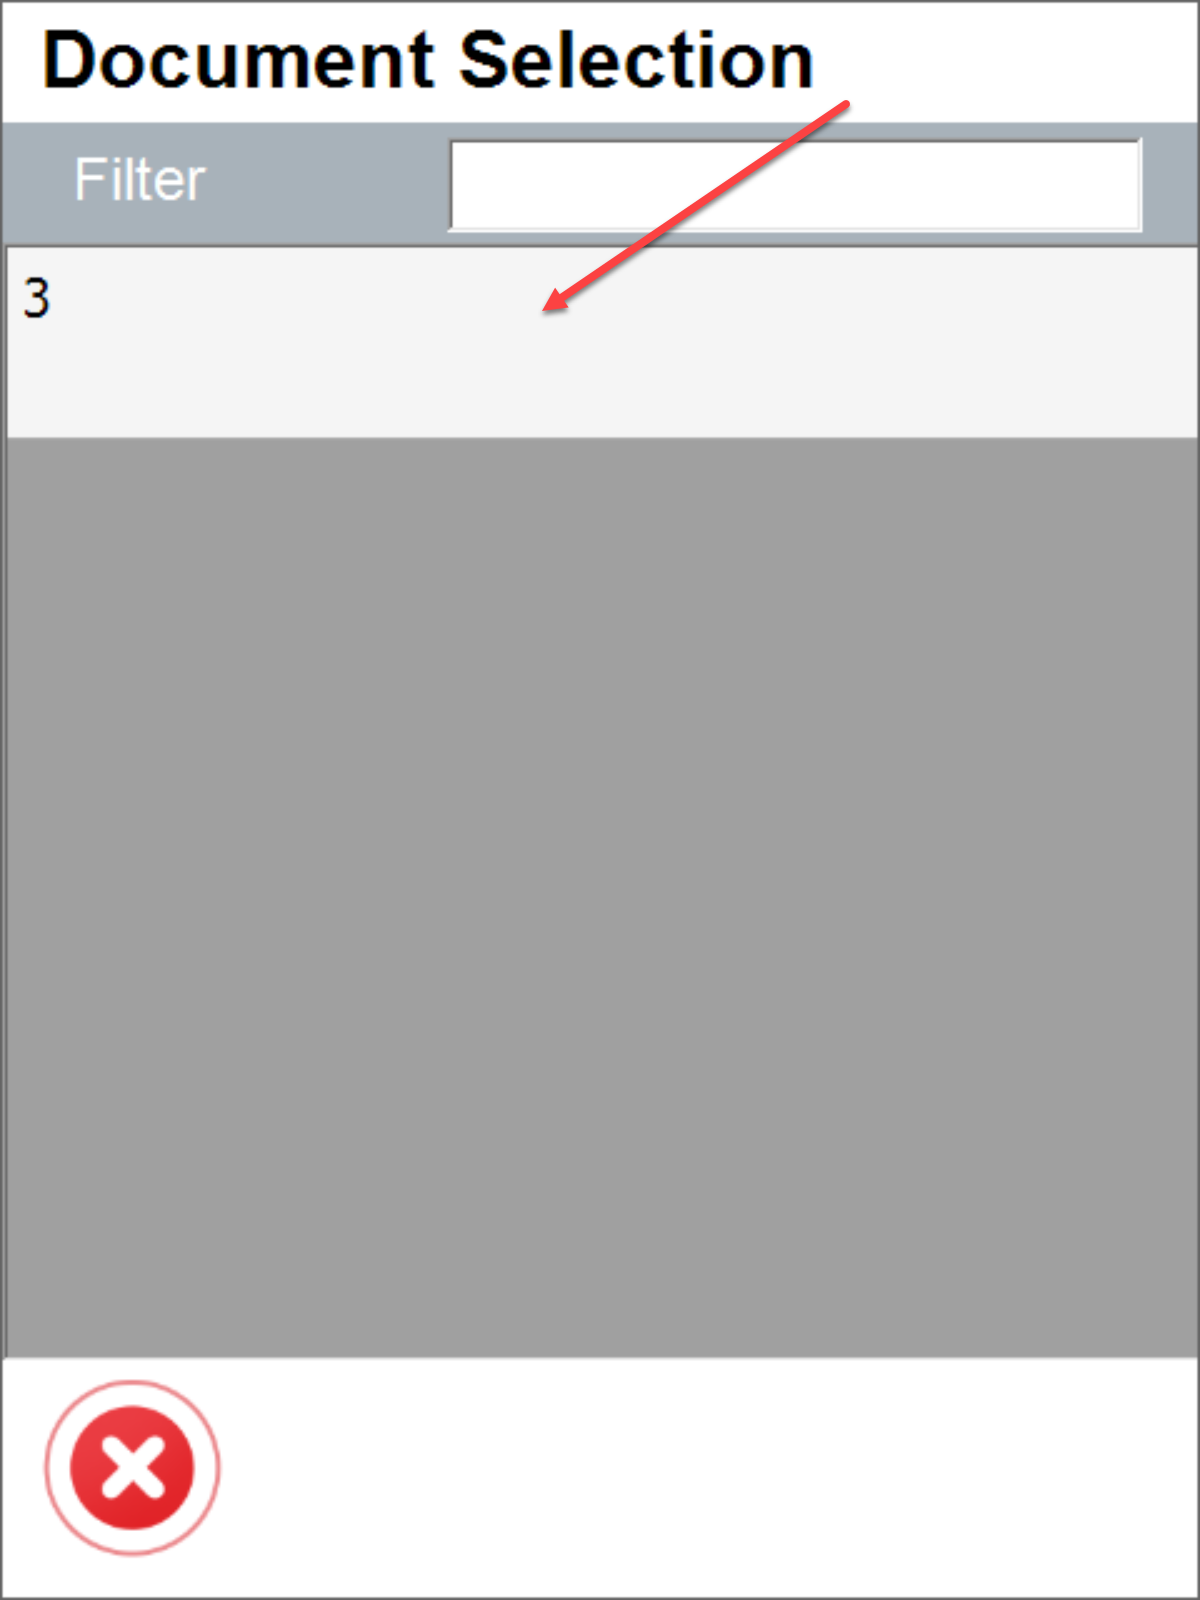
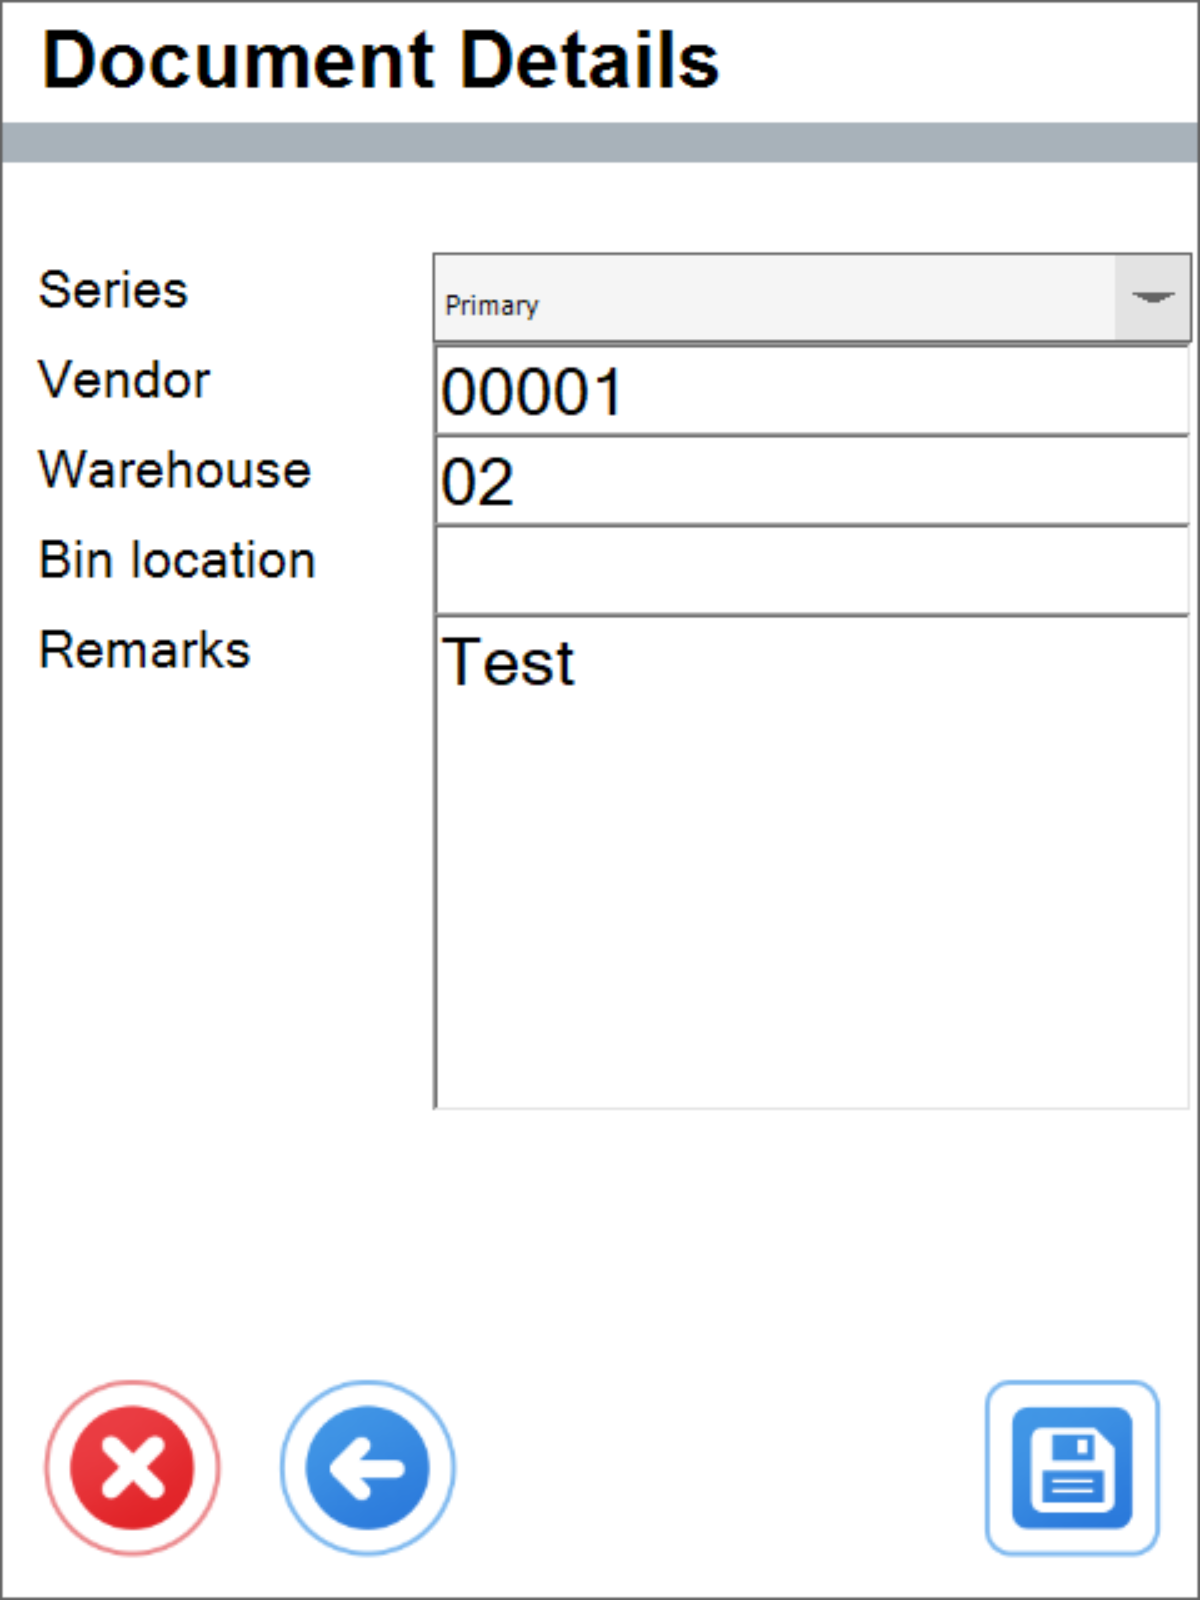
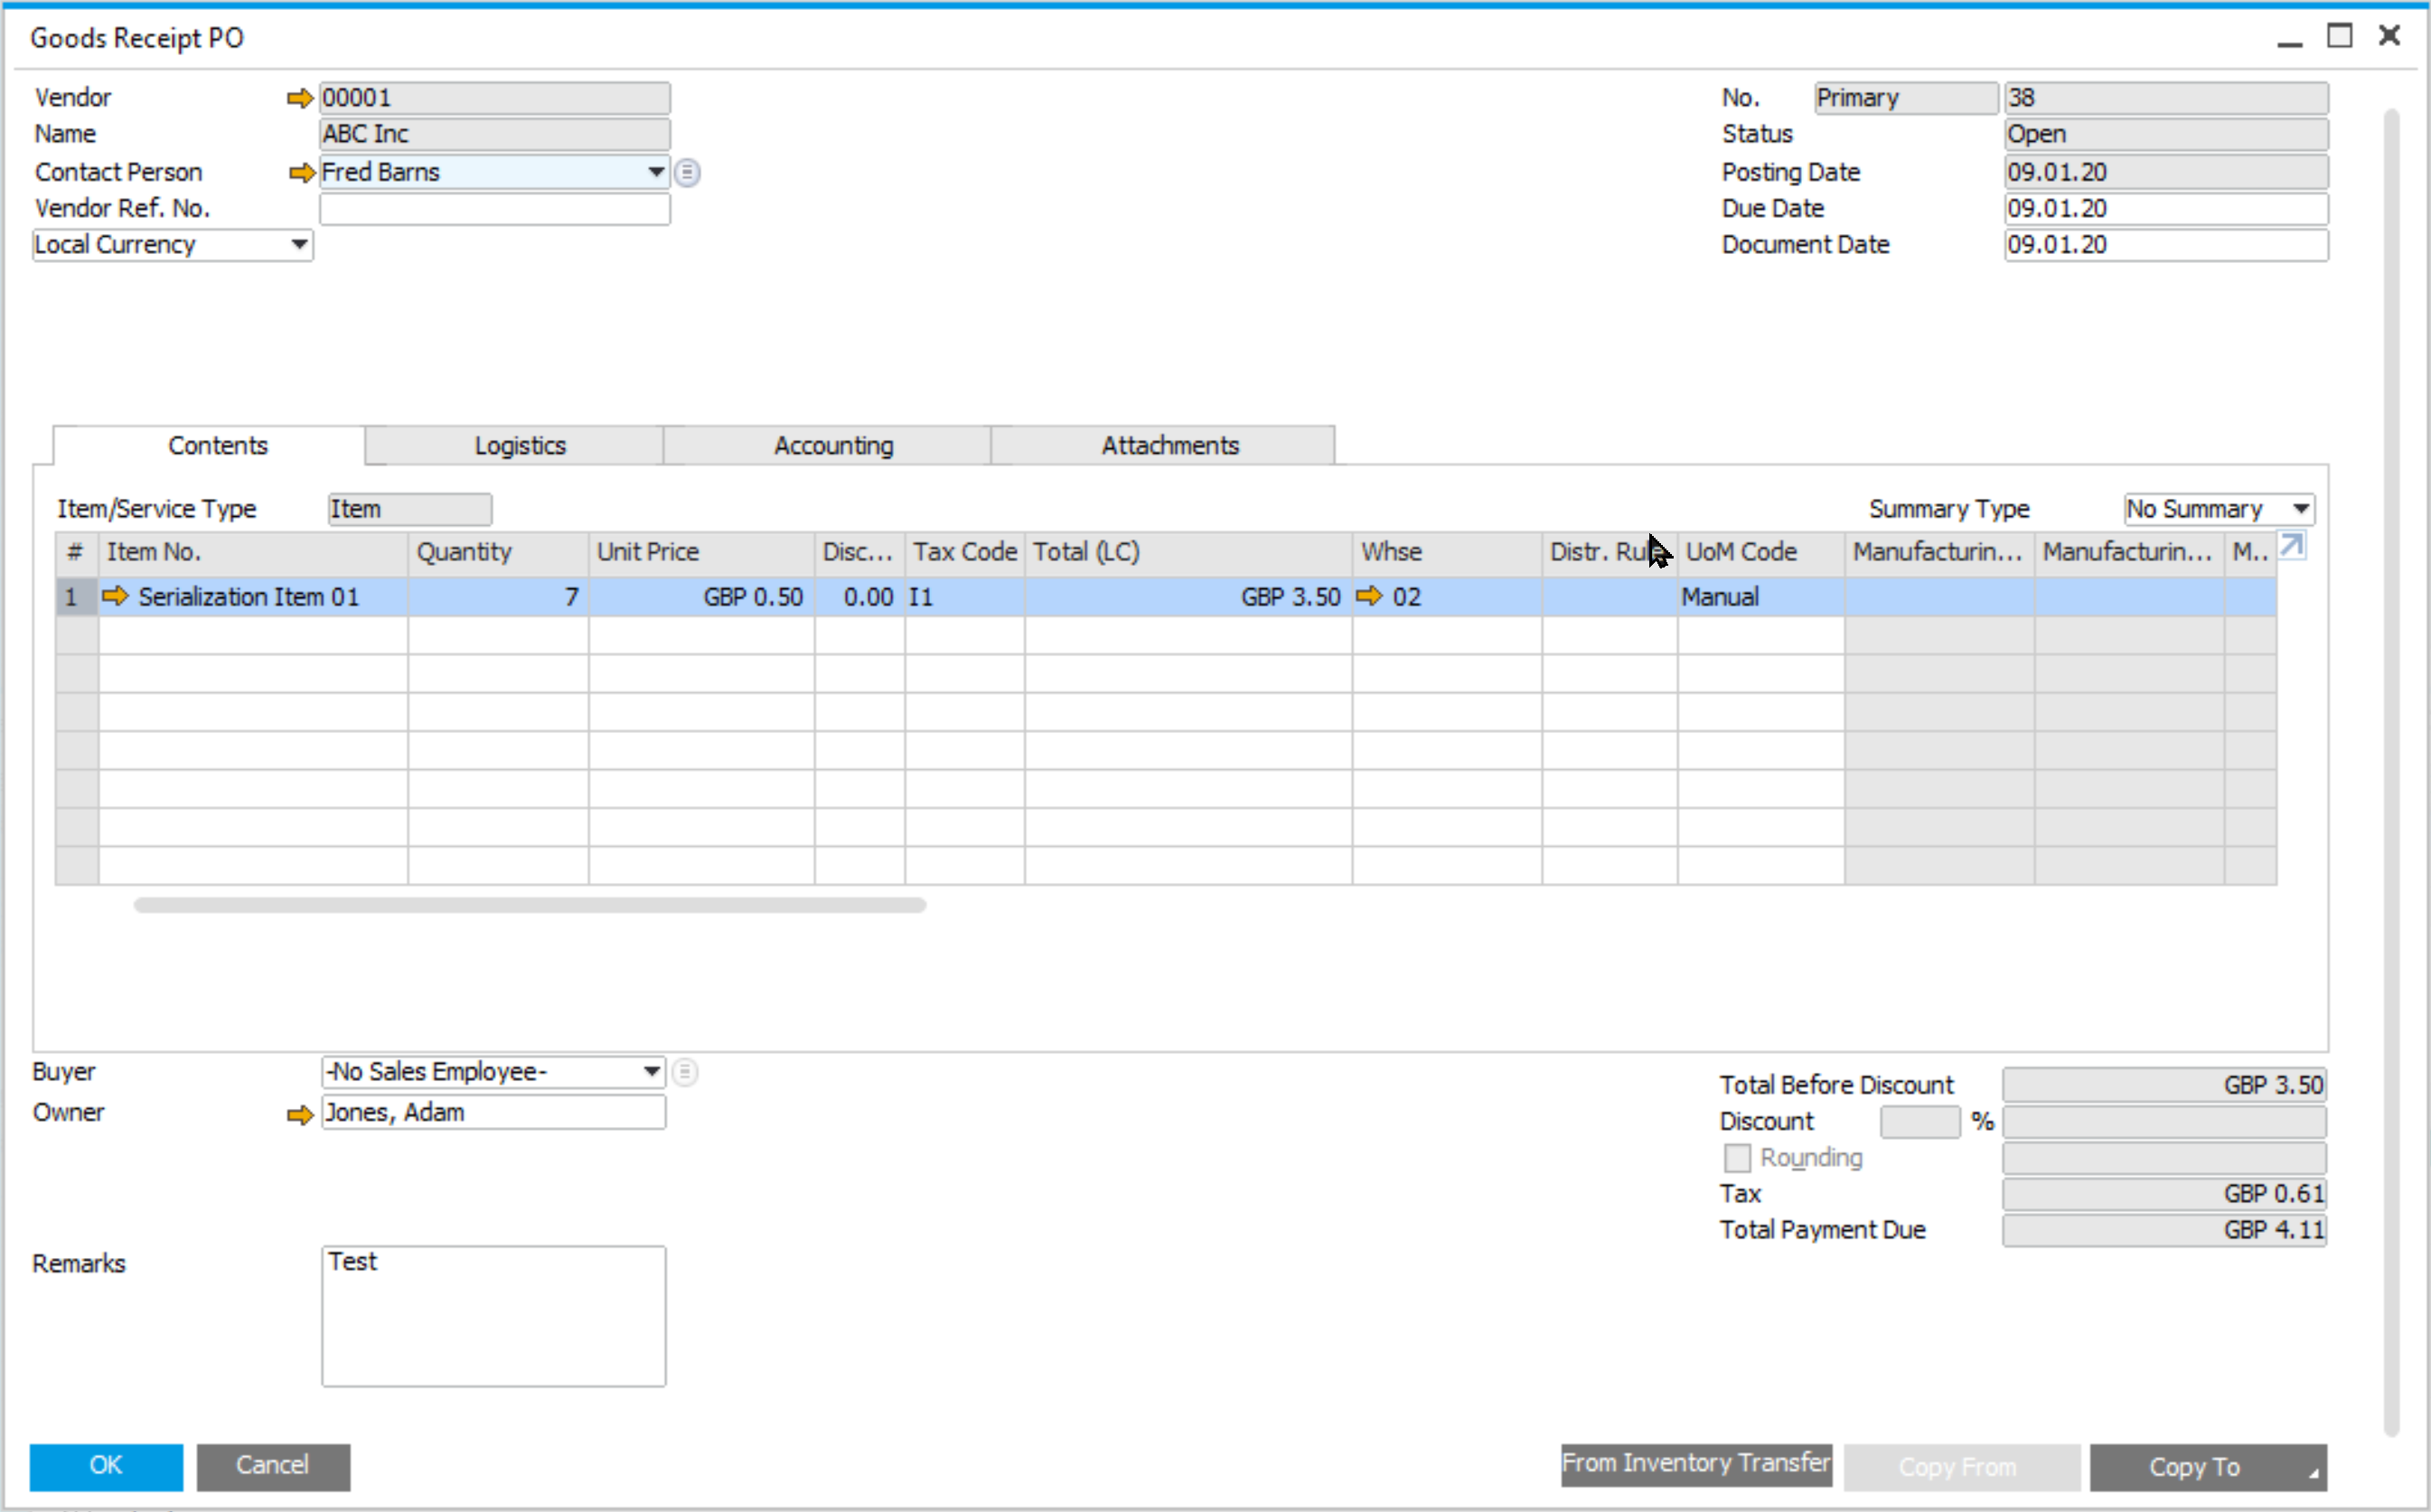
Go to Receipt Document and enter Vendor, Warehouse and Bin Location (if applicable) and optionally Remarks, and then select  . The GRPO document is saved and is now visible in SAP B1.
Goods Receipt PO in SAP B1:
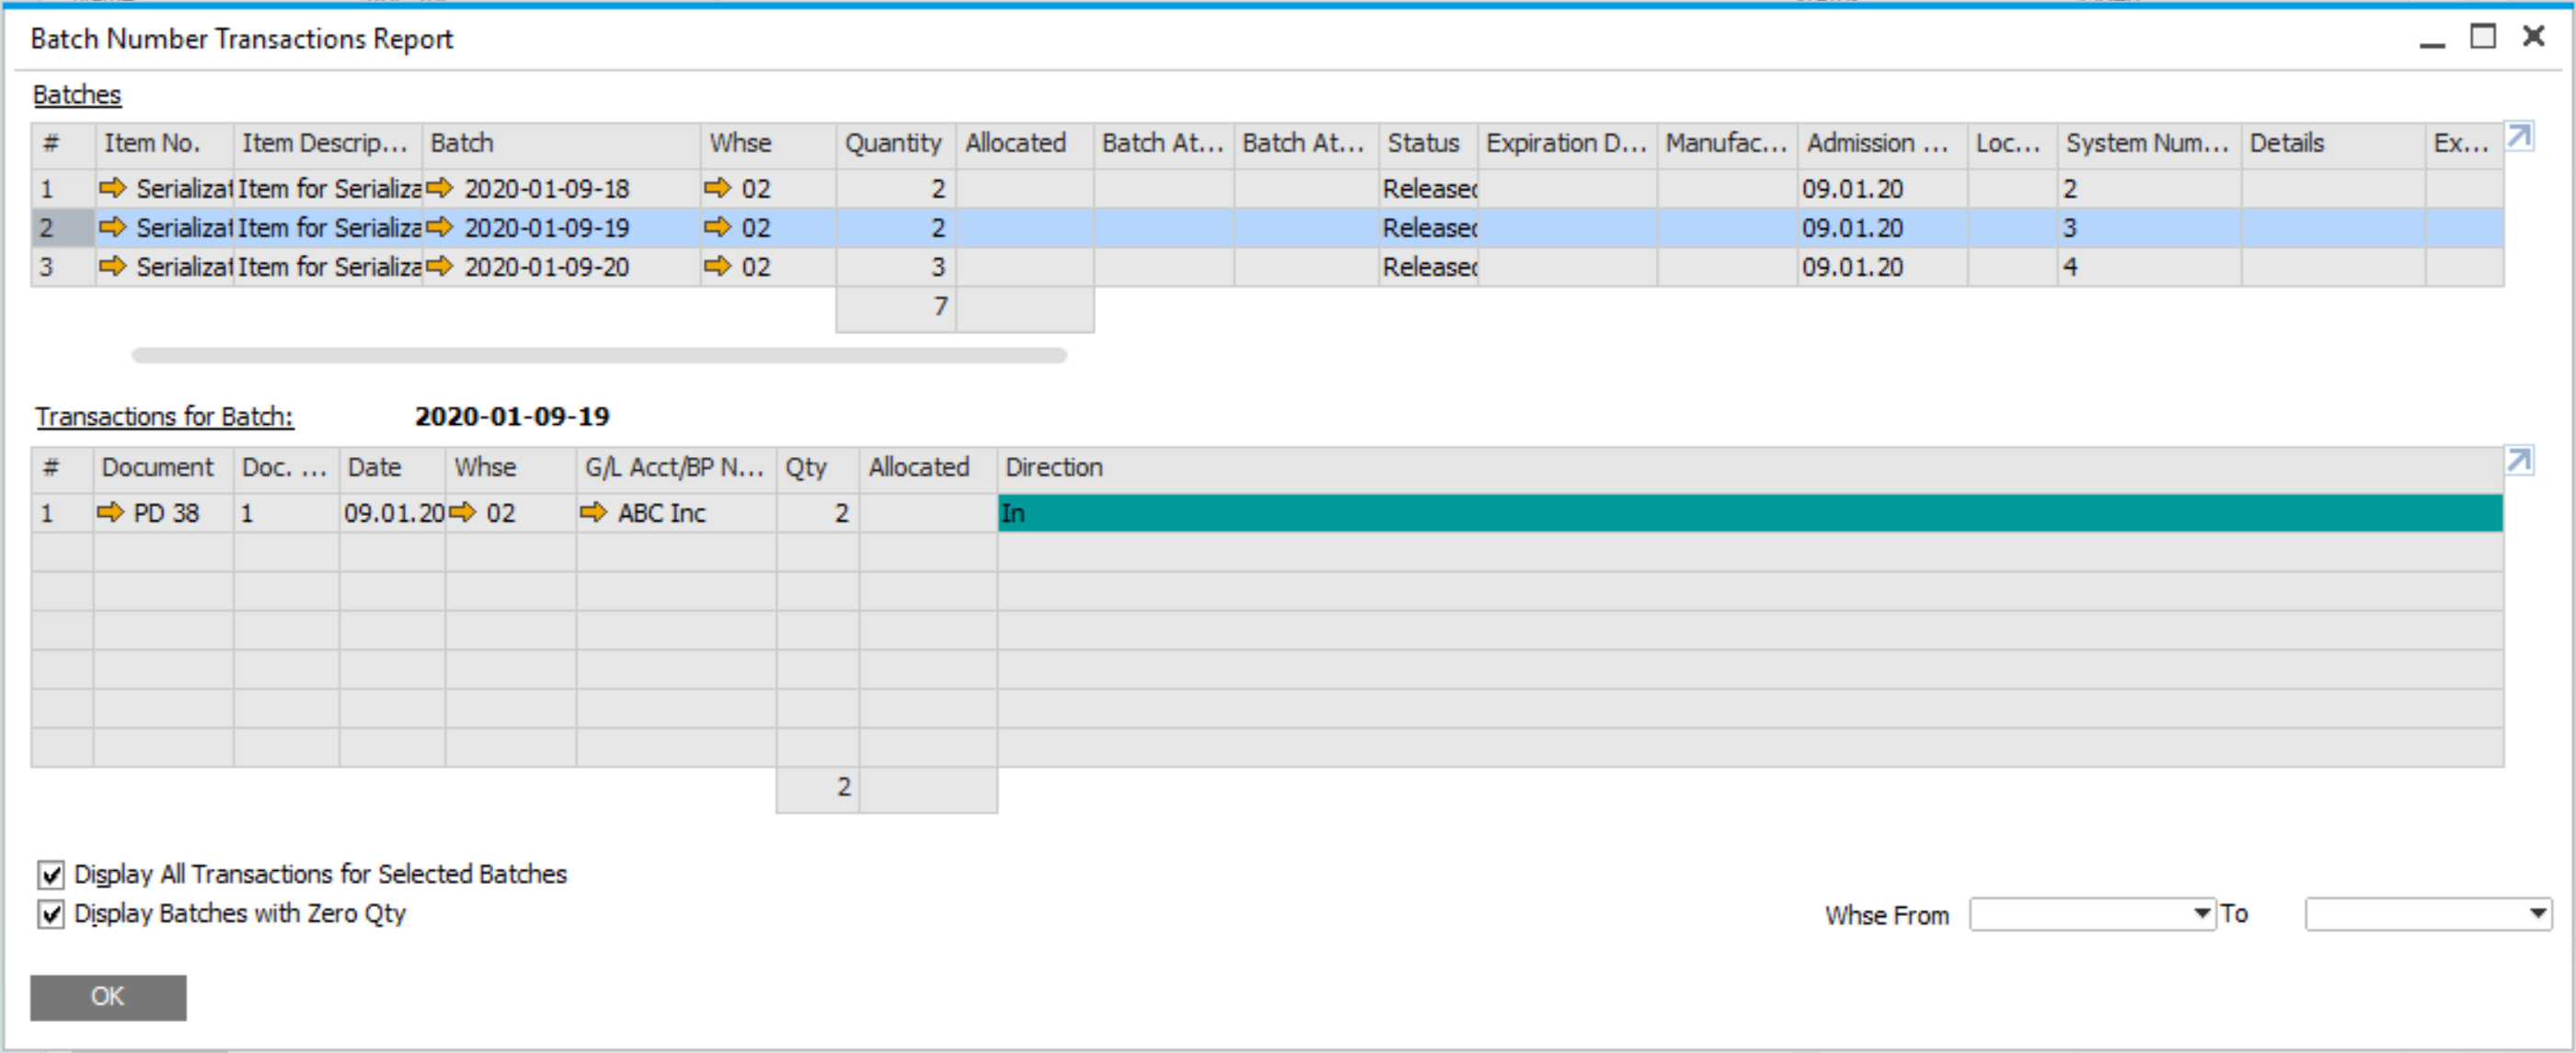
Batch Number Transactions Report:
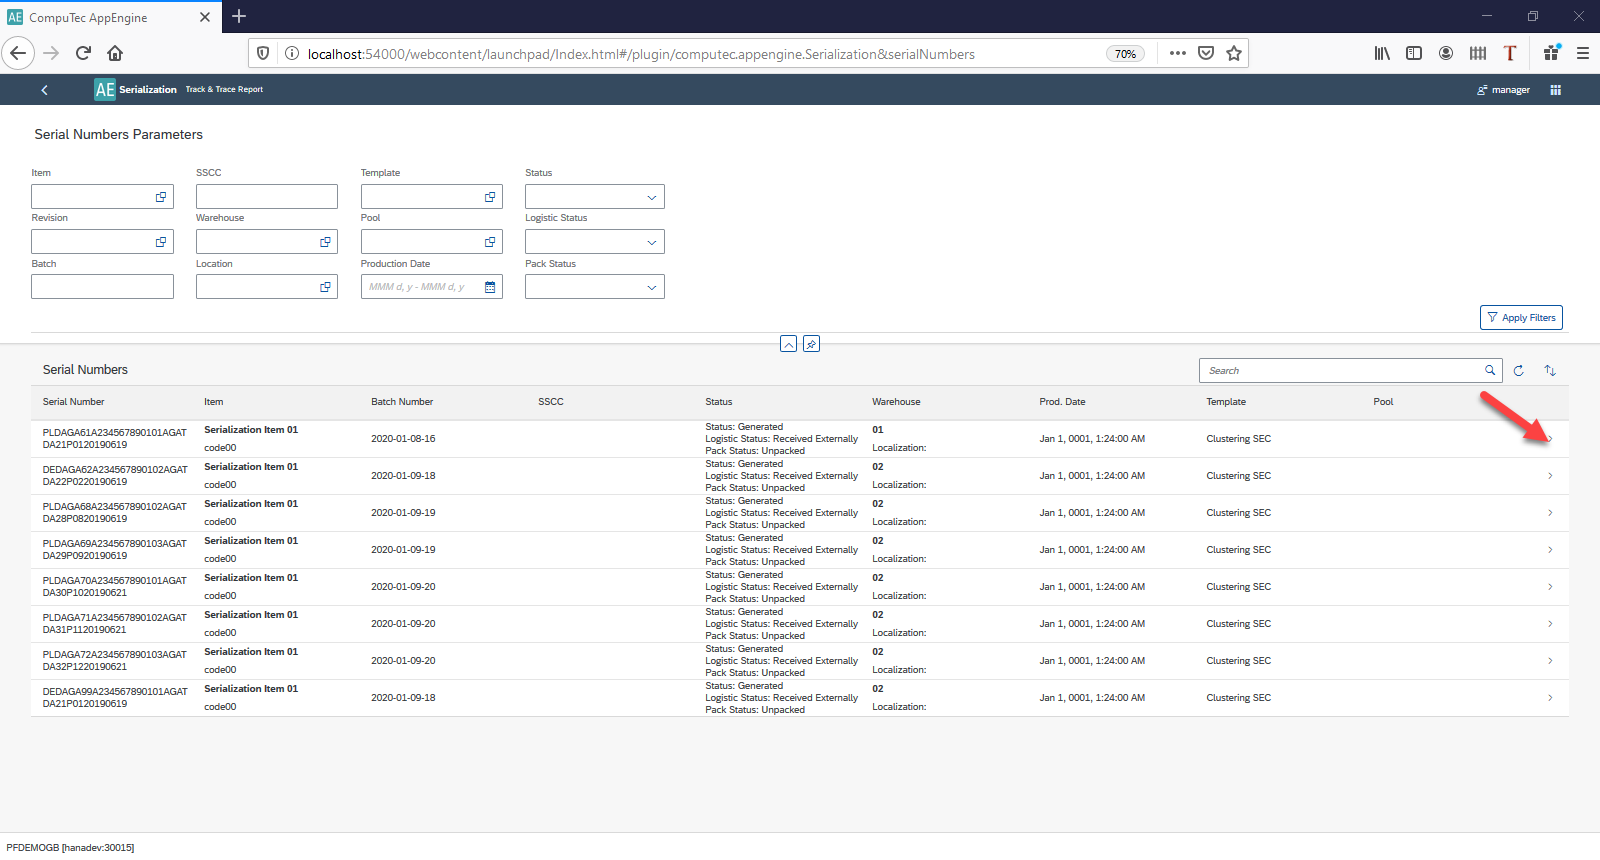
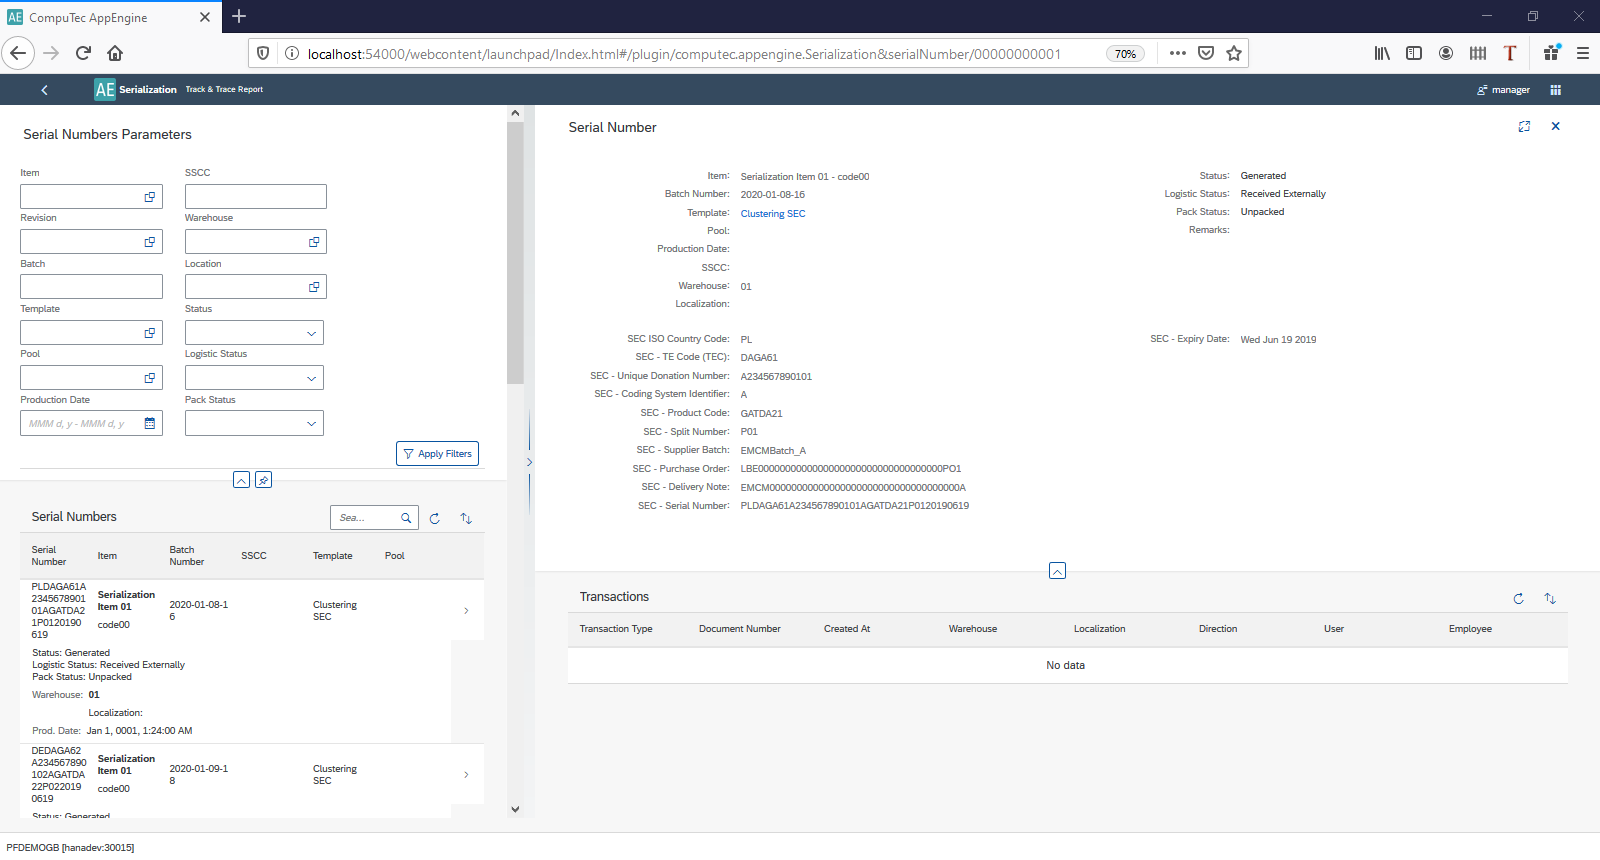
Track & Trace Report

By selecting Track & Trace Report in the WEB application it is possible to trace the Serial Number history:
Example transactions in WMS using SN
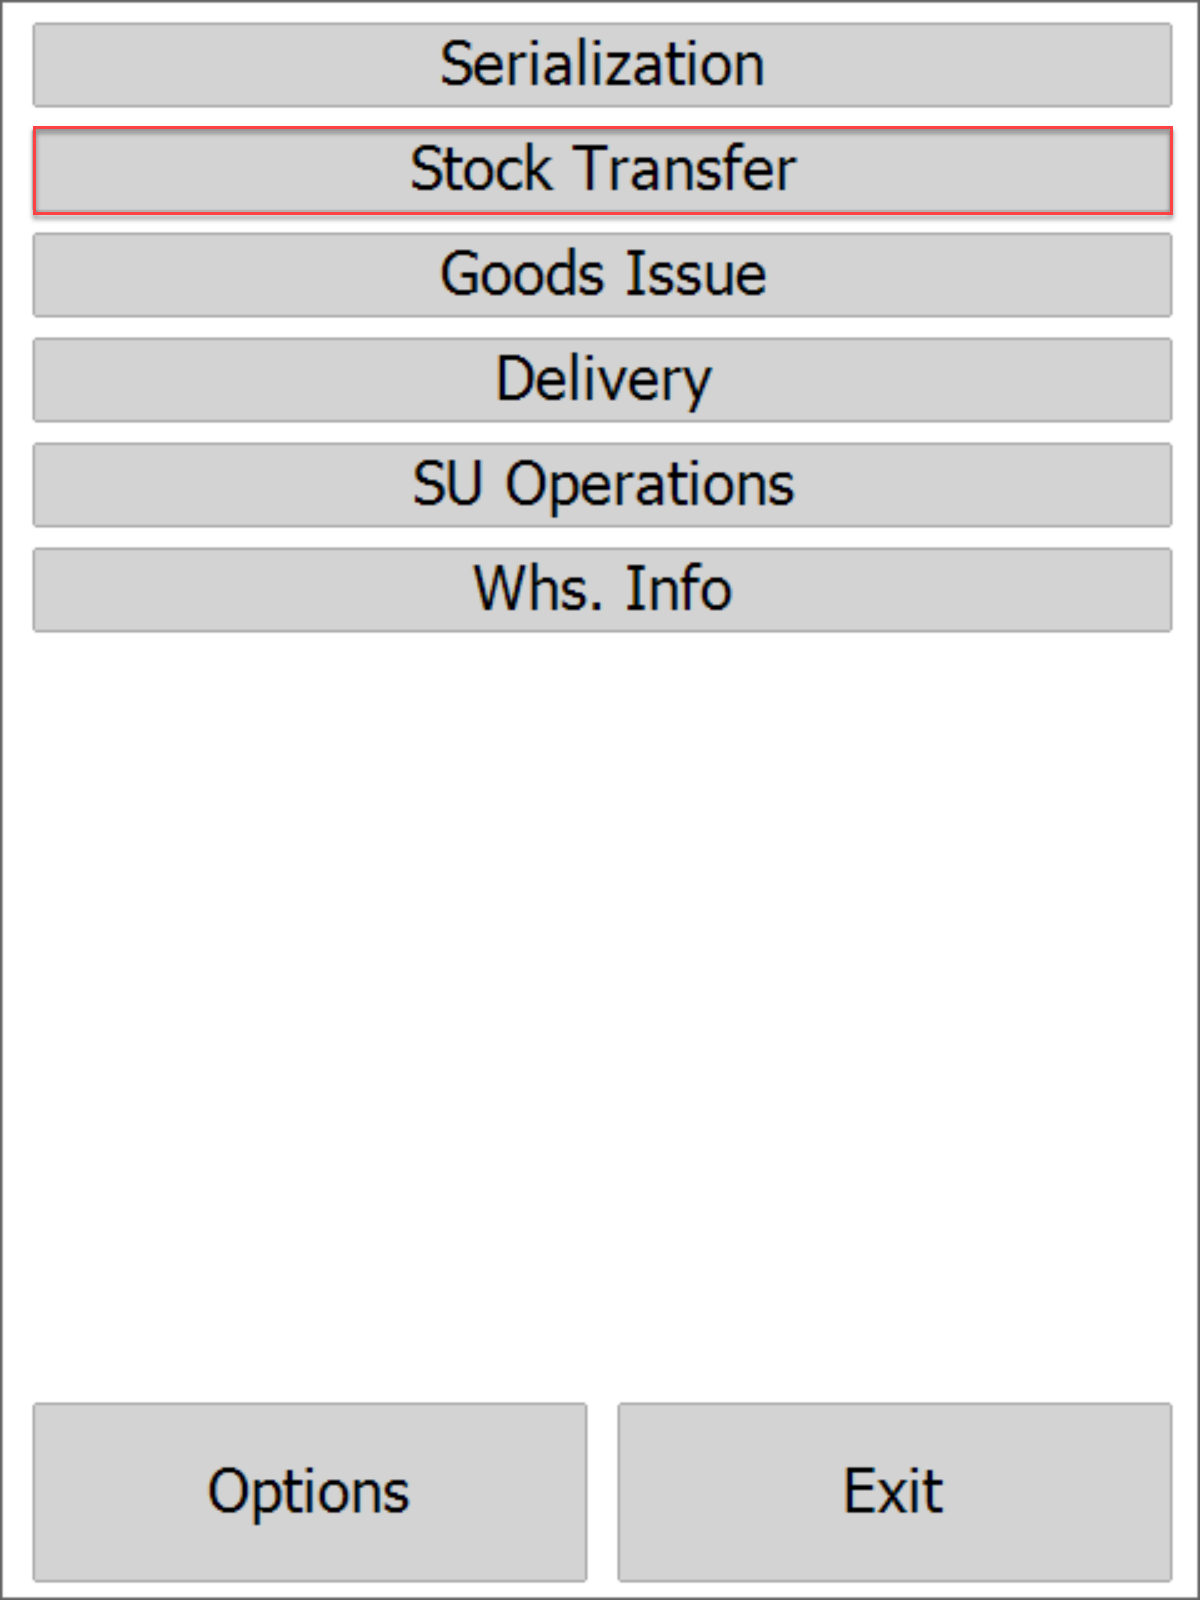
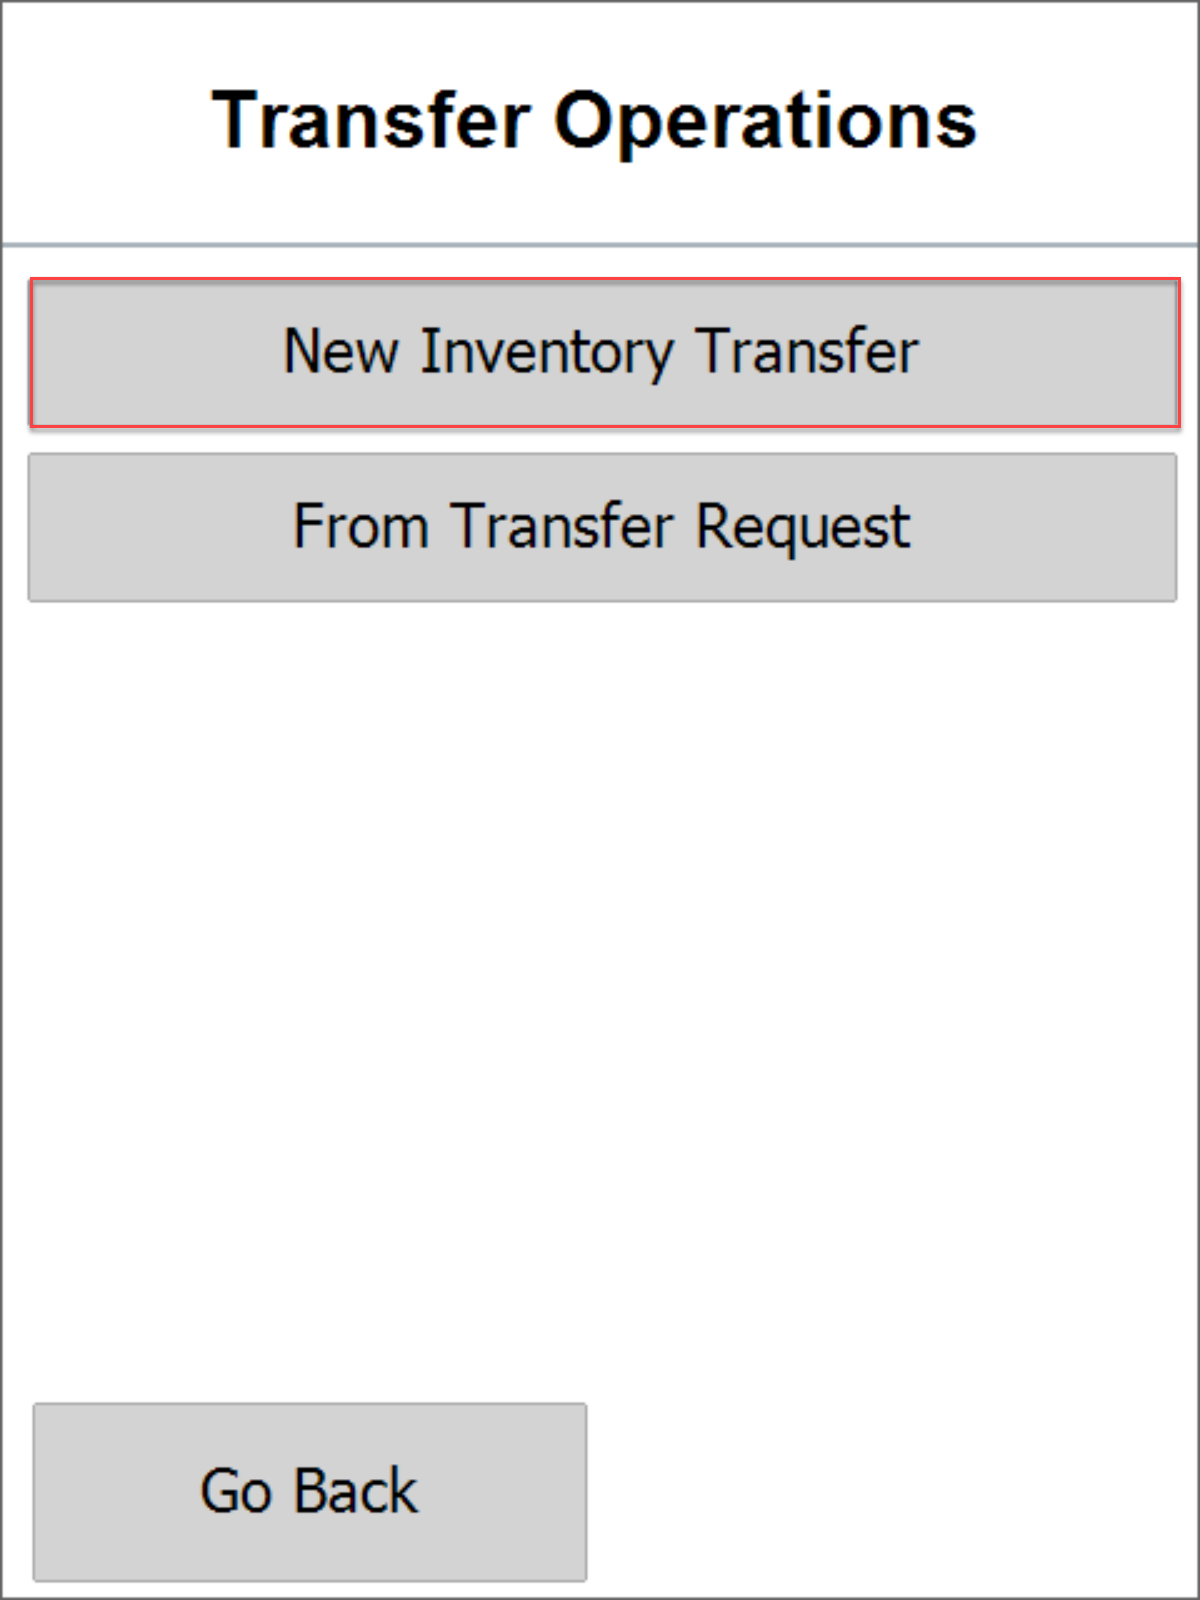
Stock Transfer
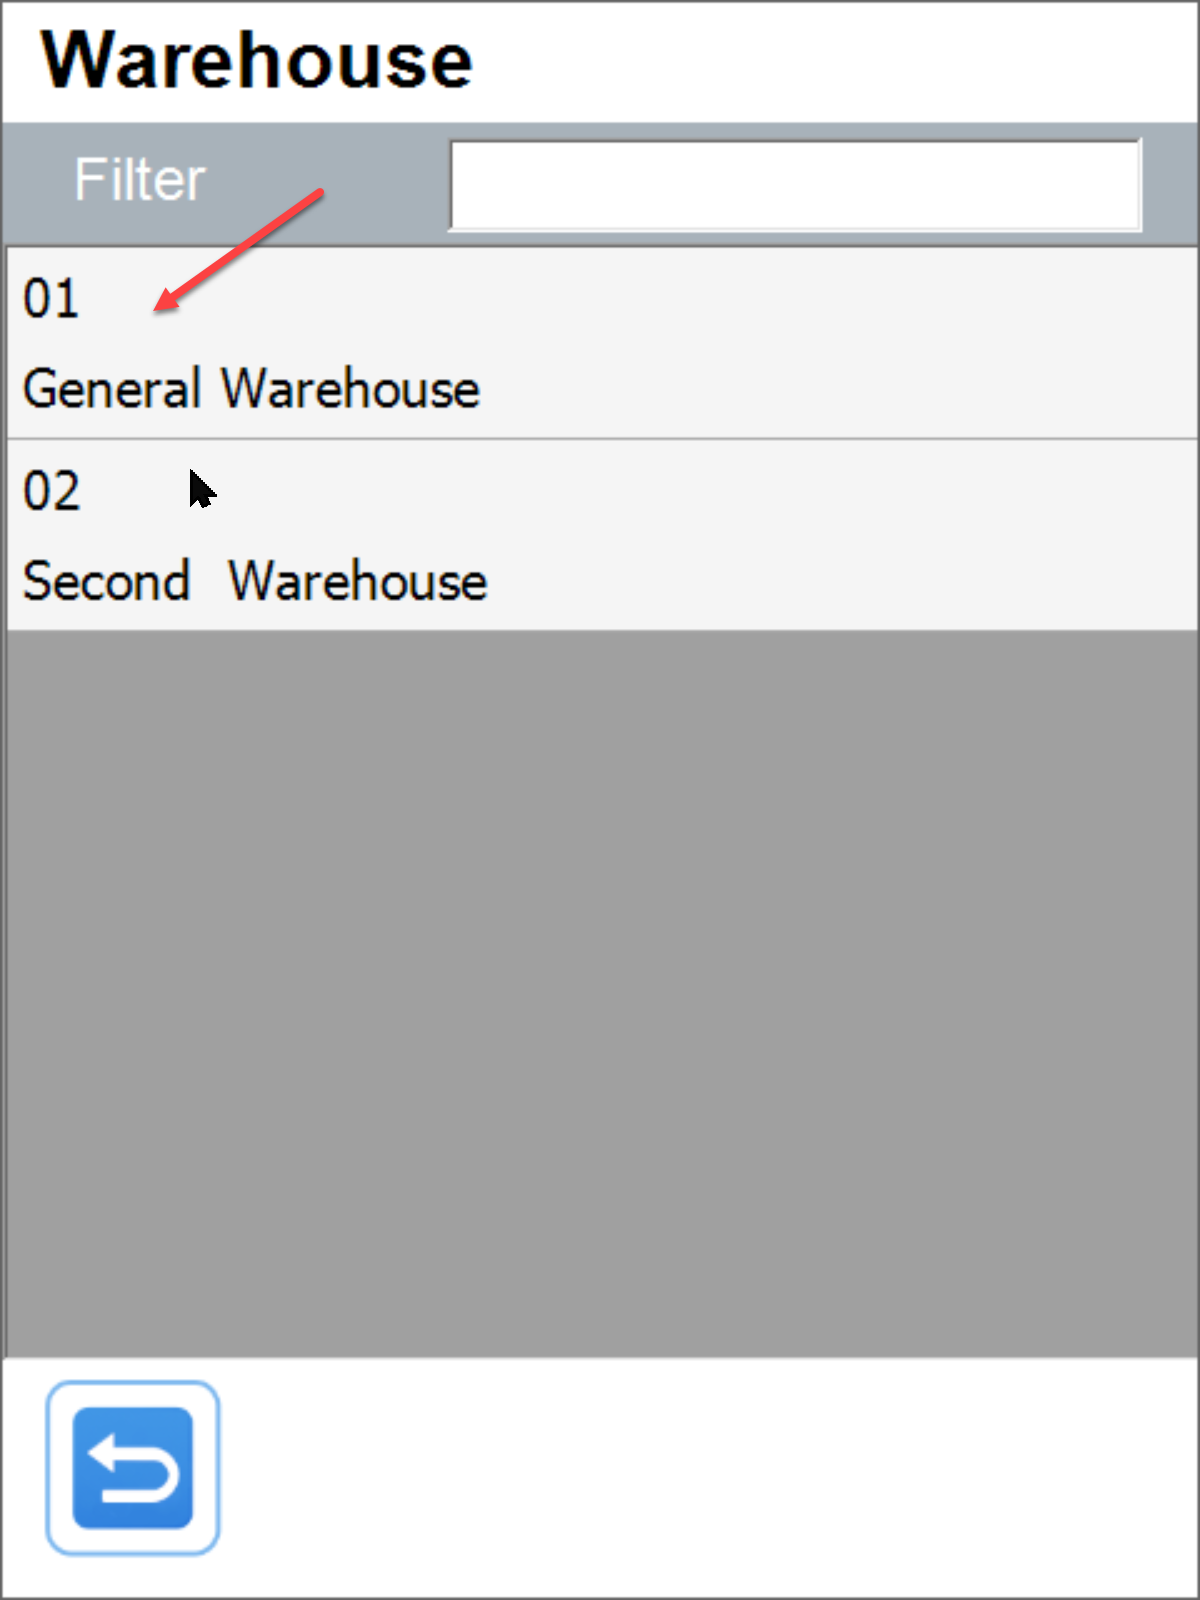
Source Warehouse selection
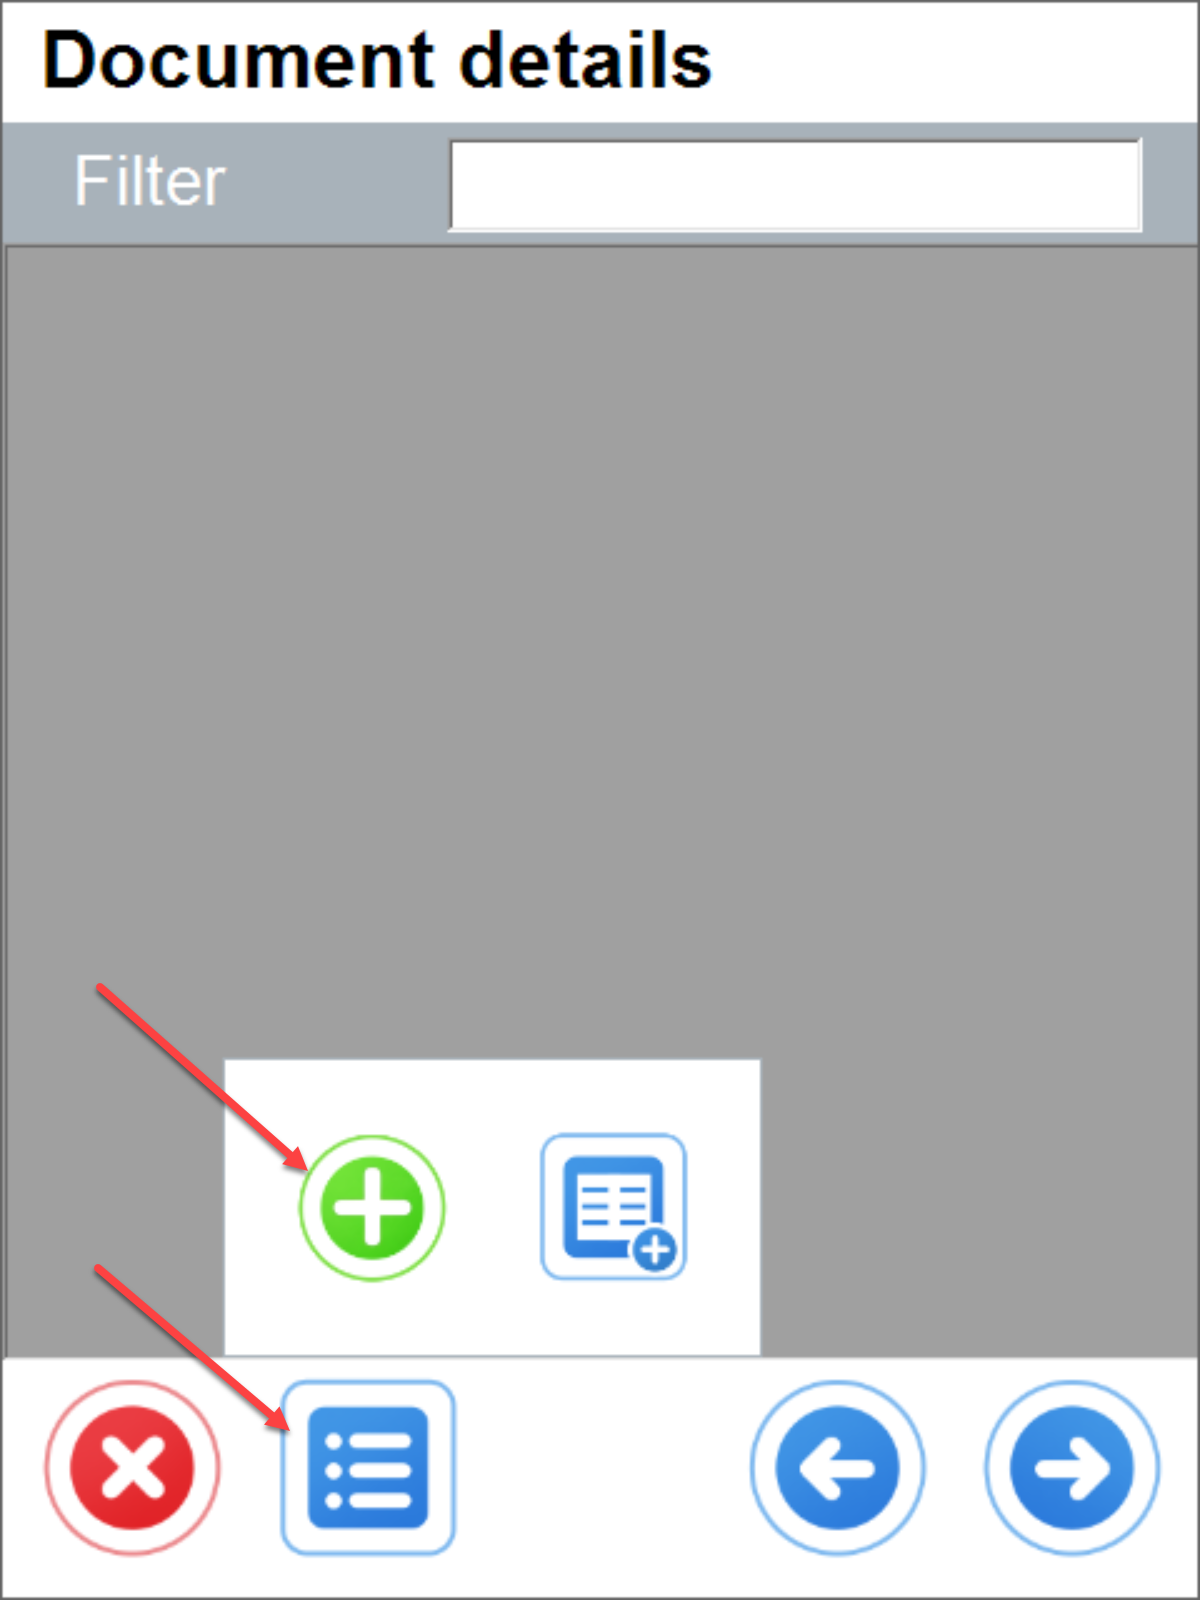
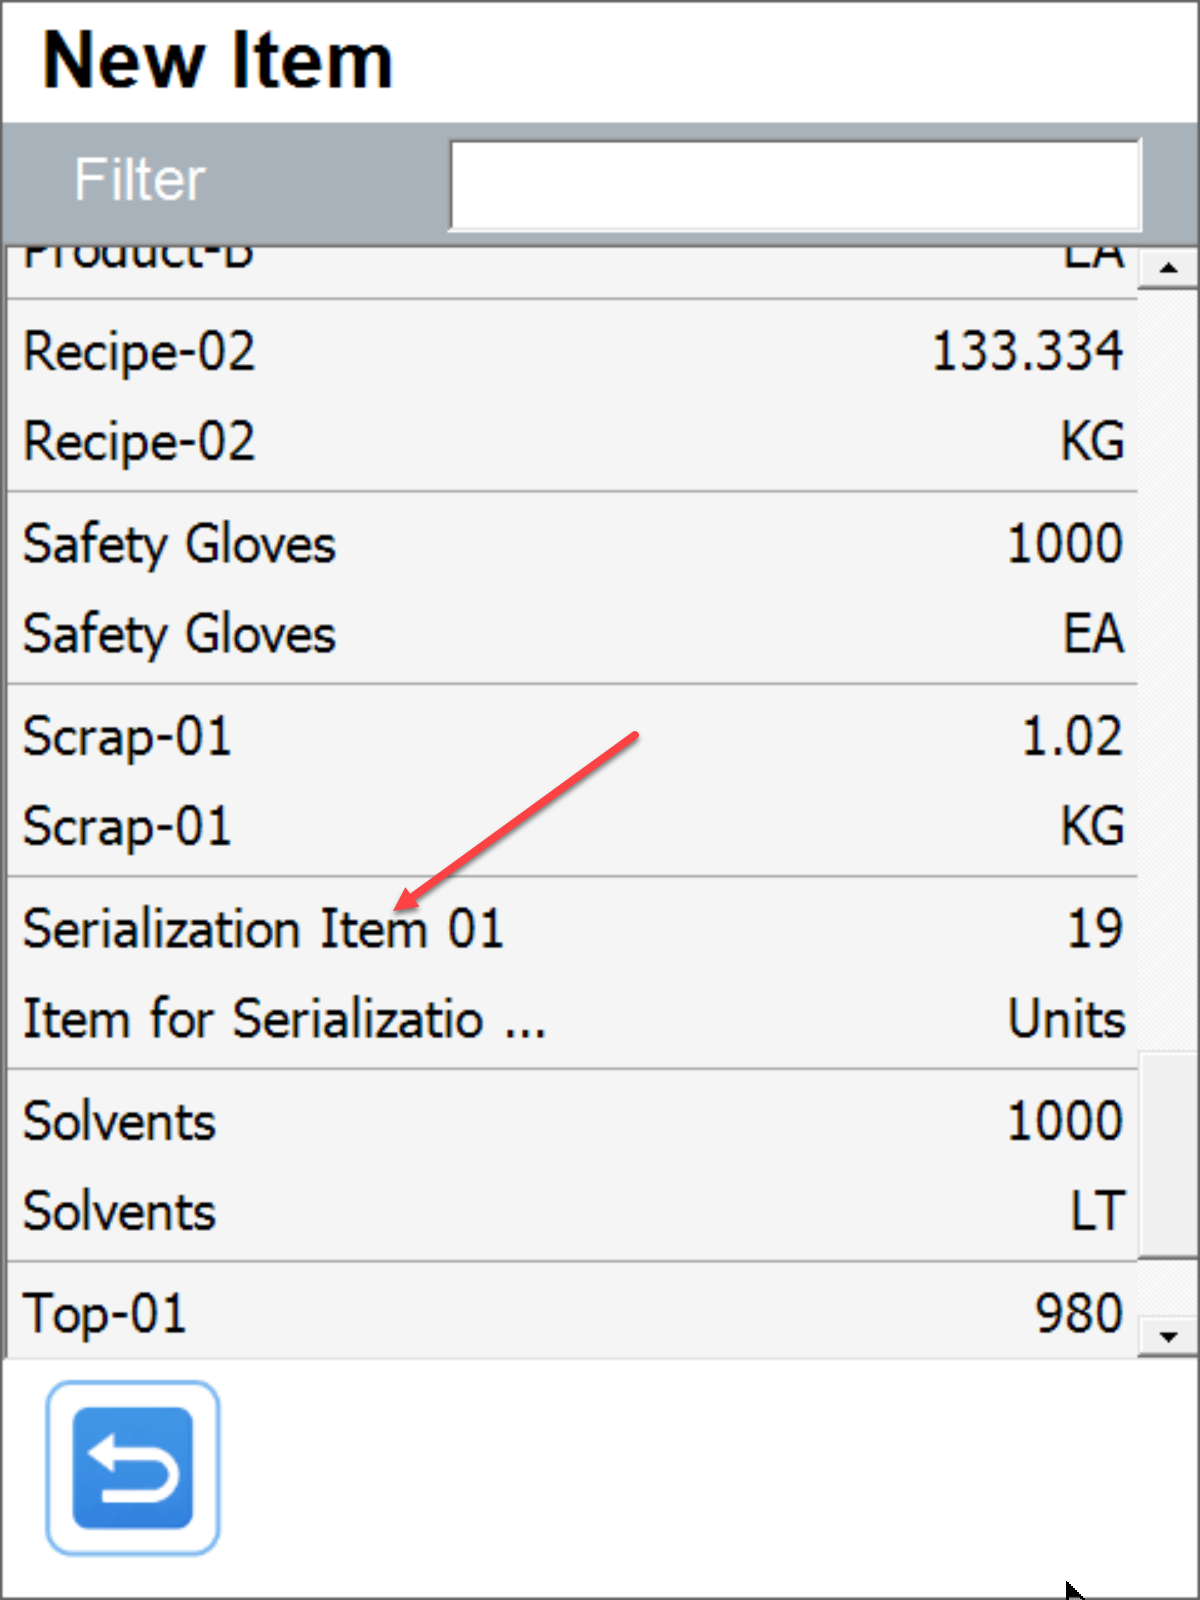
Item selection
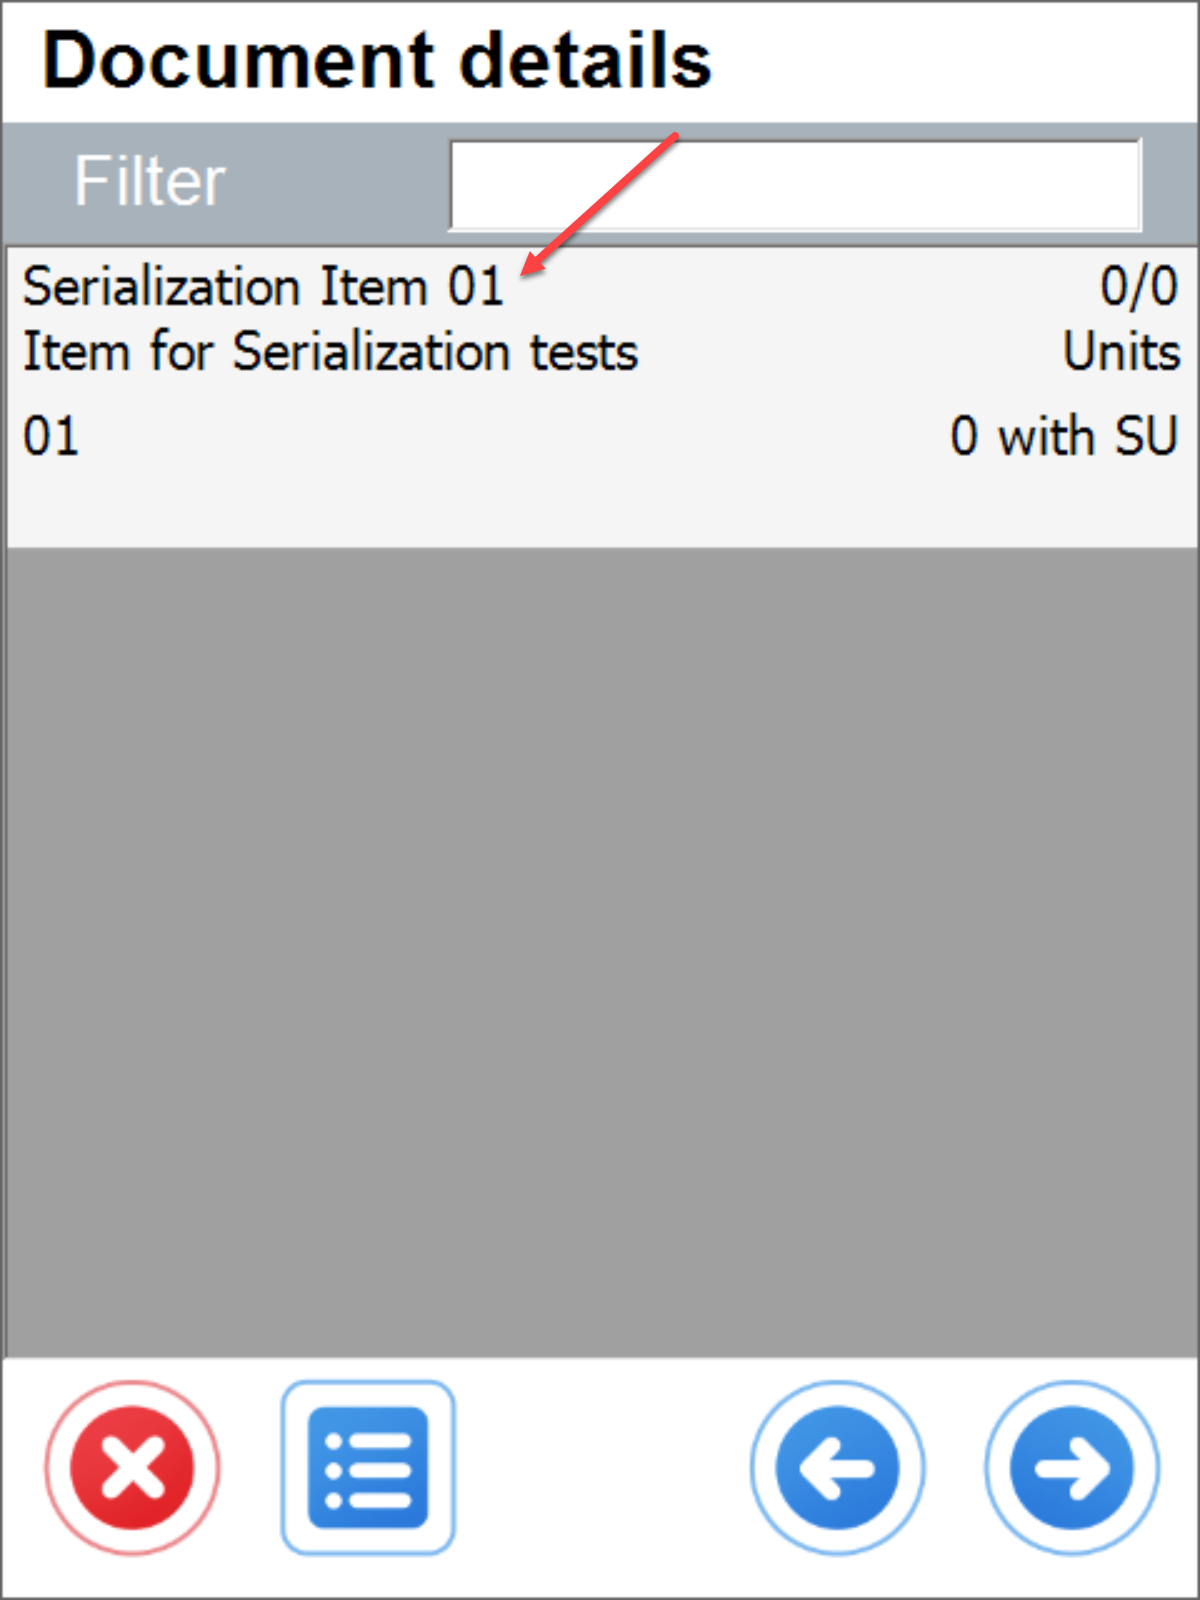
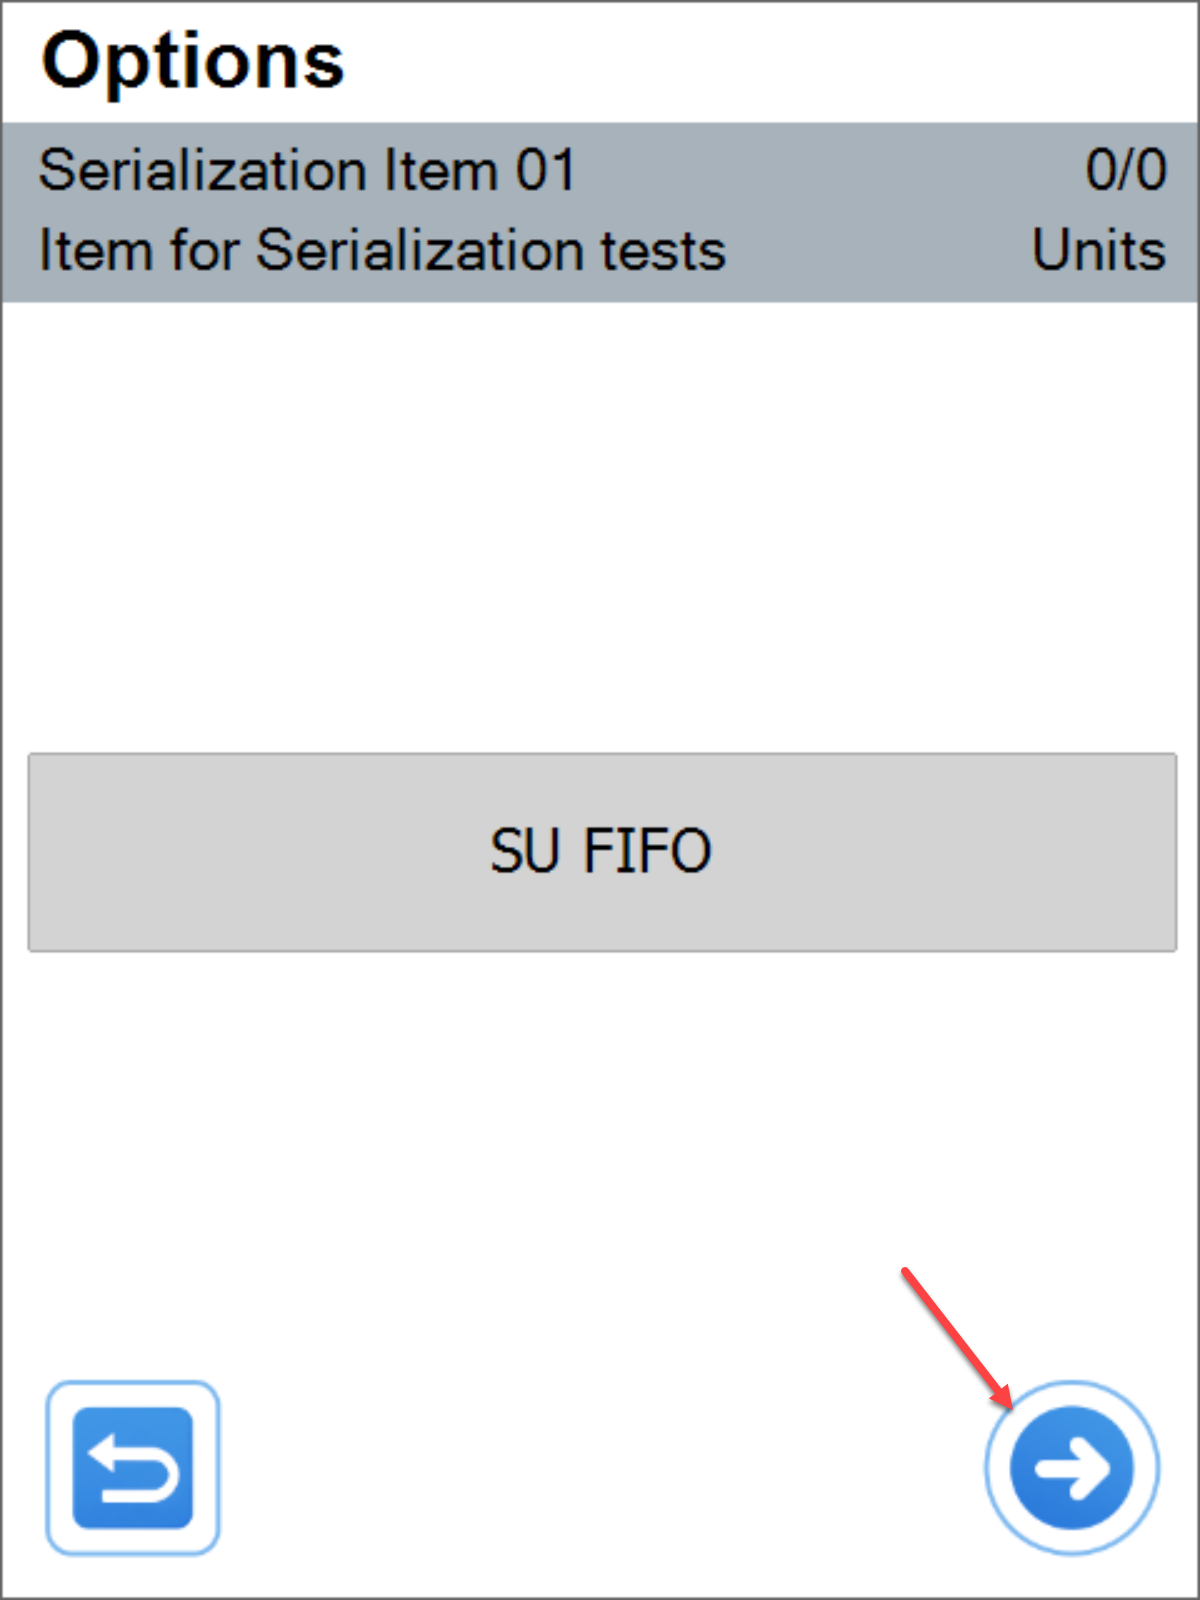
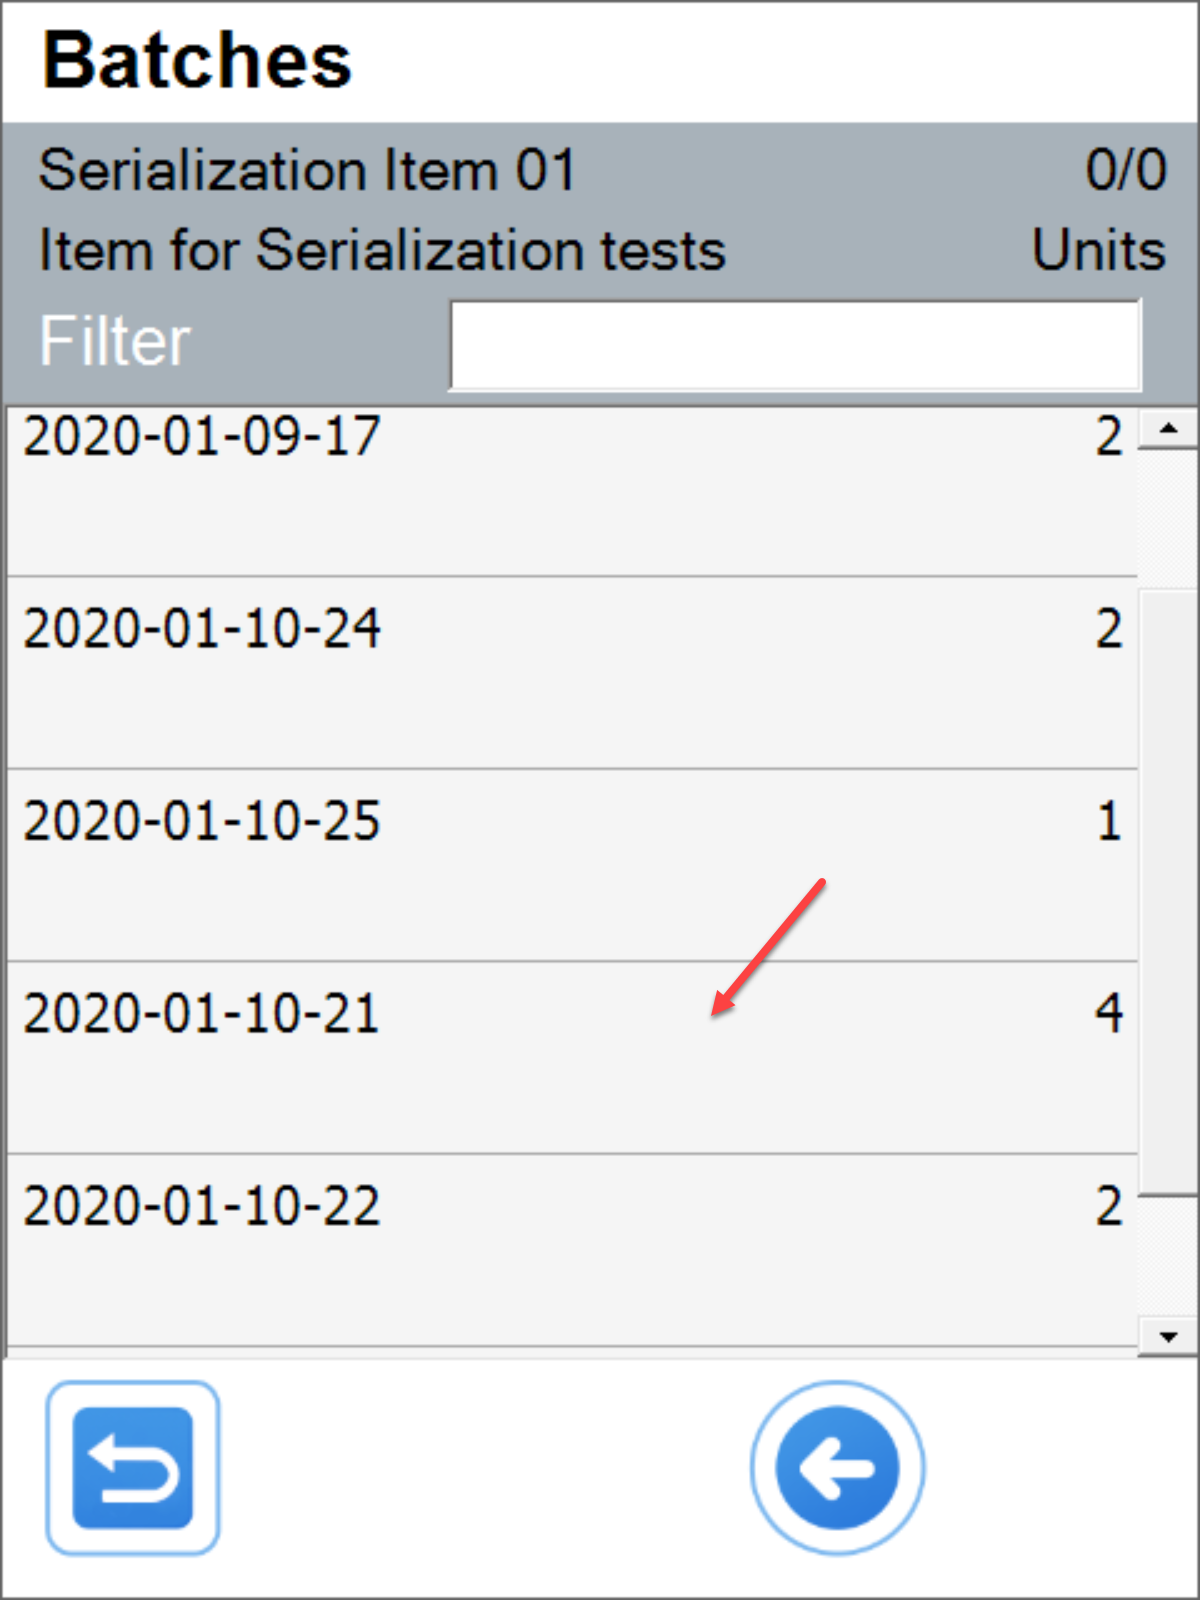
Batch and quantity to transfer selection
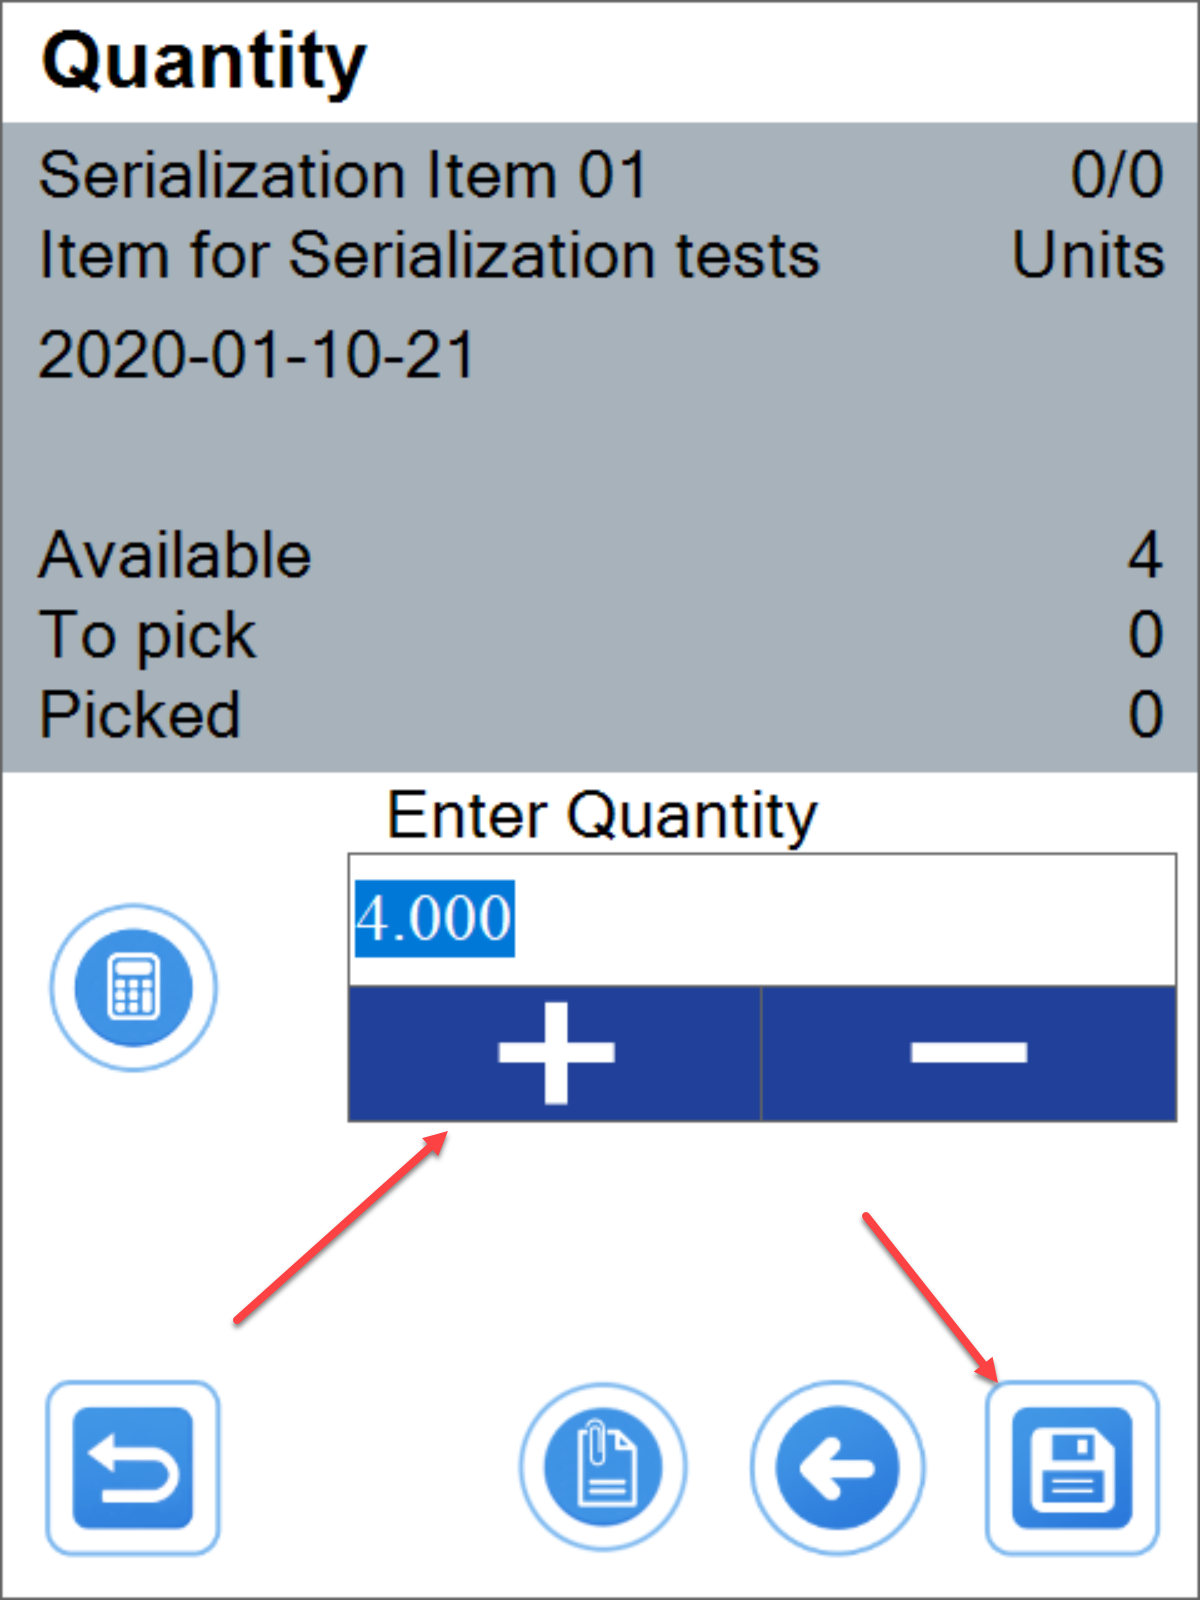
Serial numbers to transfer selection
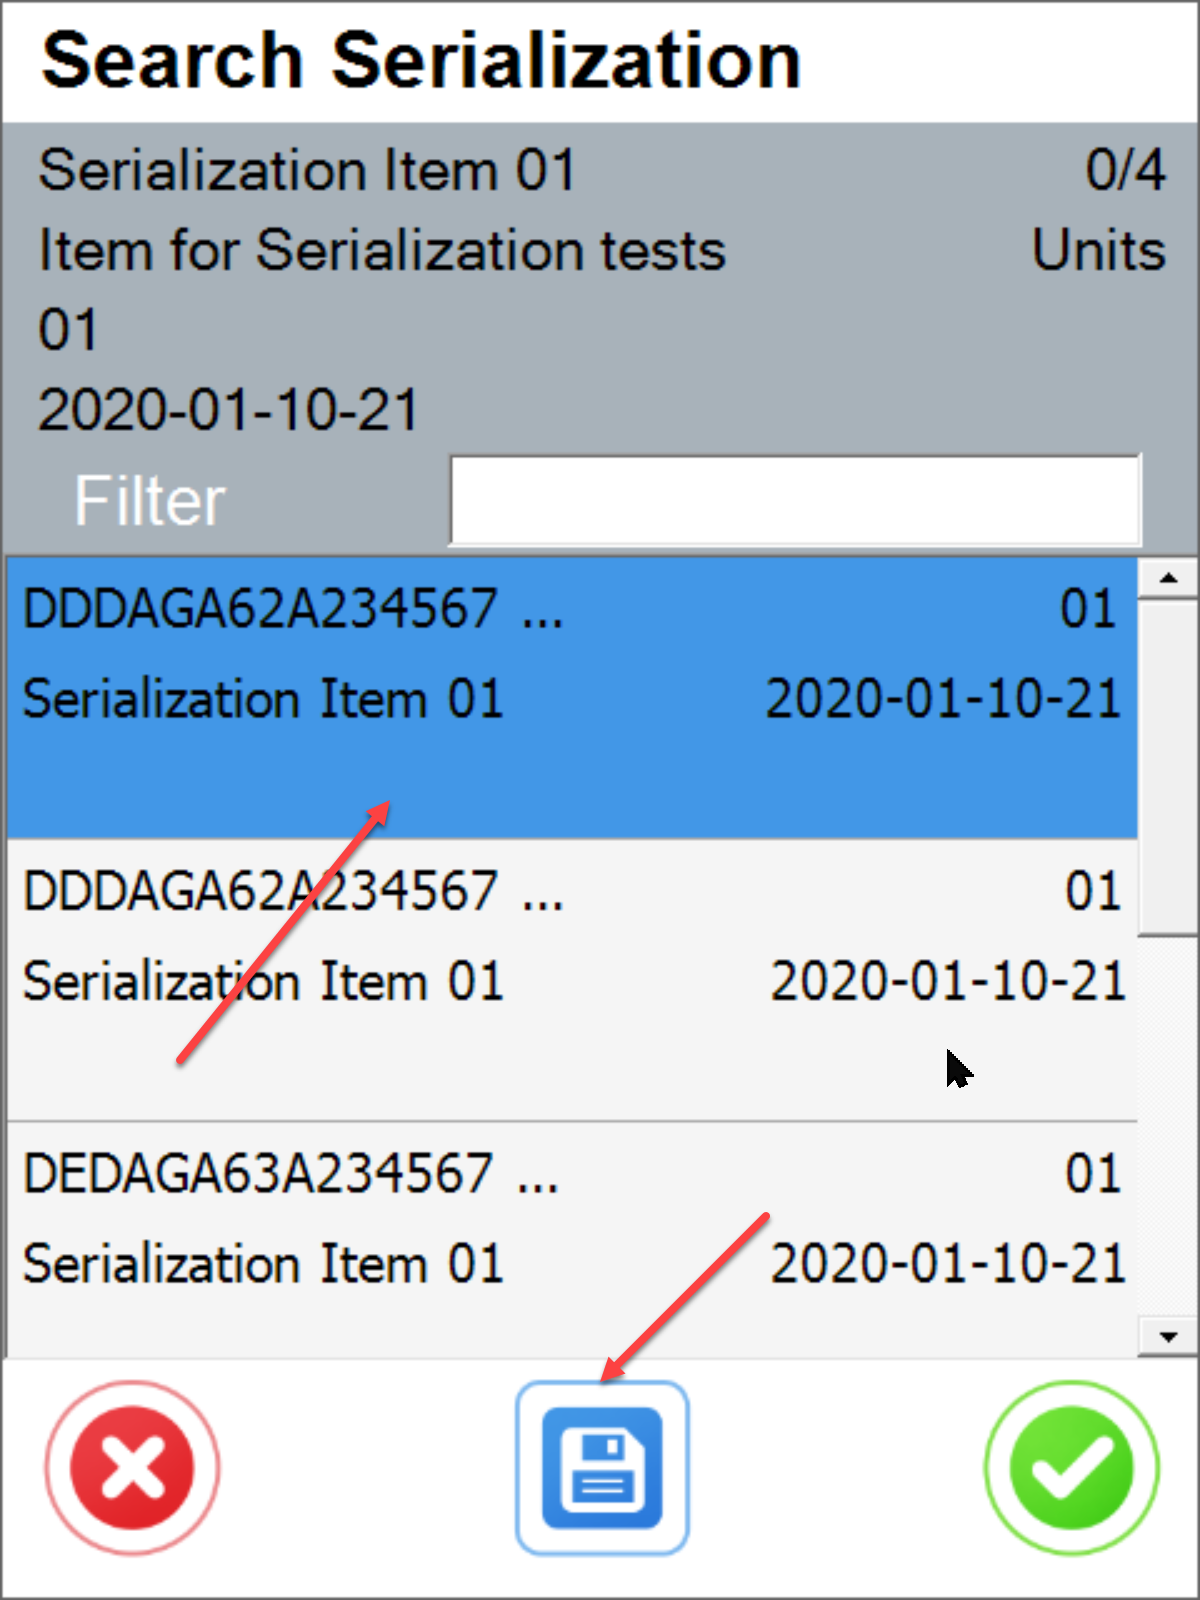
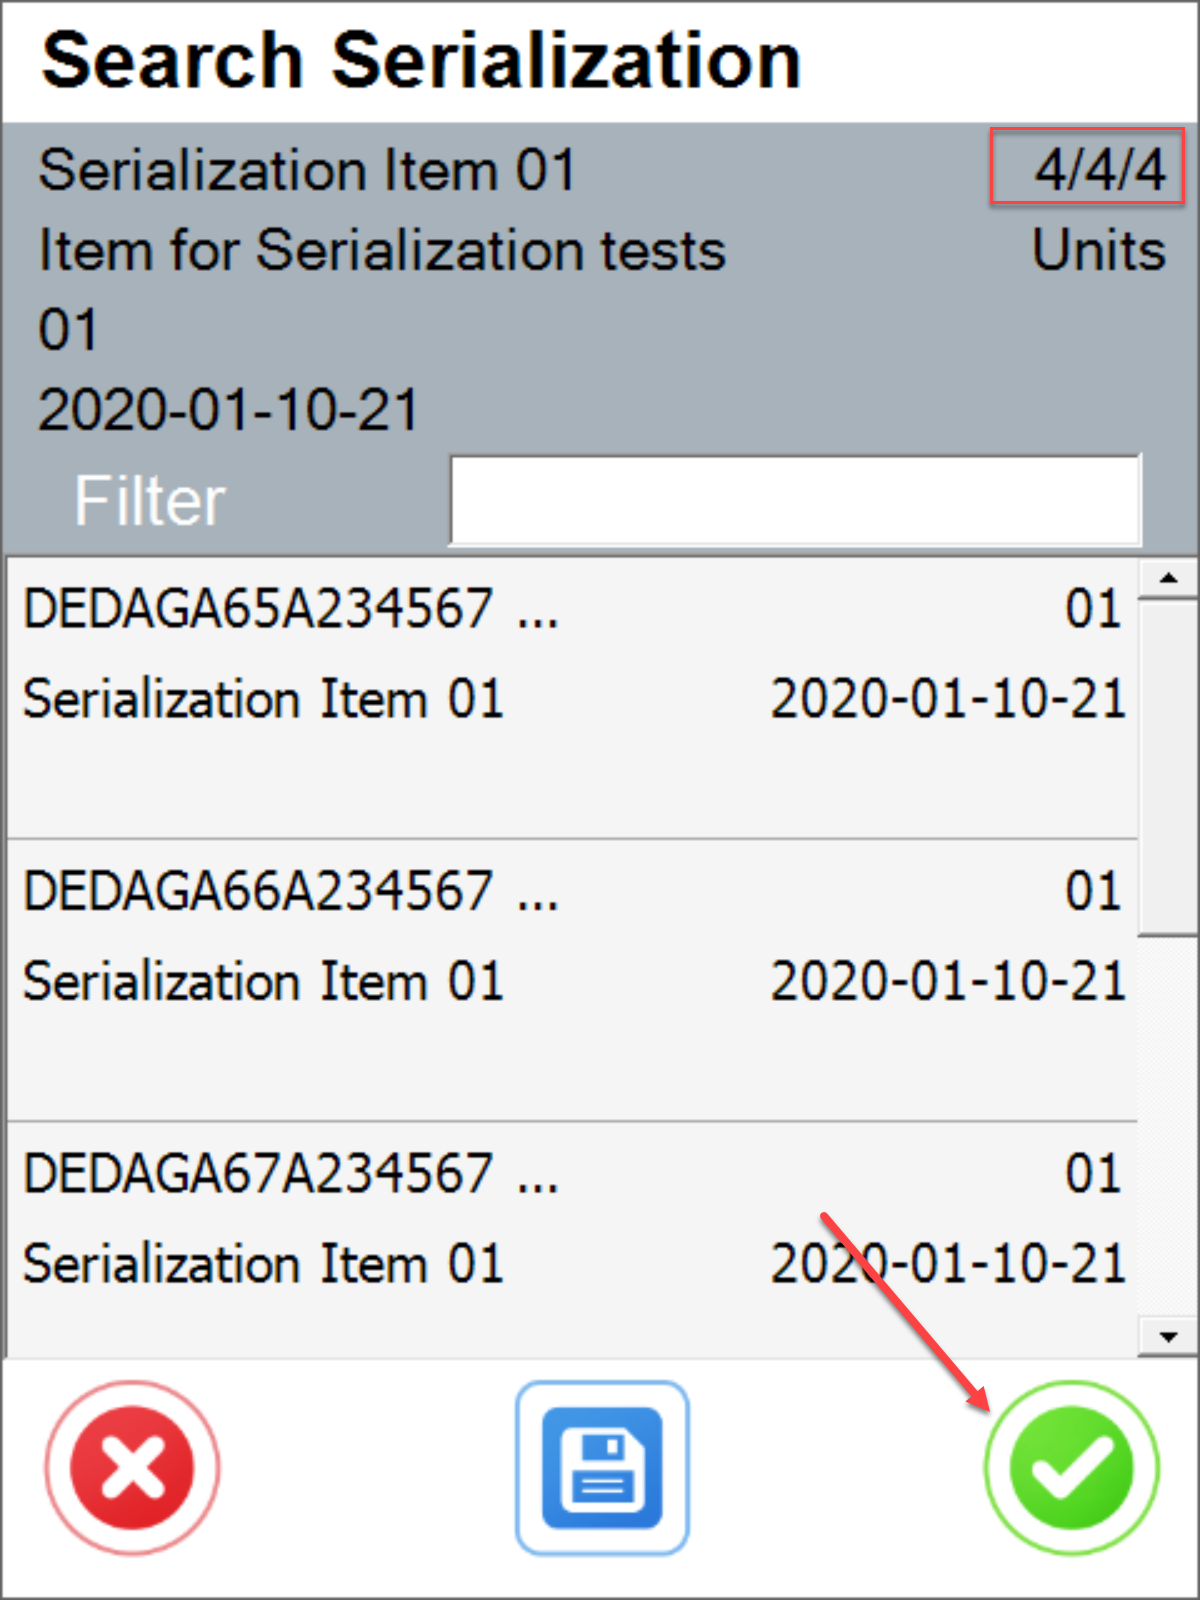
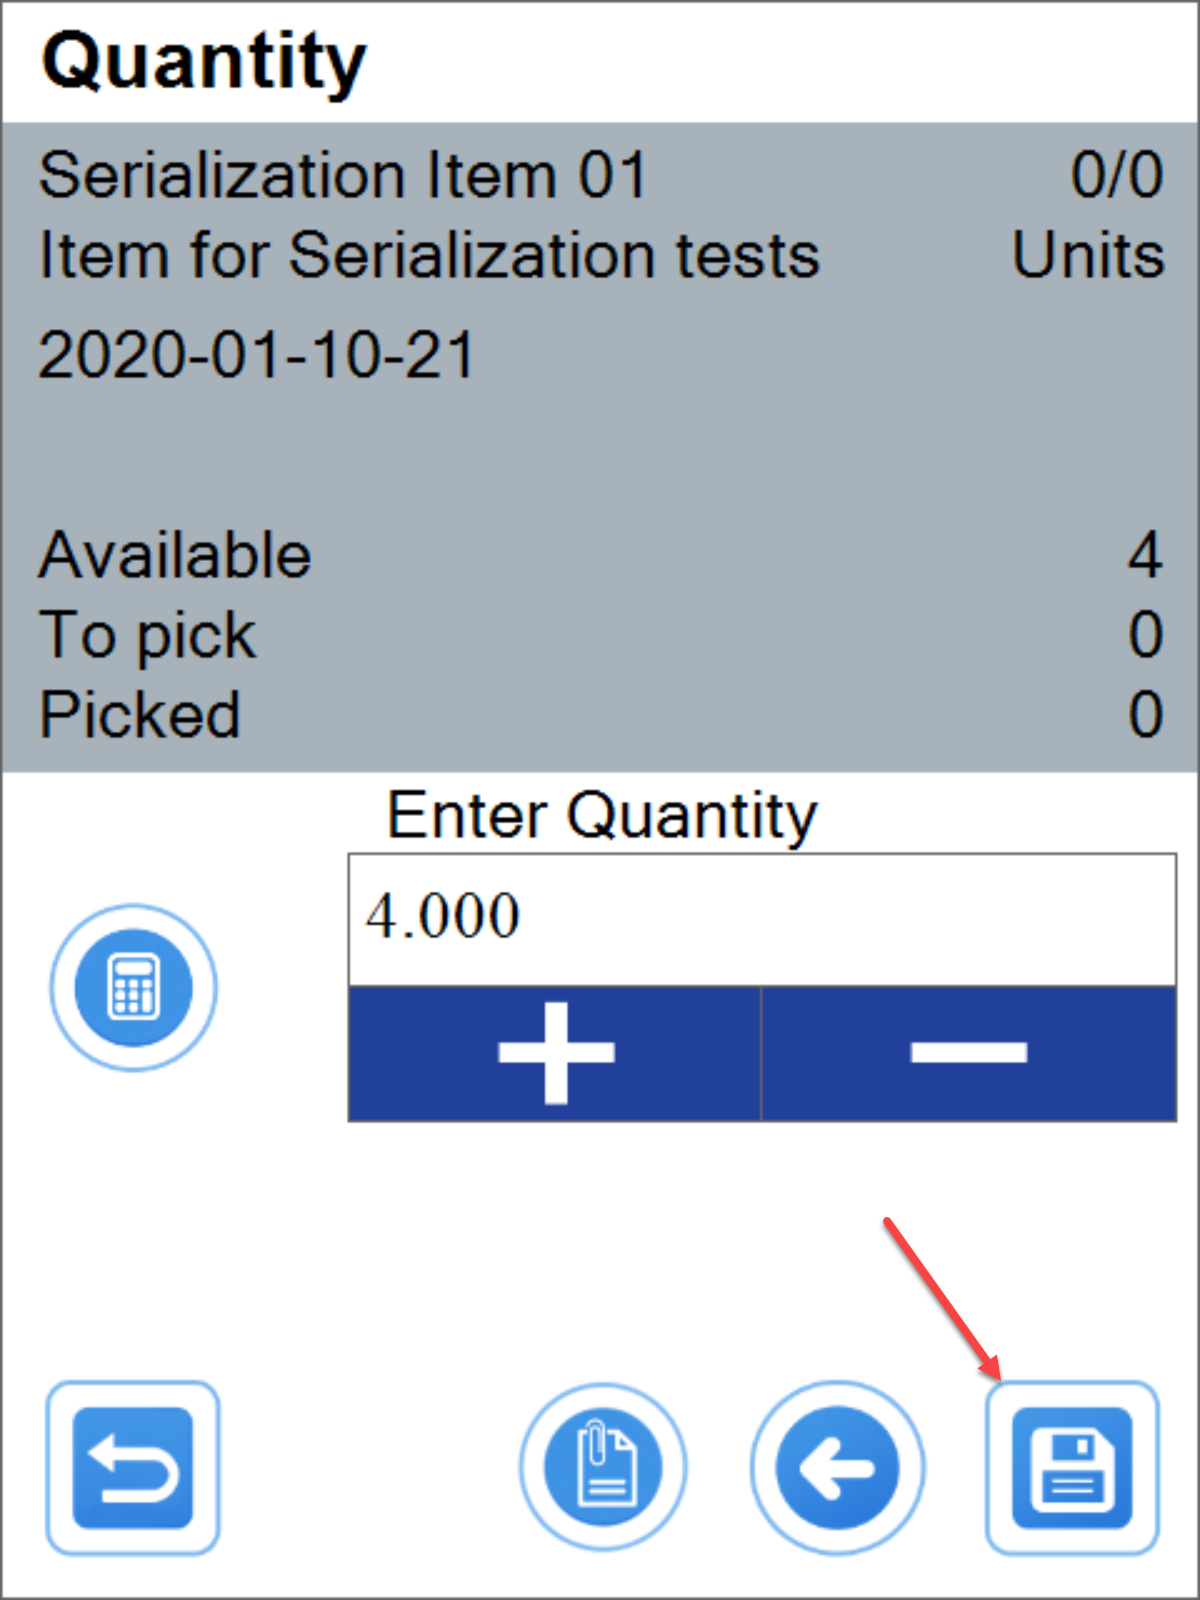
Destination warehouse selection
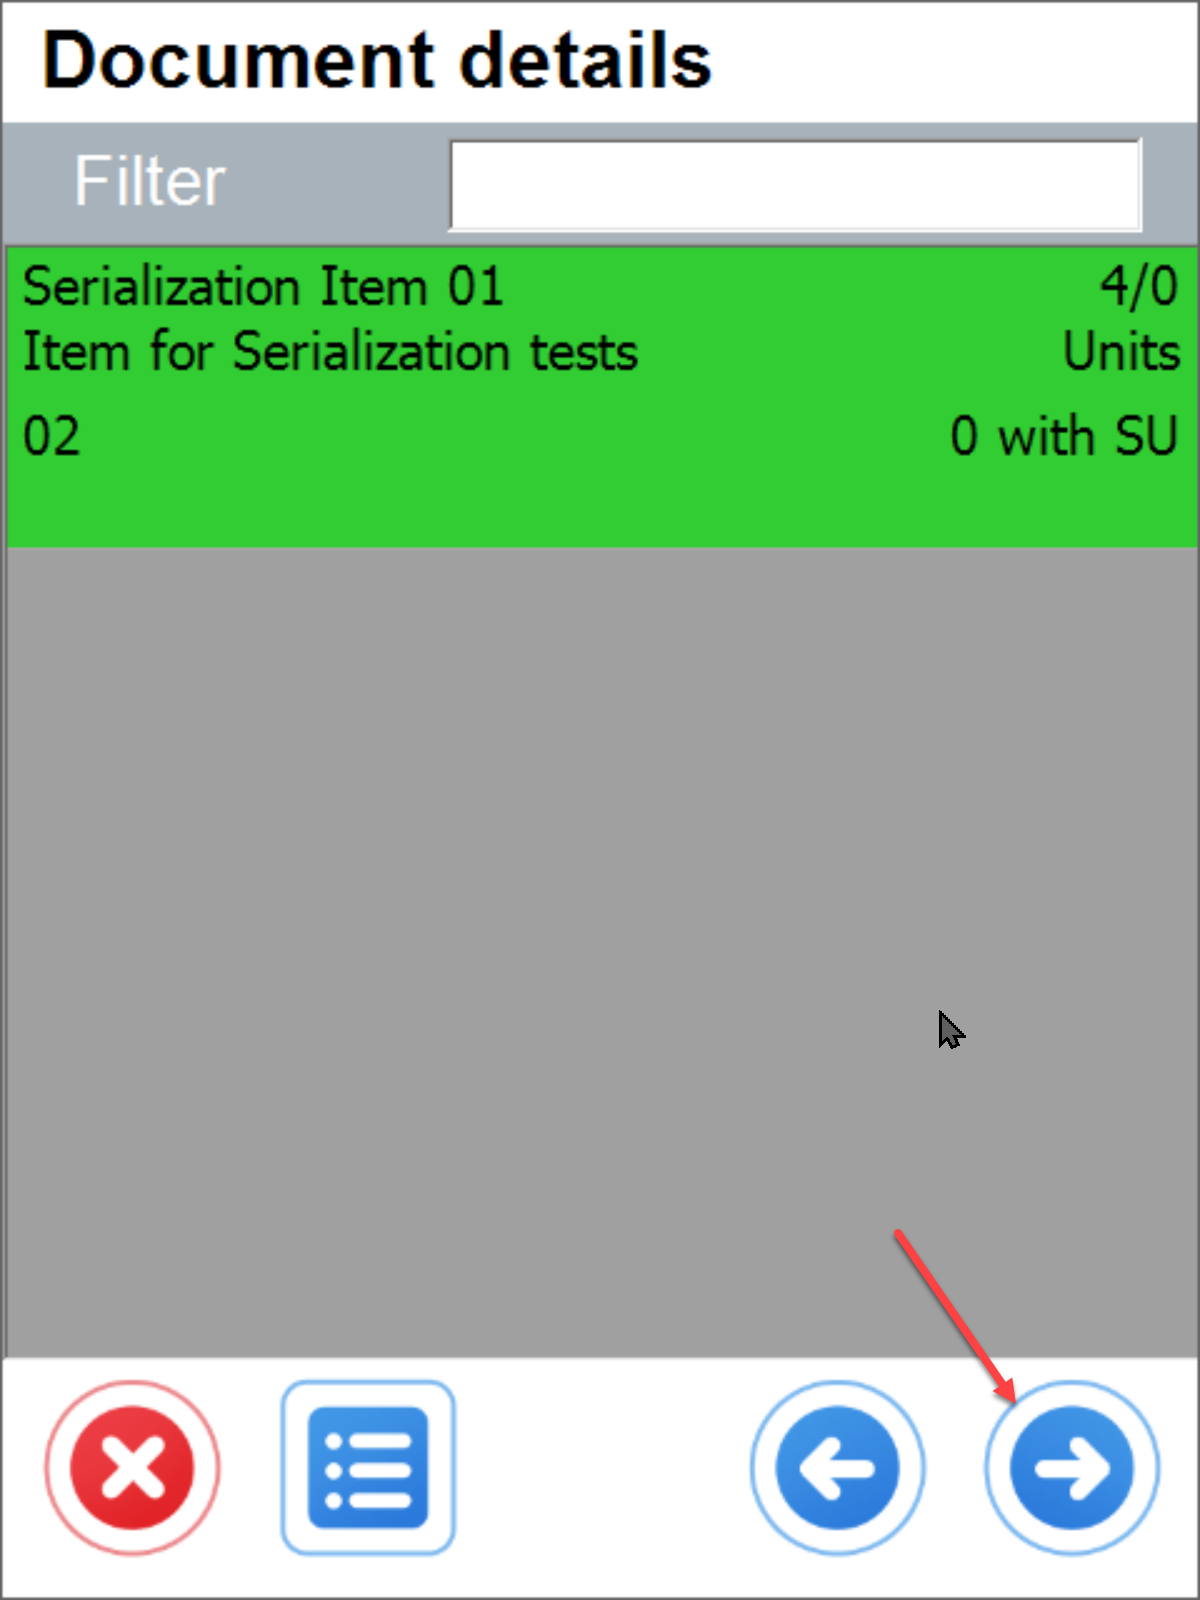
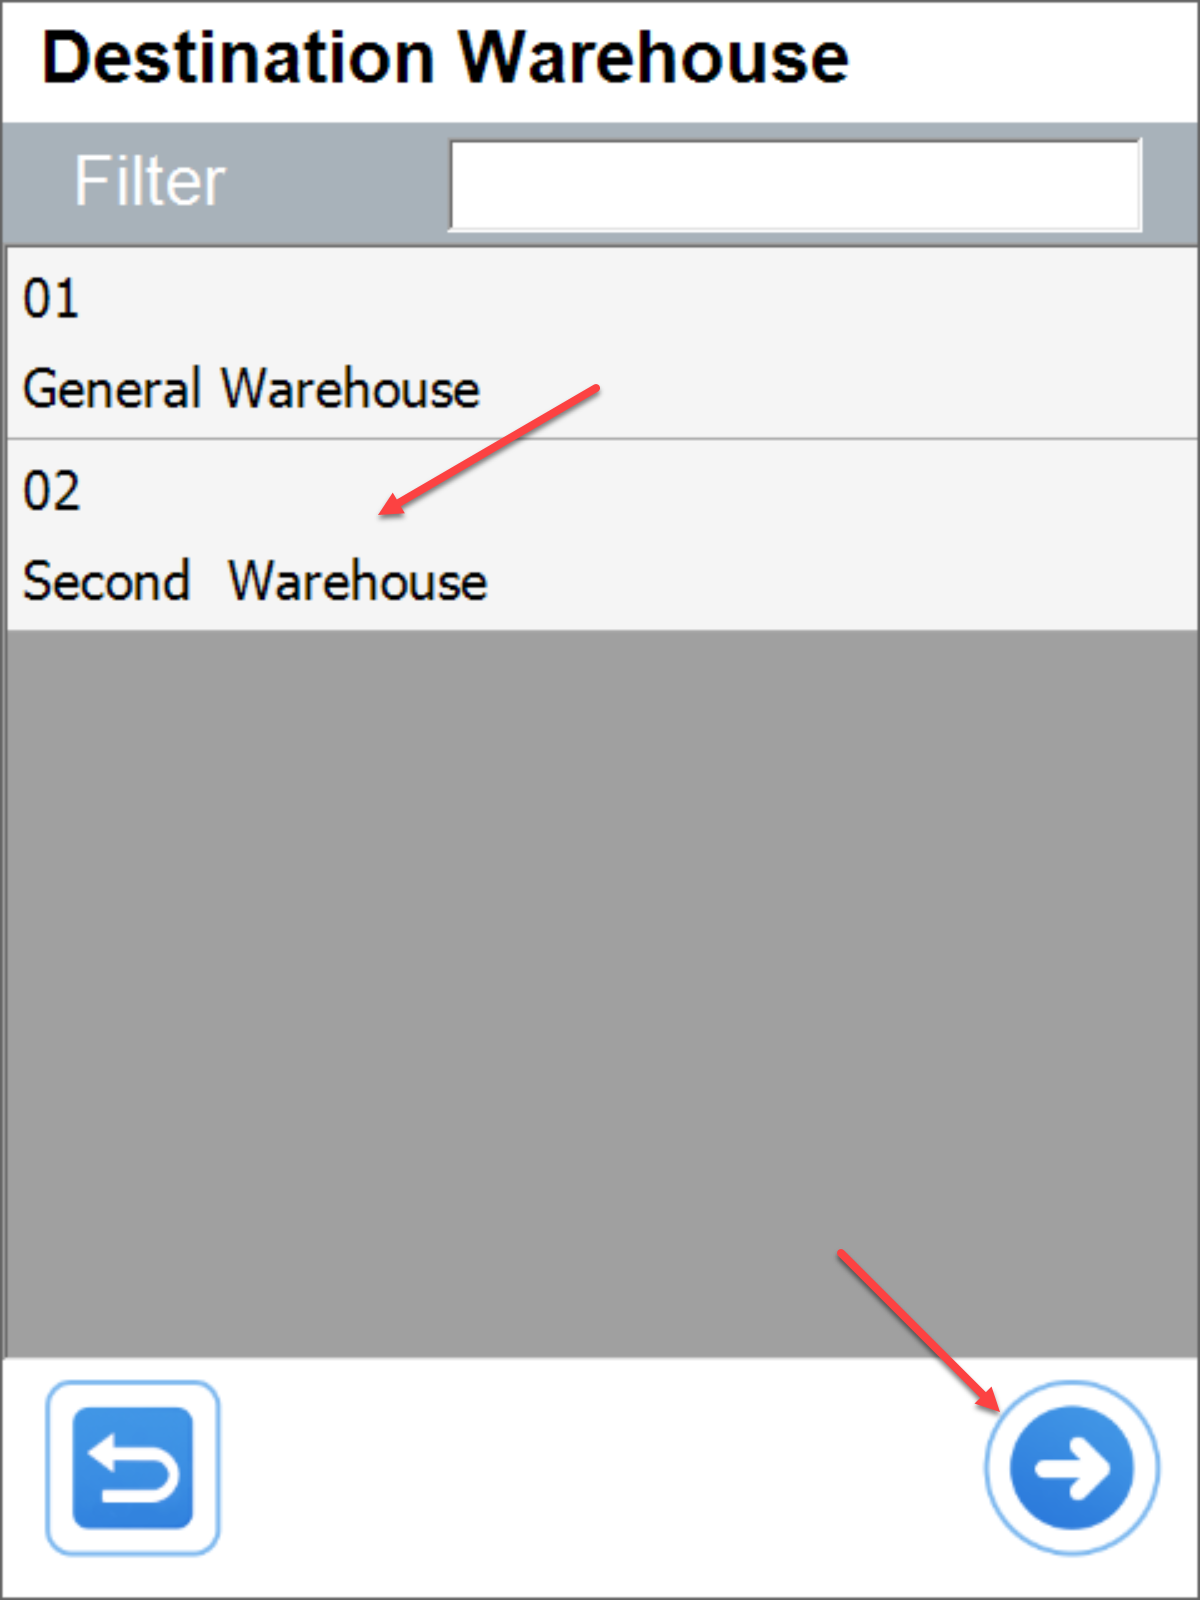
Items confirmation and transfer document confirmation
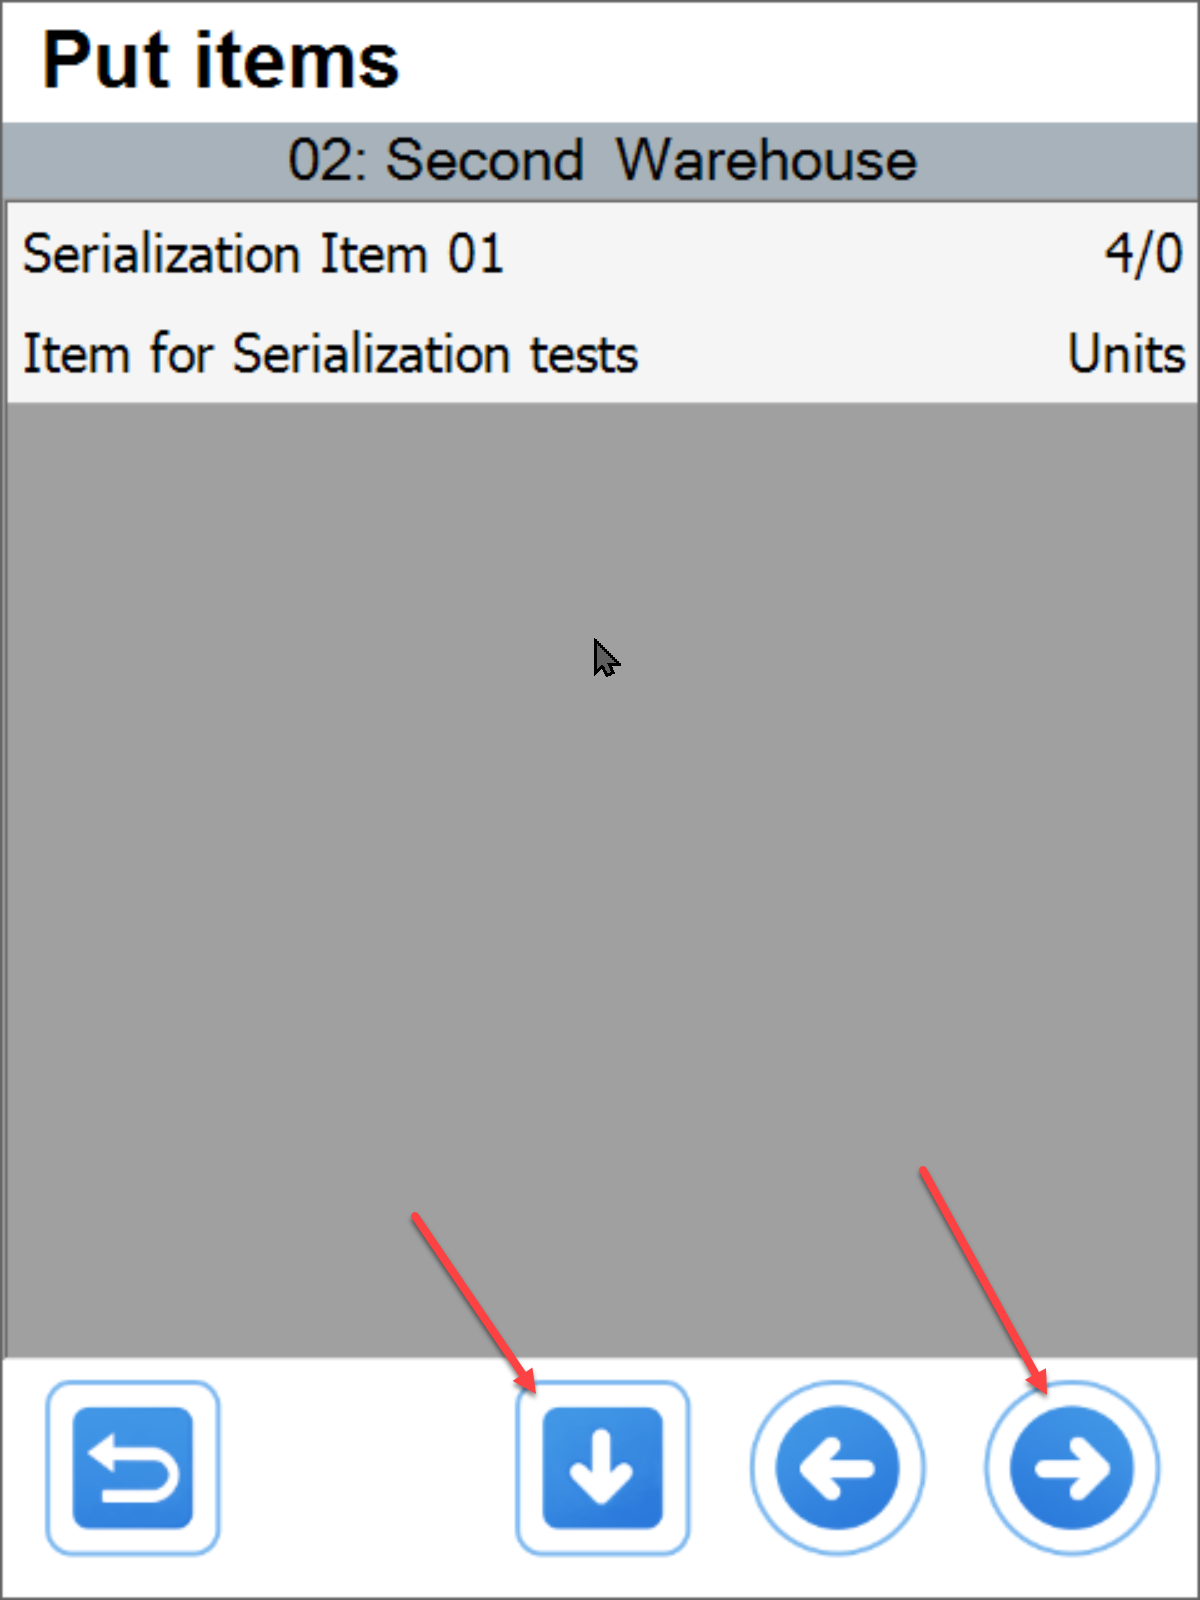
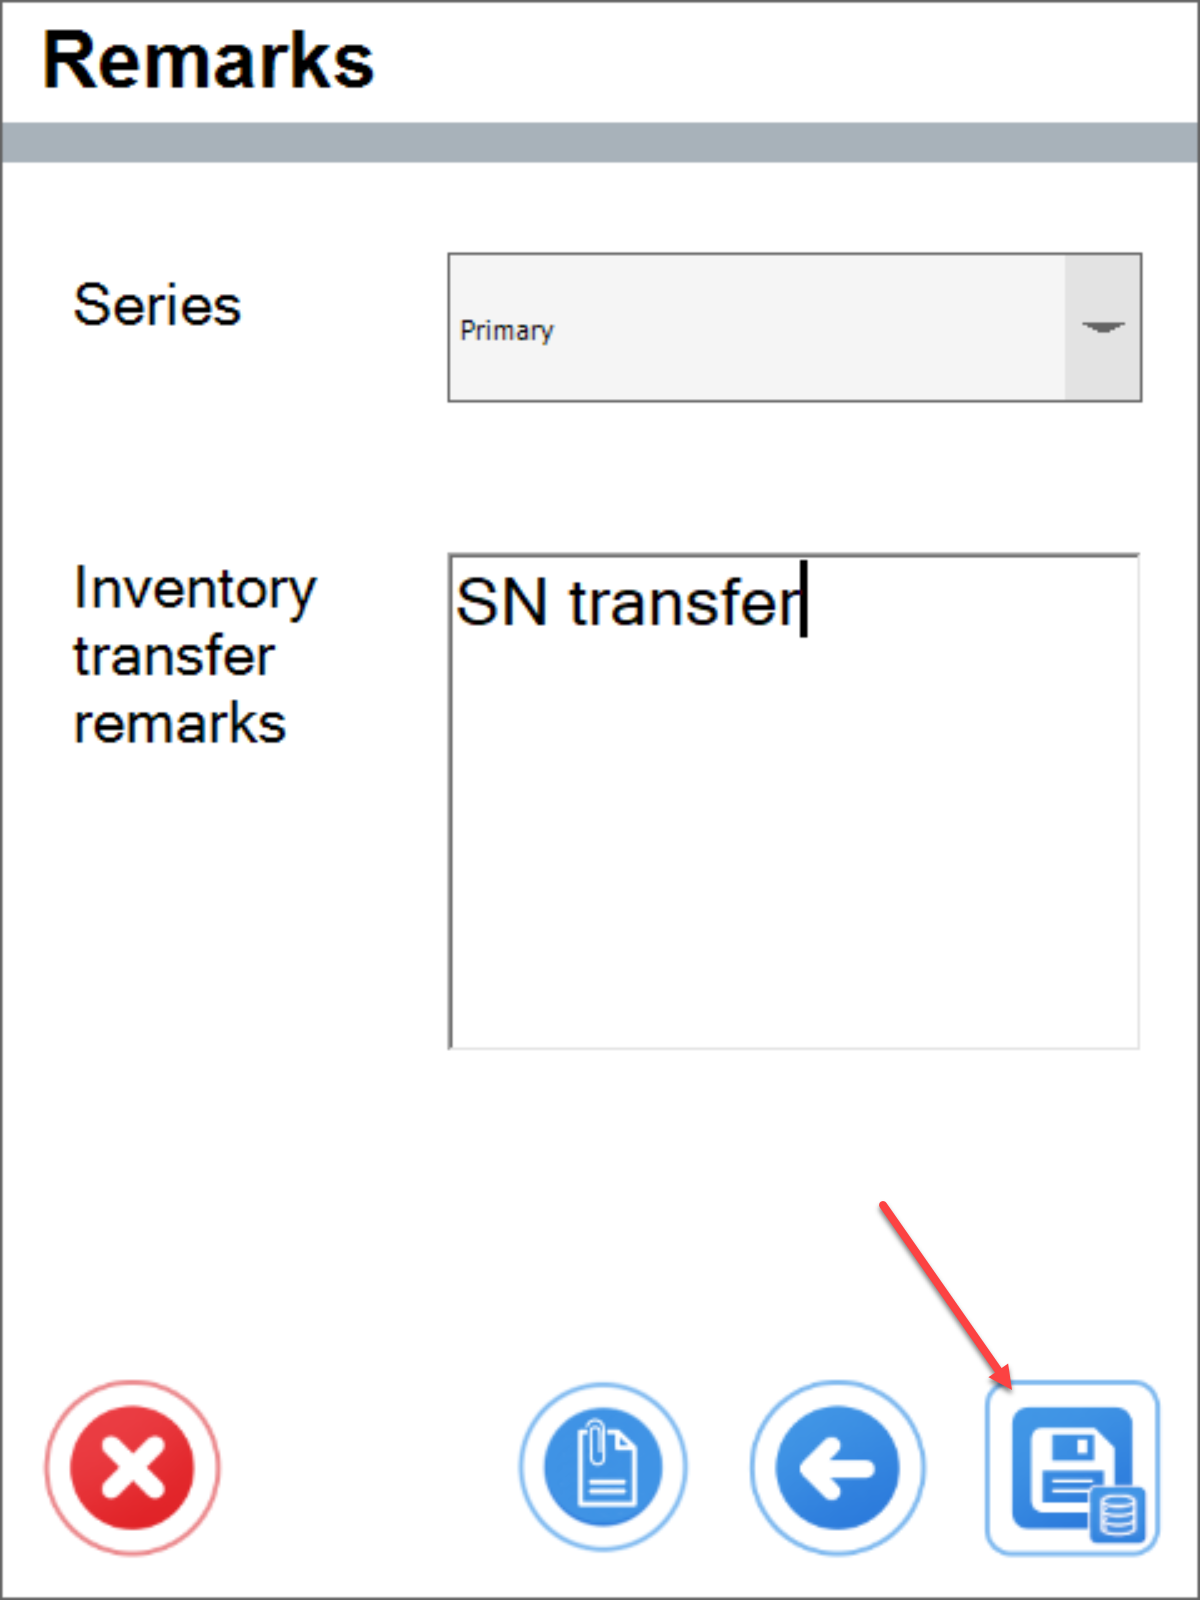
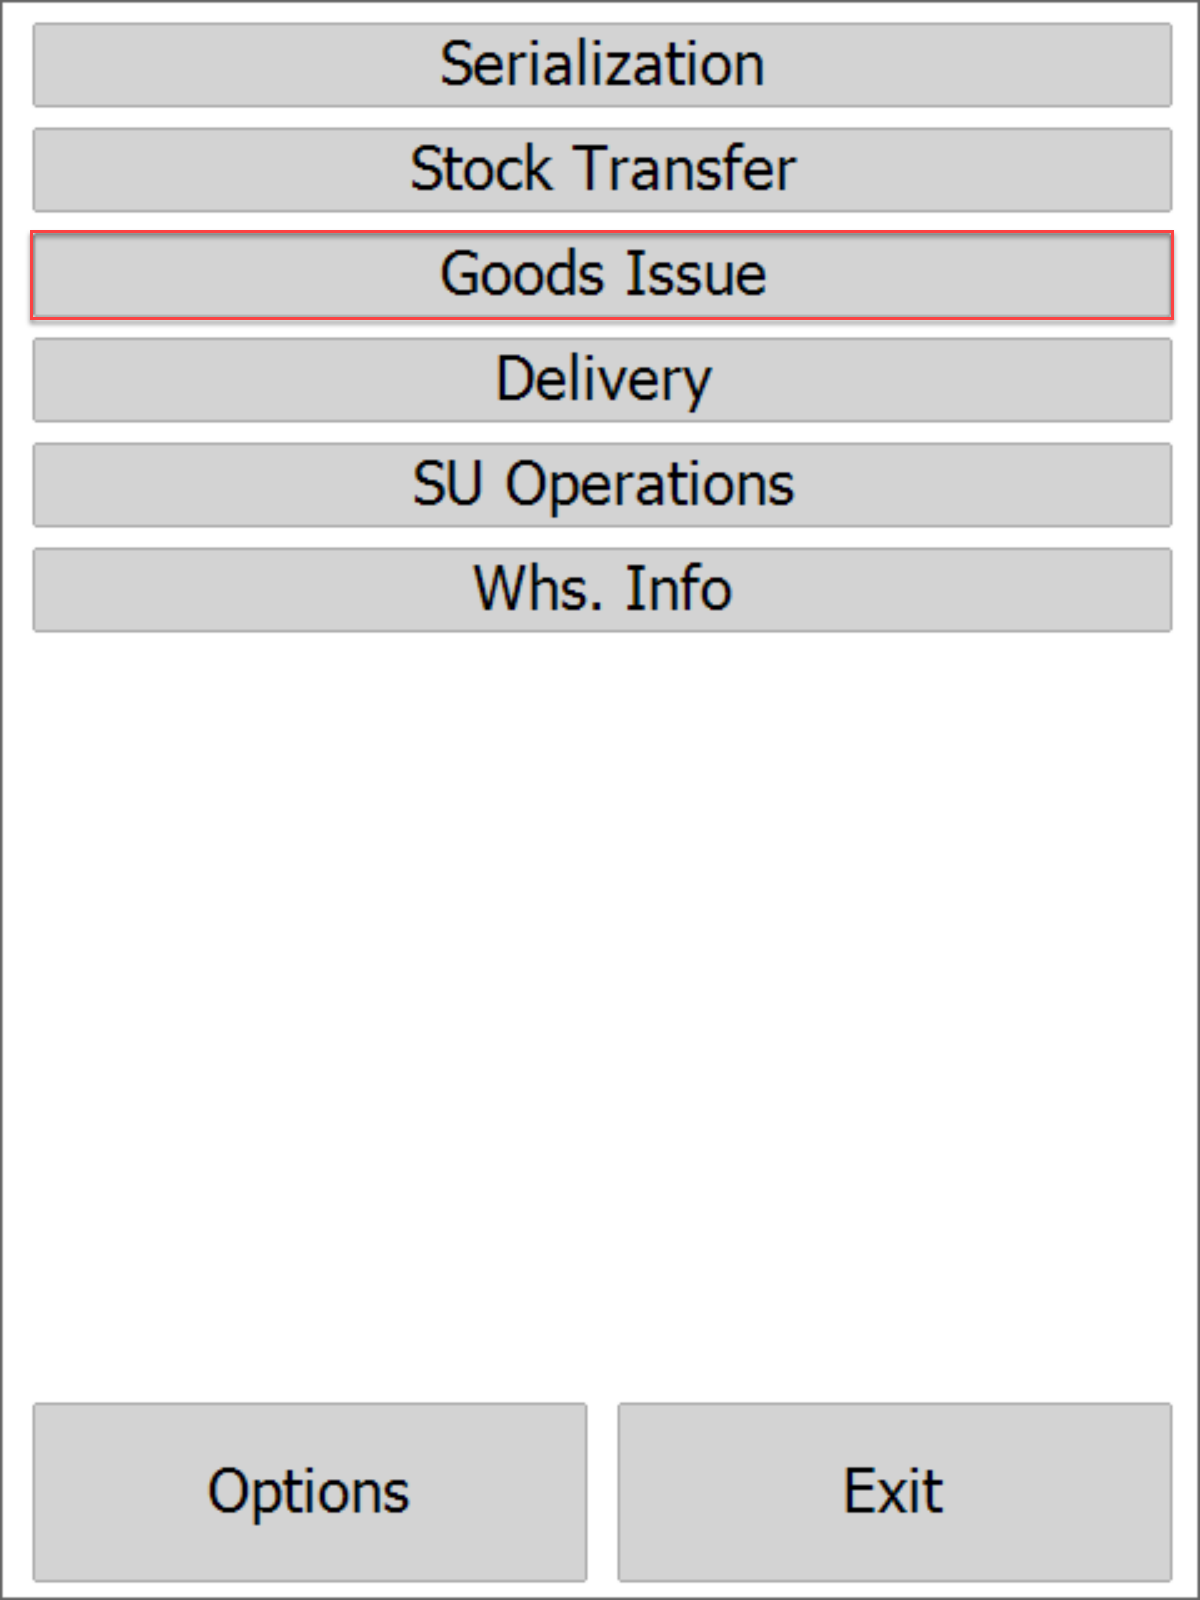
Goods Issue
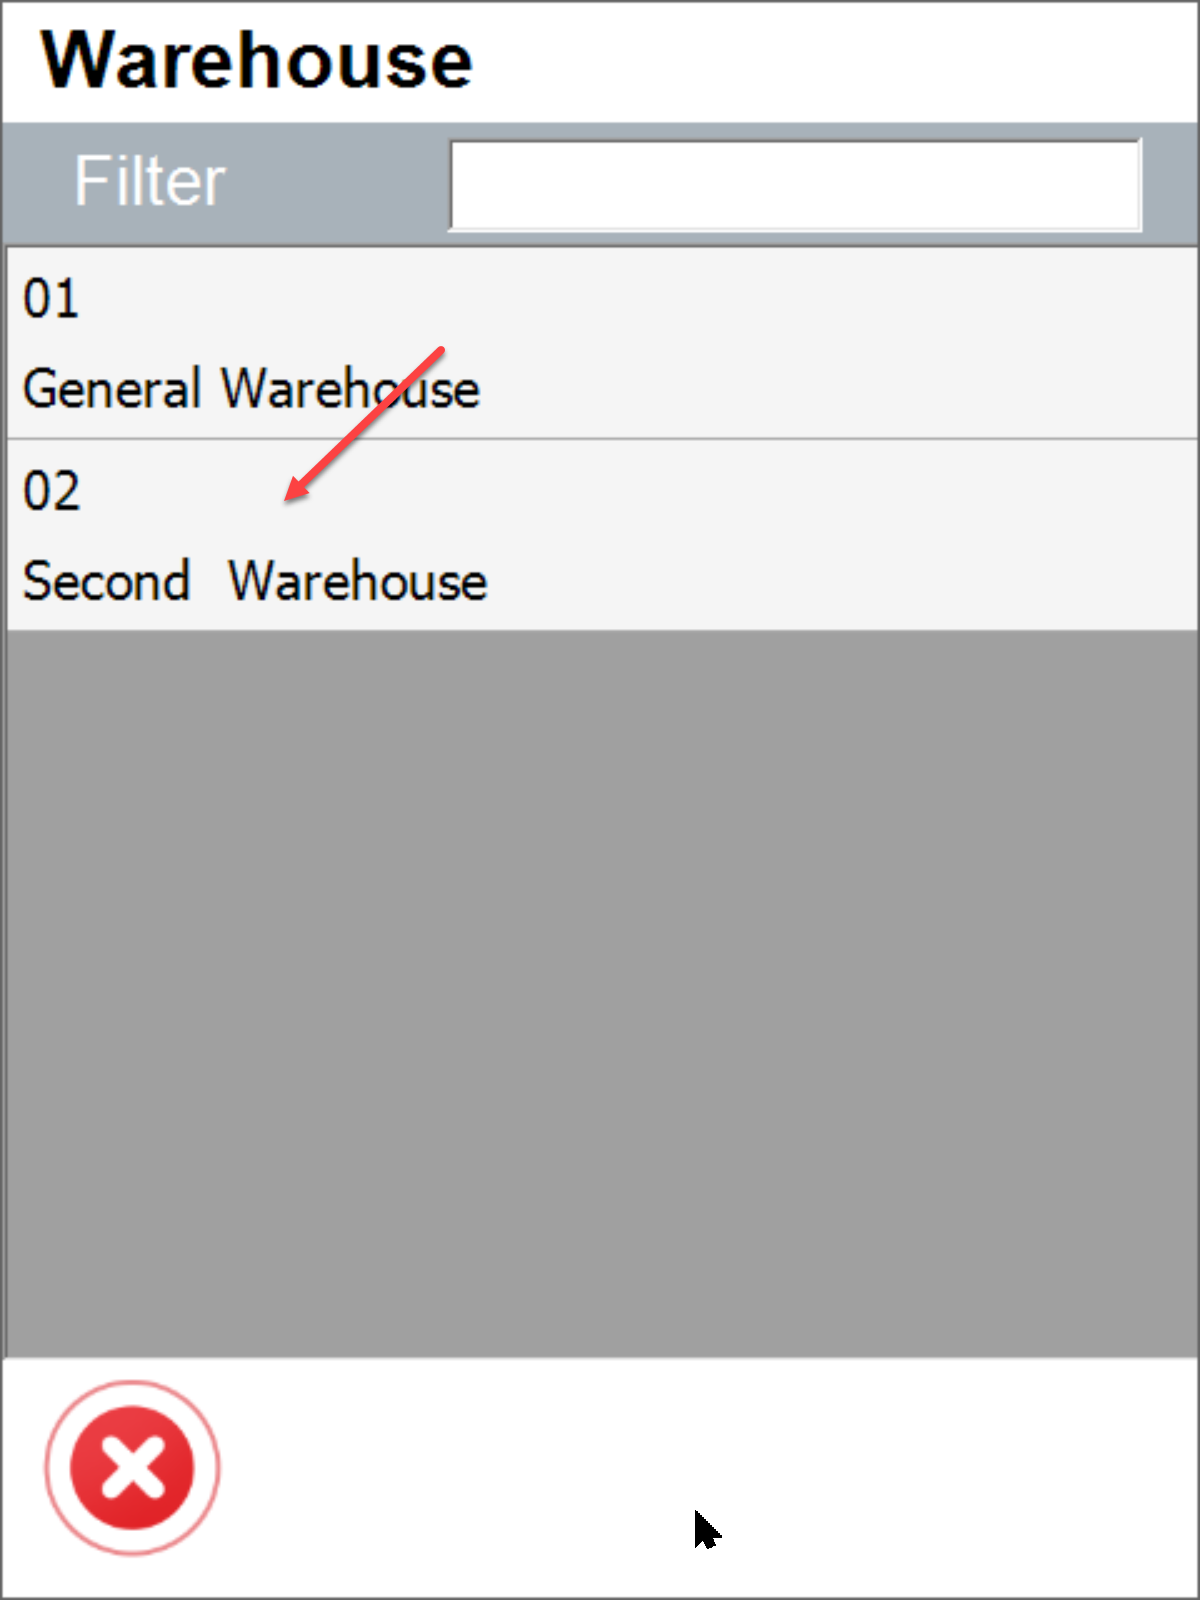
Warehouse selection
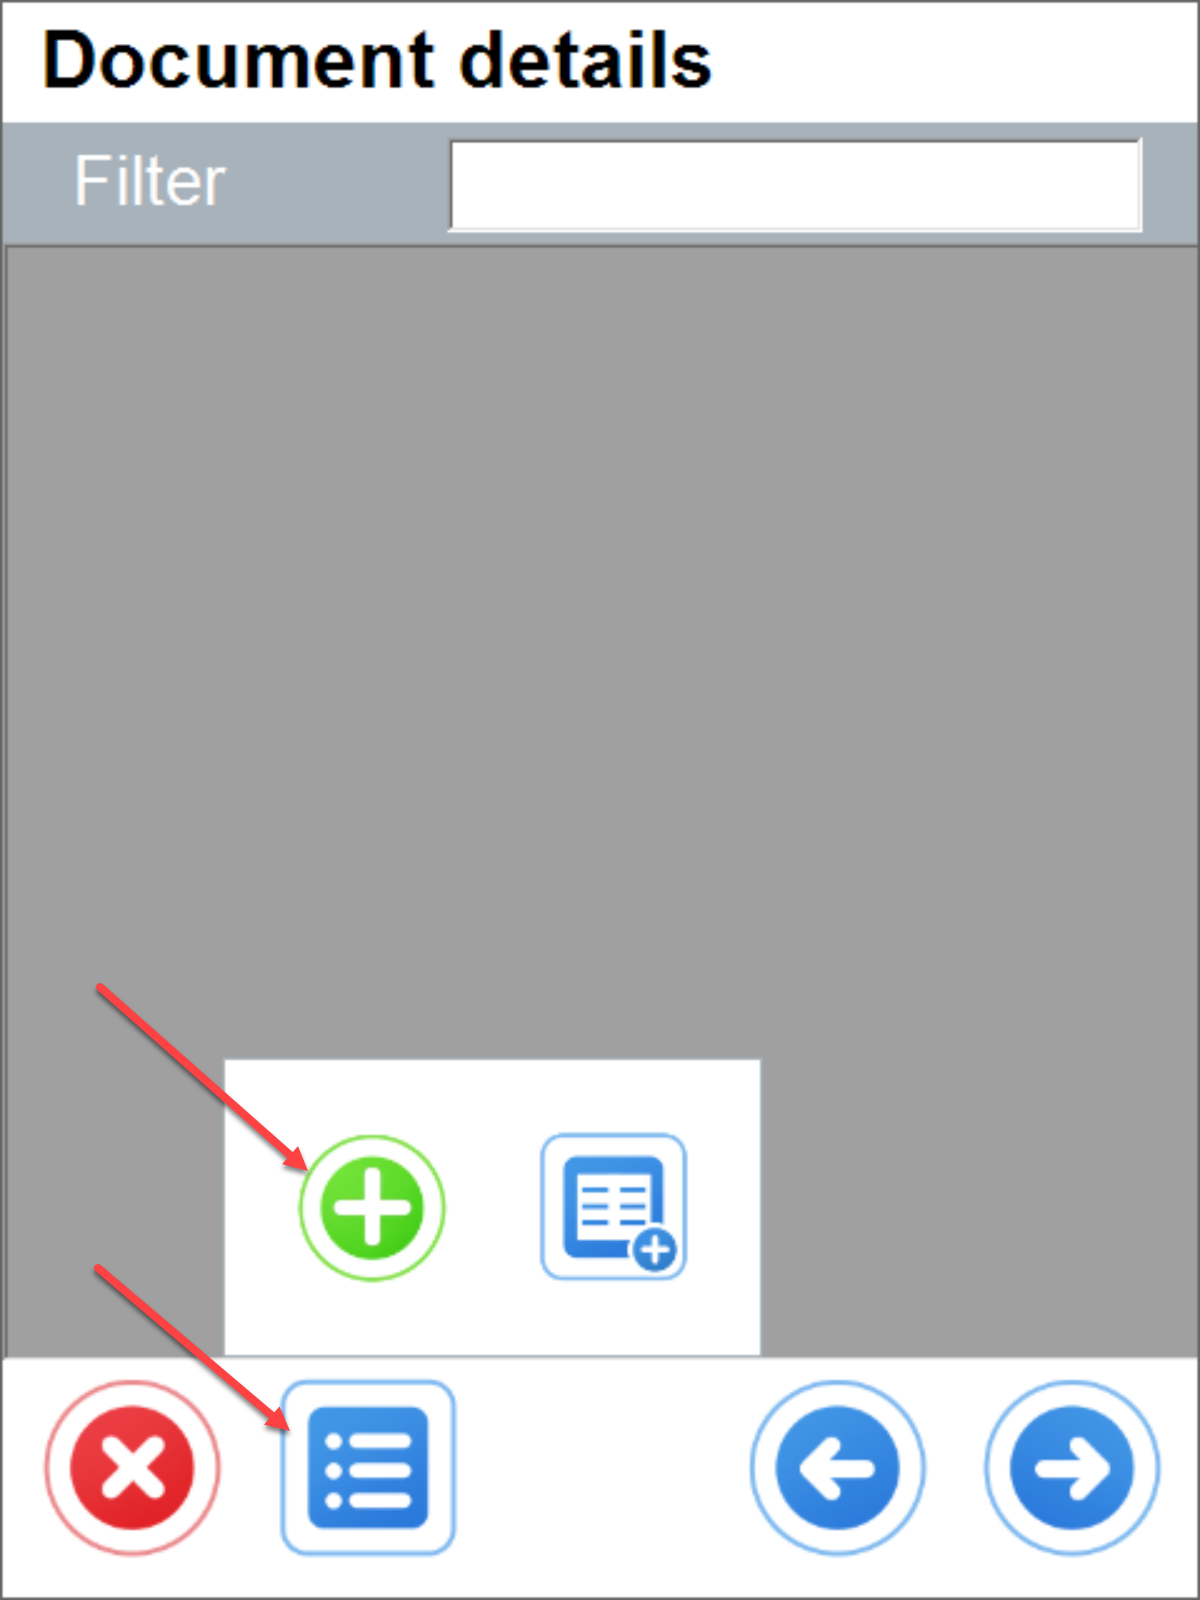
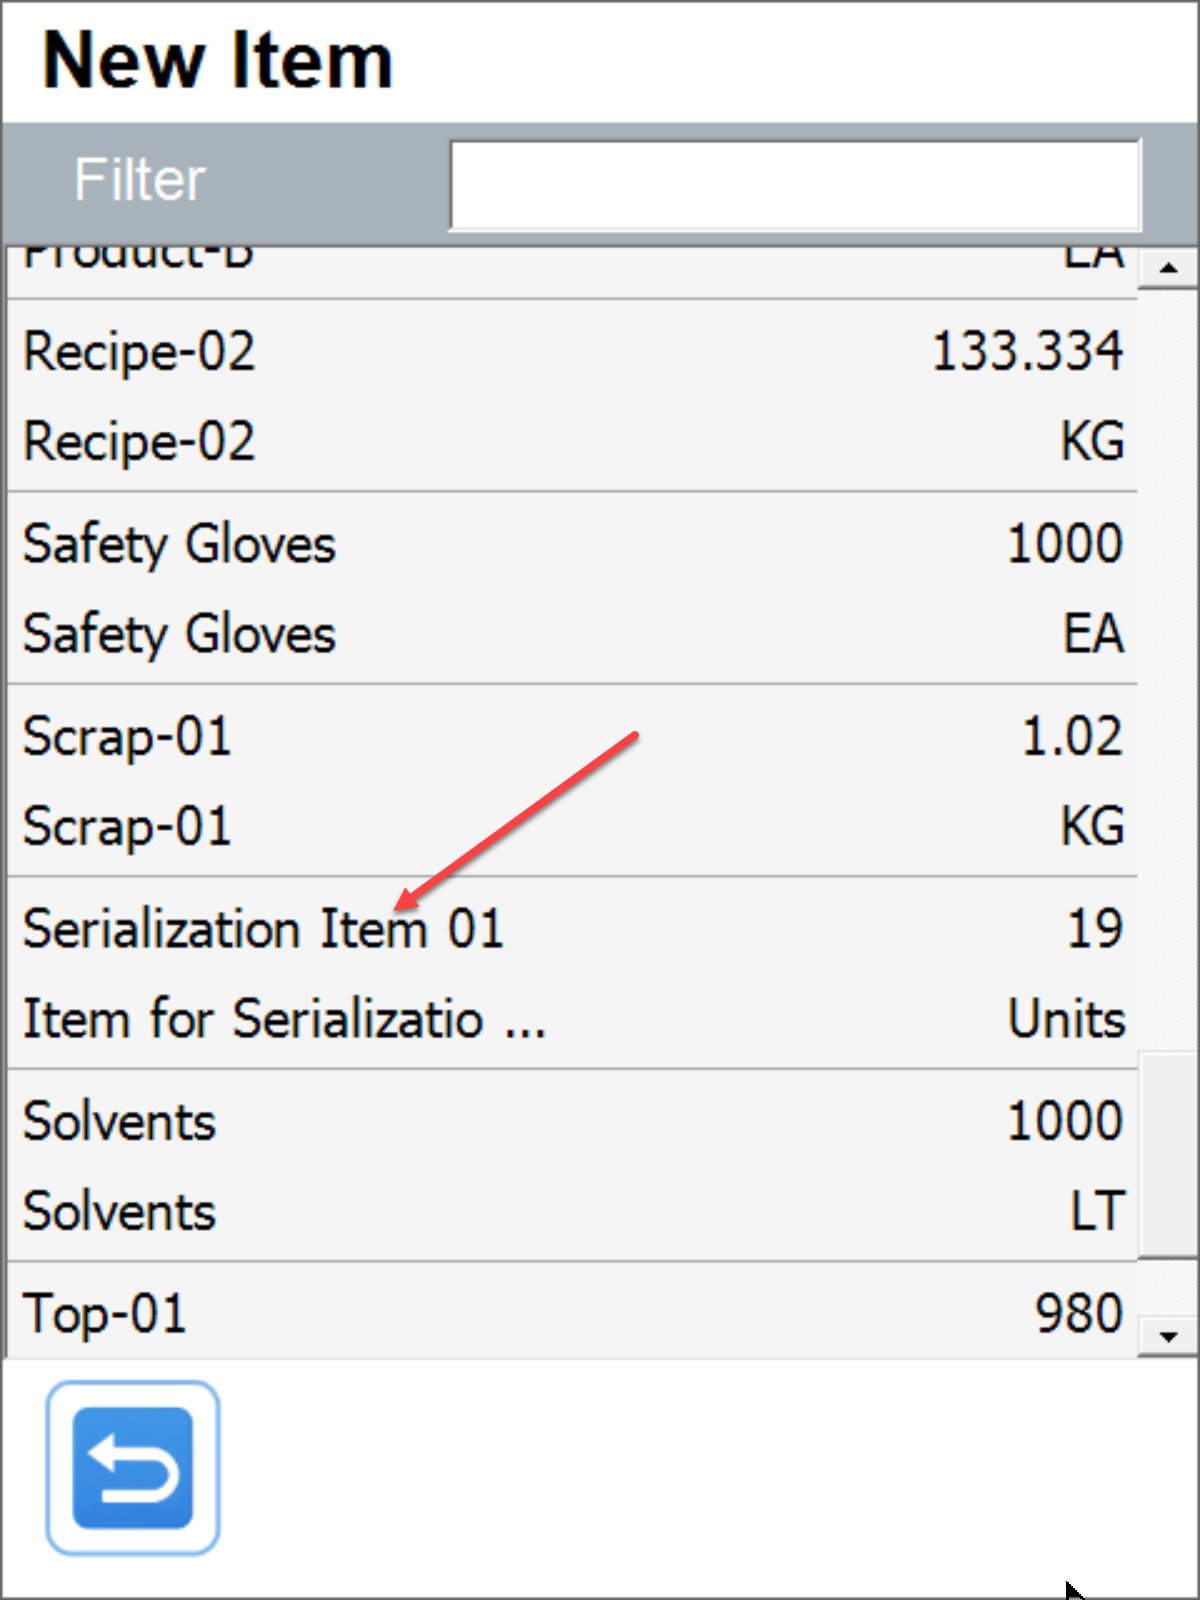
Item selection
Batch and quantity selection
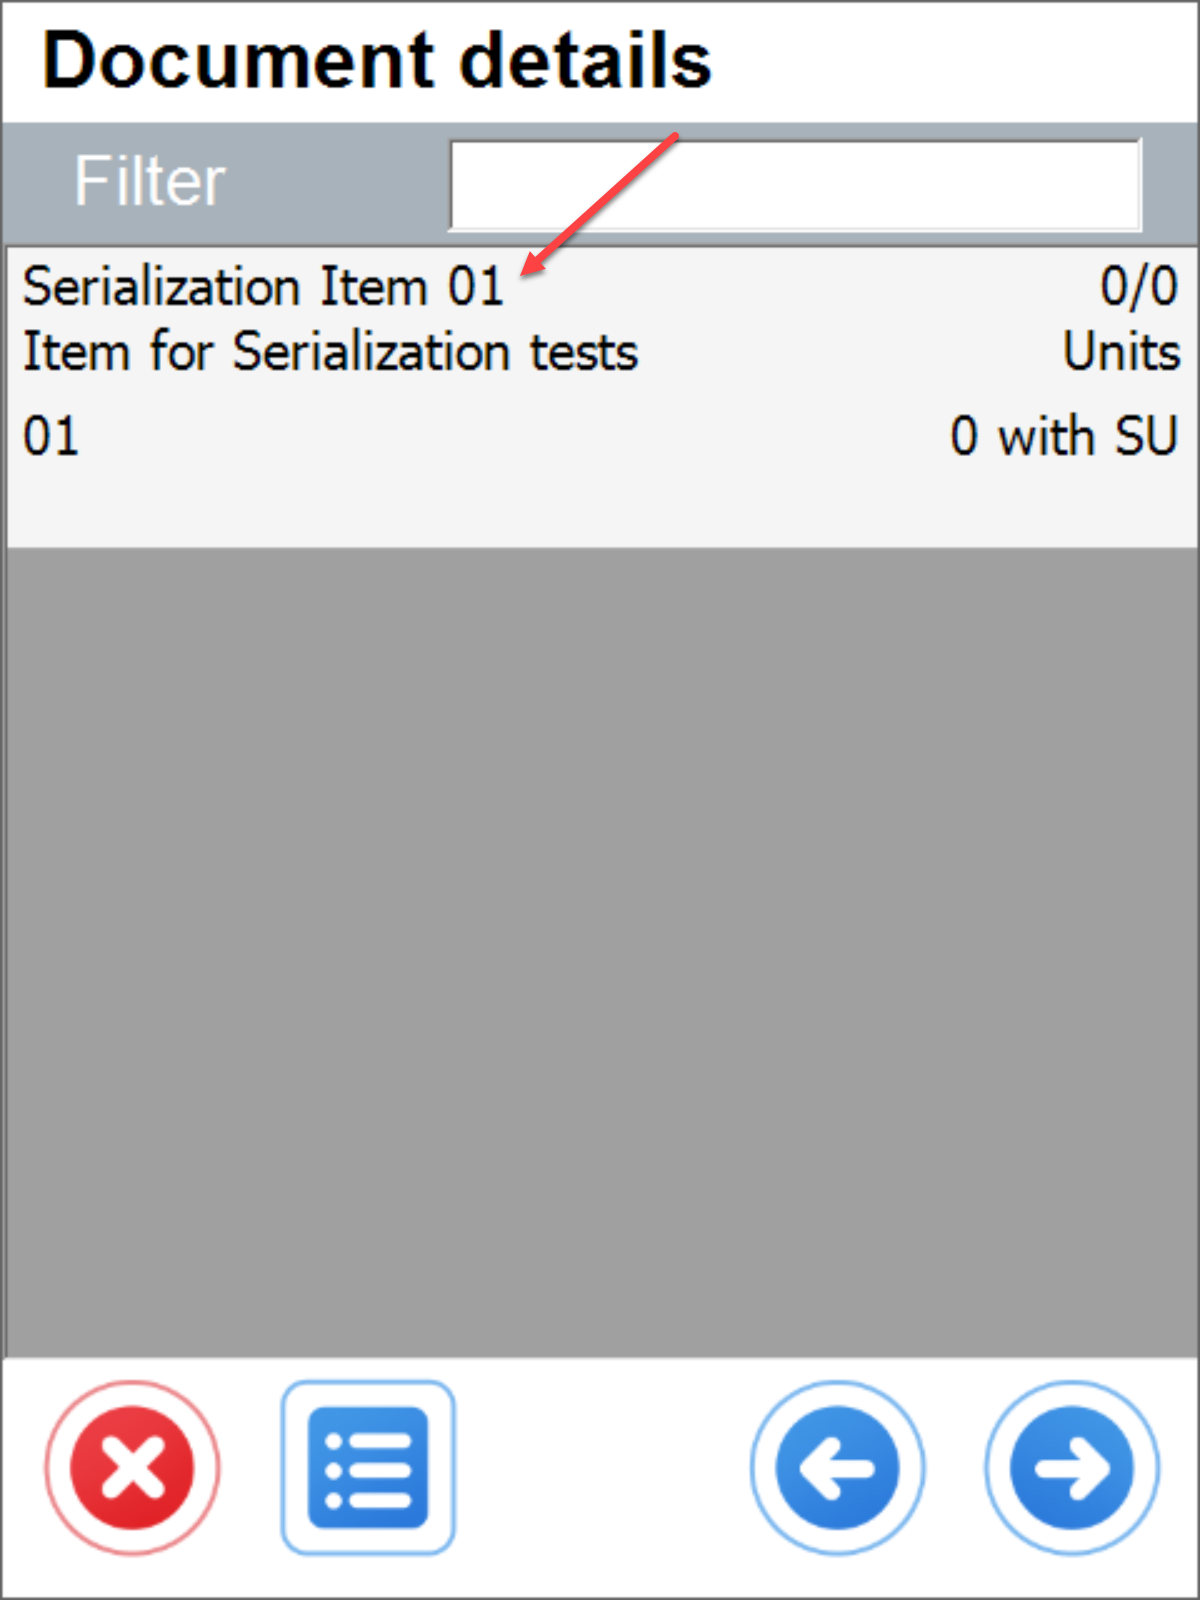
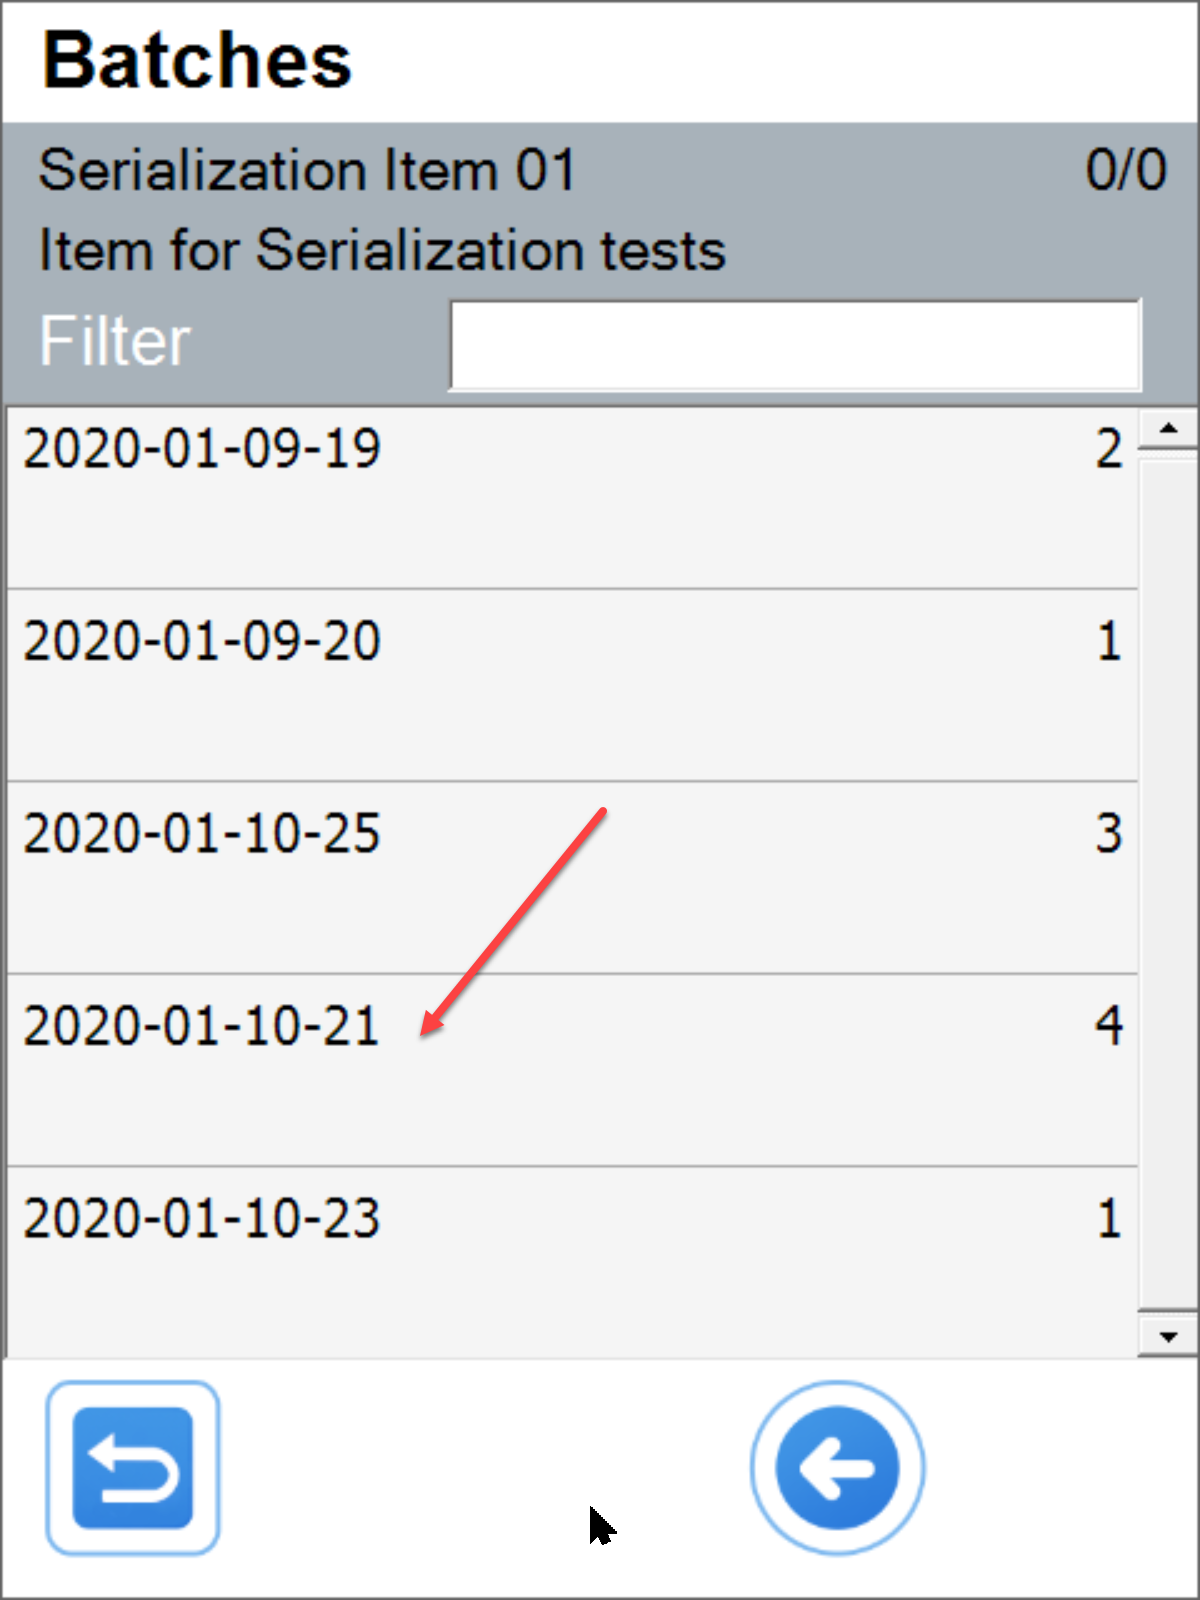
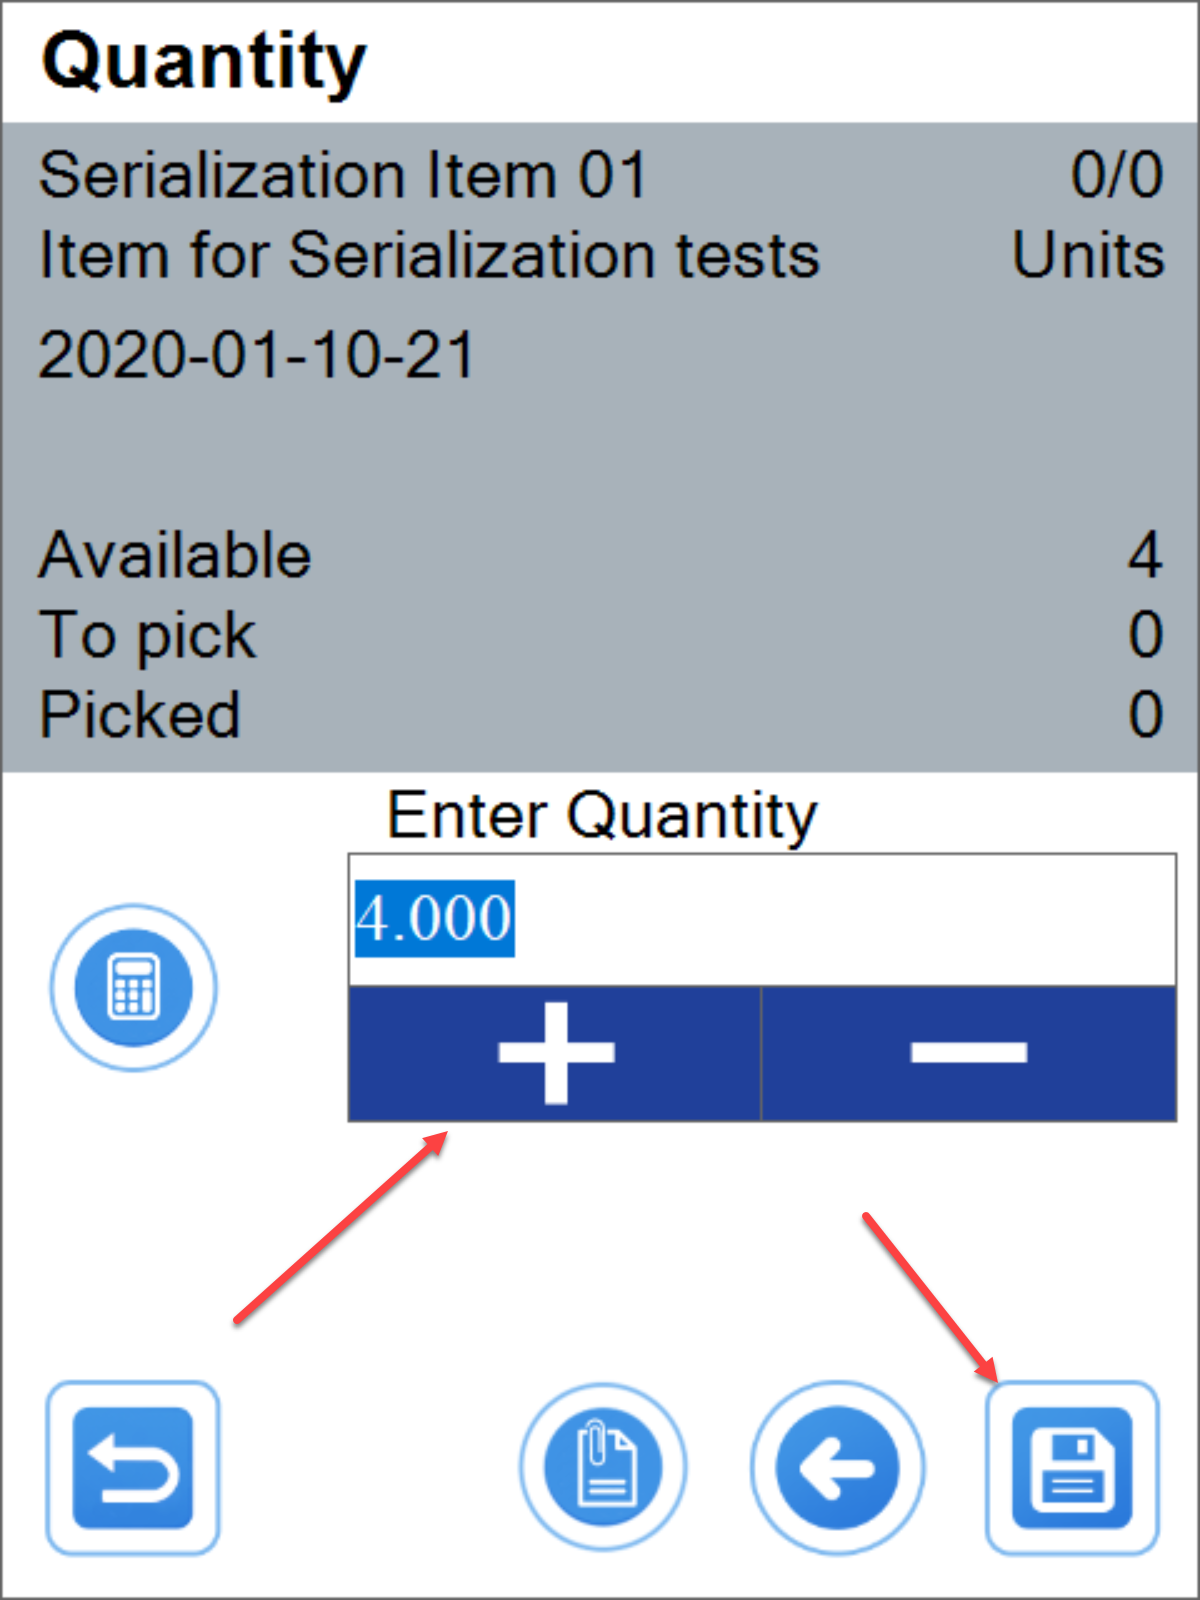
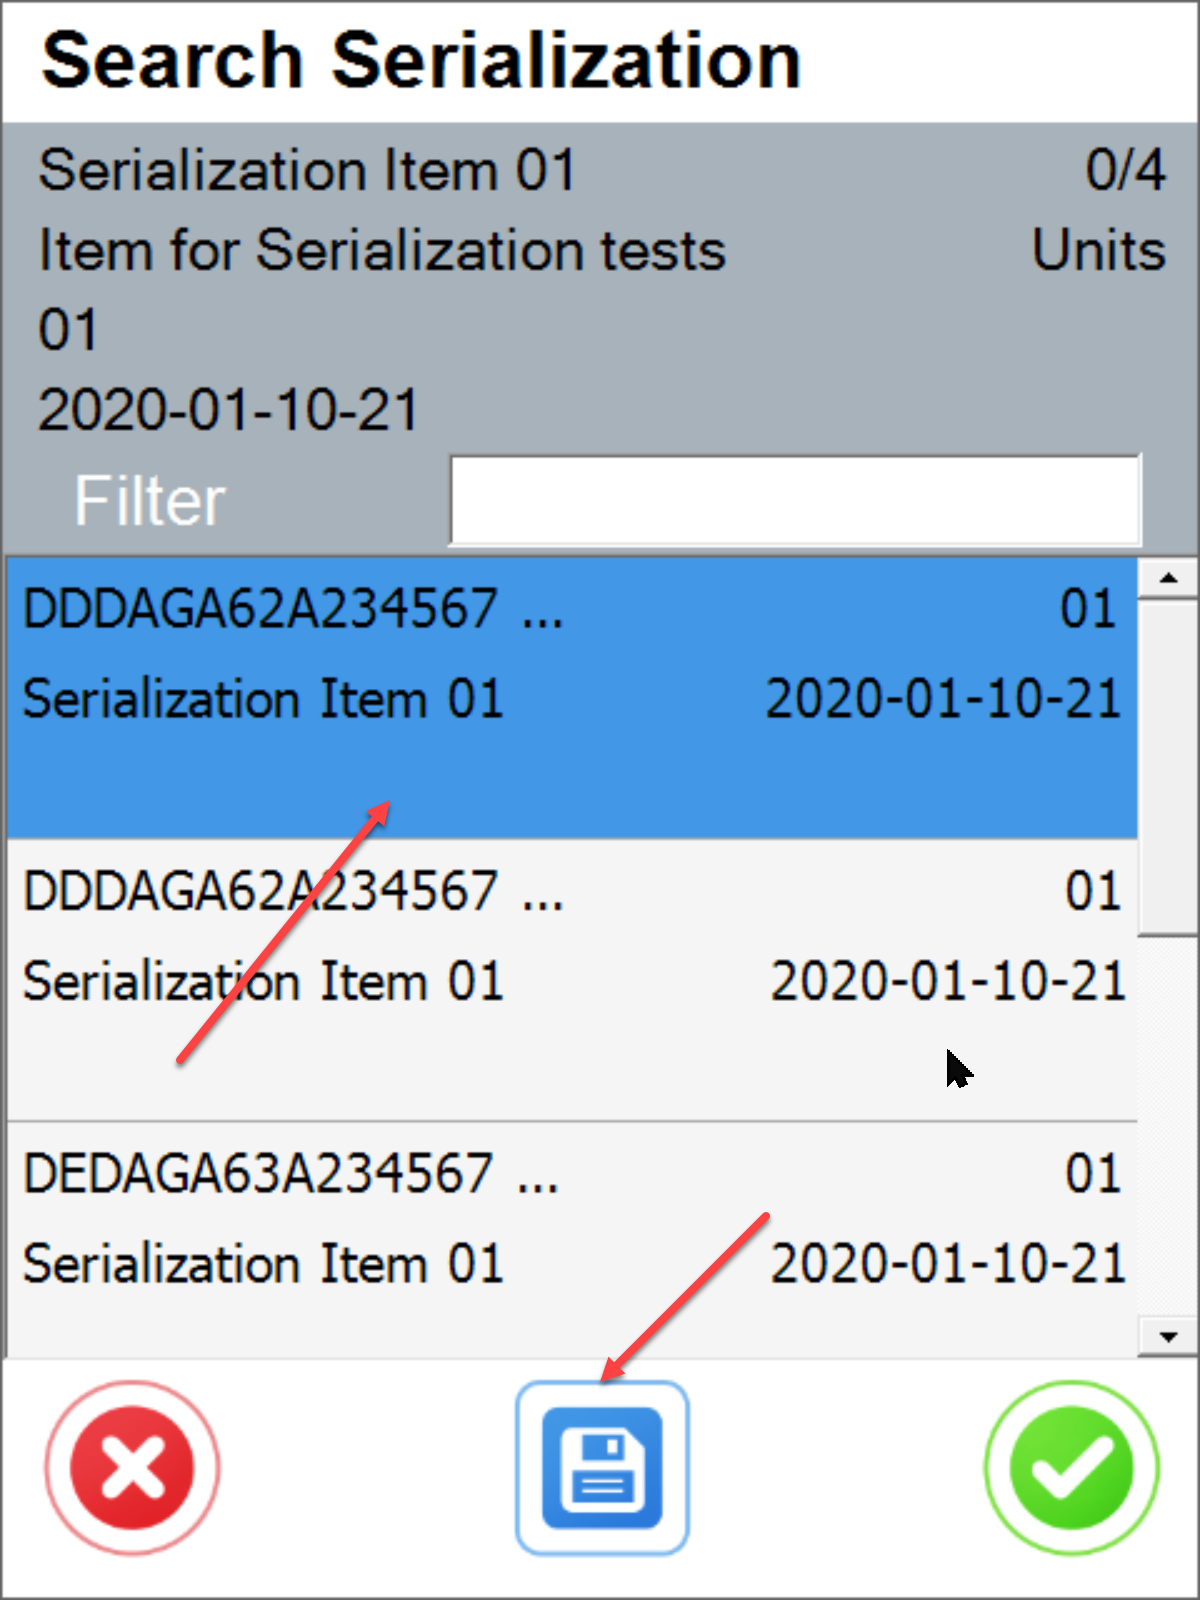
Serial numbers selection
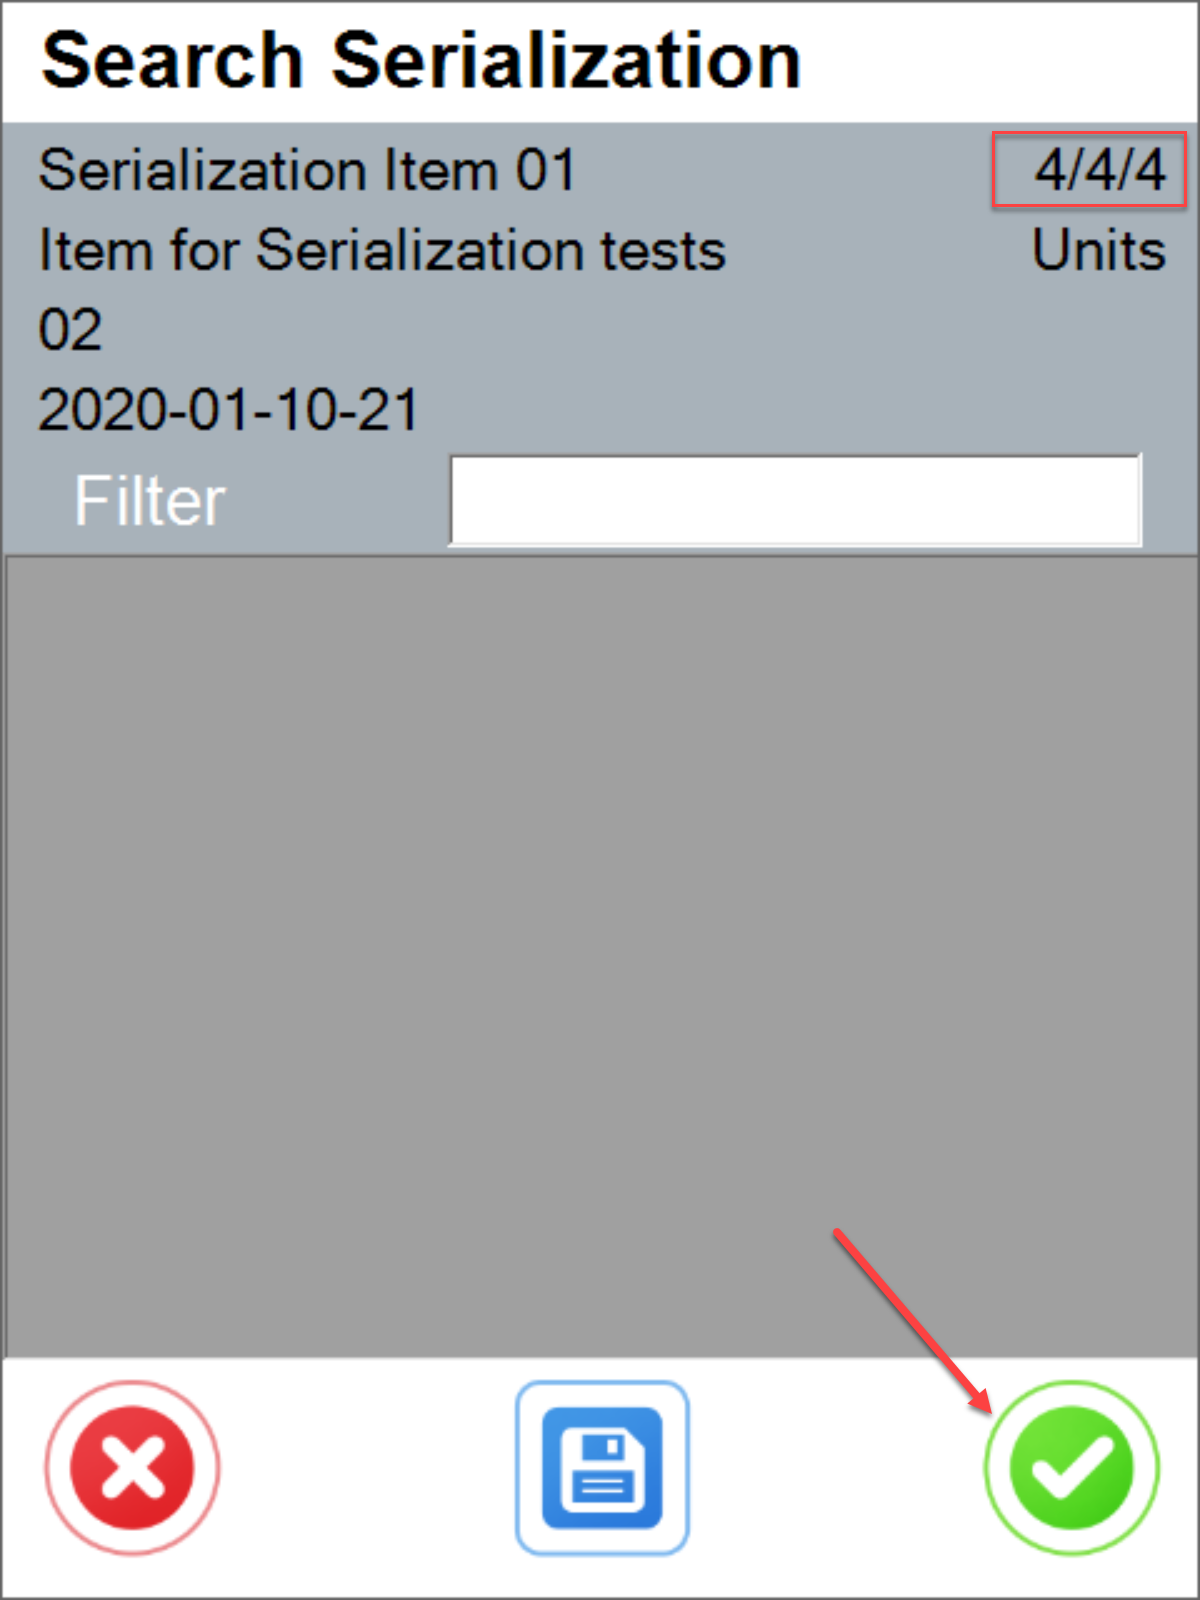
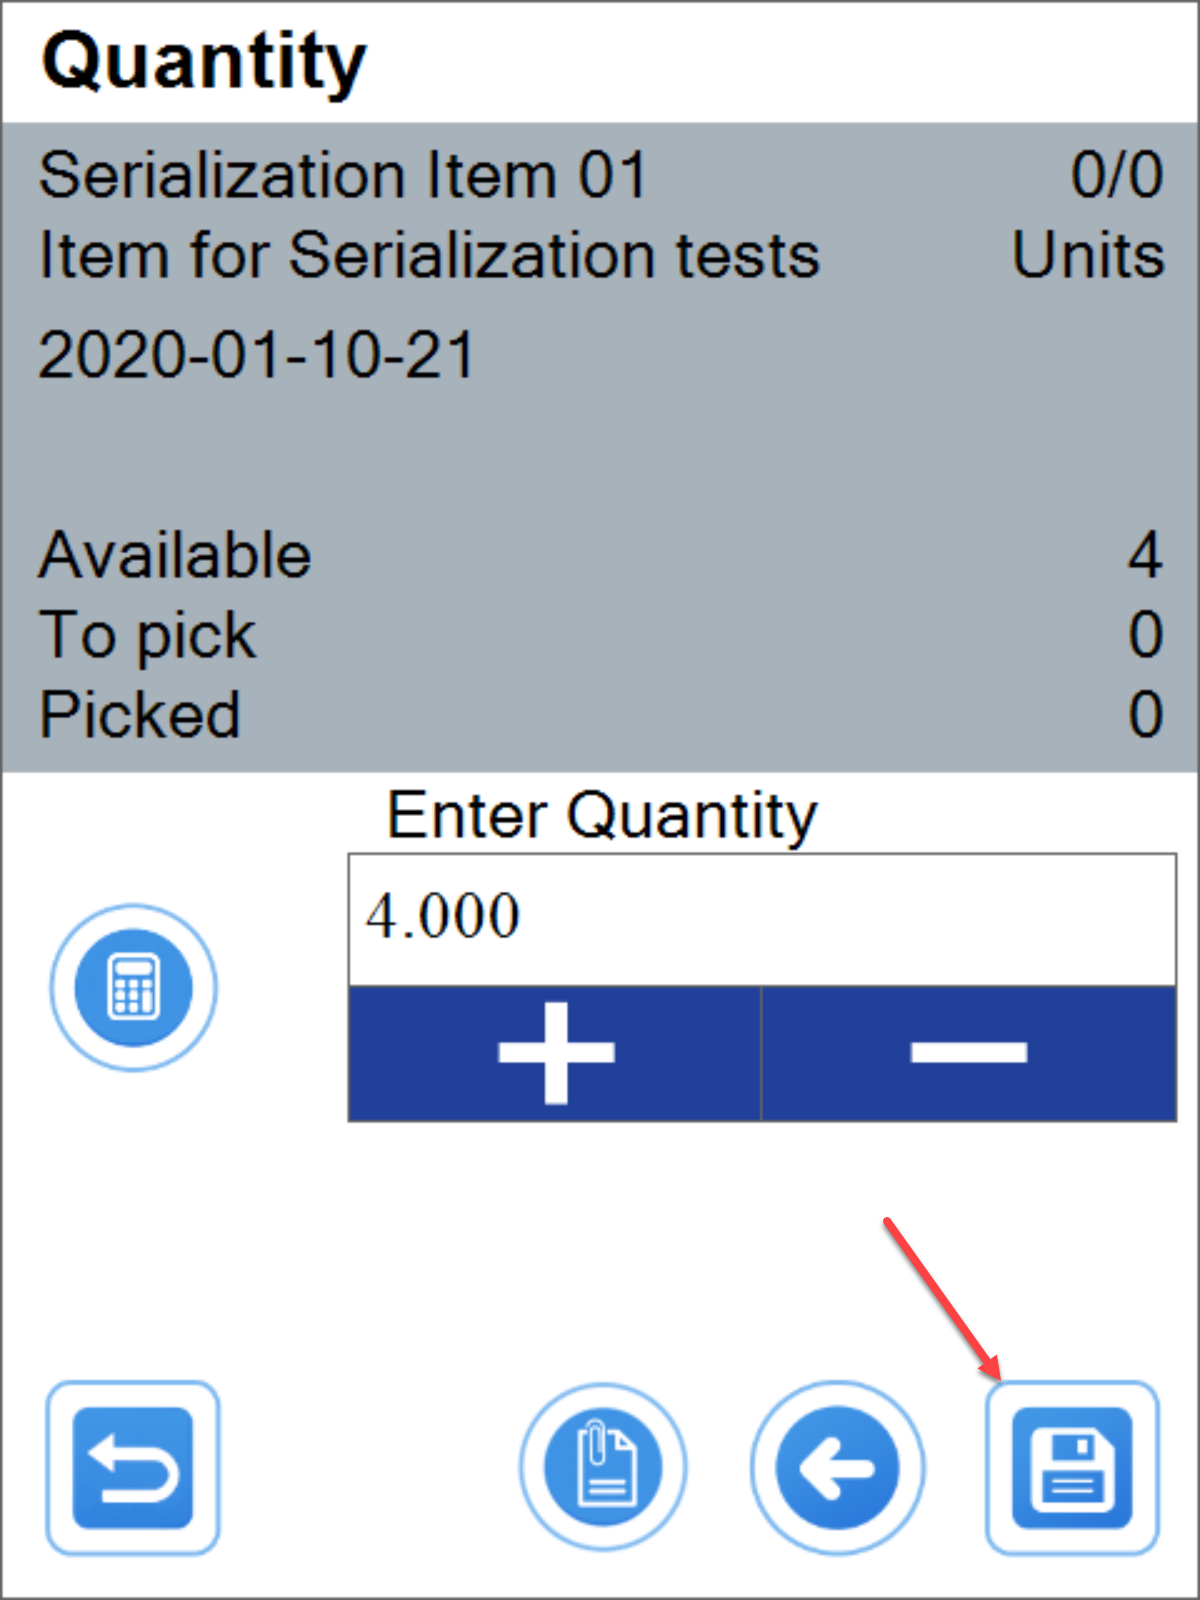
Issue document confirmation
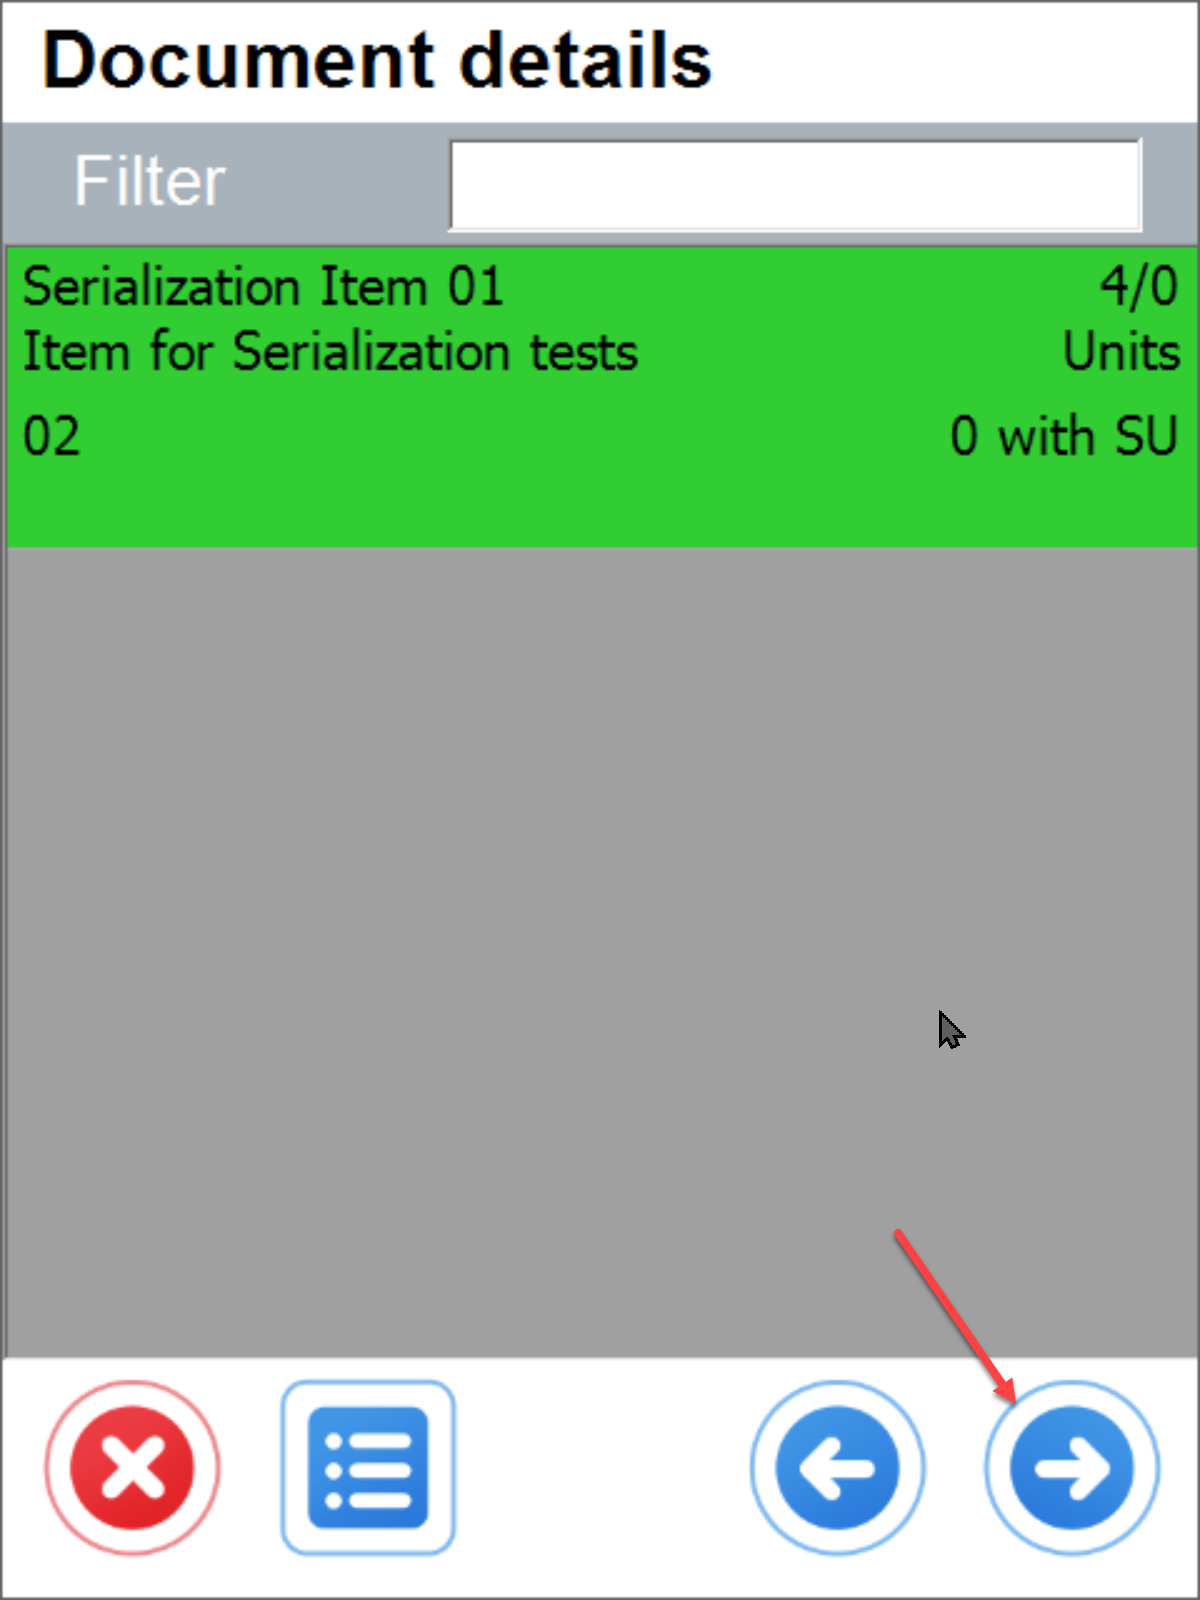
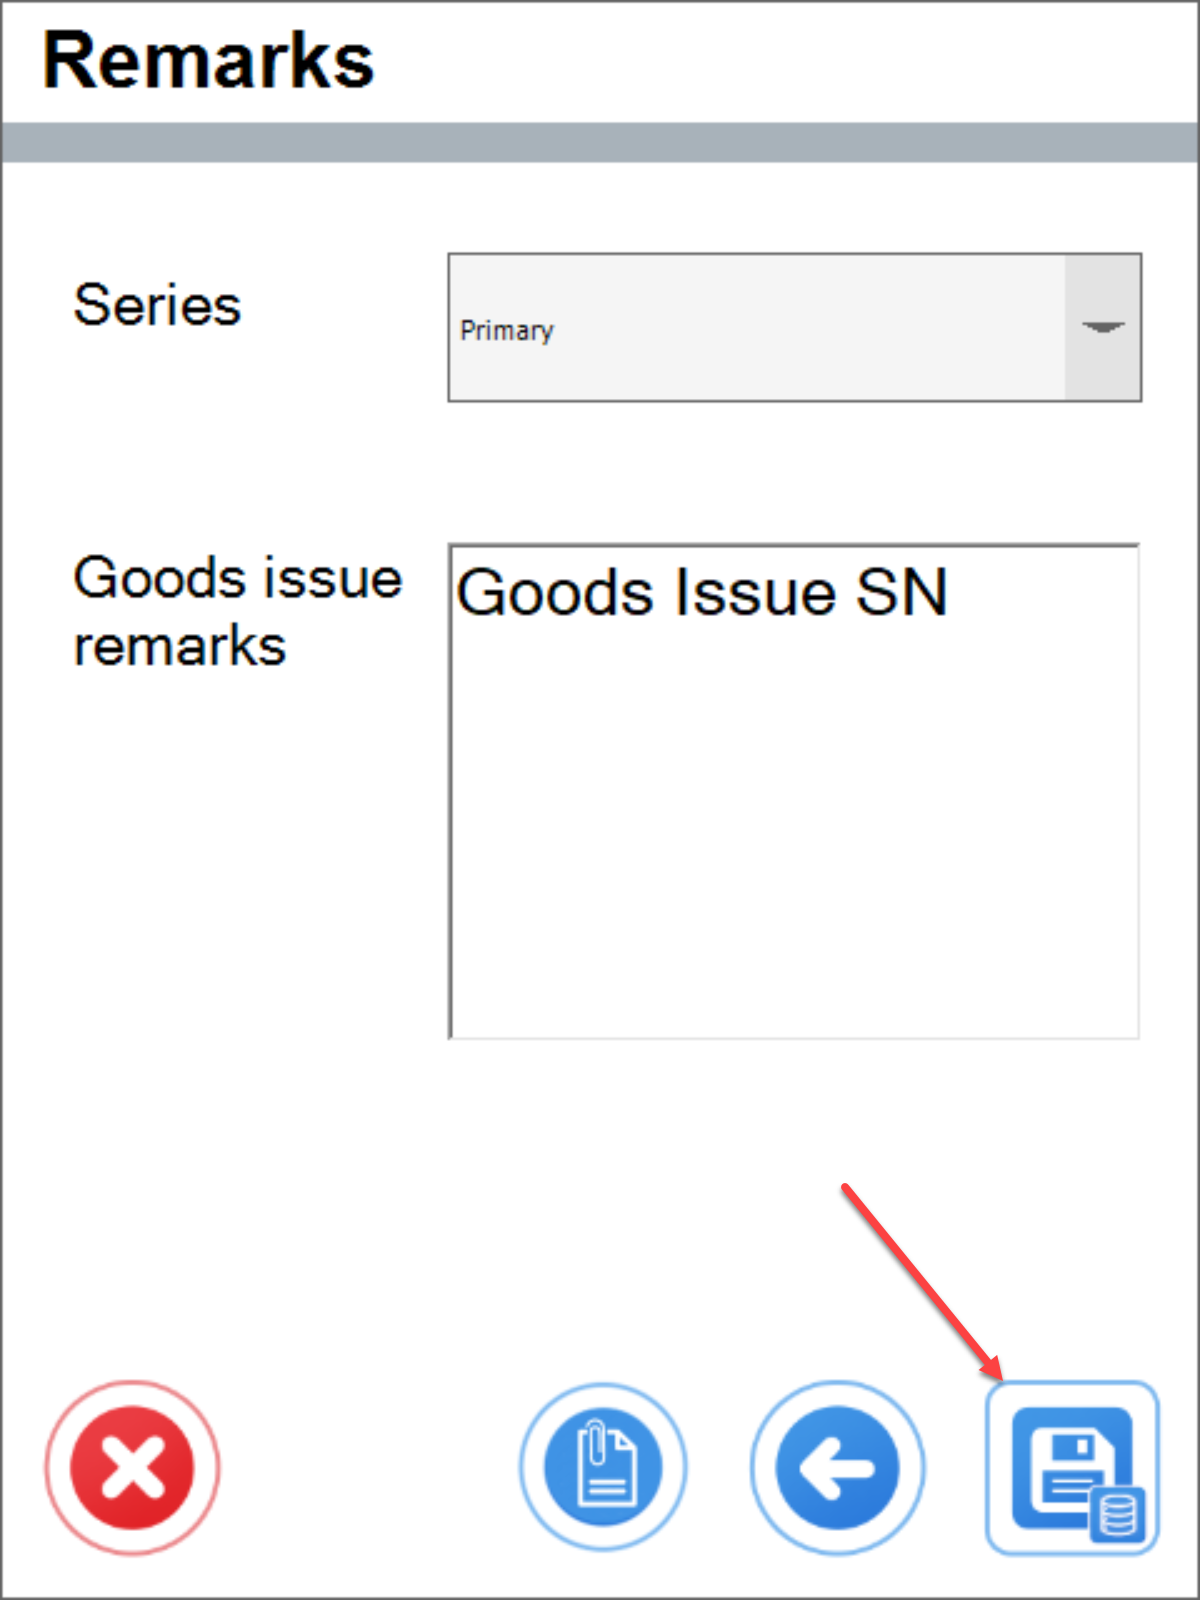
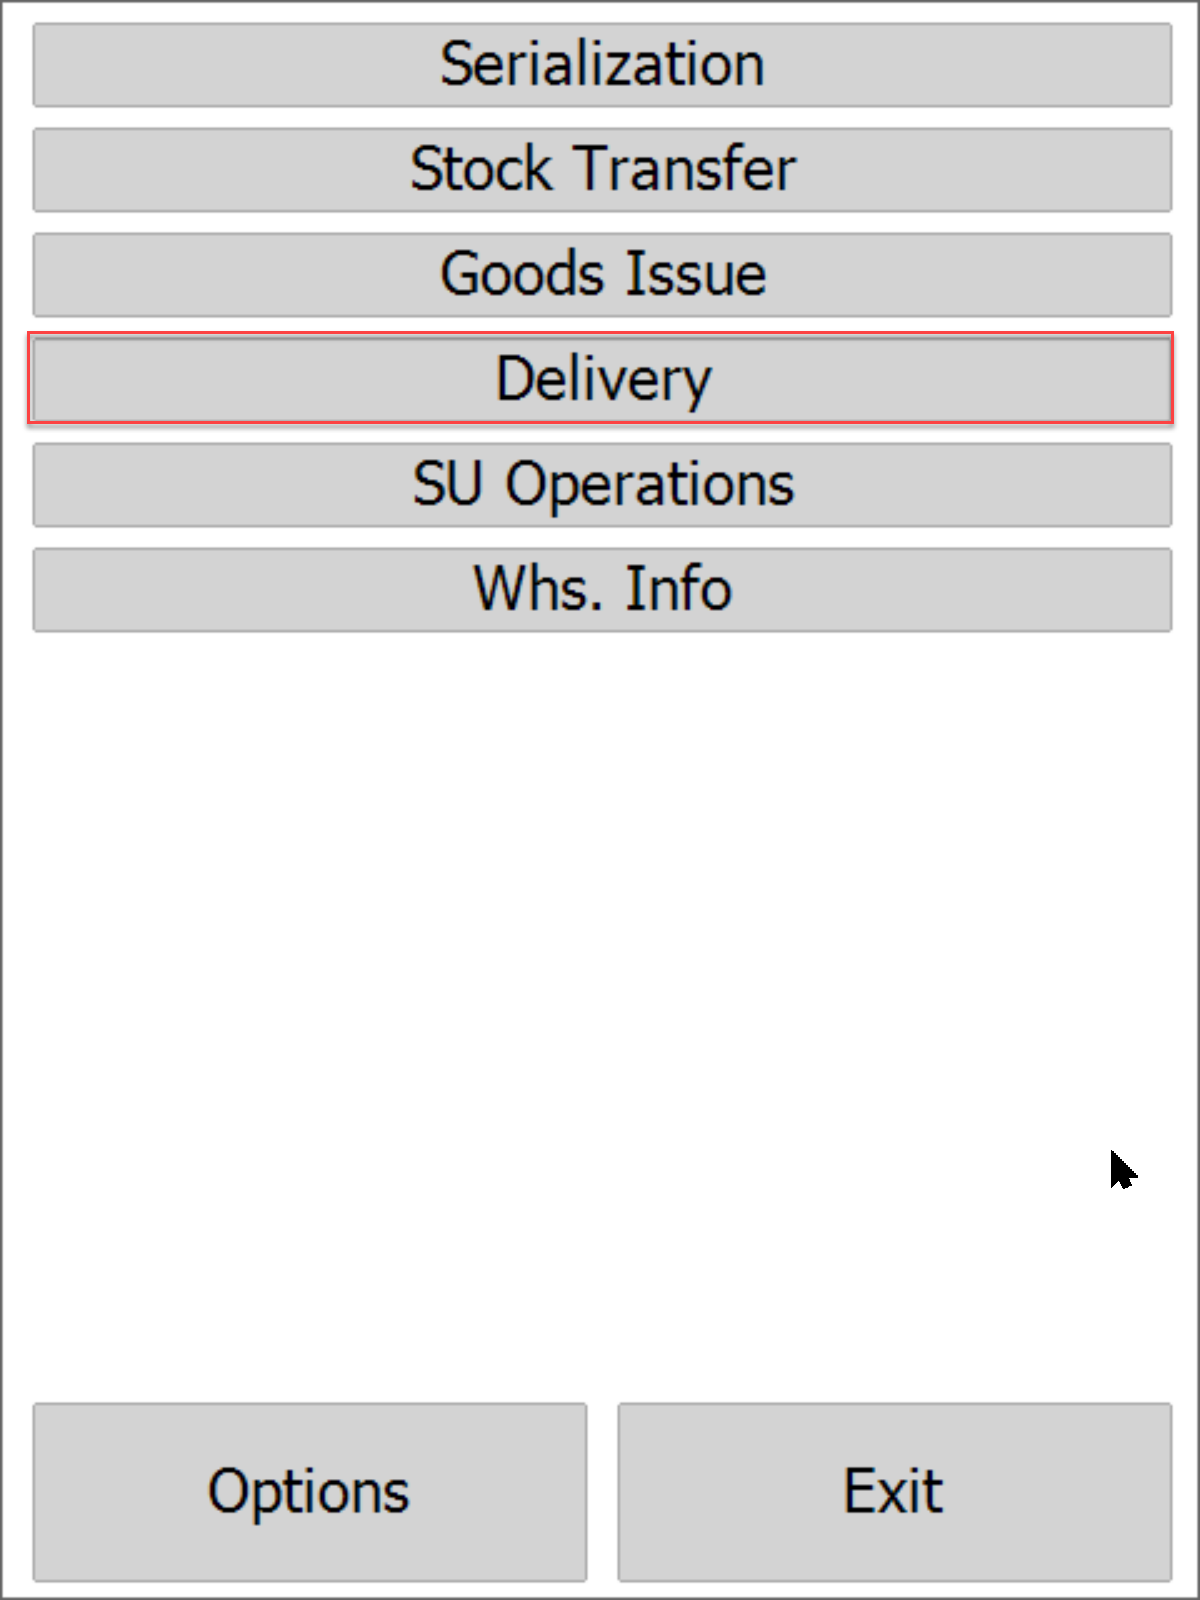
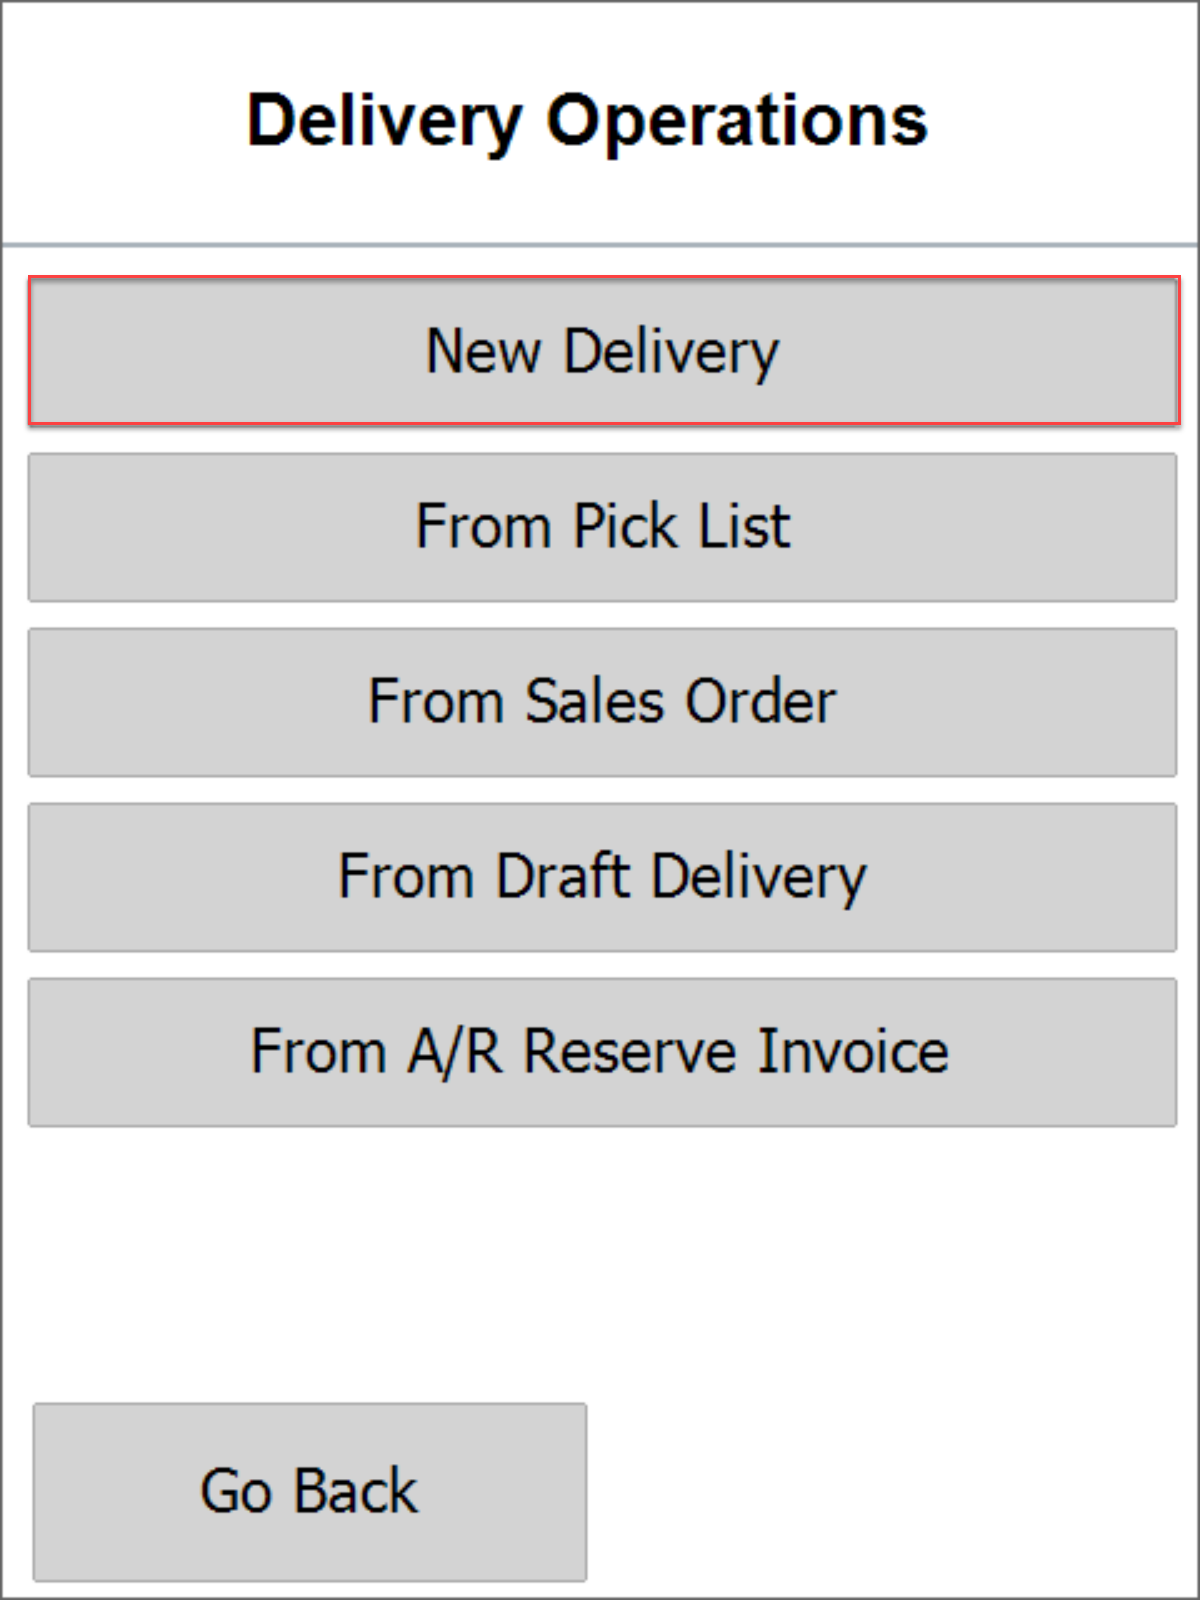
Delivery
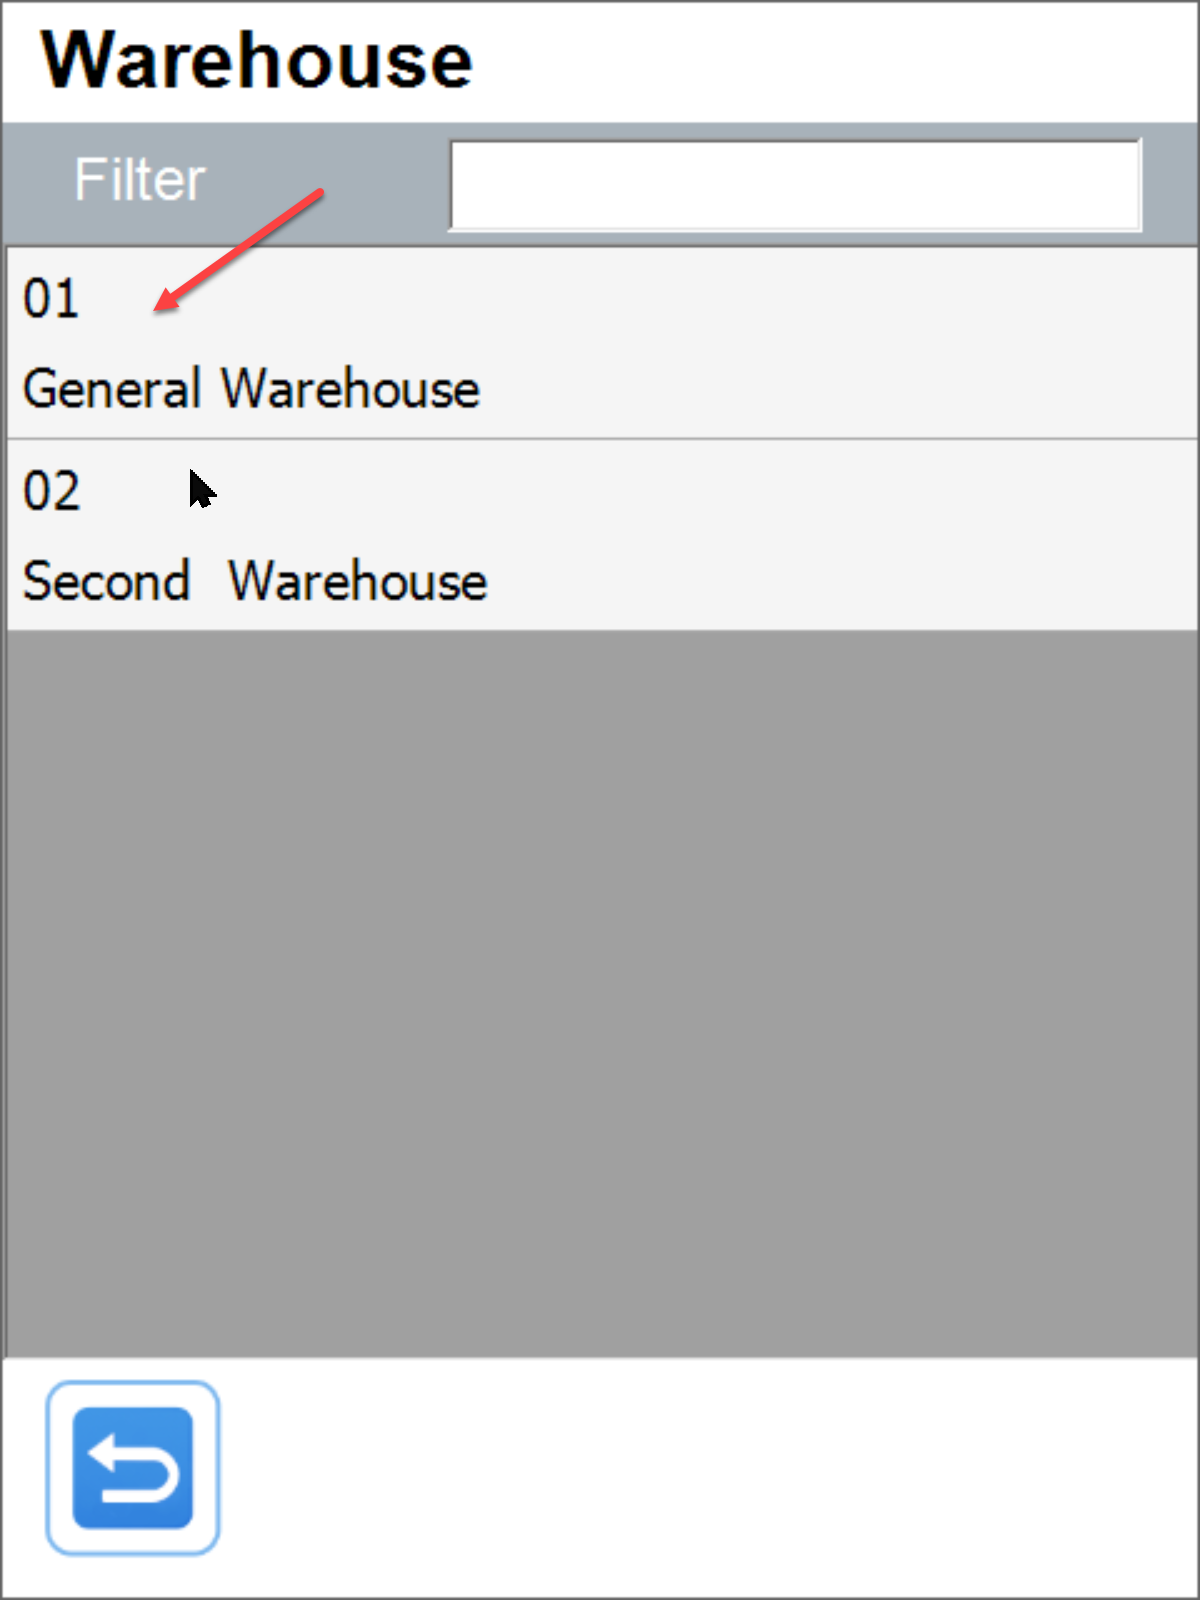
Warehouse selection
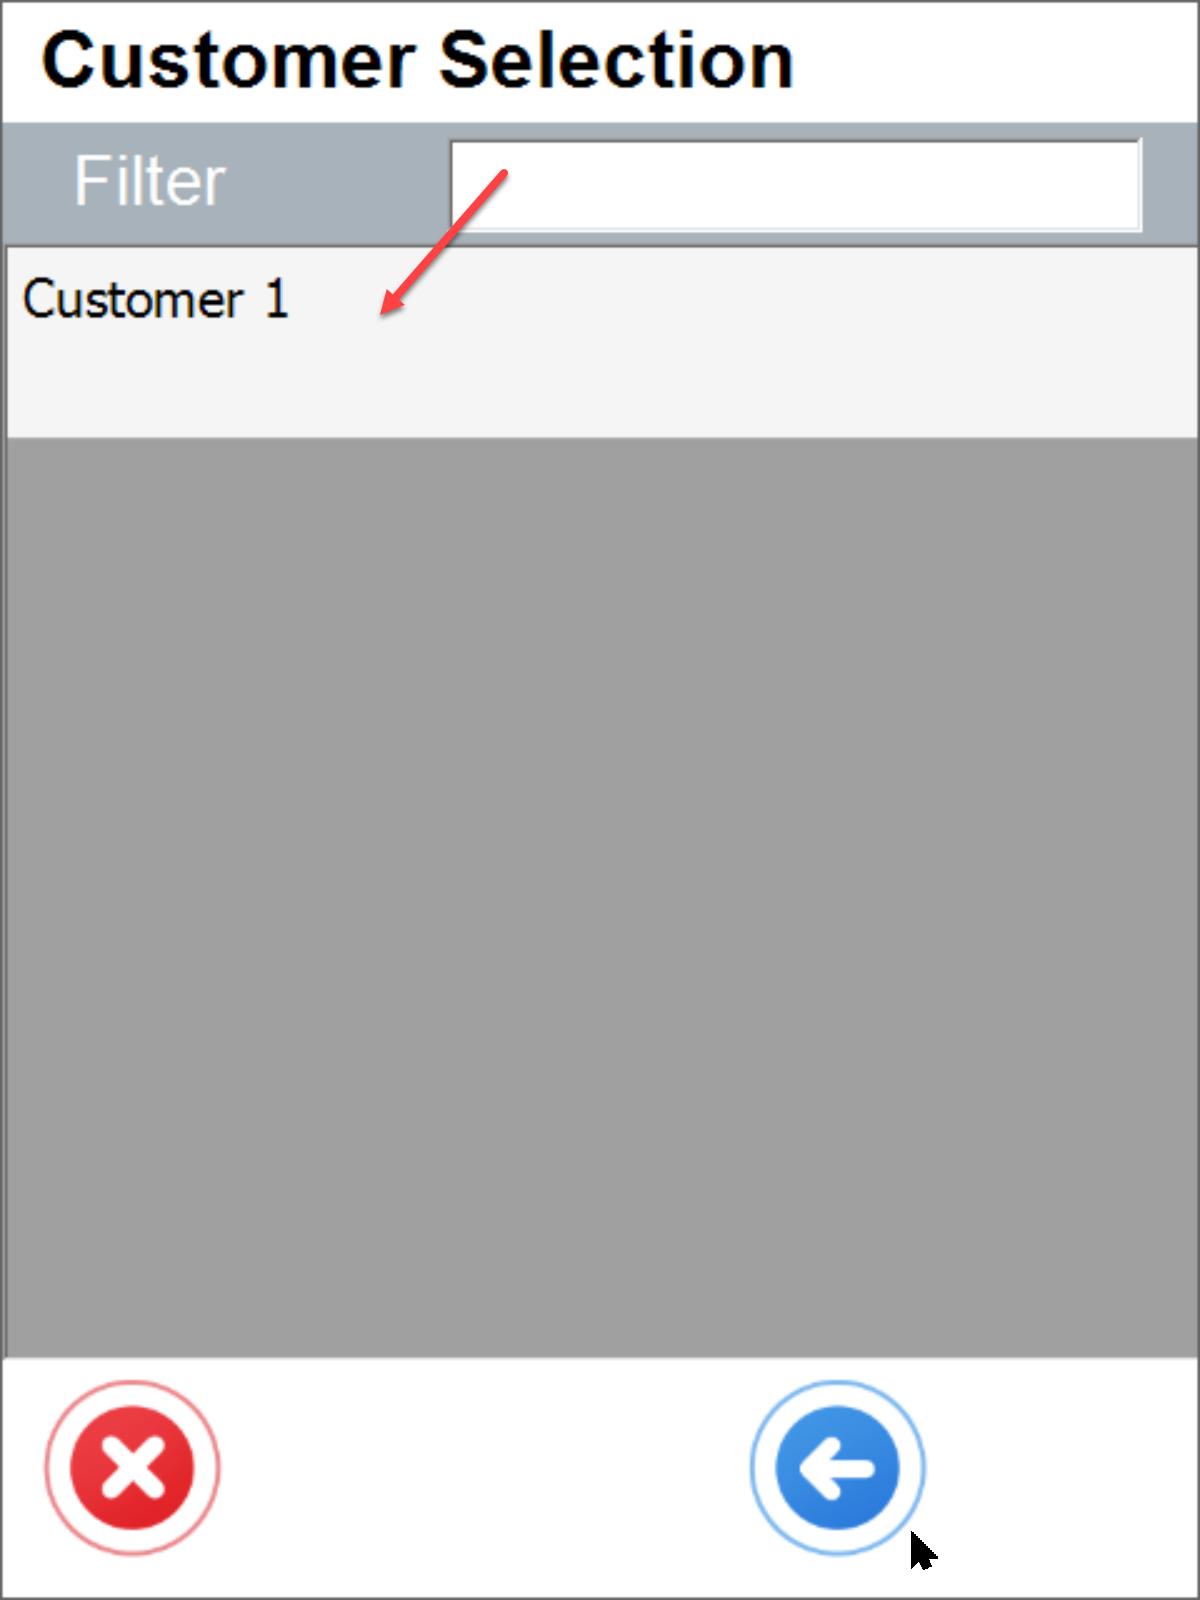
Customer selection
Item selection
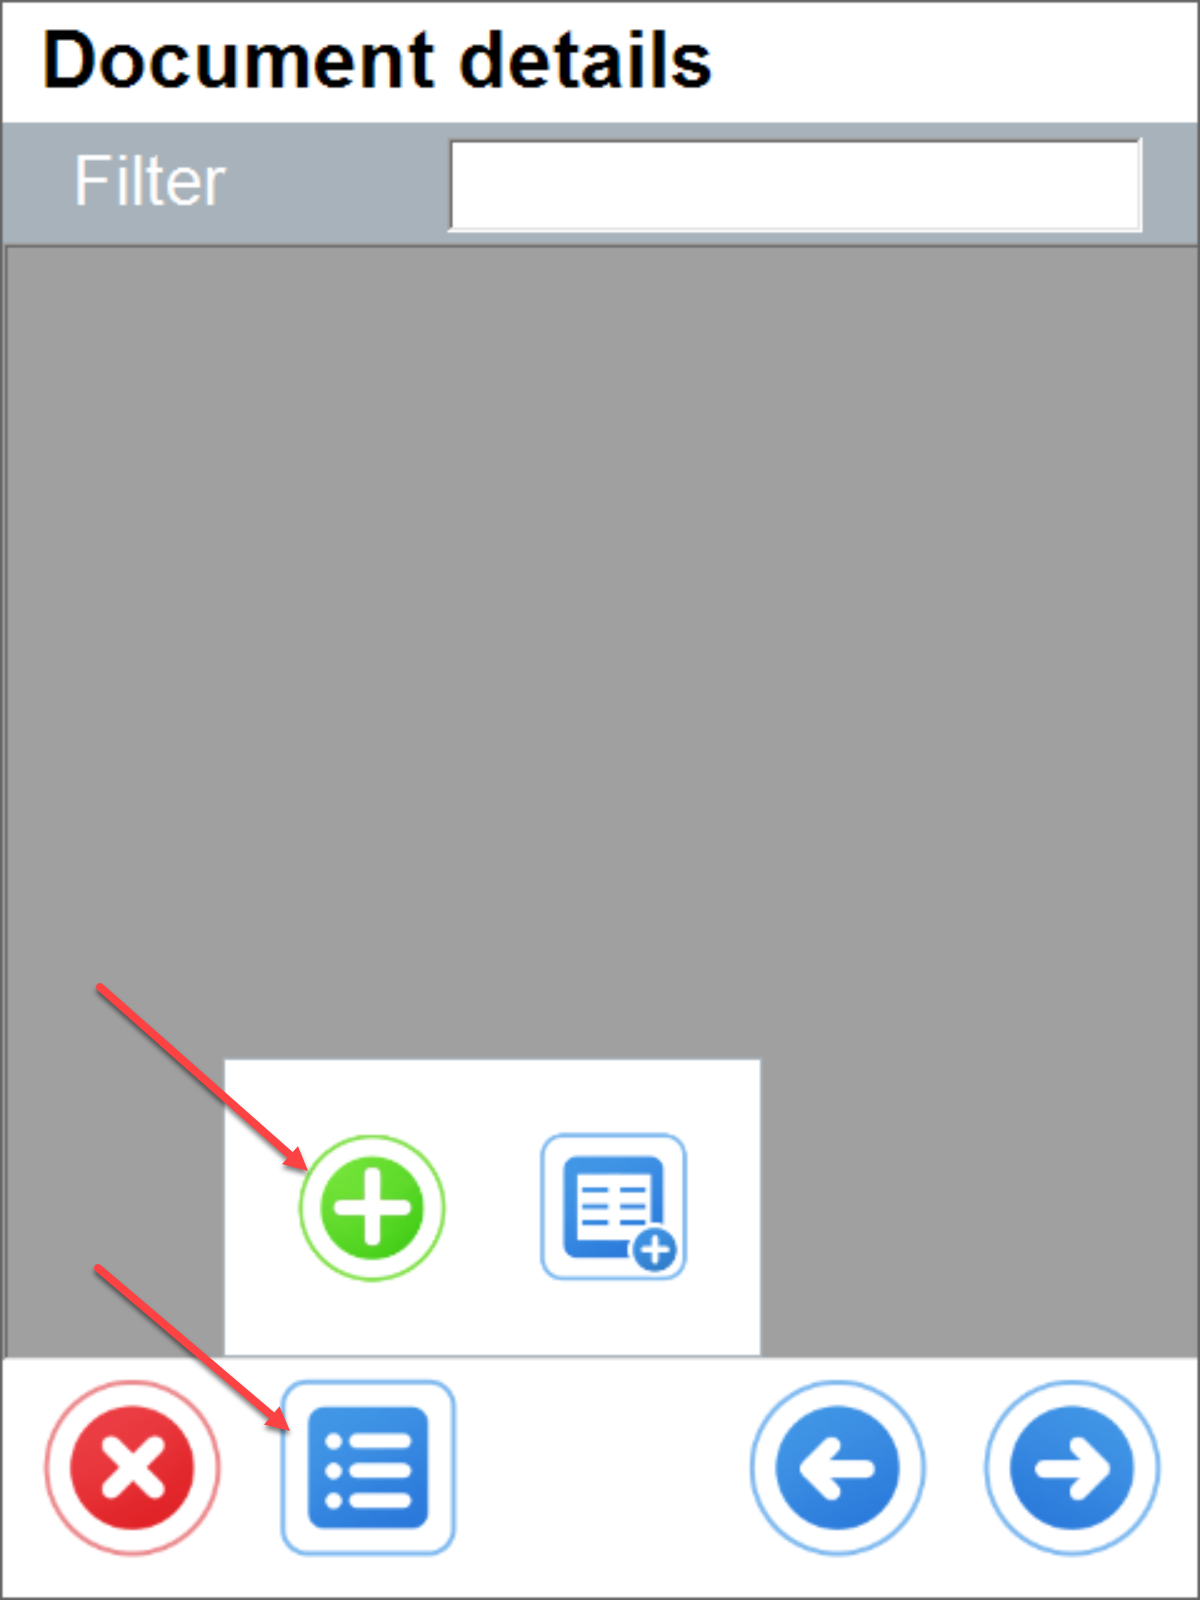
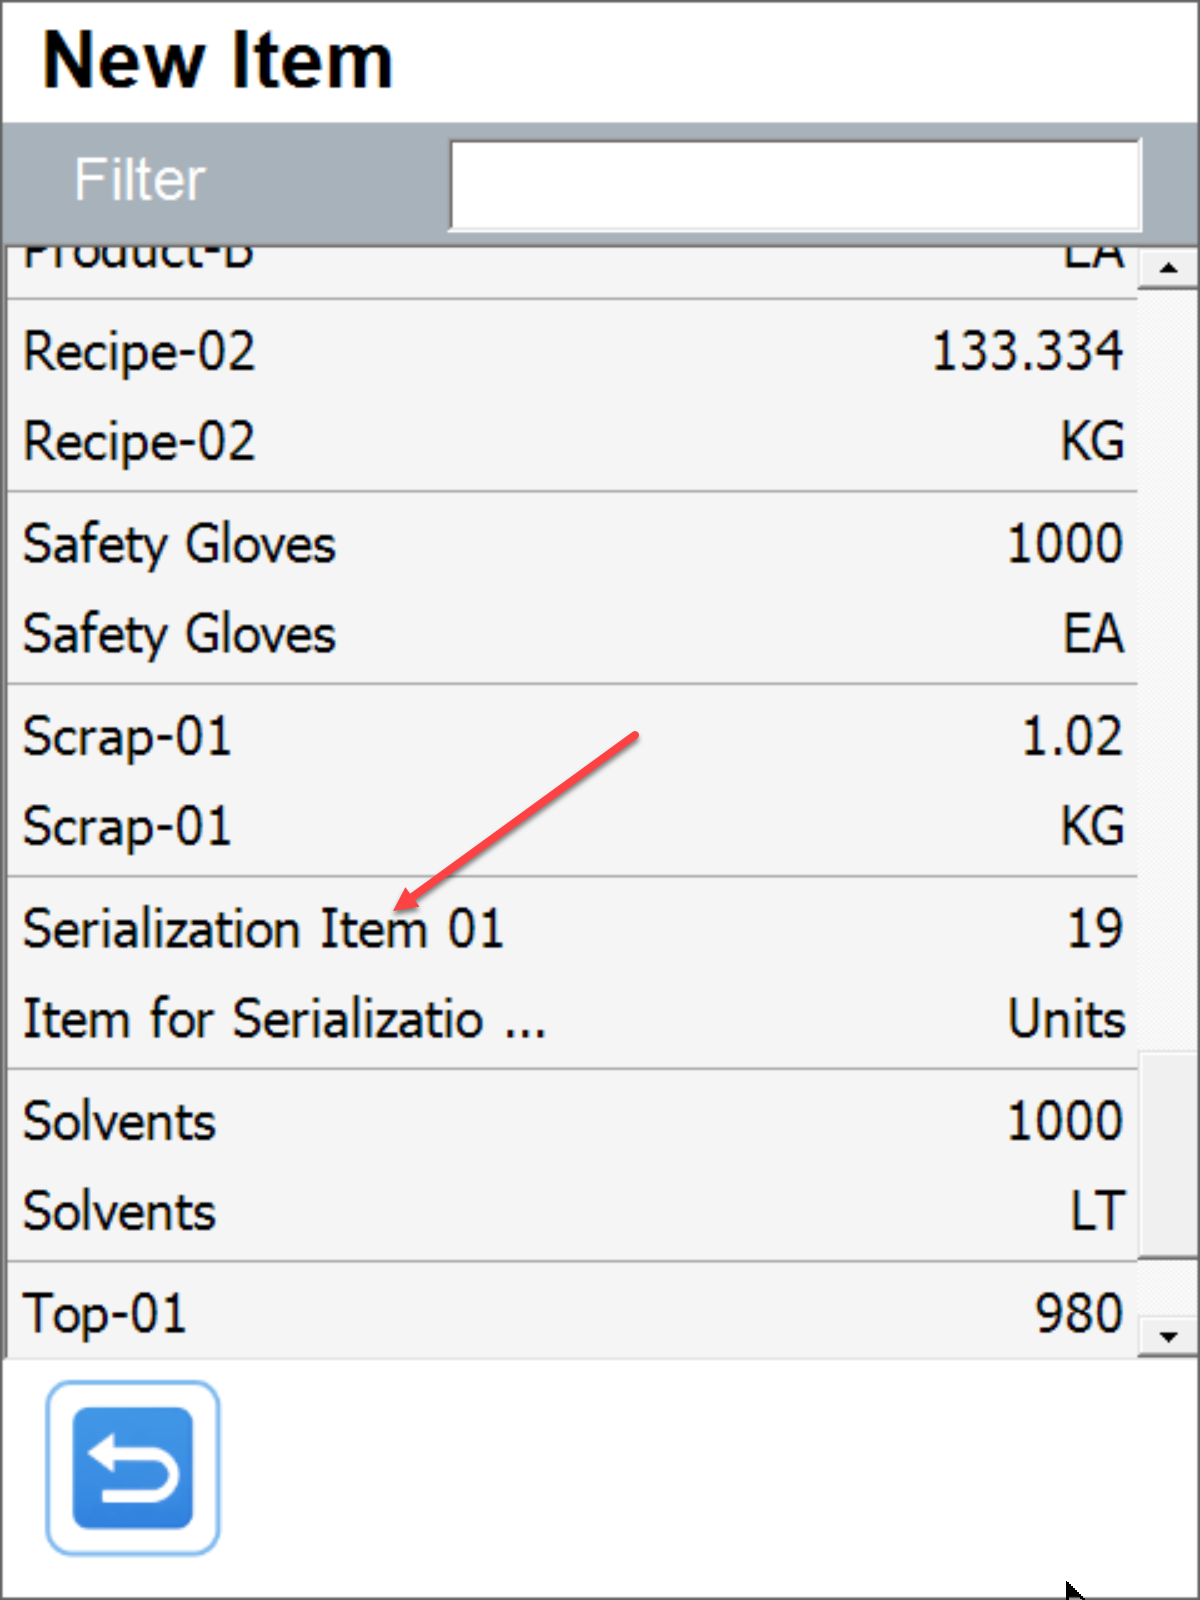
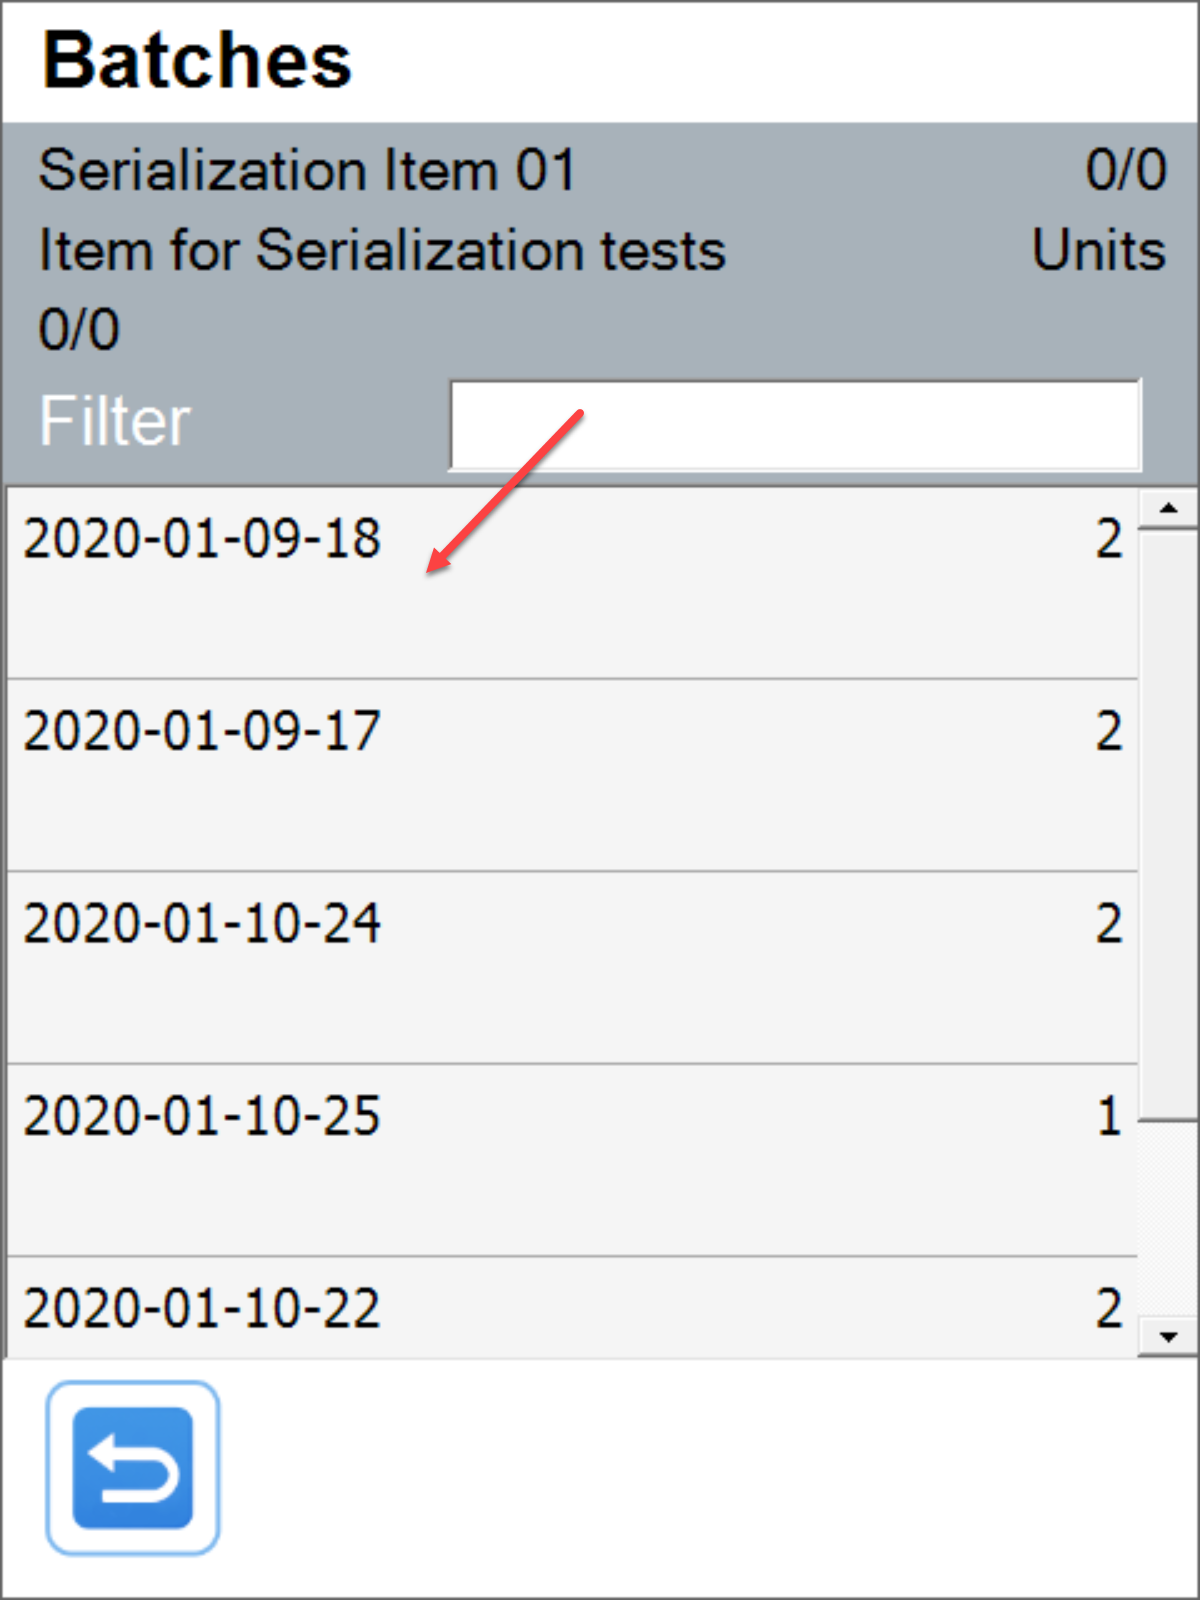
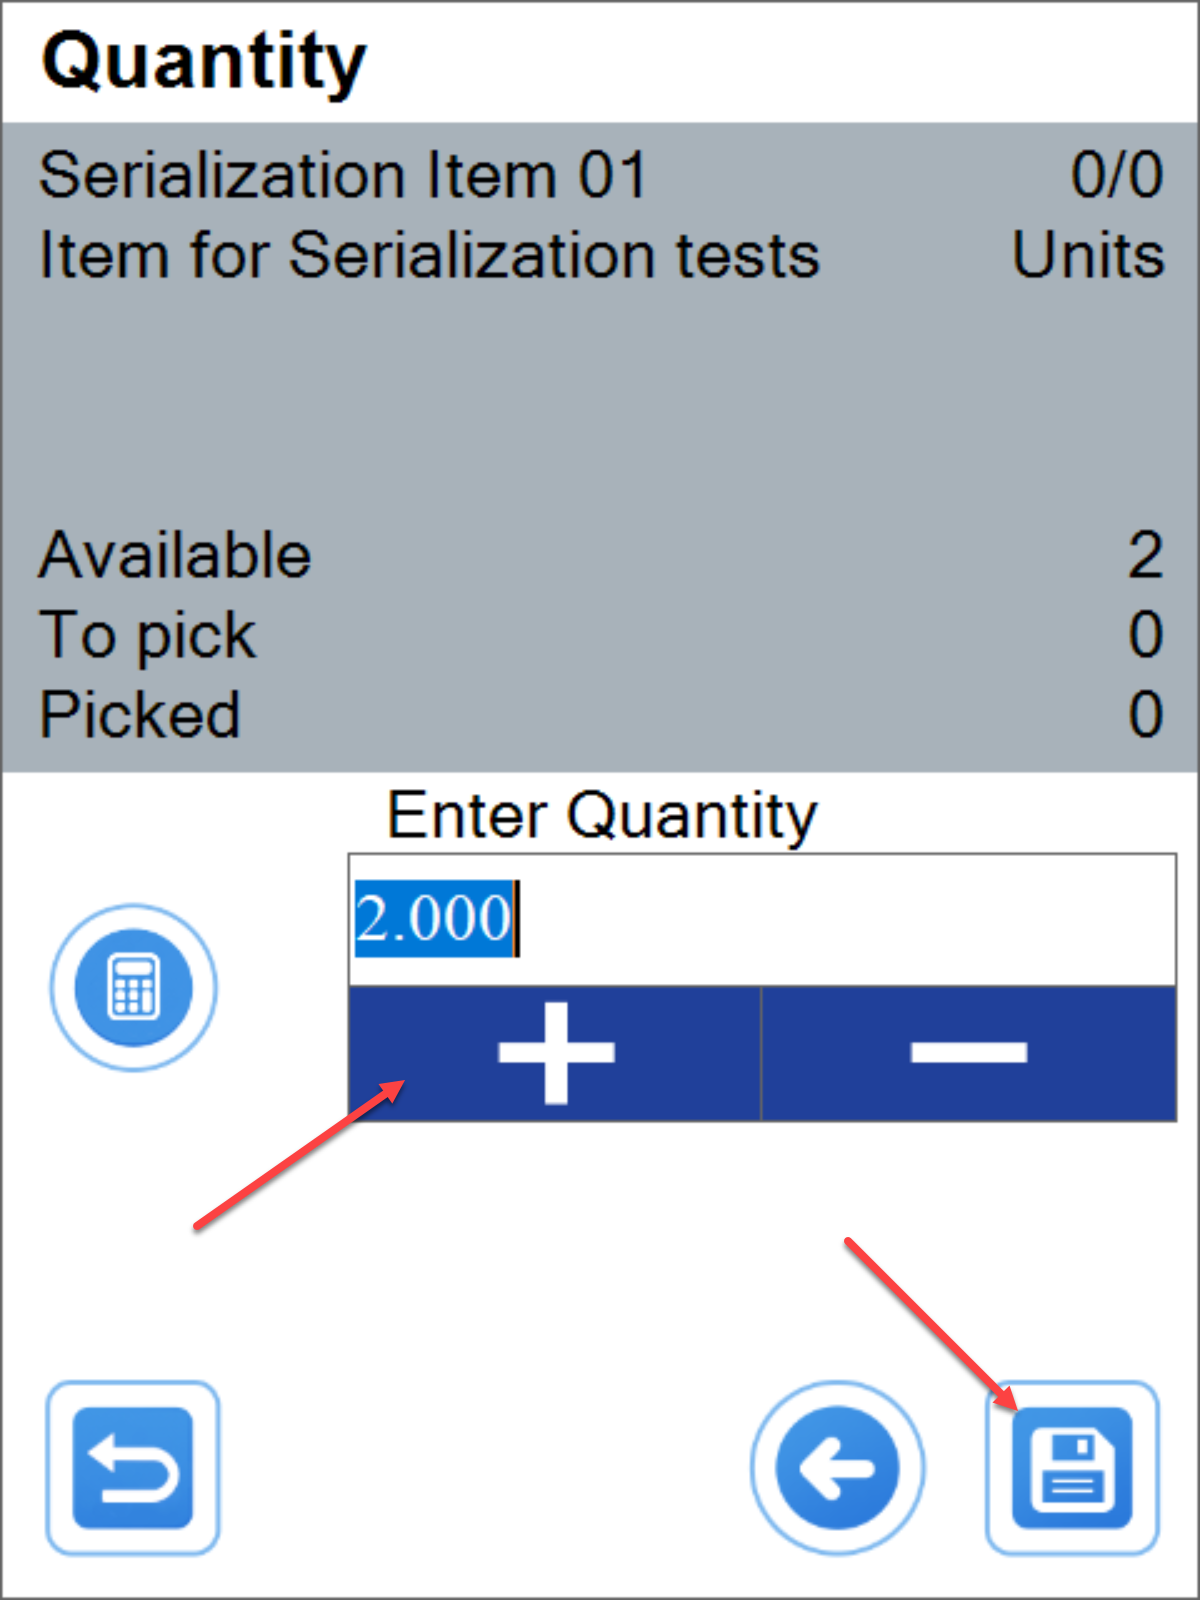
Batch and quantity selection
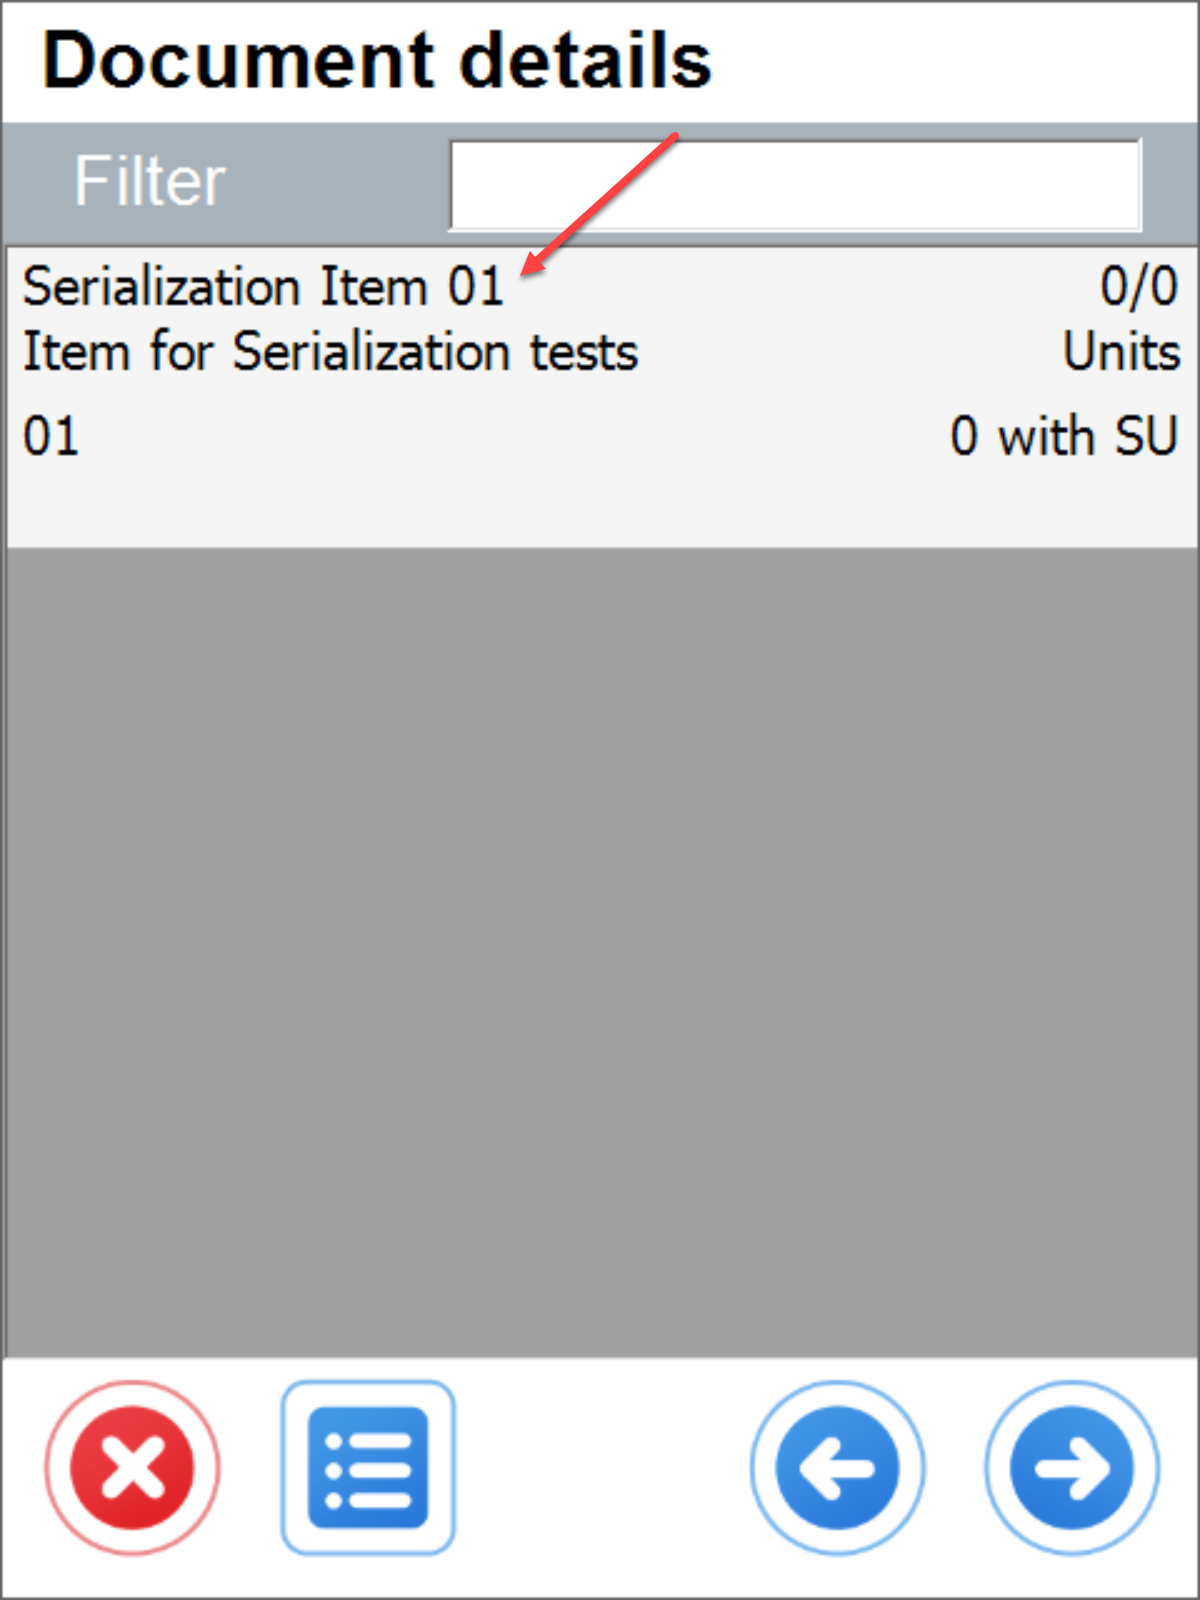
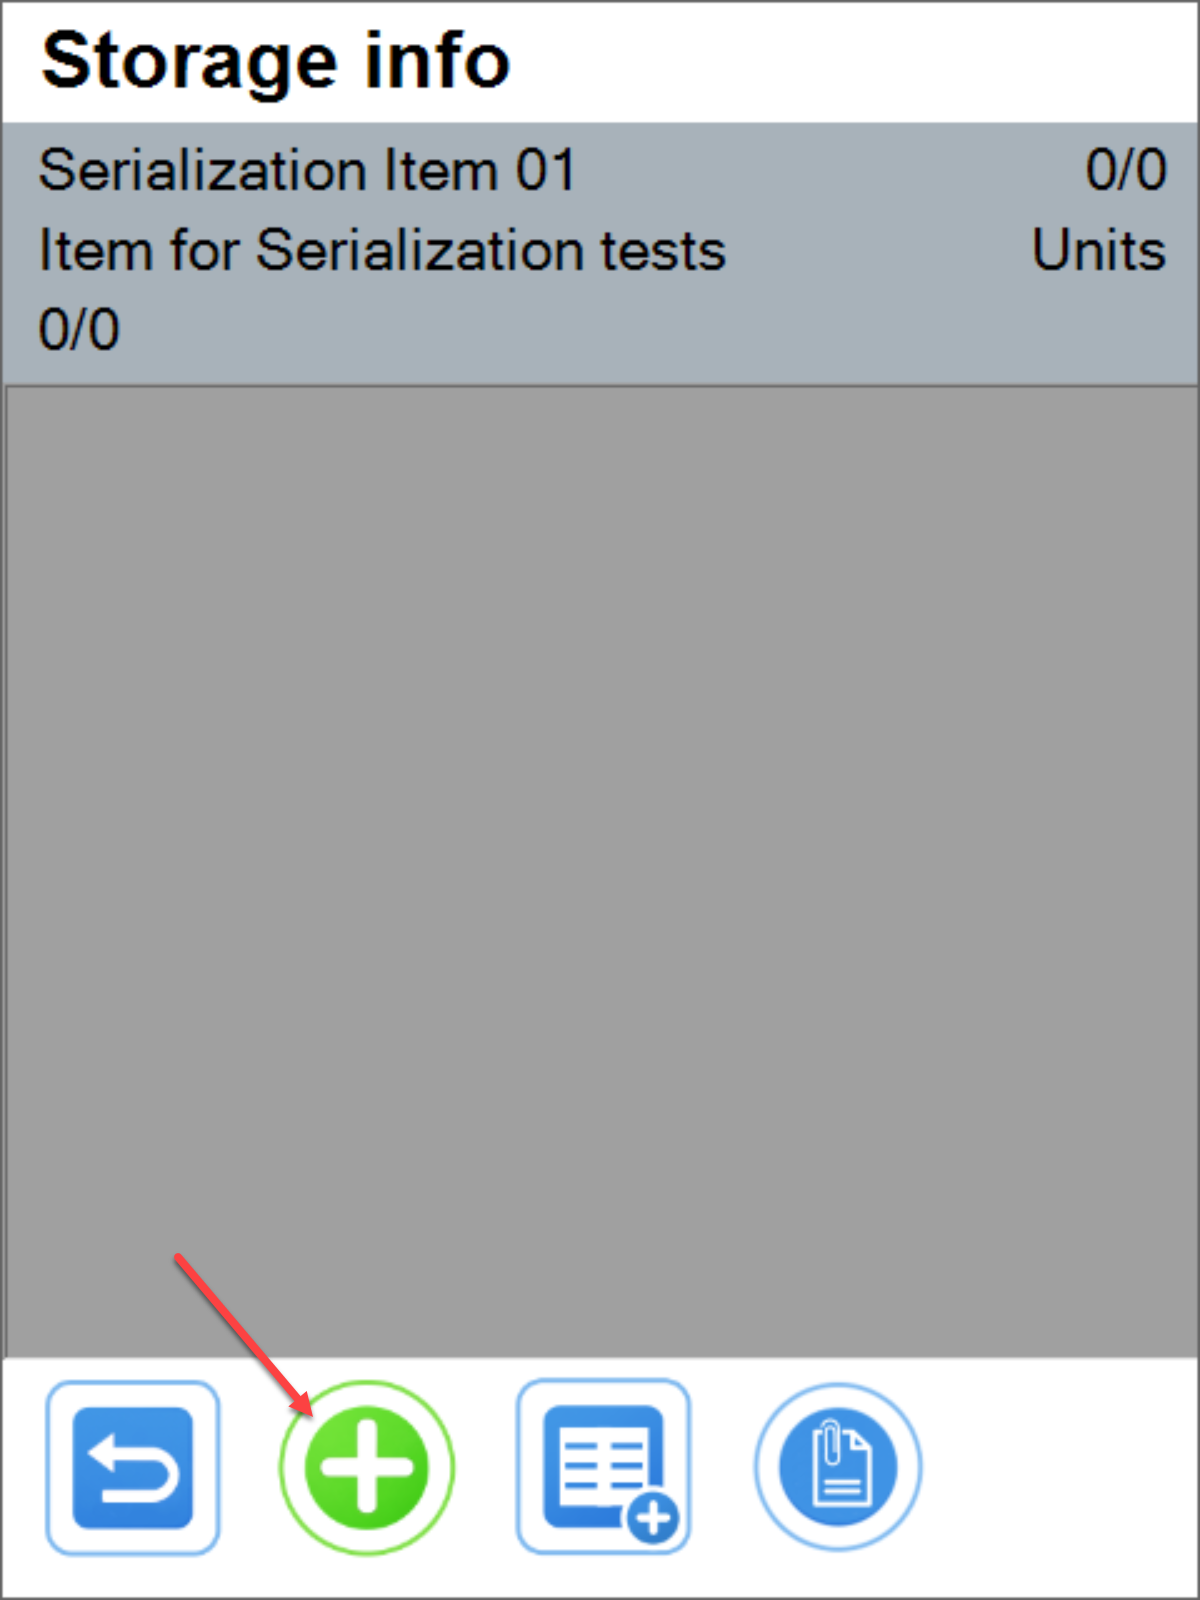
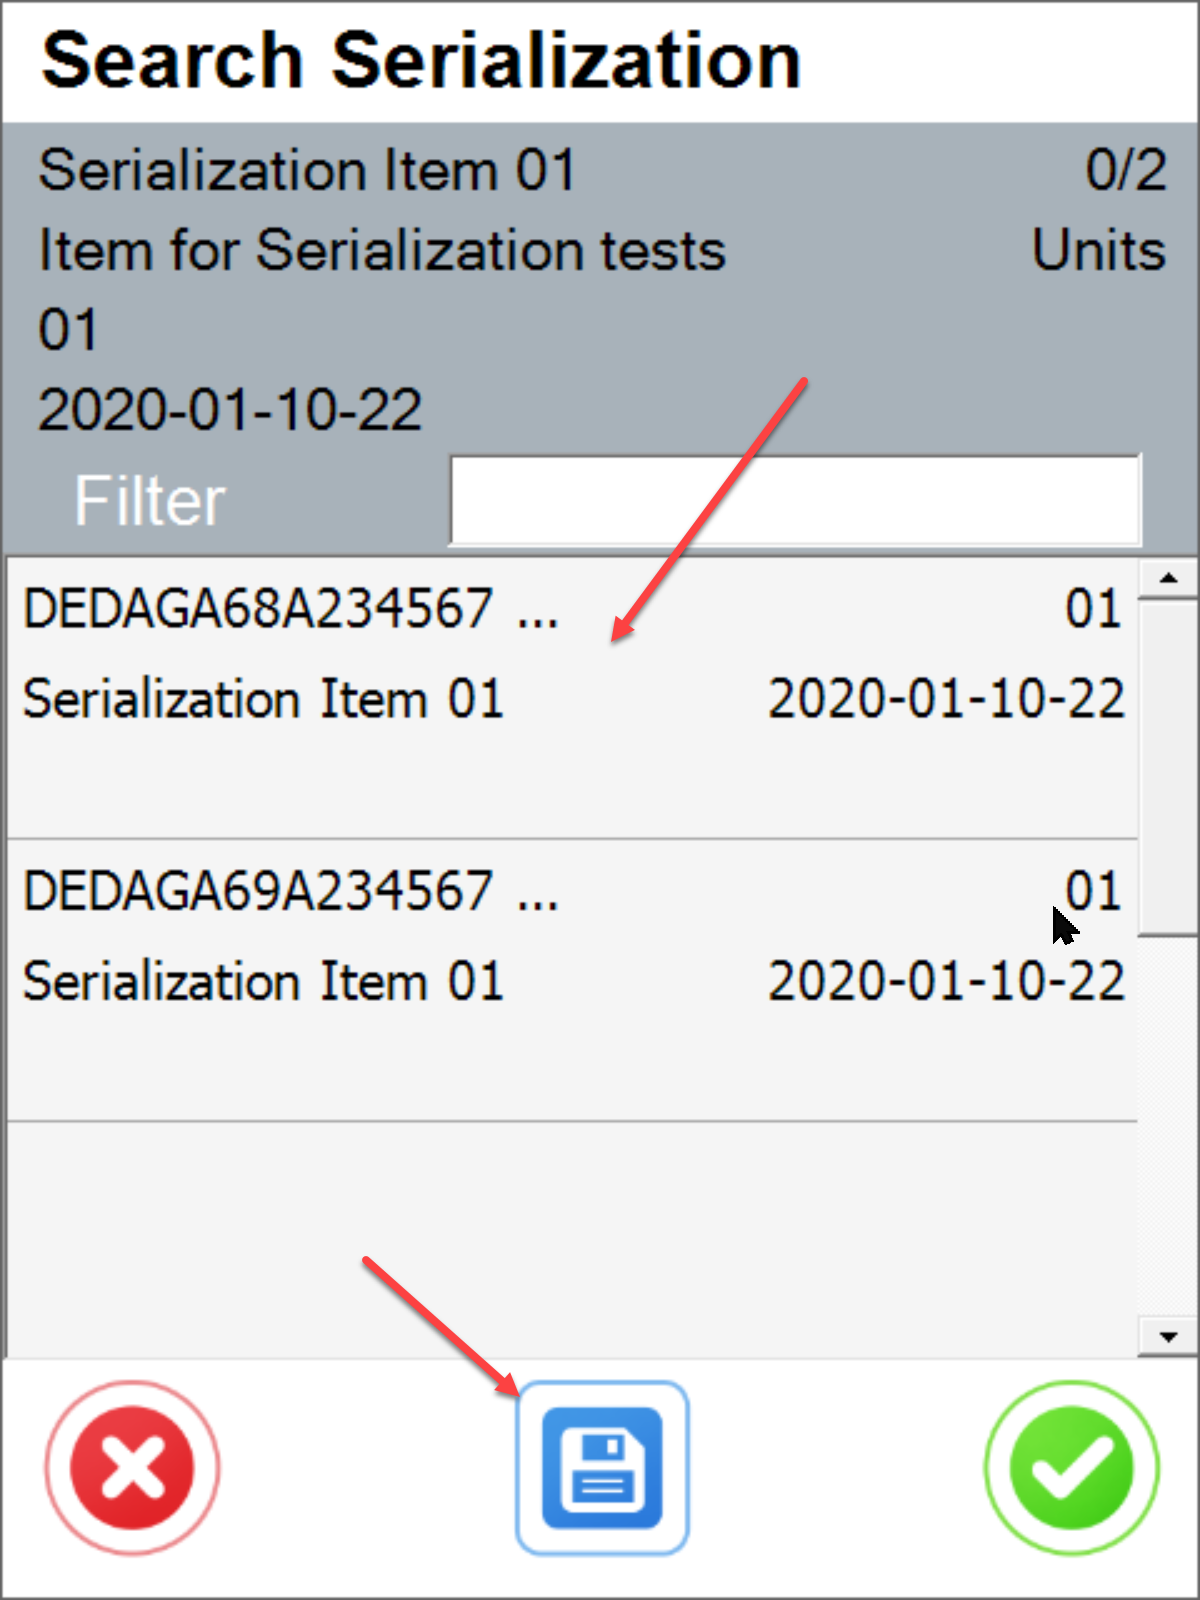
Serial number selection
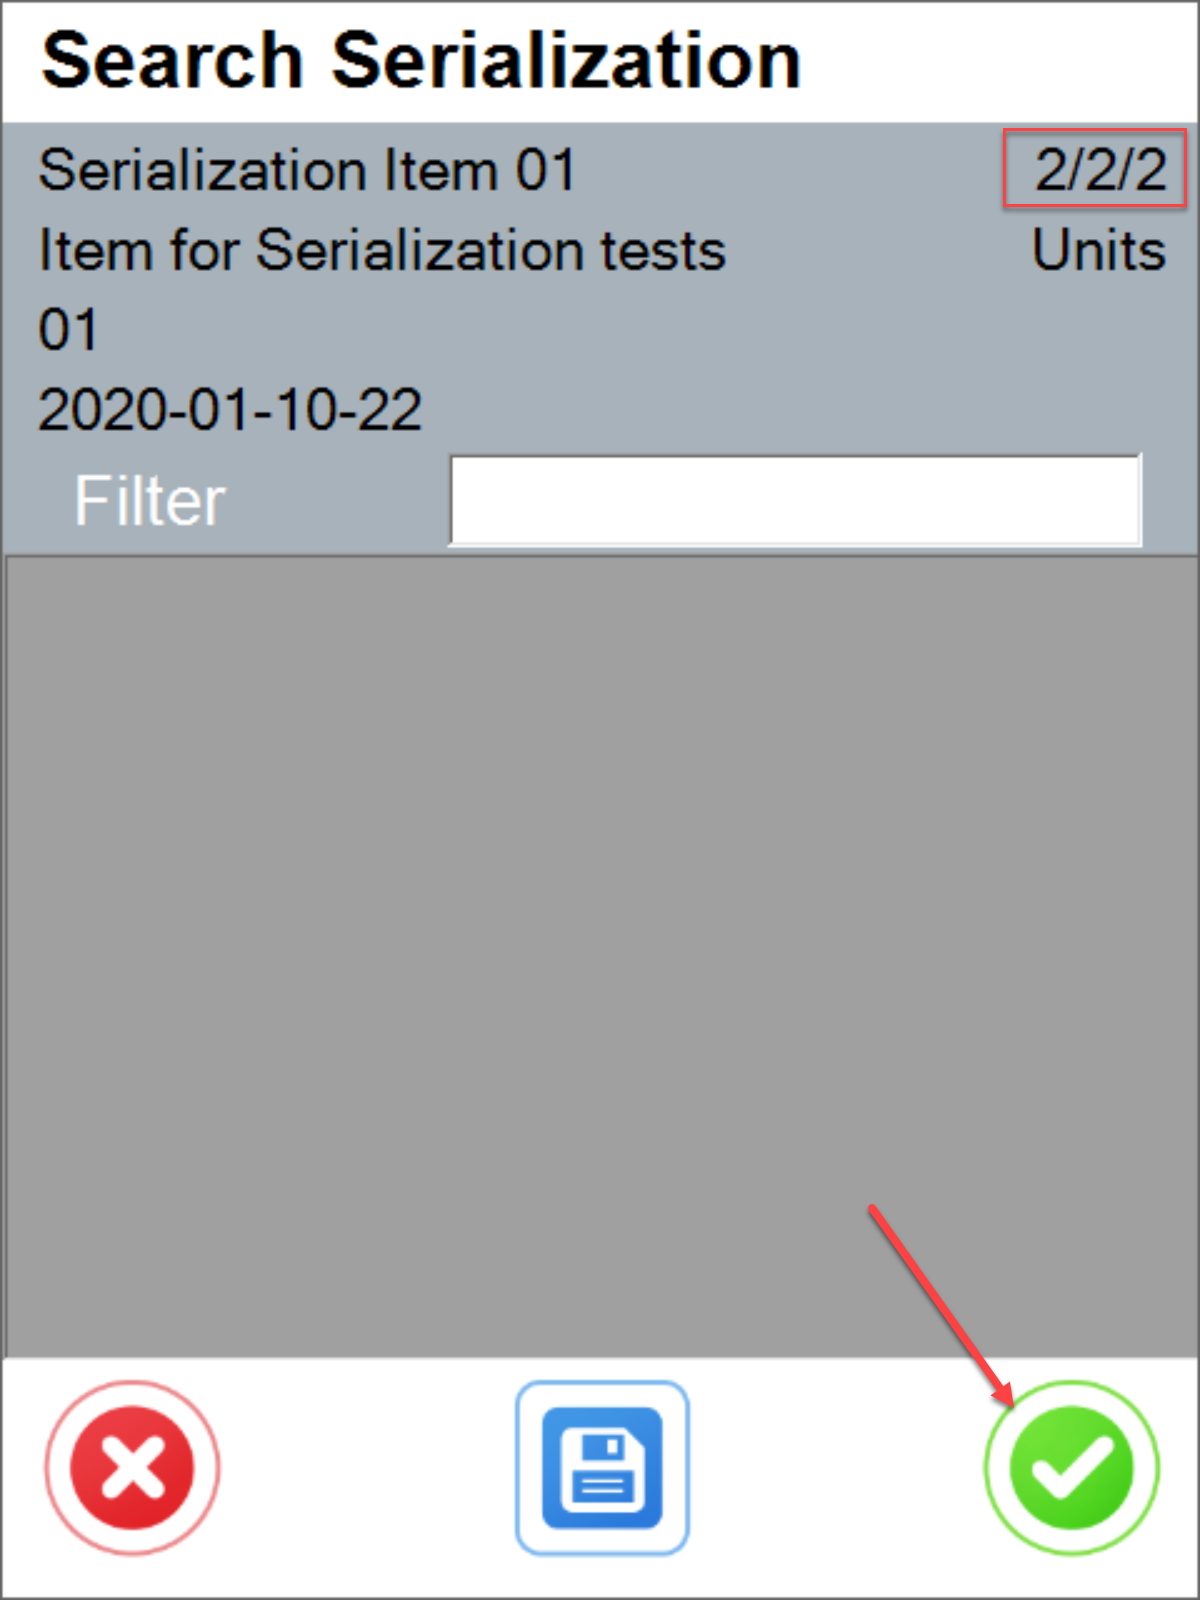
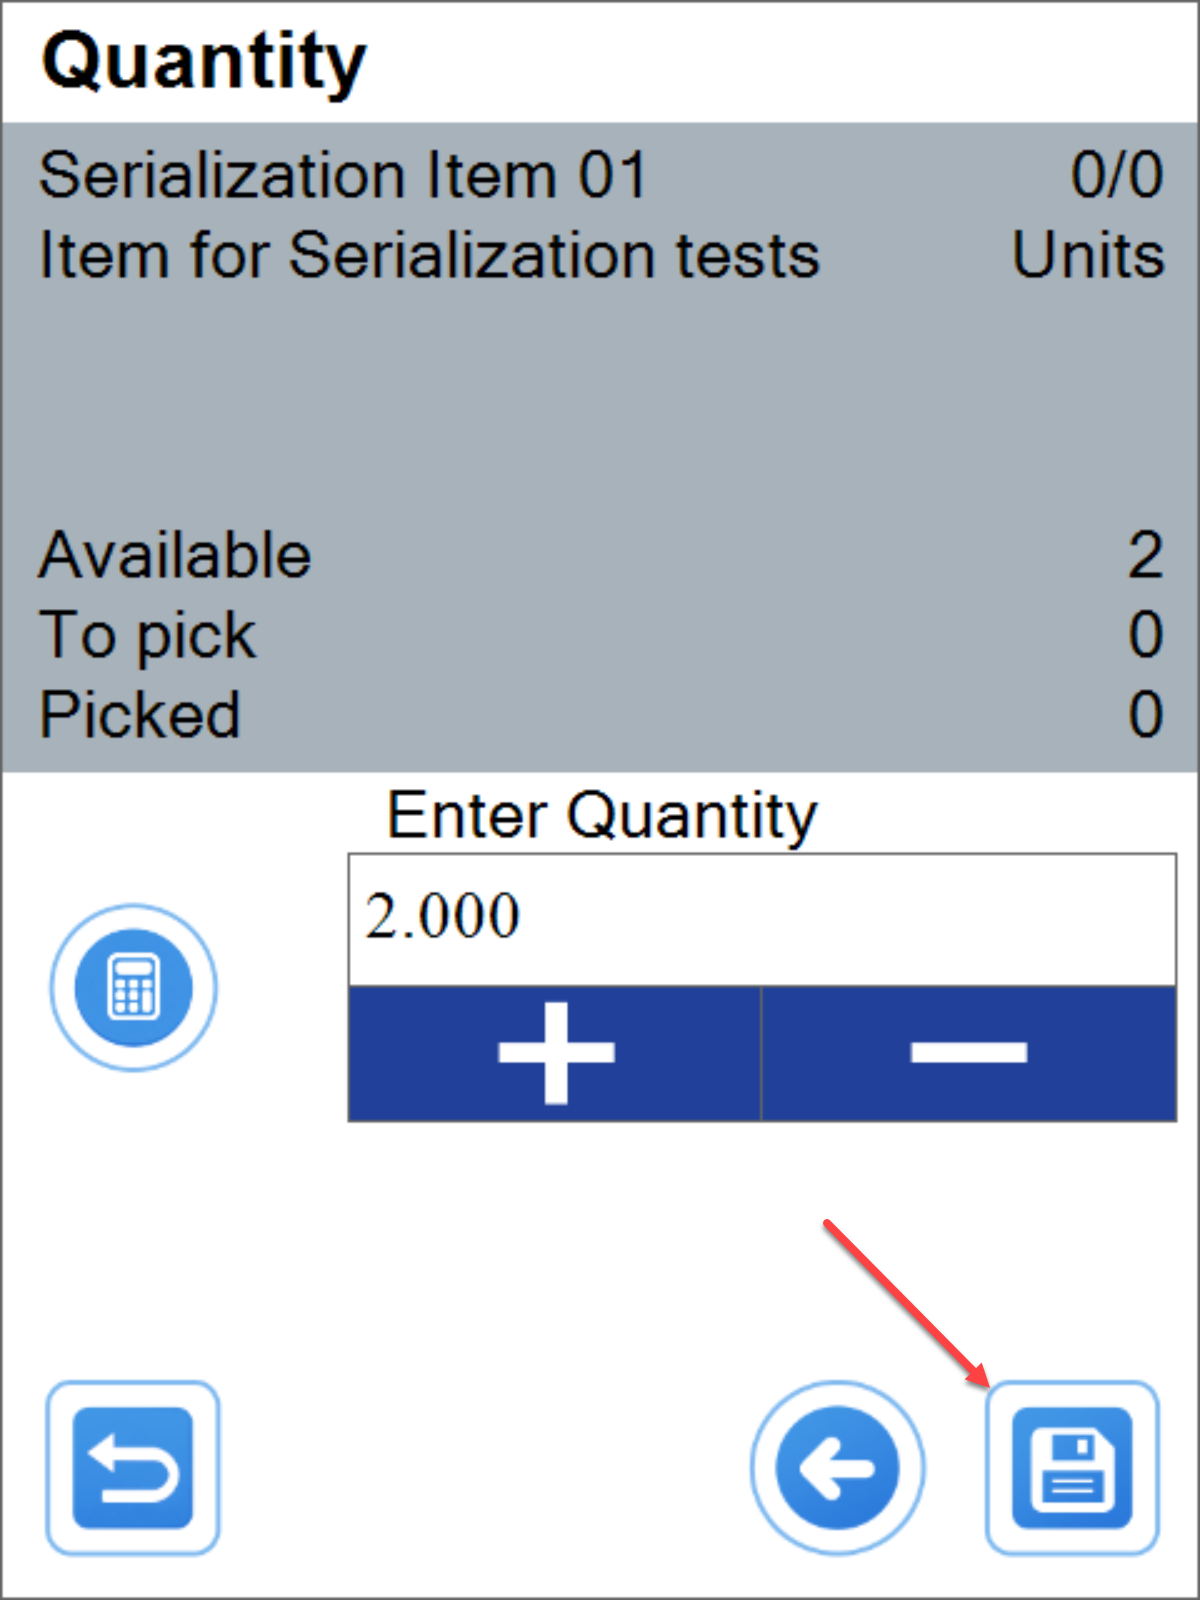
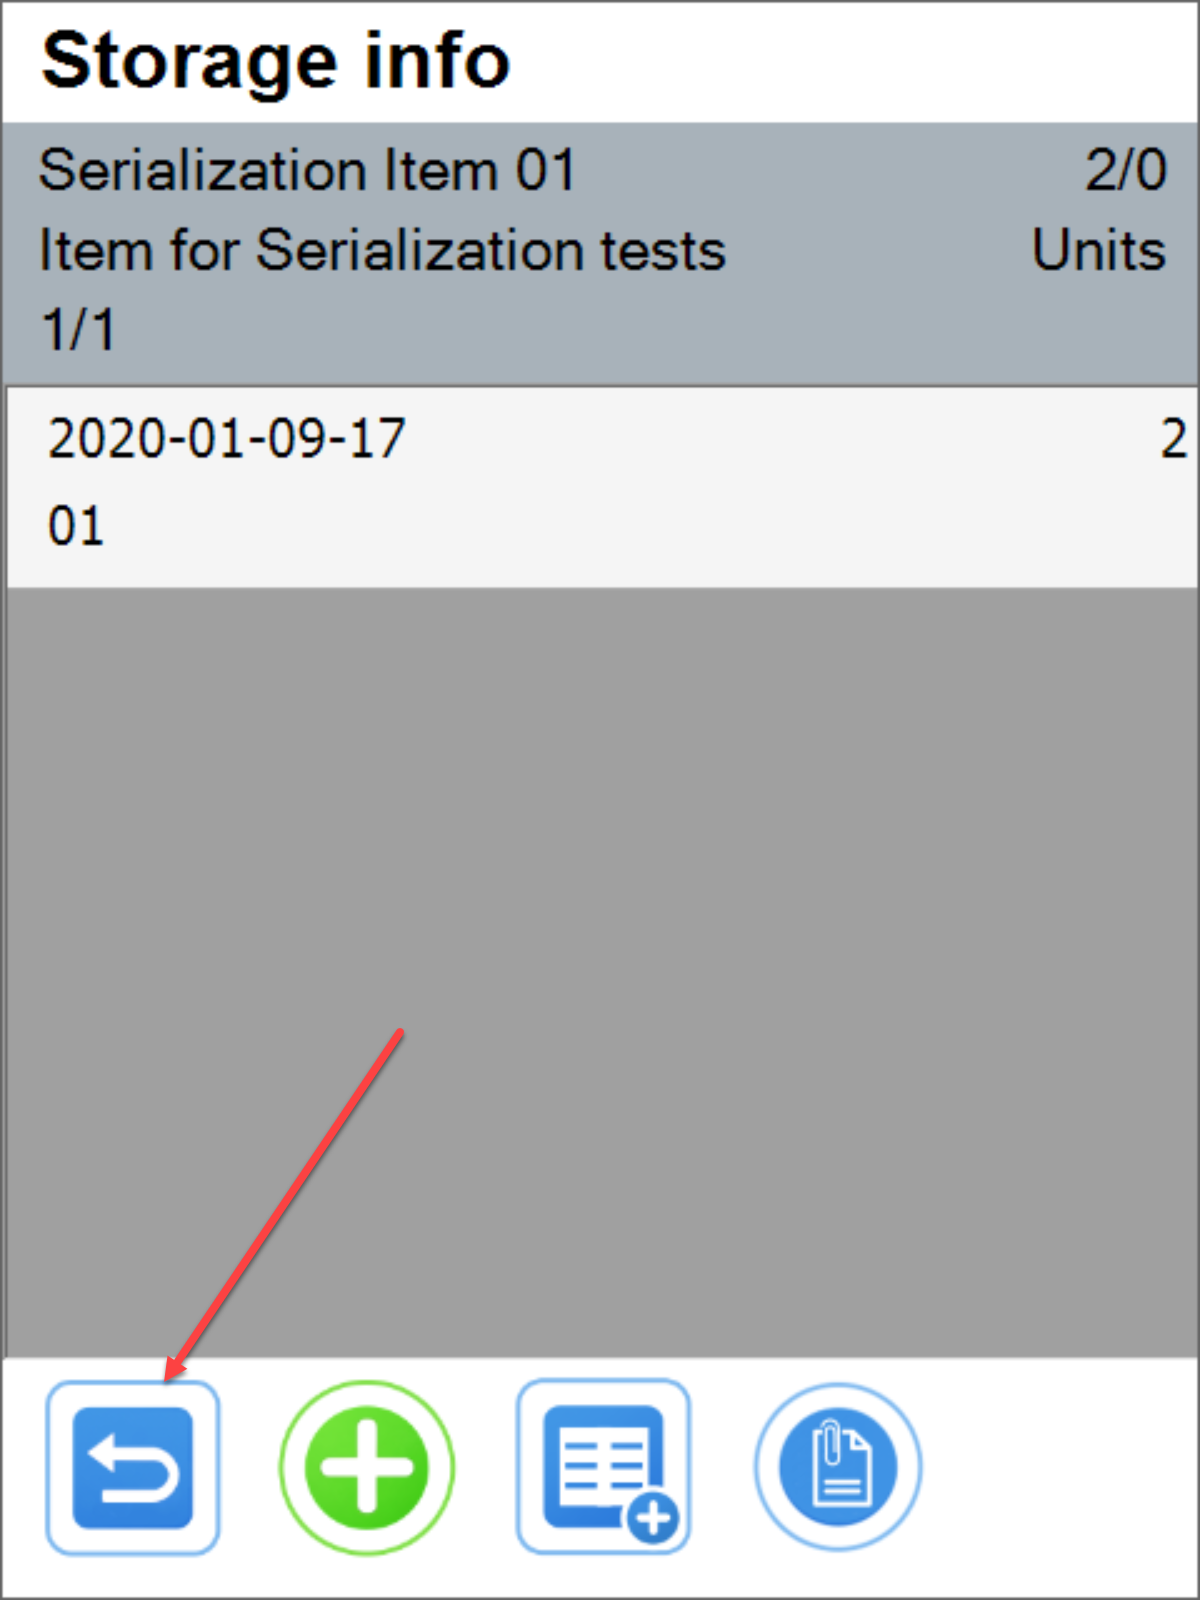
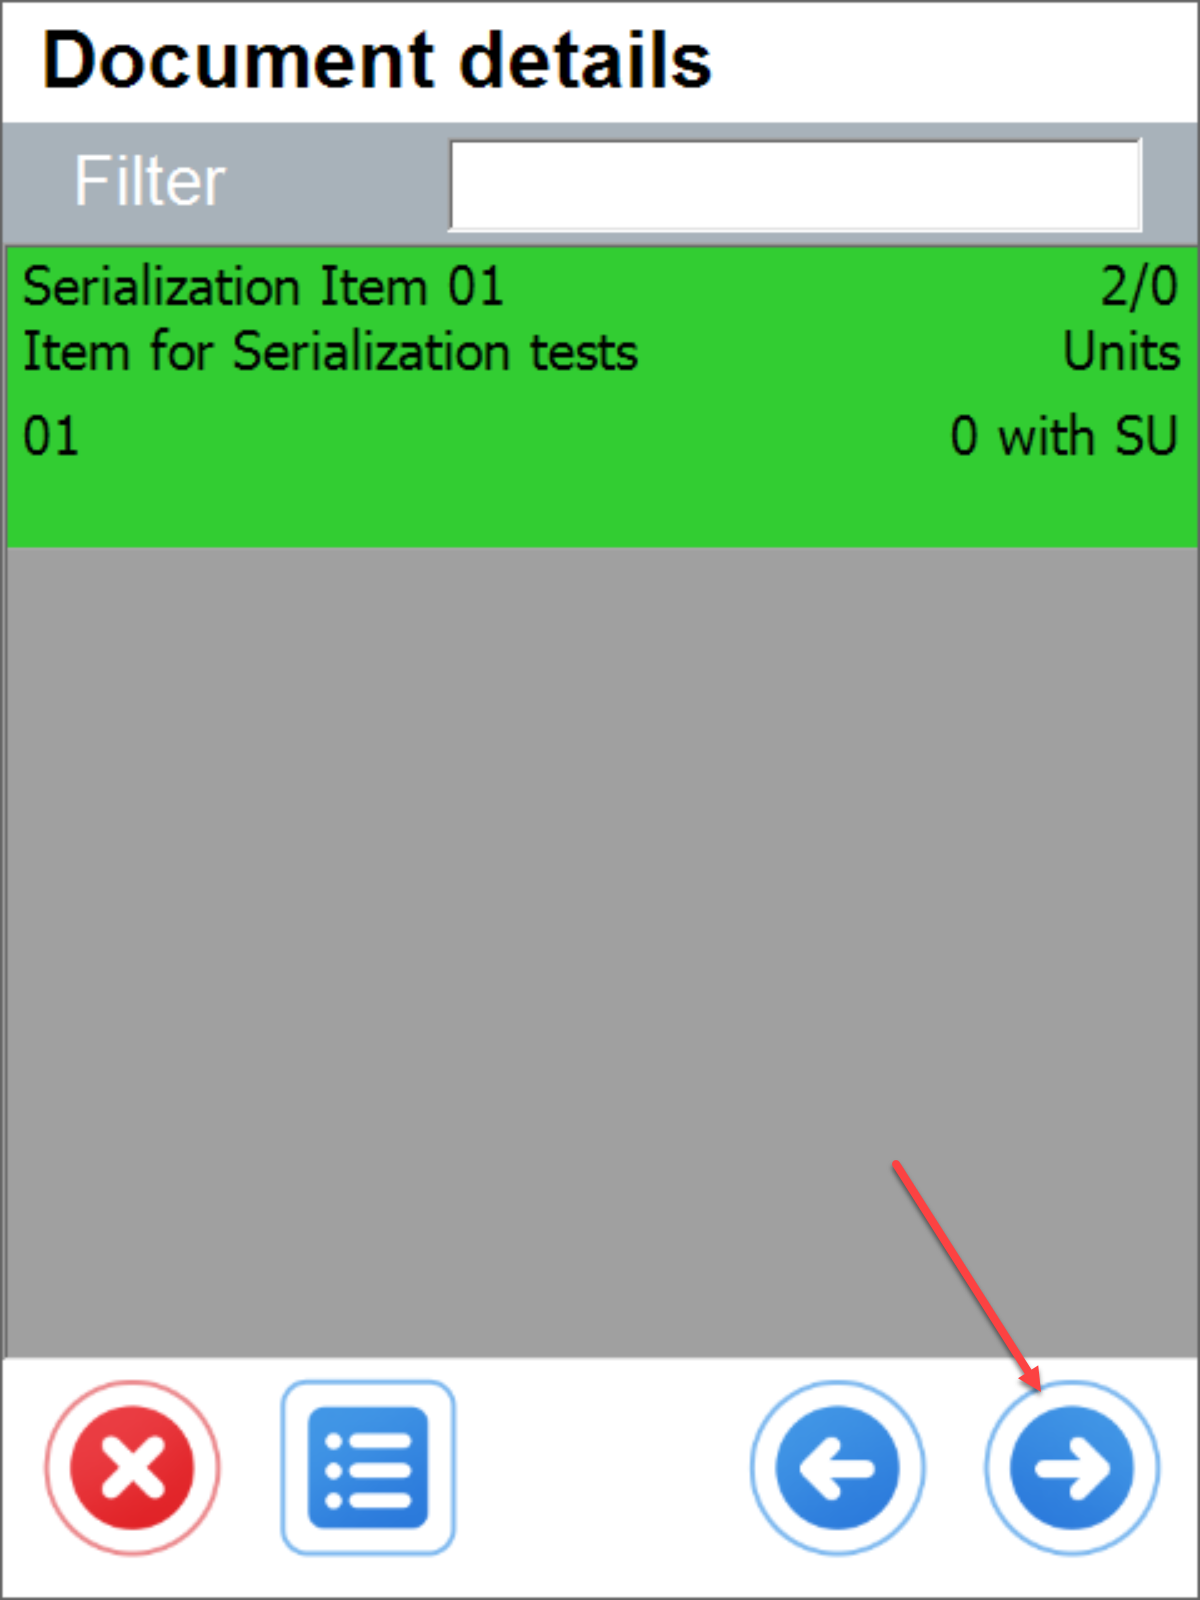
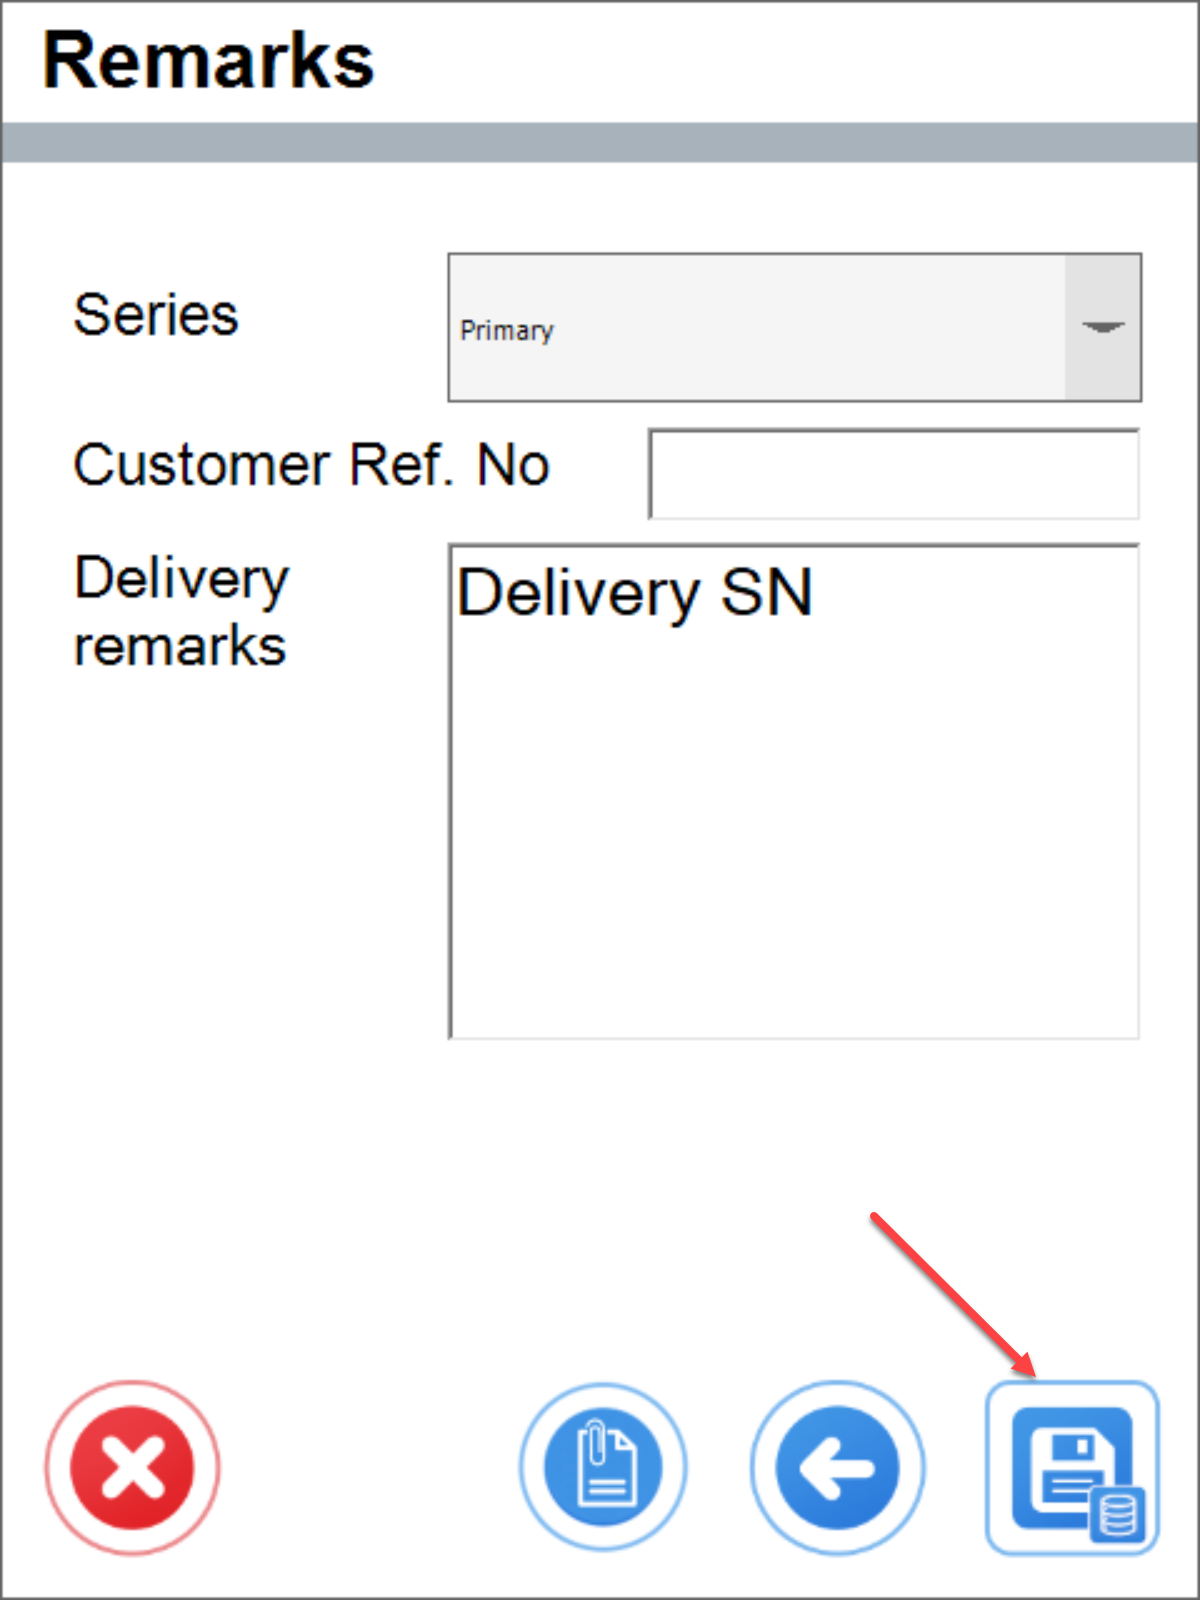
Delivery document confirmation
