Installation and Activation
This guide walks you through installing and activating the CompuTec WebUp extension within the CompuTec AppEngine Framework.
Overview
The CompuTec WebUp solution is made up of three key components:
- CompuTec WebUp App: Handles customization and automation logic, and stores configuration settings.
- CompuTec WebUp Manager: Provides a user interface for creating, editing, and testing configurations.
- CompuTec WebUp Client: Extends the SAP Business One Web Client where the standard extensibility framework is limited.
Before you start
Before installing CompuTec WebUp, make sure the following prerequisites are met:
- Check if CompuTec AppEngine is installed and configured. Follow the CompuTec AppEngine installation and configuration guide for detailed instructions.
- Make sure that the company is active in CompuTec AppEngine, and the SAP Web Client is configured. For full instructions, see the configuration guide.
▶︎ Watch: CompuTec WebUp Installation Step by Step
These short videos will walk you through the whole CompuTec AppEngine and CompuTec WebUp installation process.
Step 1: Install the CompuTec WebUp App
To install the CompuTec WebUp App directly from the CompuTec AppEngine Store, follow the installation instructions.
The installation process is fully automated and managed within CompuTec AppEngine.
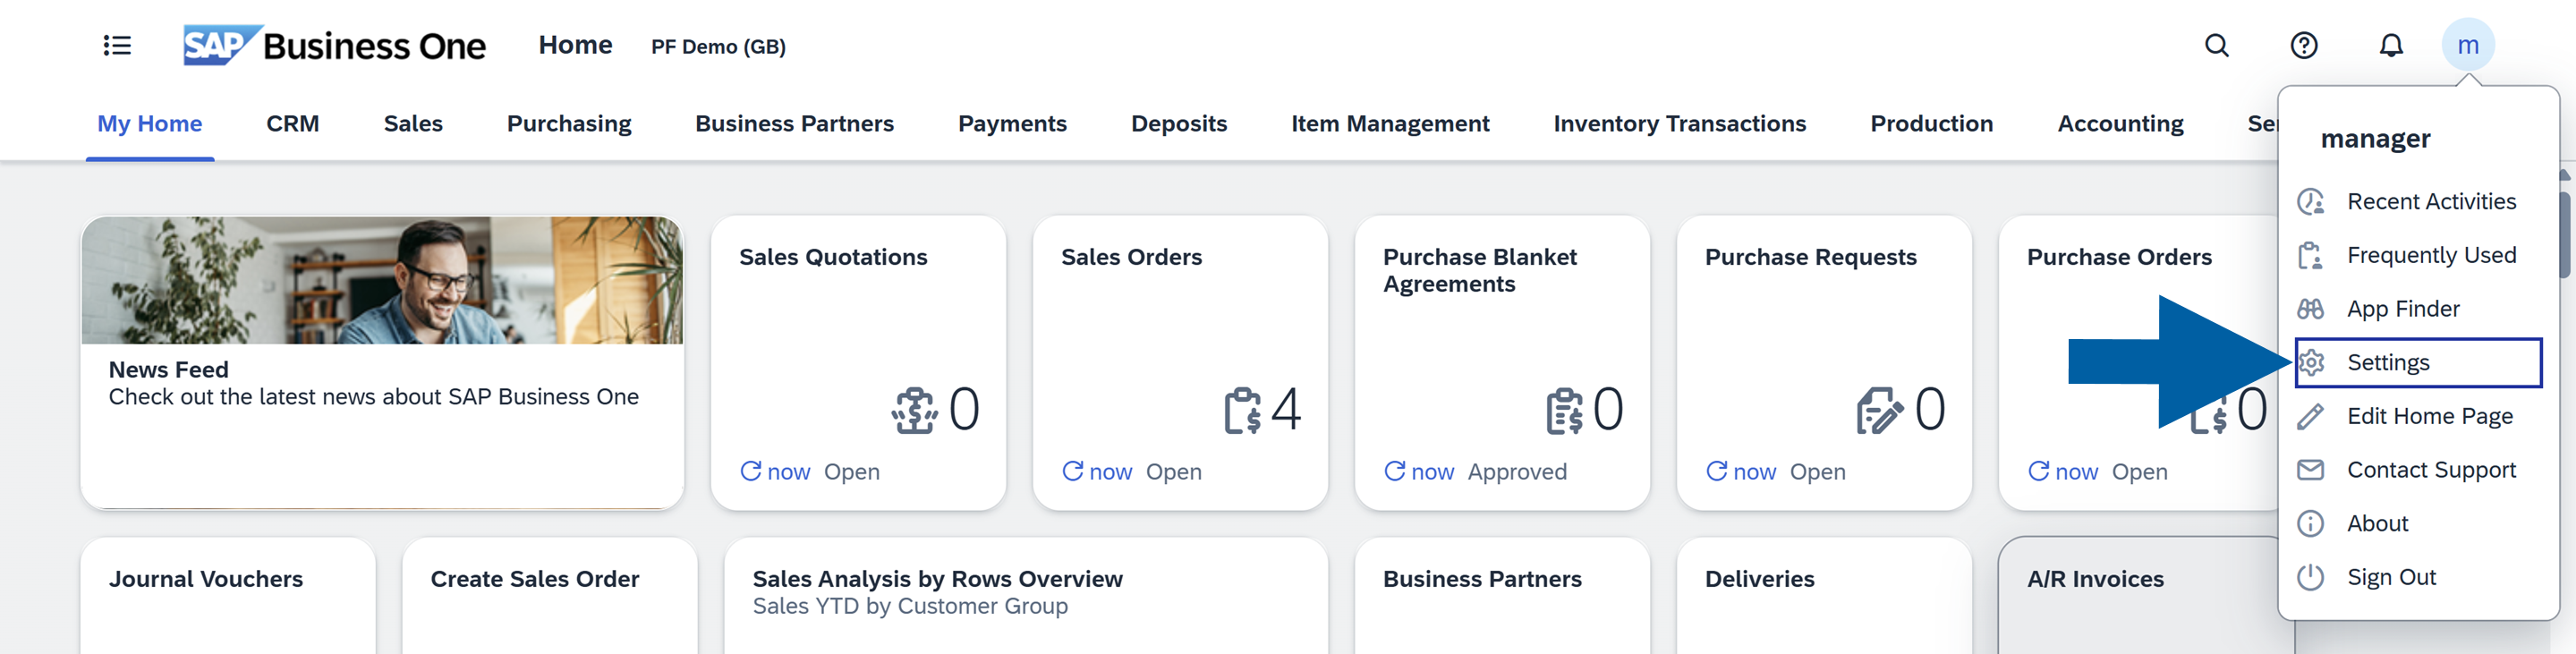
Step 2: Enable Developer Mode
If you plan to customize the user interface using CompuTec WebUp Manager, you must enable Developer Mode in the SAP Web Client.
-
Click on your profile icon in the upper right corner of the SAP Web Client interface and choose Settings.
-
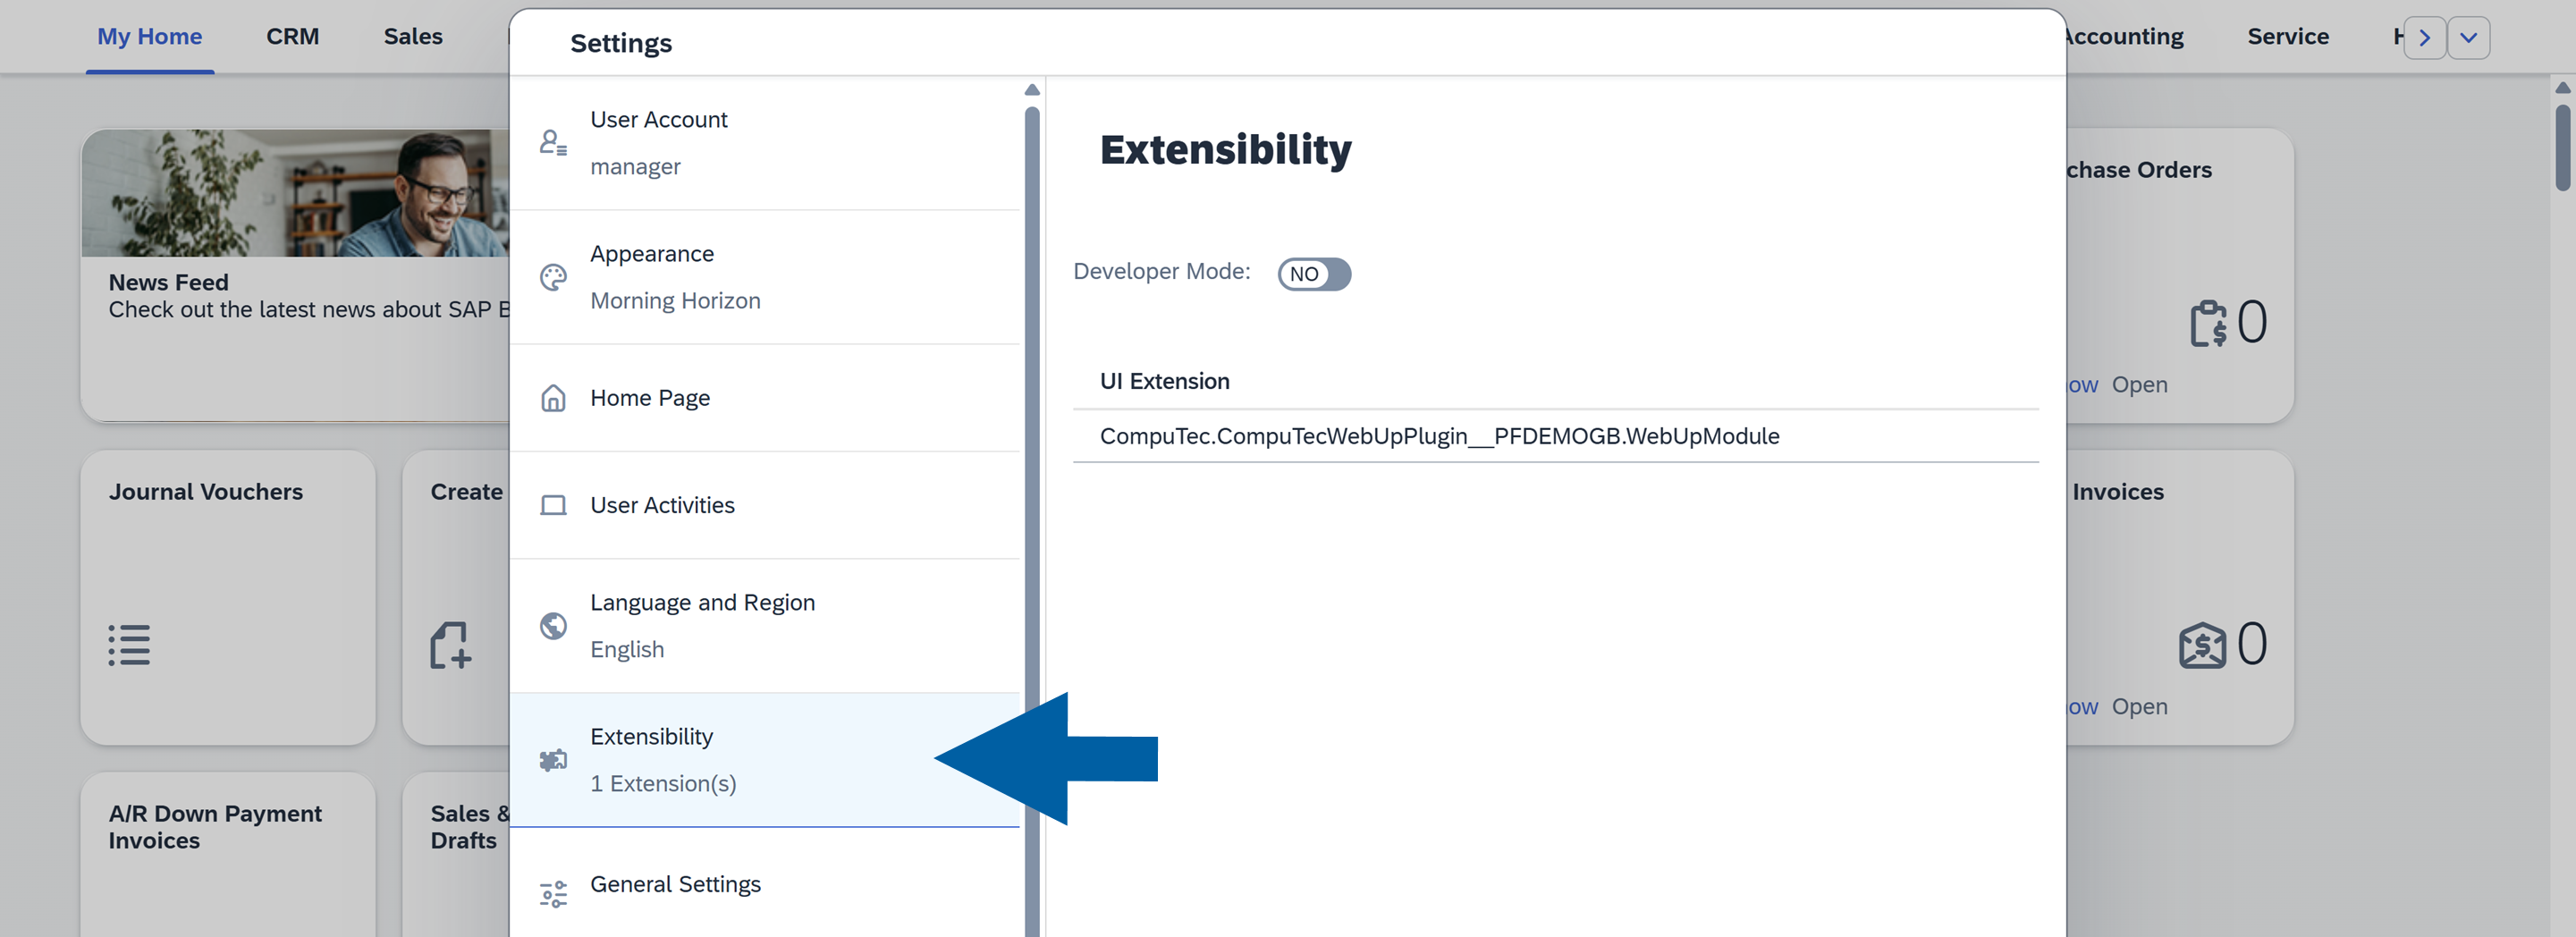
Go to Extensibility.
-
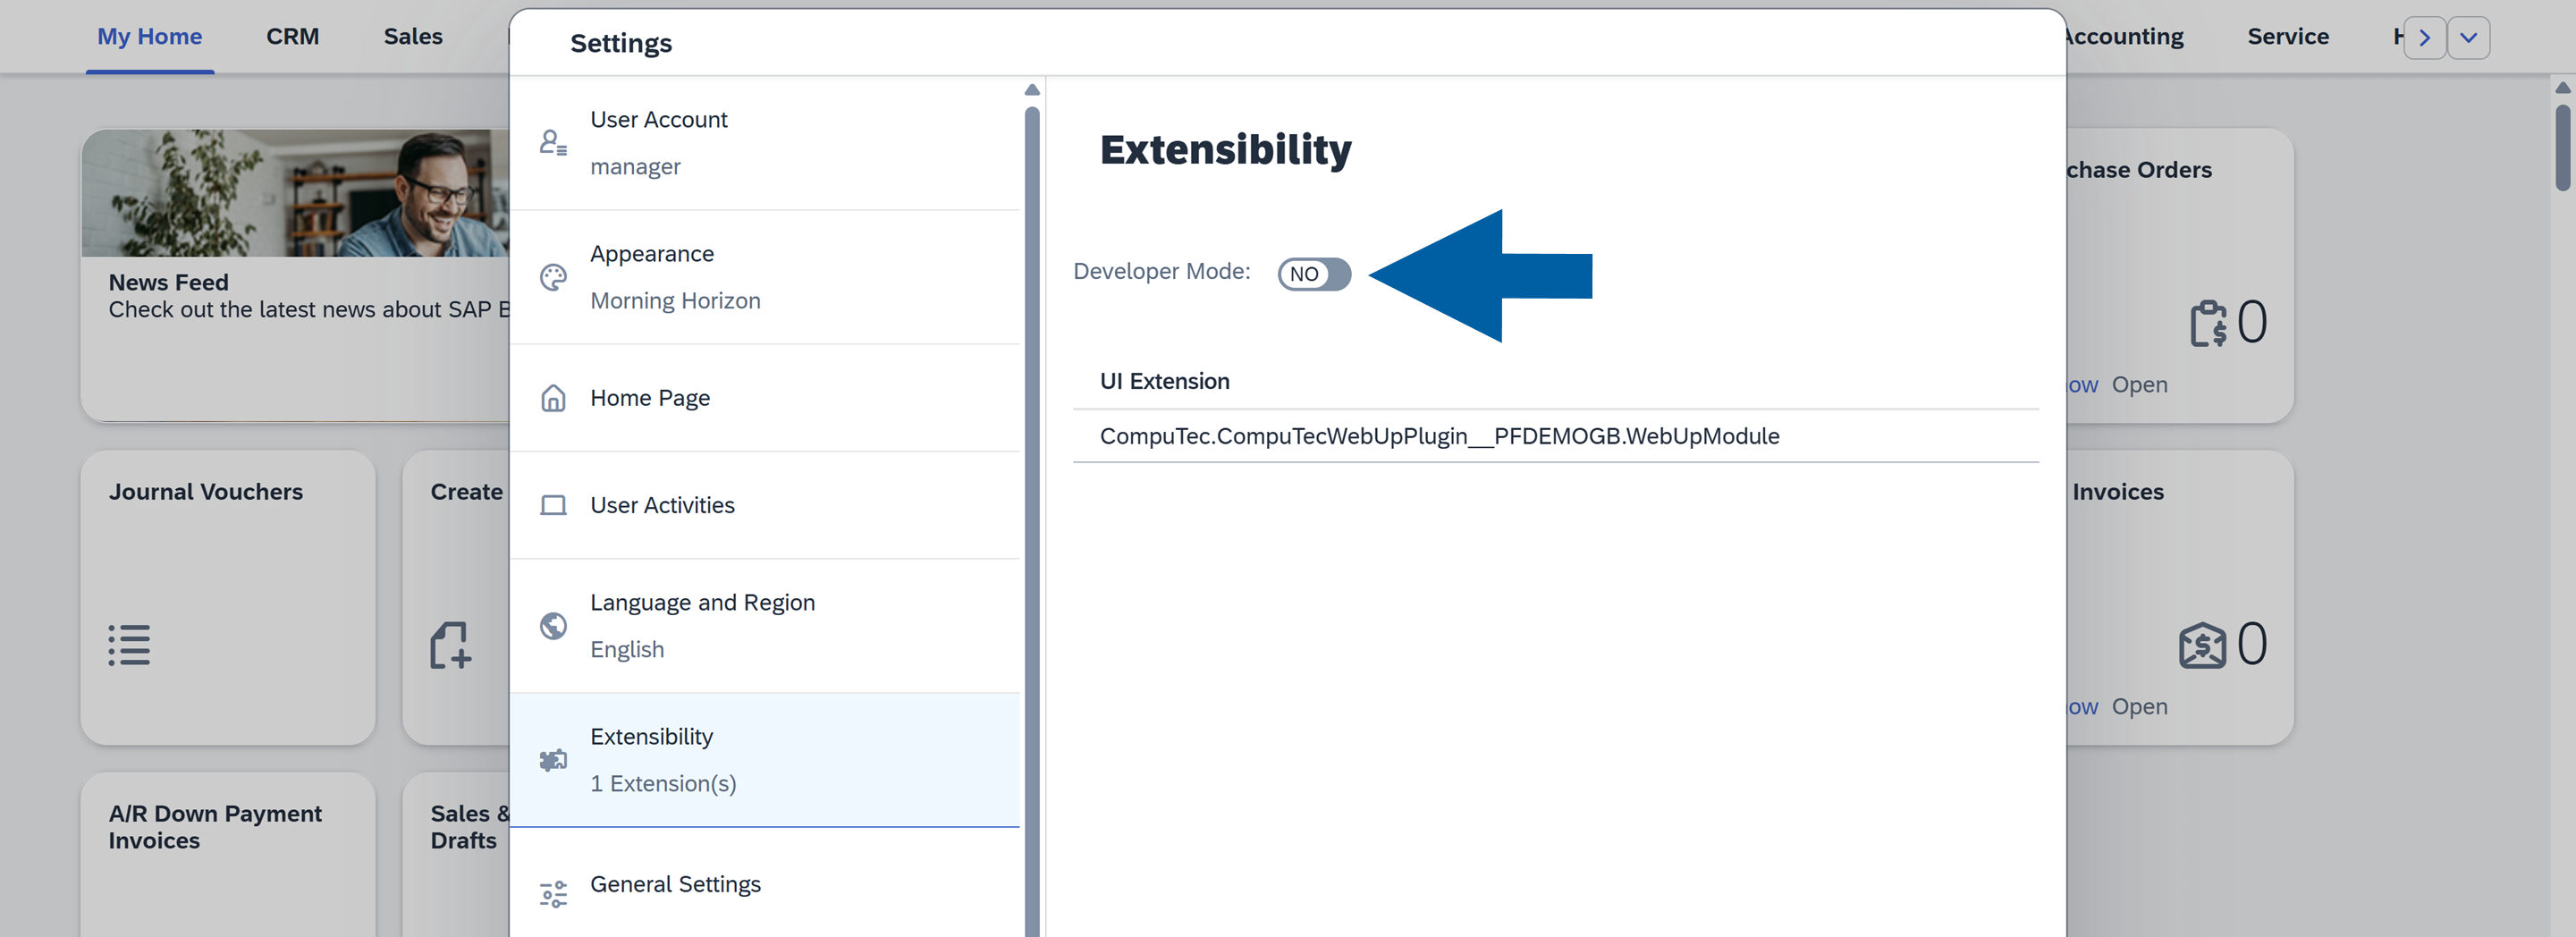
Turn on the Developer Mode toggle.
-
Click Save.
Step 3: Install browser extensions
You’ll need to install two extensions:
- CompuTec WebUp Client
- CompuTec WebUp Manager
These extensions are currently not available in public stores. Install them manually using the provided installation package until they are validated by Google, Mozilla and Microsoft.
Select your browser to see the installation steps:
- Google Chrome
- Microsoft Edge
- Mozilla Firefox
Step 1: Download the CompuTec WebUp extensions for Google Chrome
-
Click this link to download the CompuTec WebUp Client extension.
-
Click this link to download the CompuTec WebUp Manager extension.
-
Extract both downloaded files.
Step 2: Install the extensions for Google Chrome
-
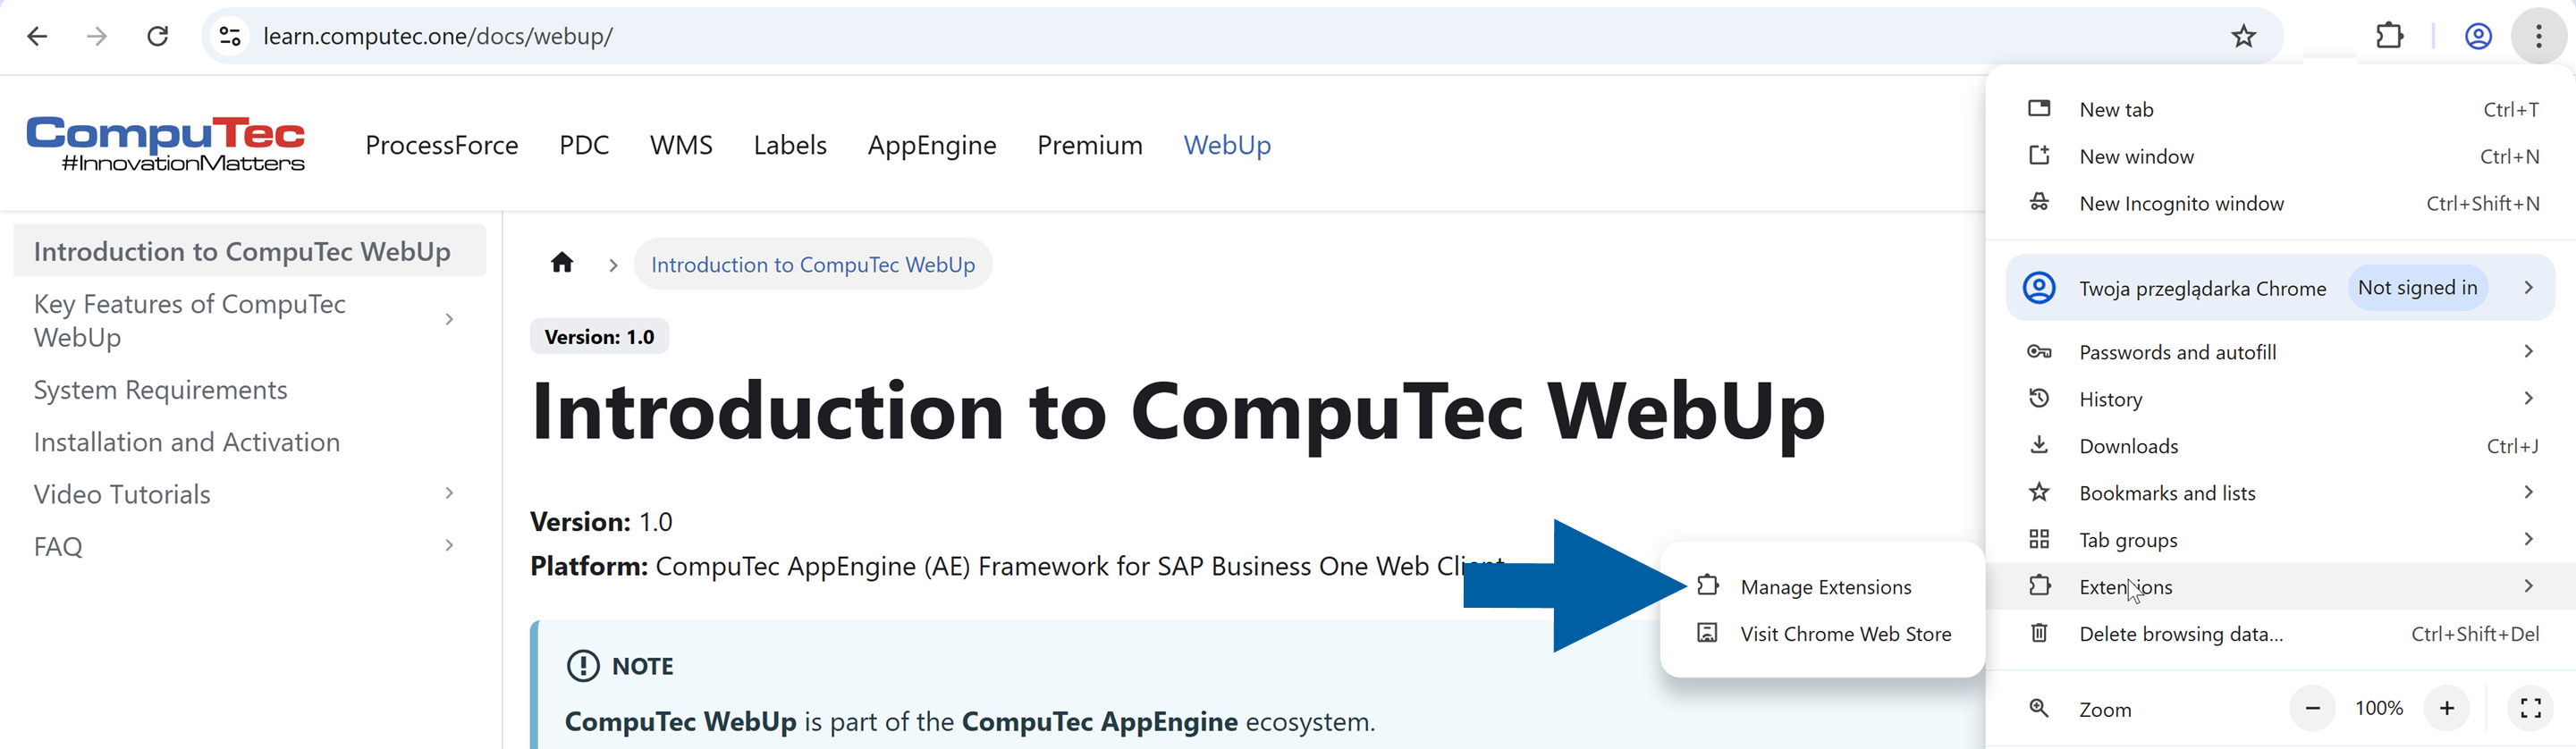
Open the Google Chrome browser.
-
Click the menu icon and choose Extensions > Manage Extensions.
-
Turn on the Developer mode toggle.

-
Click Load unpacked.

-
Select your extracted CompuTec WebUp Client folder and click Select Folder.
-
Select your extracted CompuTec WebUp Manager folder and click Select Folder.
-
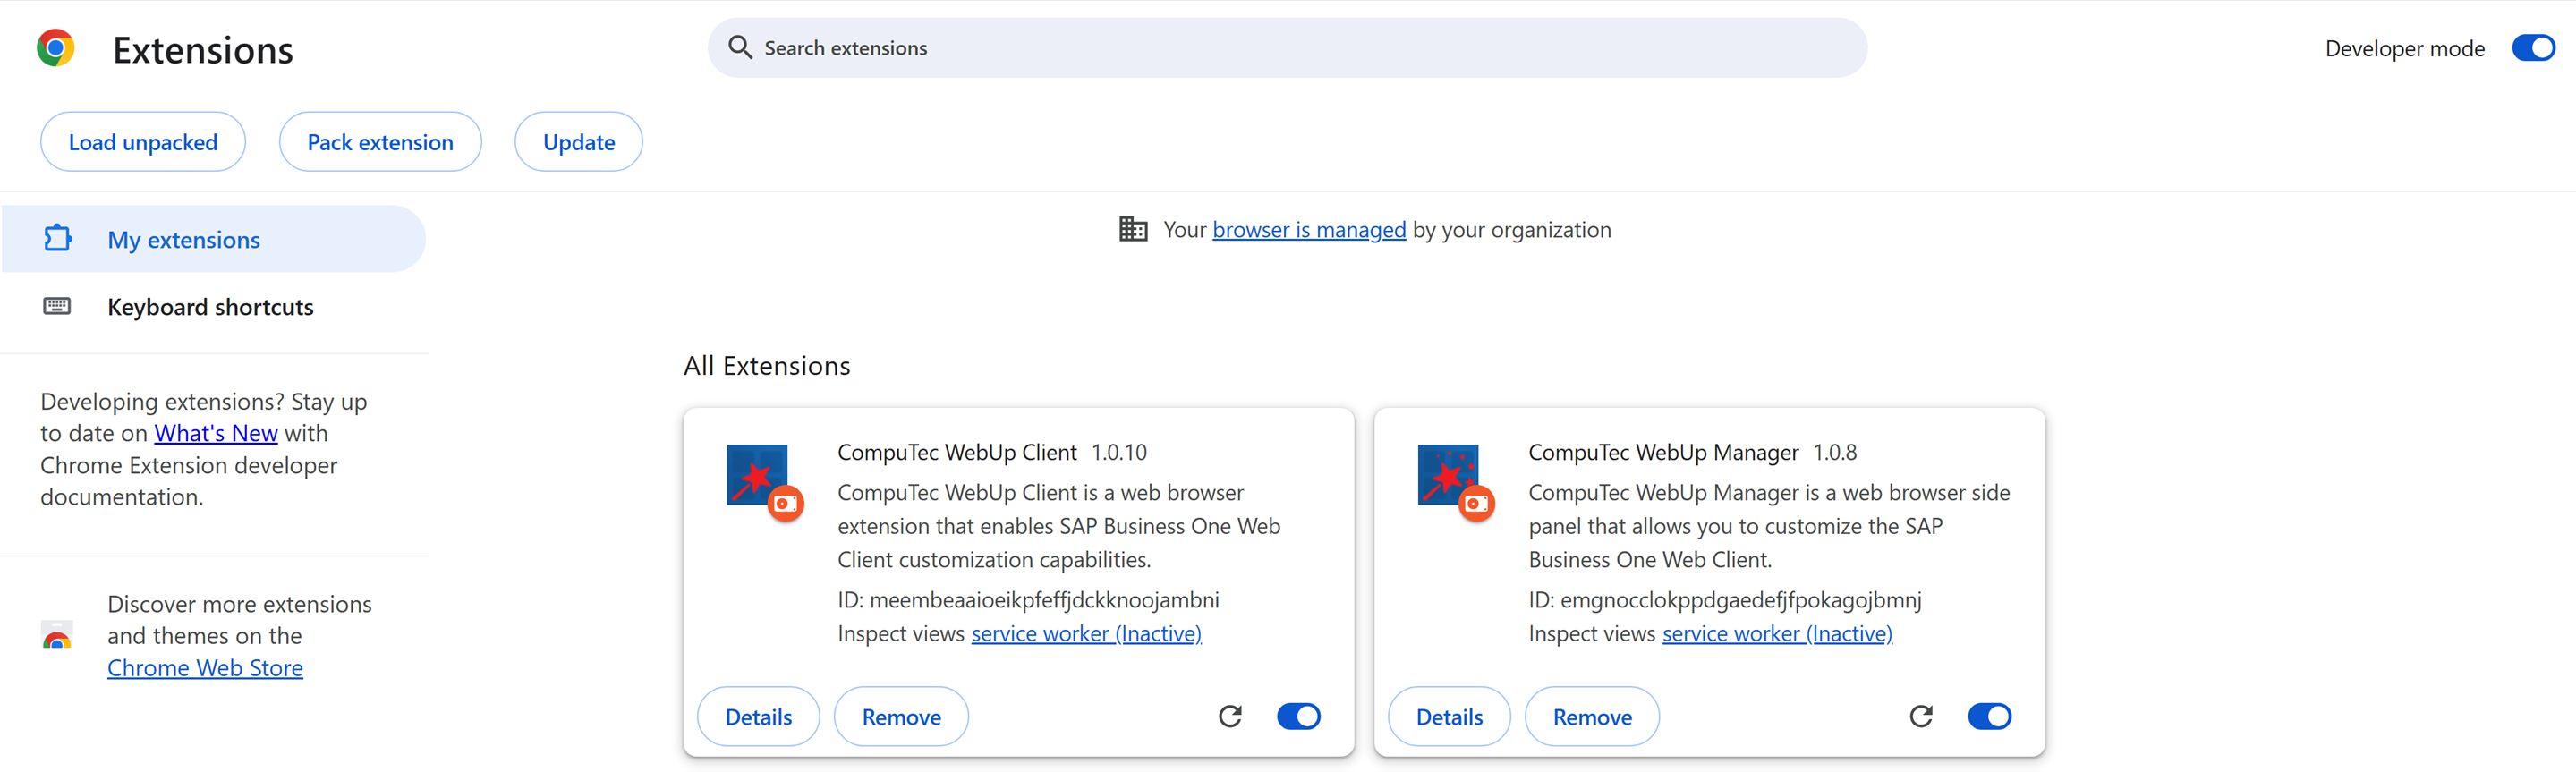
Done! Now you can see both CompuTec WebUp Client and CompuTec WebUp Manager extensions on the All Extensions list of your Google Chrome browser.
Step 1: Download the CompuTec WebUp extensions for Microsoft Edge
-
Click this link to download the CompuTec WebUp Client extension.
-
Click this link to download the CompuTec WebUp Manager extension.
-
Extract both downloaded files.
Step 2: Install the extensions for Microsoft Edge
-
Open the Microsoft Edge browser.
-
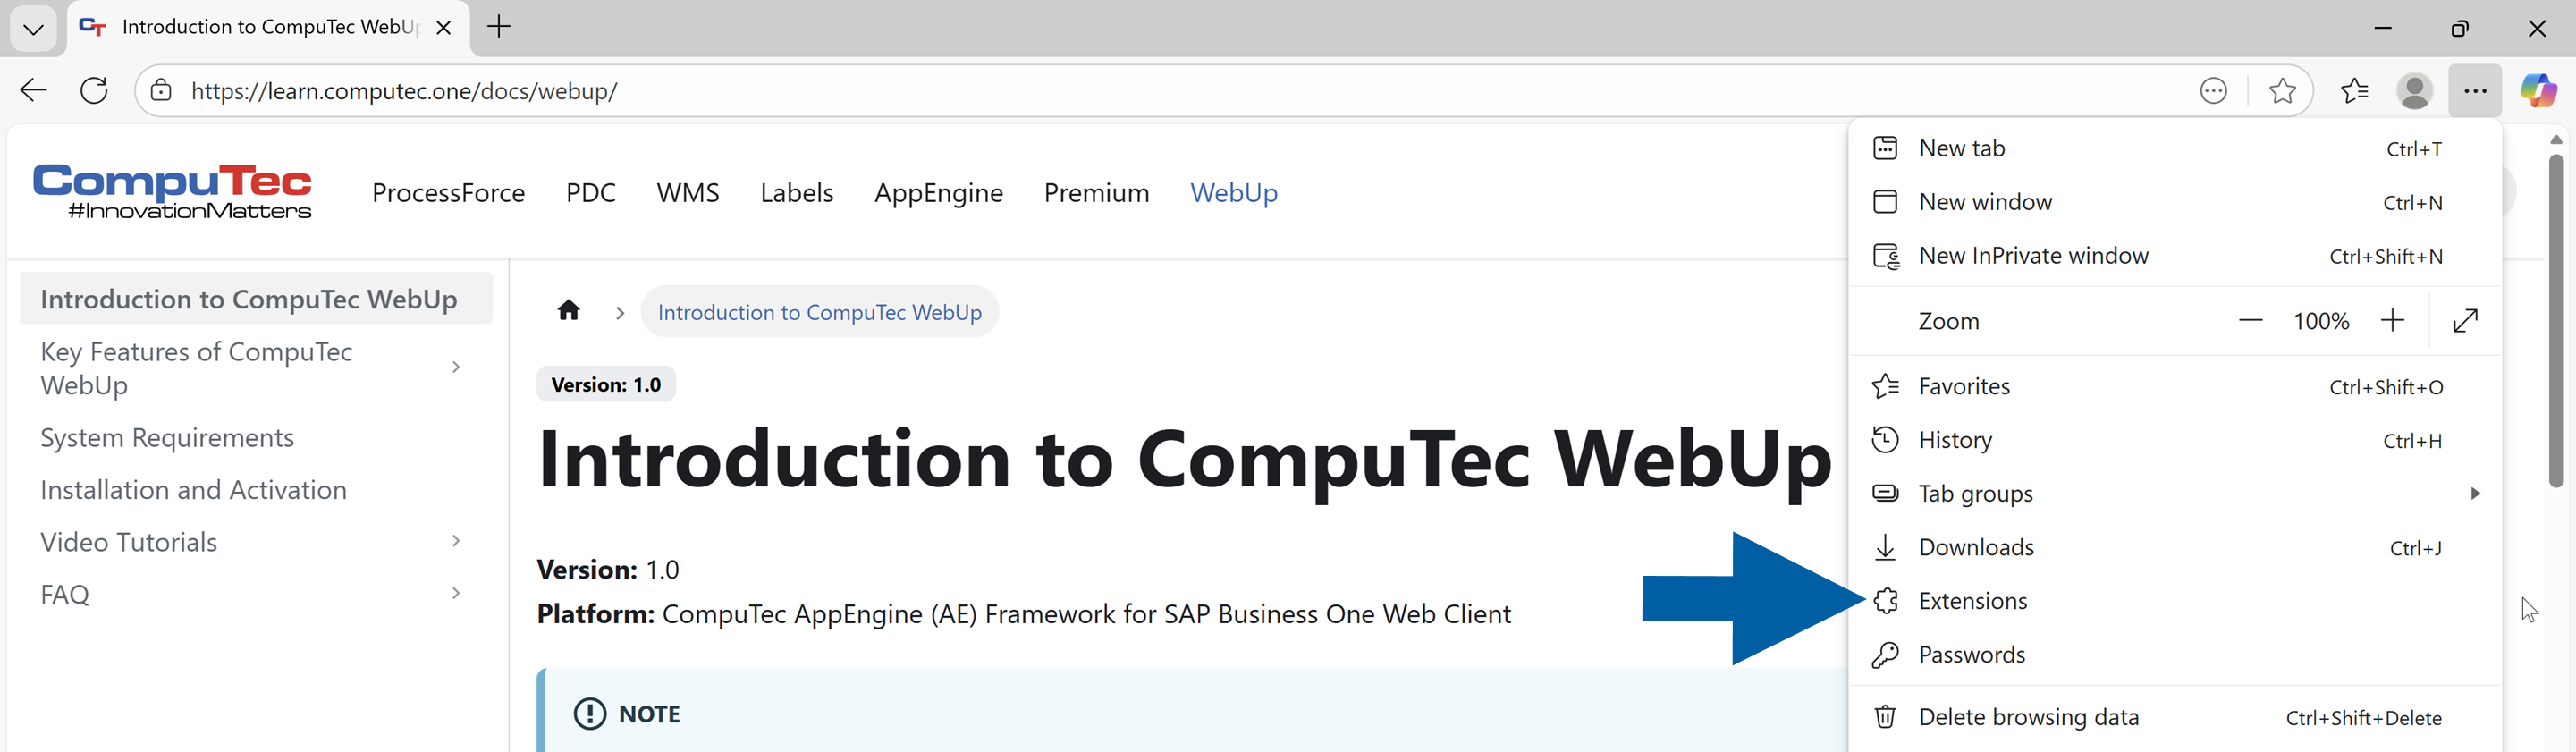
Click the menu icon and choose Extensions.
-
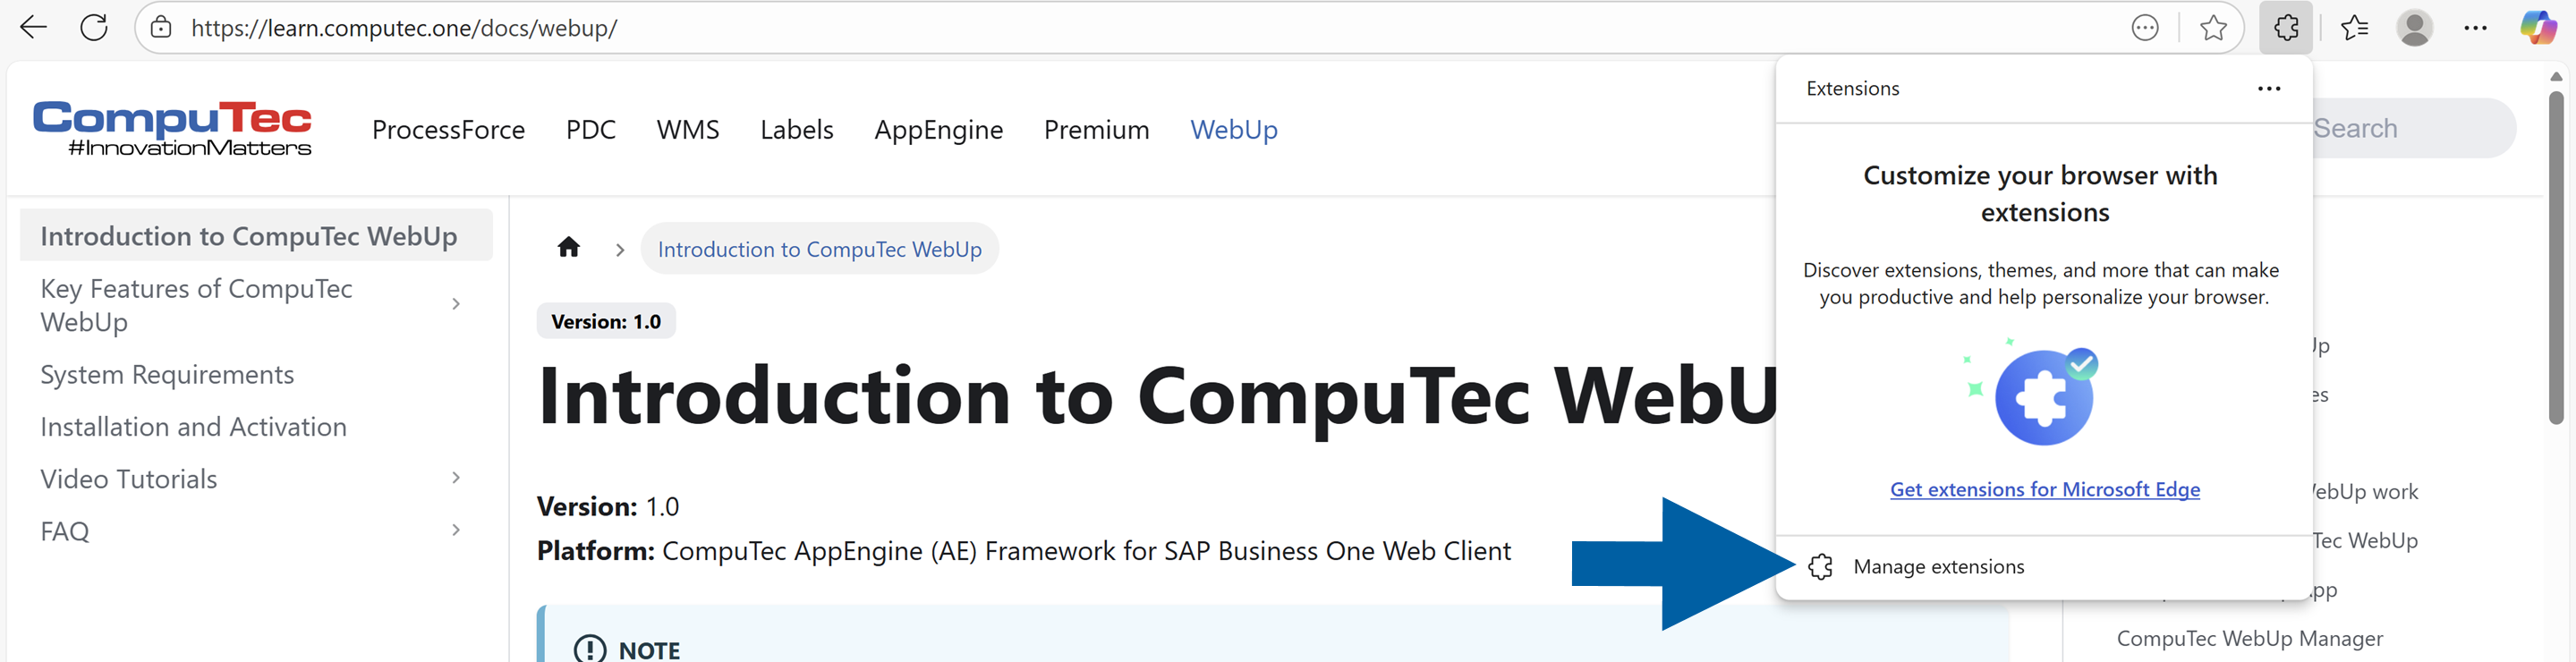
Click Manage extensions.
-
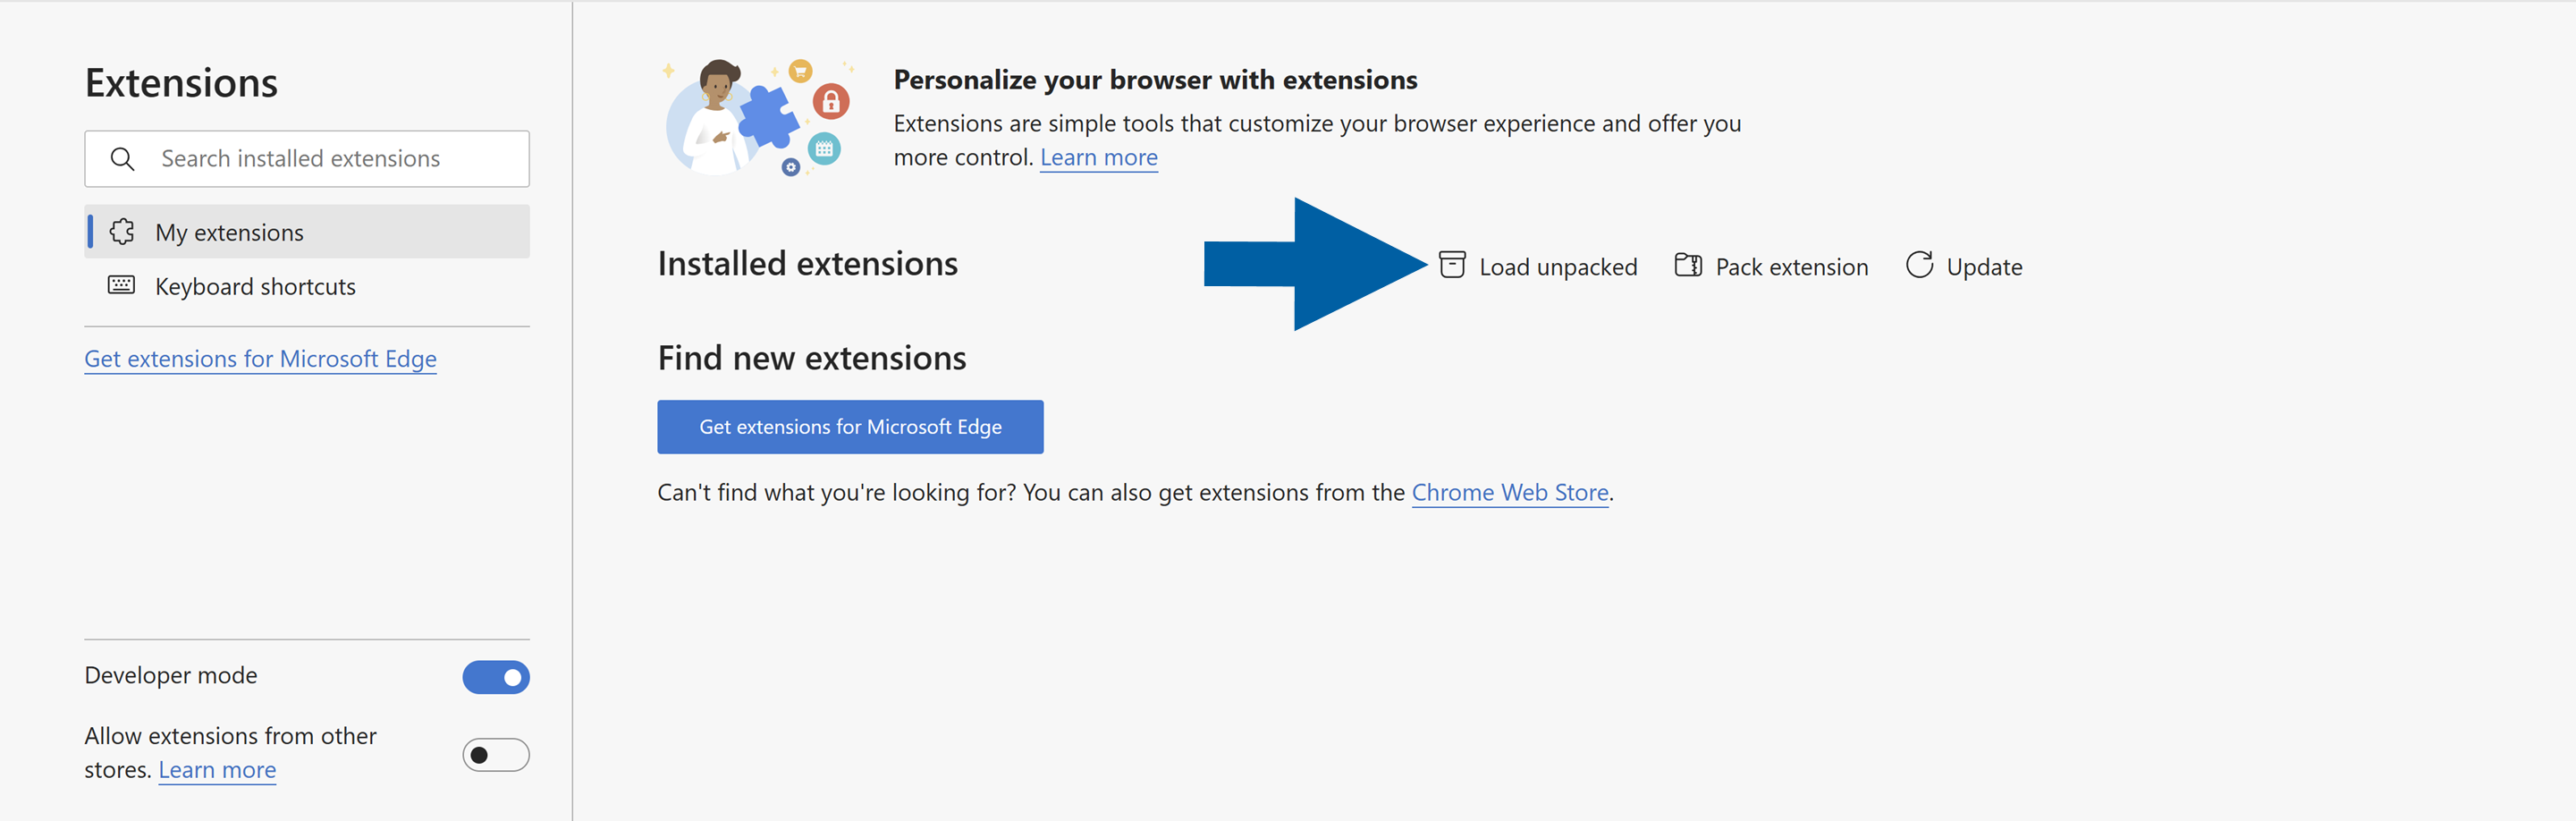
Turn on the Developer mode toggle.
-
Click Load unpacked.
-
Select your extracted CompuTec WebUp Client folder and click Select Folder.
-
Select your extracted CompuTec WebUp Manager folder and click Select Folder.
-
Done! Now you can see both CompuTec WebUp Client and CompuTec WebUp Manager extensions on the Installed extensions list of your Microsoft Edge browser.
Step 1: Download the extension for Mozilla Firefox
-
Click this link to download the CompuTec WebUp Client extension.
noteThe CompuTec WebUp Manager extension is not available for Mozilla Firefox. If you need consultant or key-user functionality, use Google Chrome or Microsoft Edge.
-
Extract the downloaded file.
Step 2: Install the extension for Mozilla Firefox
-
Open the Mozilla Firefox browser.
-
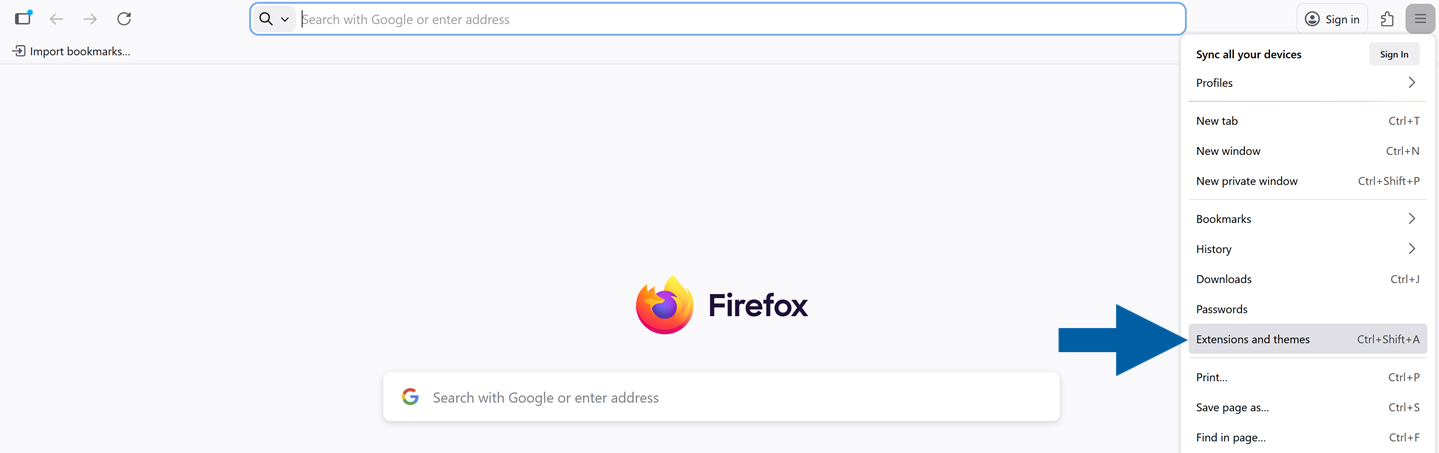
Click the menu icon and choose Extensions and themes.
-
Navigate to Extensions.

-
Click the gear icon and select Debug Add-ons.

-
Click Load Temporary Add-on.

-
Select your extracted folder and click Open.
-
Done! Now you can see the CompuTec WebUp Client on the extension list of your Mozilla Firefox browser.
 note
noteFirefox only supports temporary loading of unpacked extensions.
The extension must be reloaded each time you restart Firefox.
Step 4: Verify the integration
After installation, confirm that both the CompuTec AppEngine plugin and the browser extension are active and communicating.
-
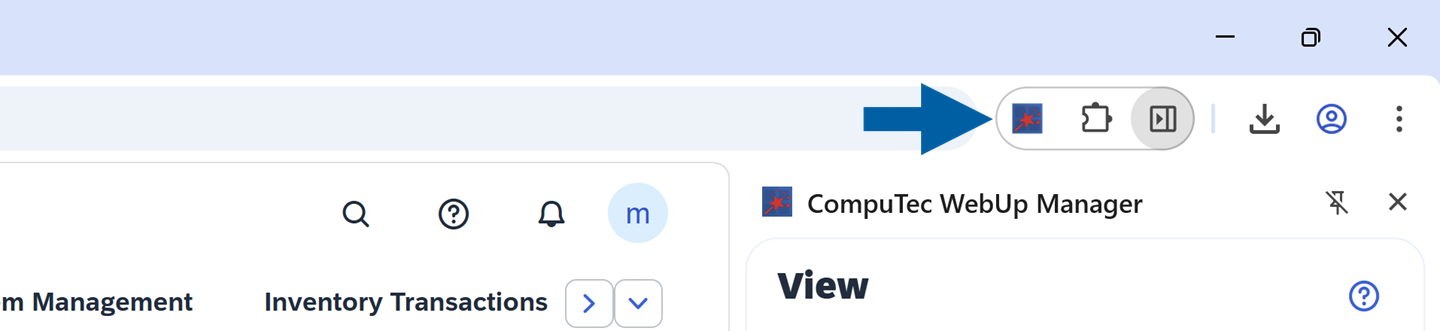
Pin the CompuTec WebUp extension to your browser toolbar for easy access.
-
Navigate to the SAP Web Client page.
-
Click the CompuTec WebUp extension icon to activate the integration.
If you were already on the SAP Web Client page before installing the CompuTec WebUp browser extension, refresh the page before activating the extension.
Updates
- Updates are delivered automatically via the CompuTec AppEngine Store.
- All configuration profiles and assignments are preserved during updates.
- If a new version of the browser extension is available, you’ll be prompted to update it after installation.
- Maintain your CompuTec AppEngine and CompuTec WebUp versions up to date to ensure compatibility.
For technical issues or feature requests, contact us via the CompuTec Support Portal. Feedback on usability and performance is always welcome.