You are currently viewing documentation for CompuTec AppEngine 3.0 (.NET 8).
If you are working with older environments, you may need the documentation for CompuTec AppEngine 2.0 based on .NET Framework: https://learn.computec.one/docs/appengine/2.0/.
Please note that CompuTec AppEngine 2.0 will be supported only until December 31, 2026. After this date, the product will no longer receive regular support or maintenance updates. Read more
As CompuTec AppEngine 3.0 introduces a new architecture, all CompuTec components must be updated together to ensure full compatibility.
Please review the CompuTec AppEngine 3.0 documentation before starting your installation or upgrade process.
Preview & Print Feature
The Preview & Print feature lets you generate PDF reports directly from an Analytics data source. You can preview reports in your browser, download them, or print data for one or multiple records.
Reports use SAP Business One Crystal Reports templates configured for the selected Analytics source.
Before You Begin
Make sure:
- You can access CompuTec AppEngine Launchpad.
- The Analytics source already has at least one configured print option.
- You know which data source you want to use.
Open Preview & Print
To access the feature:
-
Log in to CompuTec AppEngine Launchpad.
-
Click the Analytics icon.

-
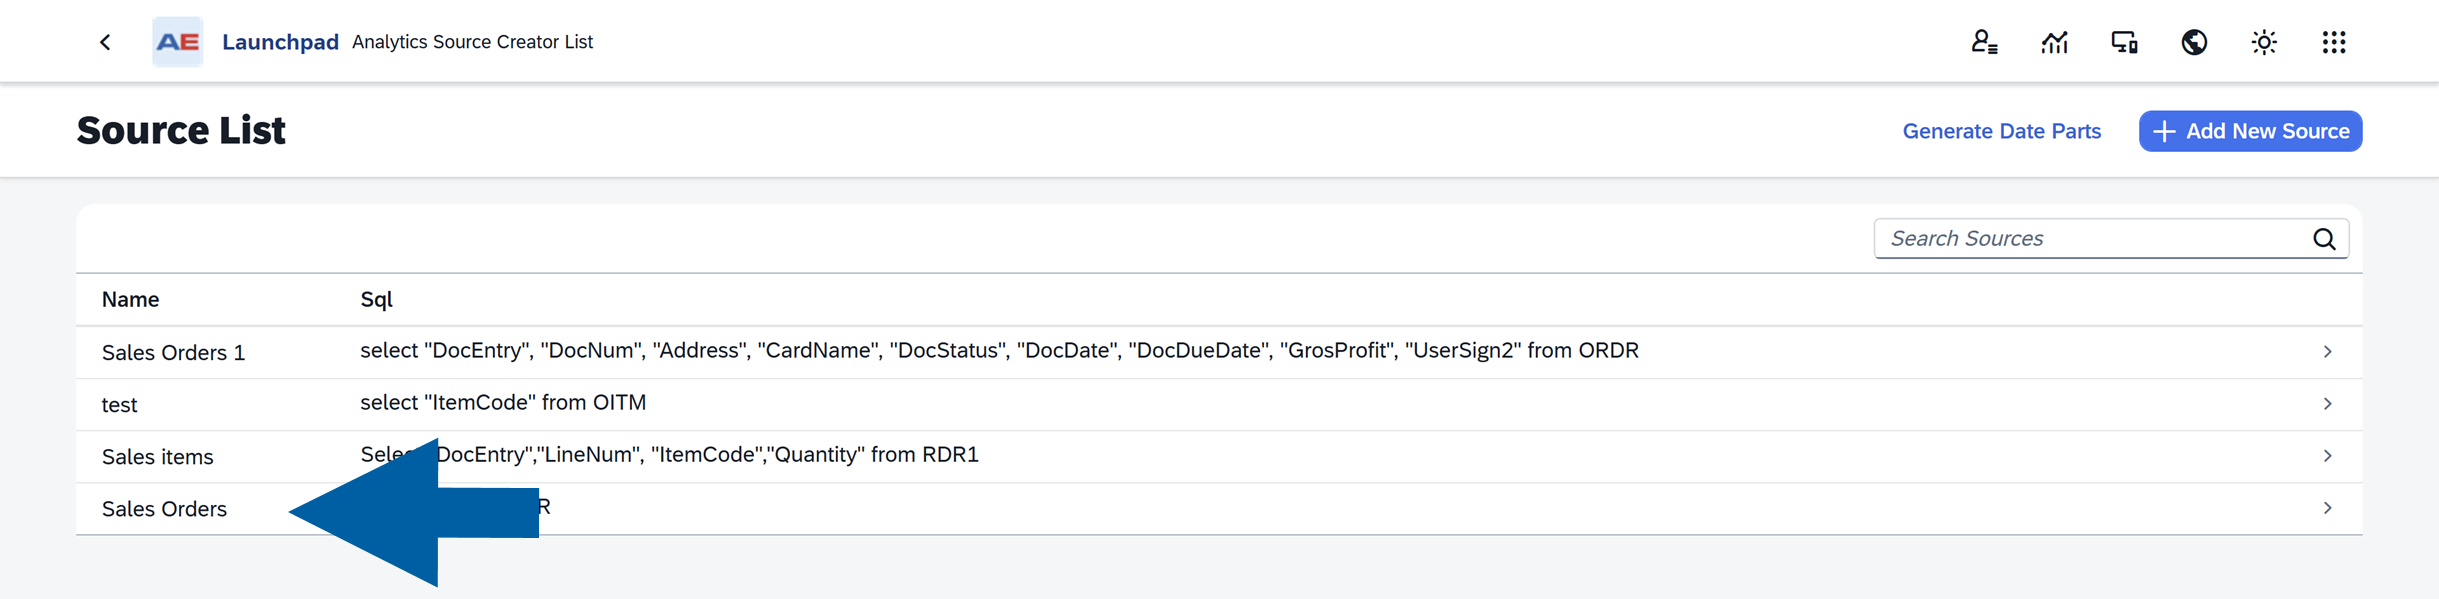
Click Go to Source Manager.

-
Select your data source.
-
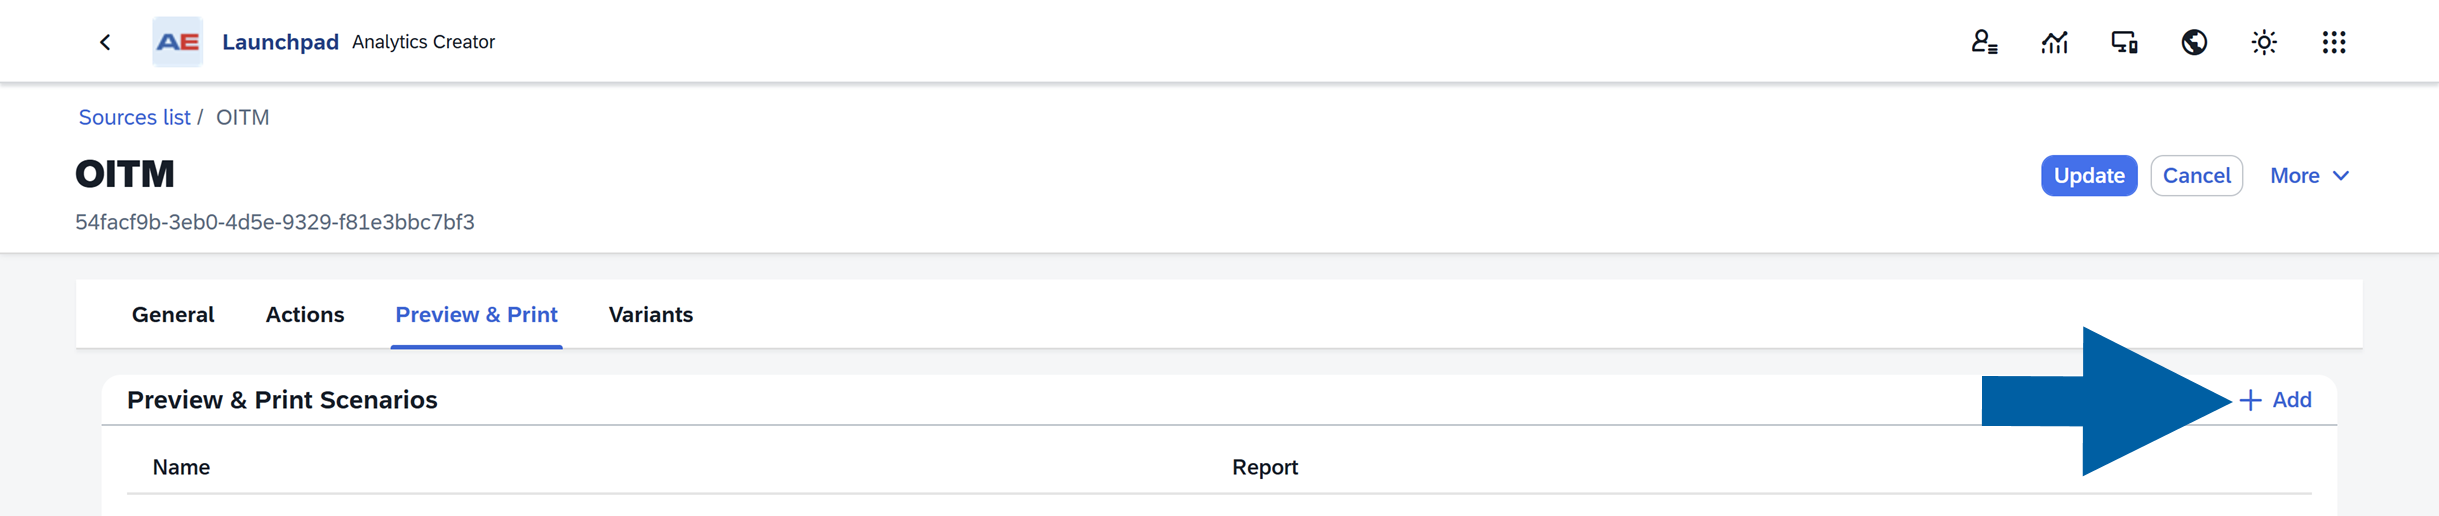
Open the Preview & Print tab.

The tab displays all configured print options available for the selected source.
Create a New Print Instance
A print instance is a saved print configuration. It defines which report to use and what data is sent to that report.
For example:
- Invoice PDF
- Order Summary
- Delivery Confirmation
To create a new instance:
-
Click the edit icon to enter edit mode.

-
In the Preview & Print tab, click + Add.
-
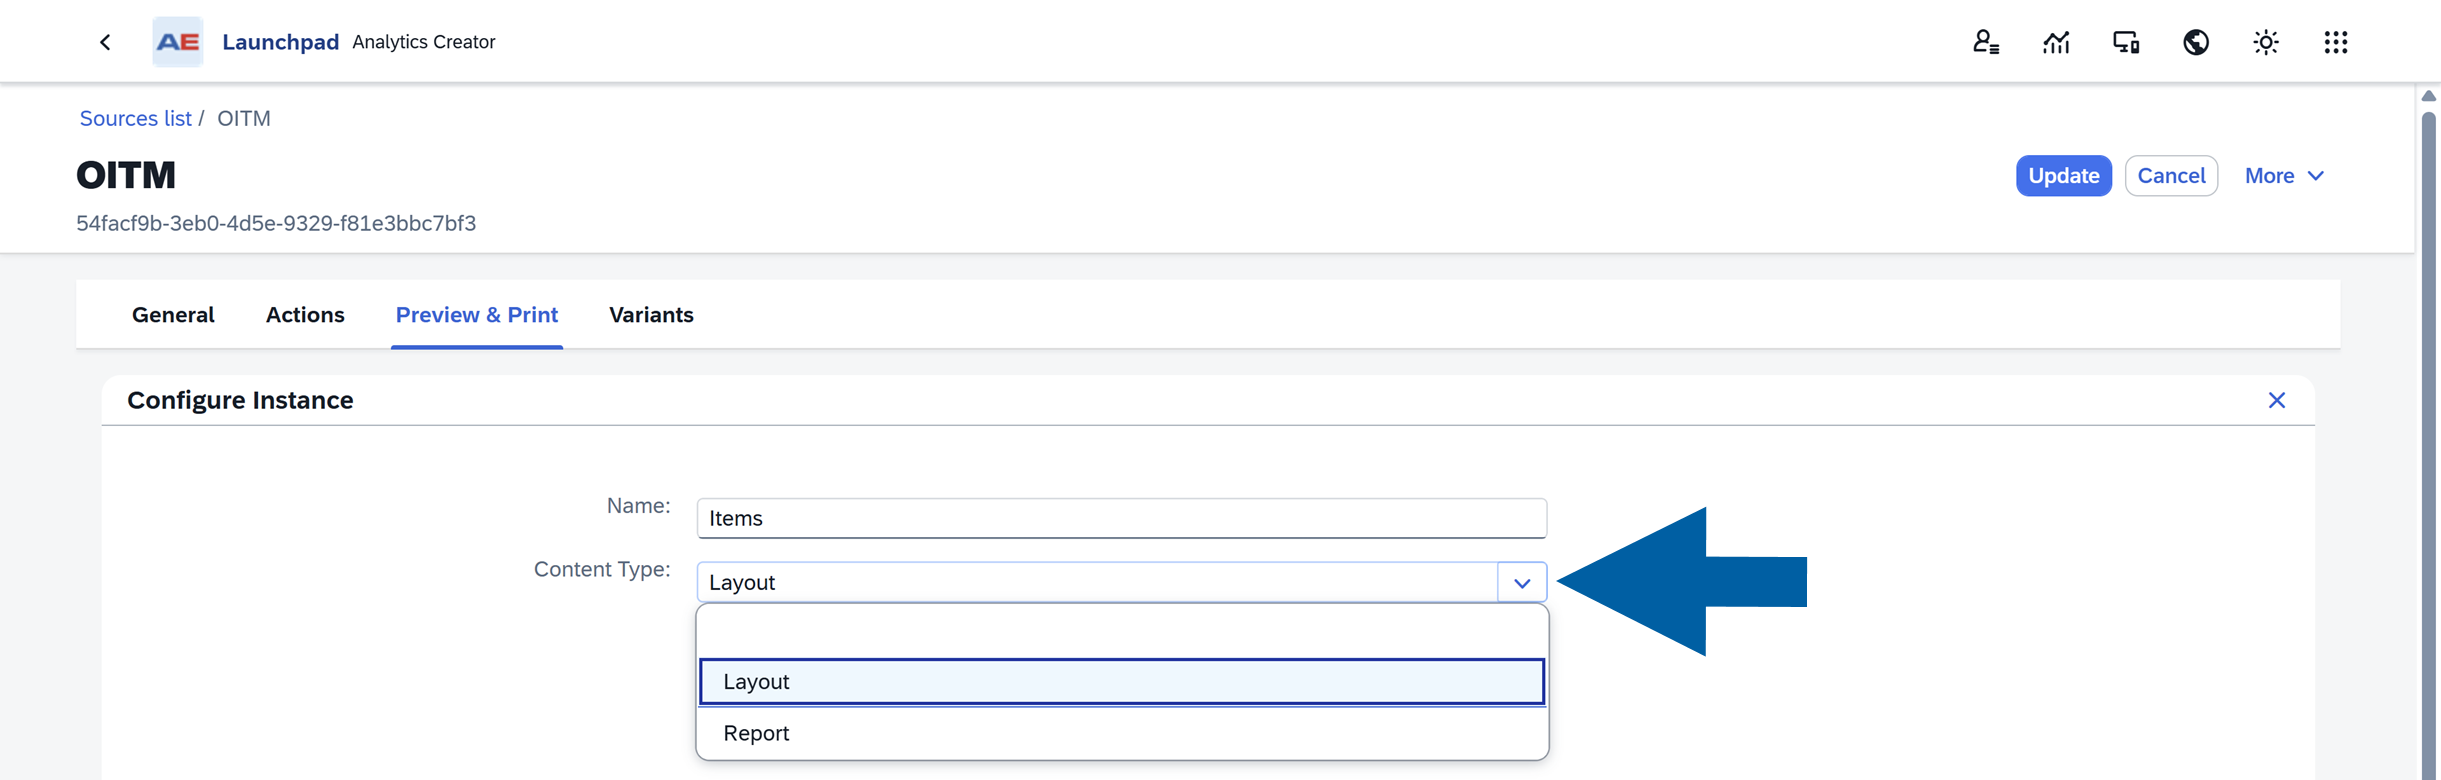
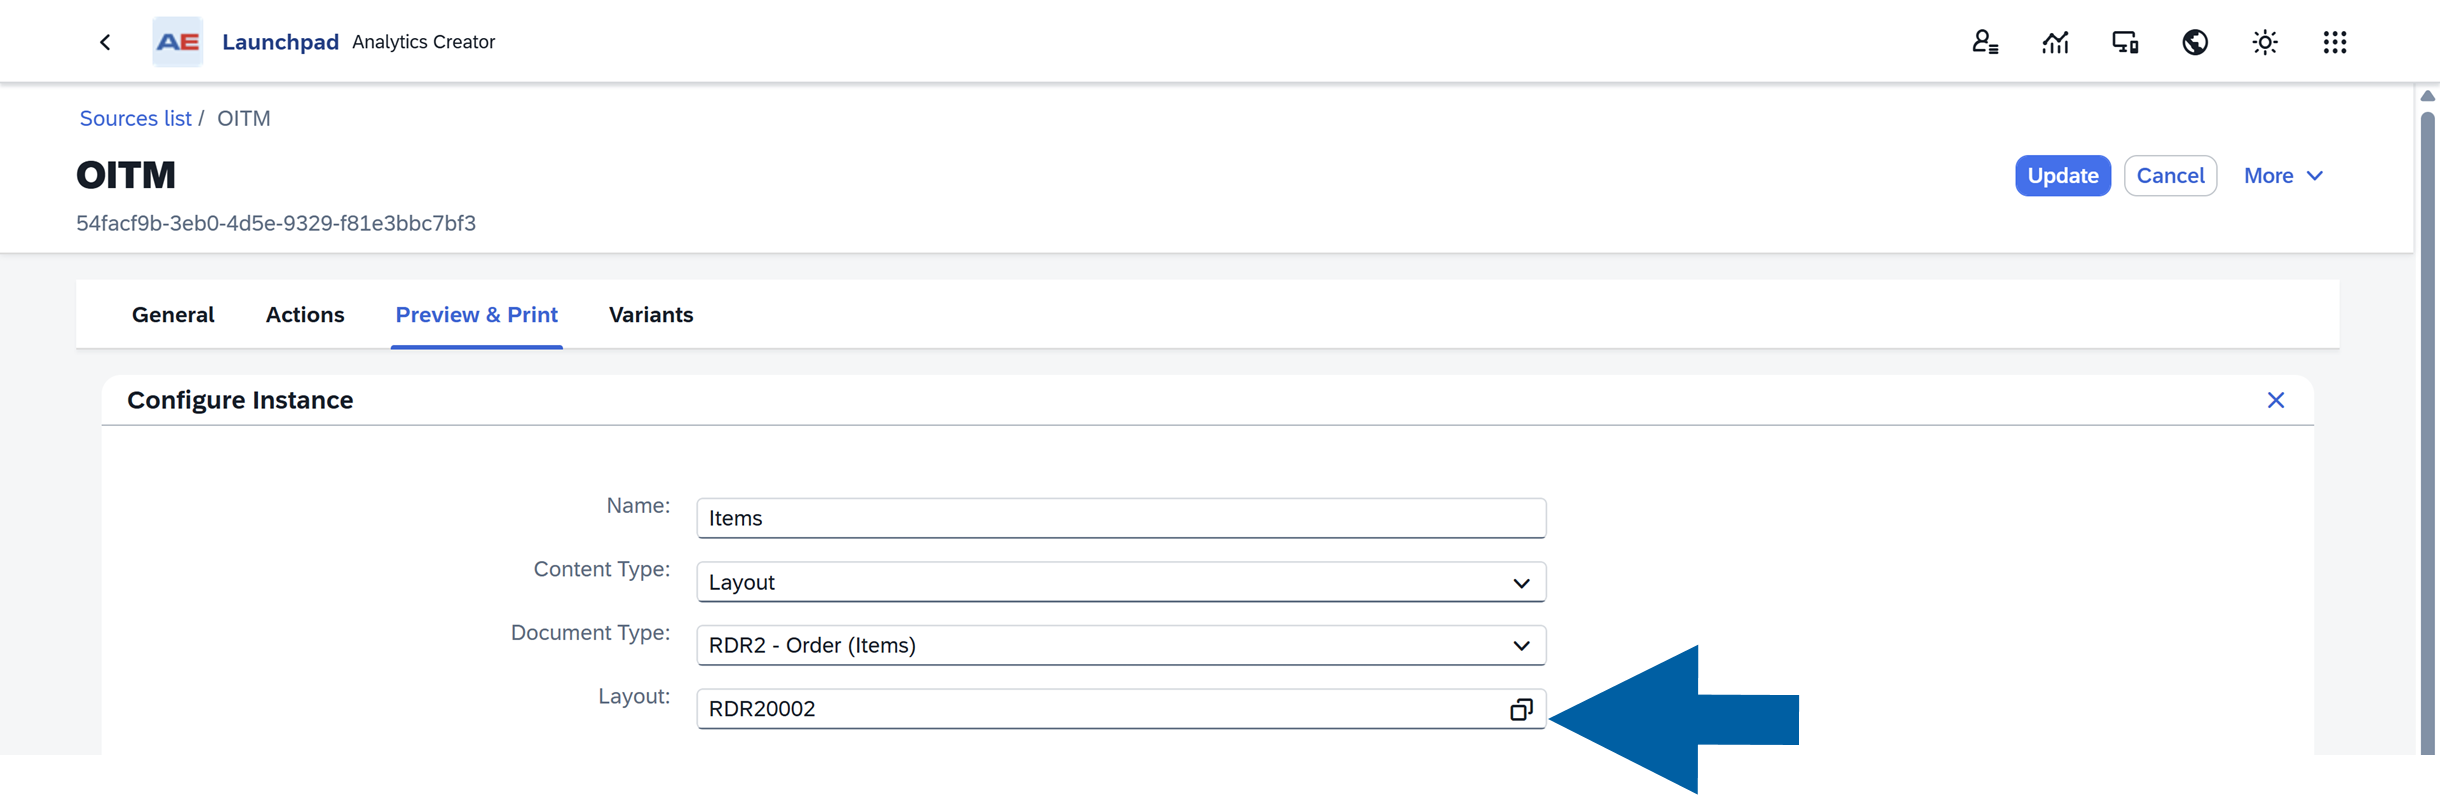
Enter a Name, and select the Content Type.
-
Select the report or layout that will generate the PDF.
 Note
NoteCurrently, Crystal Reports are fully supported.
-
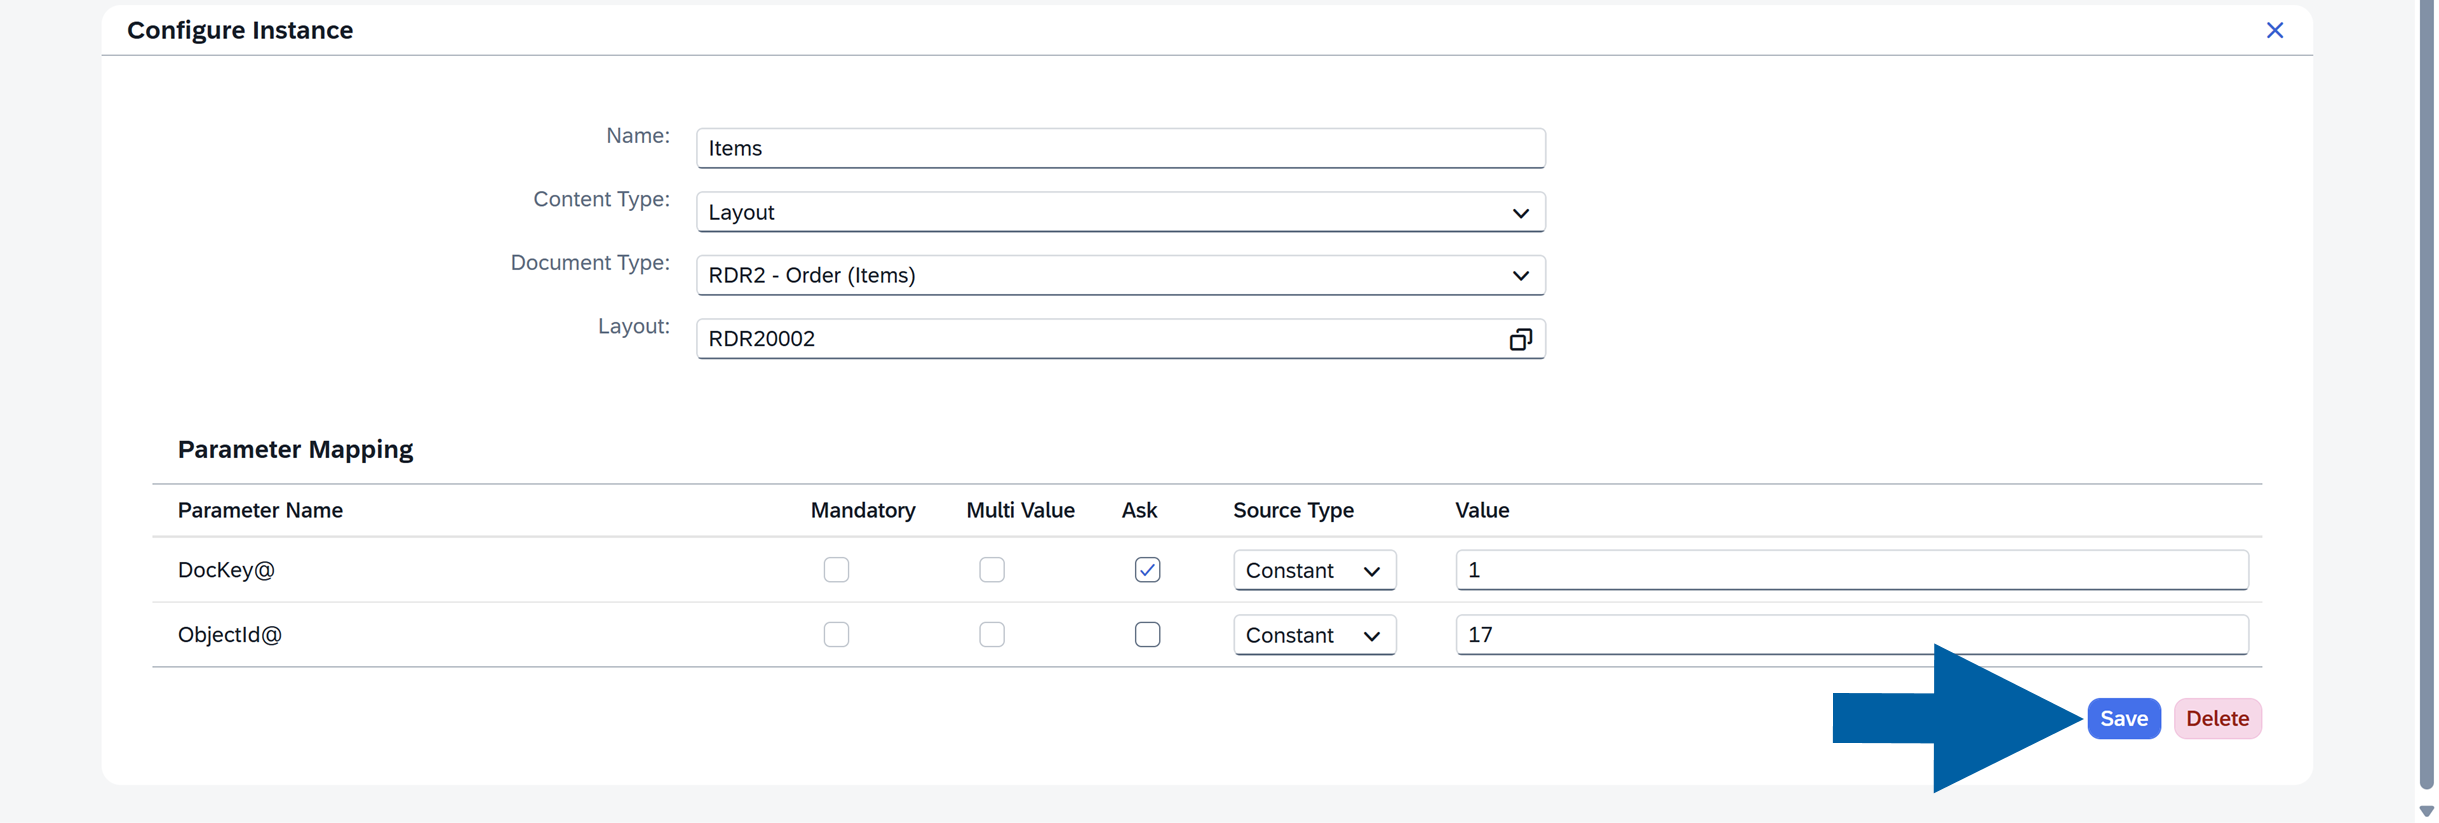
Configure the parameters:
- Use Constant when the value should always stay the same. Example:
CompanyCode=US01 - Use Field when the value should come from the Analytics data source. Example: Use the selected row’s Document Number column.
- Check the field under the Ask option to turn on Ask at Print Time feature if users should enter or select a value when generating the report. This is useful when the value changes between print runs.

- Use Constant when the value should always stay the same. Example:
-
Click Save.
-
Done! The new print option becomes available for users of this Analytics source.
Combine Multiple Records into One PDF
Some reports support multi-value parameters. If available, you can enable Combine into Single Export.
Behavior depends on this setting:
| Selection | Result |
|---|---|
Disabled | One PDF is generated per selected row |
Enabled | One combined PDF is generated for all selected rows |
This option helps when users need a single report containing multiple records.
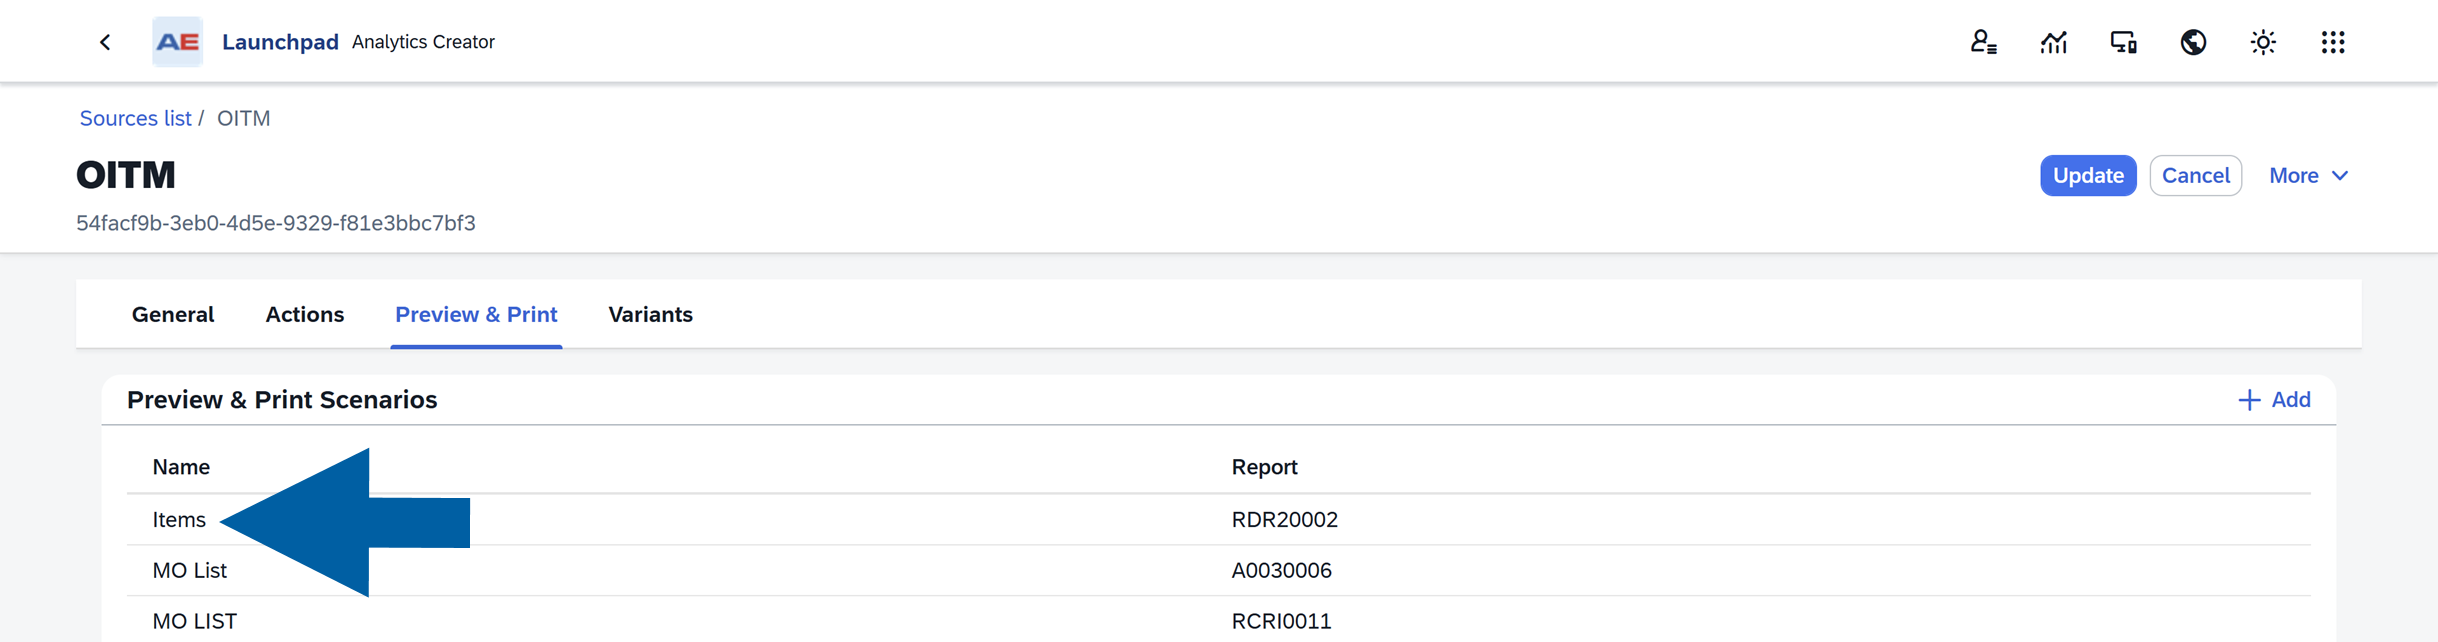
Edit or Delete a Print Instance
To change an existing instance:
-
Open the Preview & Print tab.

-
Click the edit icon to enter the edit mode.

-
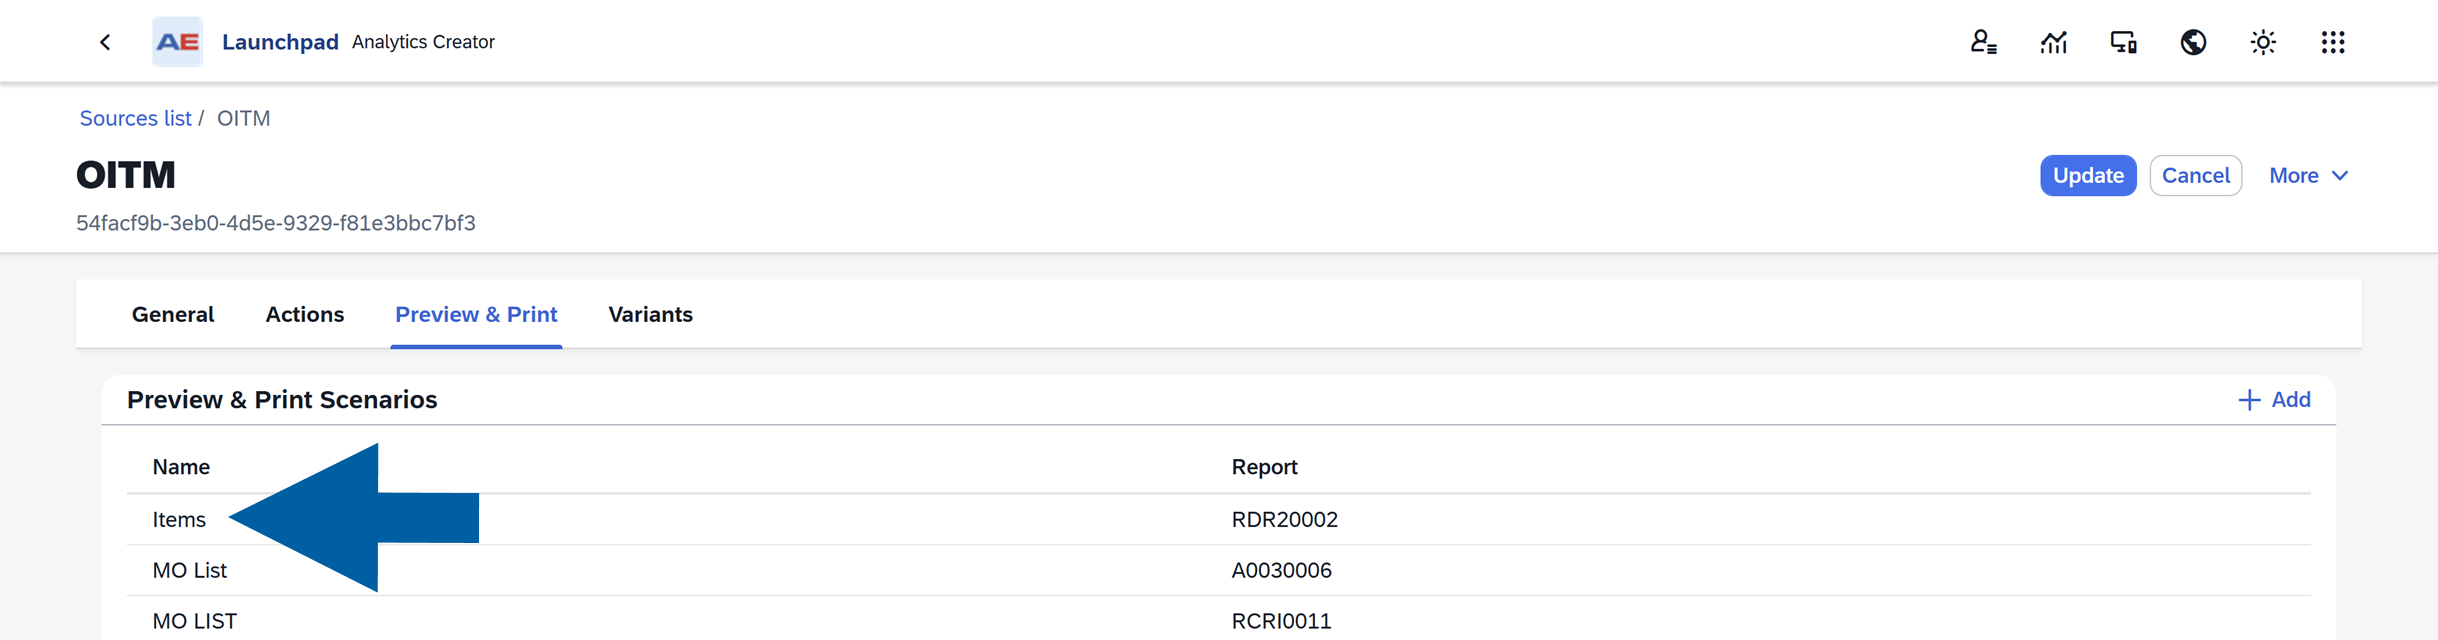
Select the instance from the list.
-
Make your changes.
-
Click Save.
-
To remove an instance, click Delete.
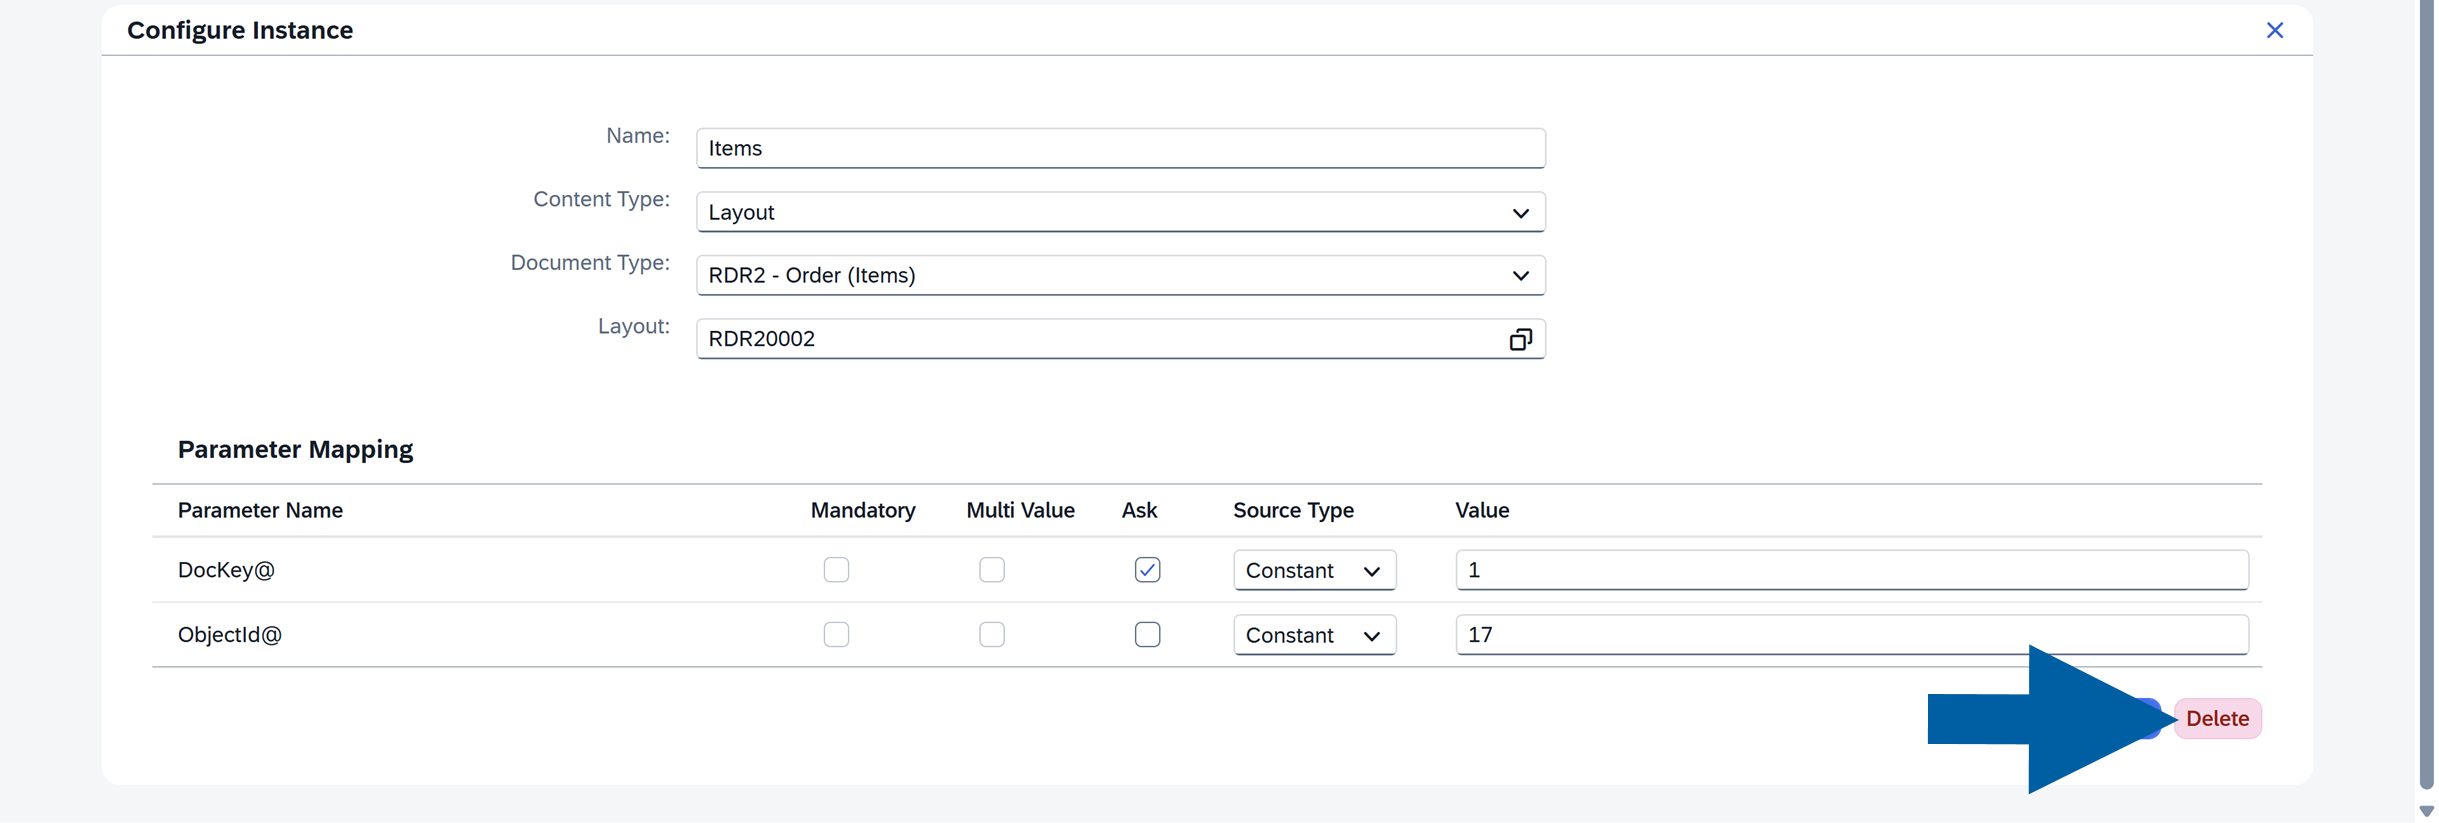
Deleted instances are no longer available to users.
Use Preview & Print in Analytics
After a print instance is configured, users can generate reports directly from the Analytics table.
To generate a report, follow these steps:
-
Open the chosen Analytics source.
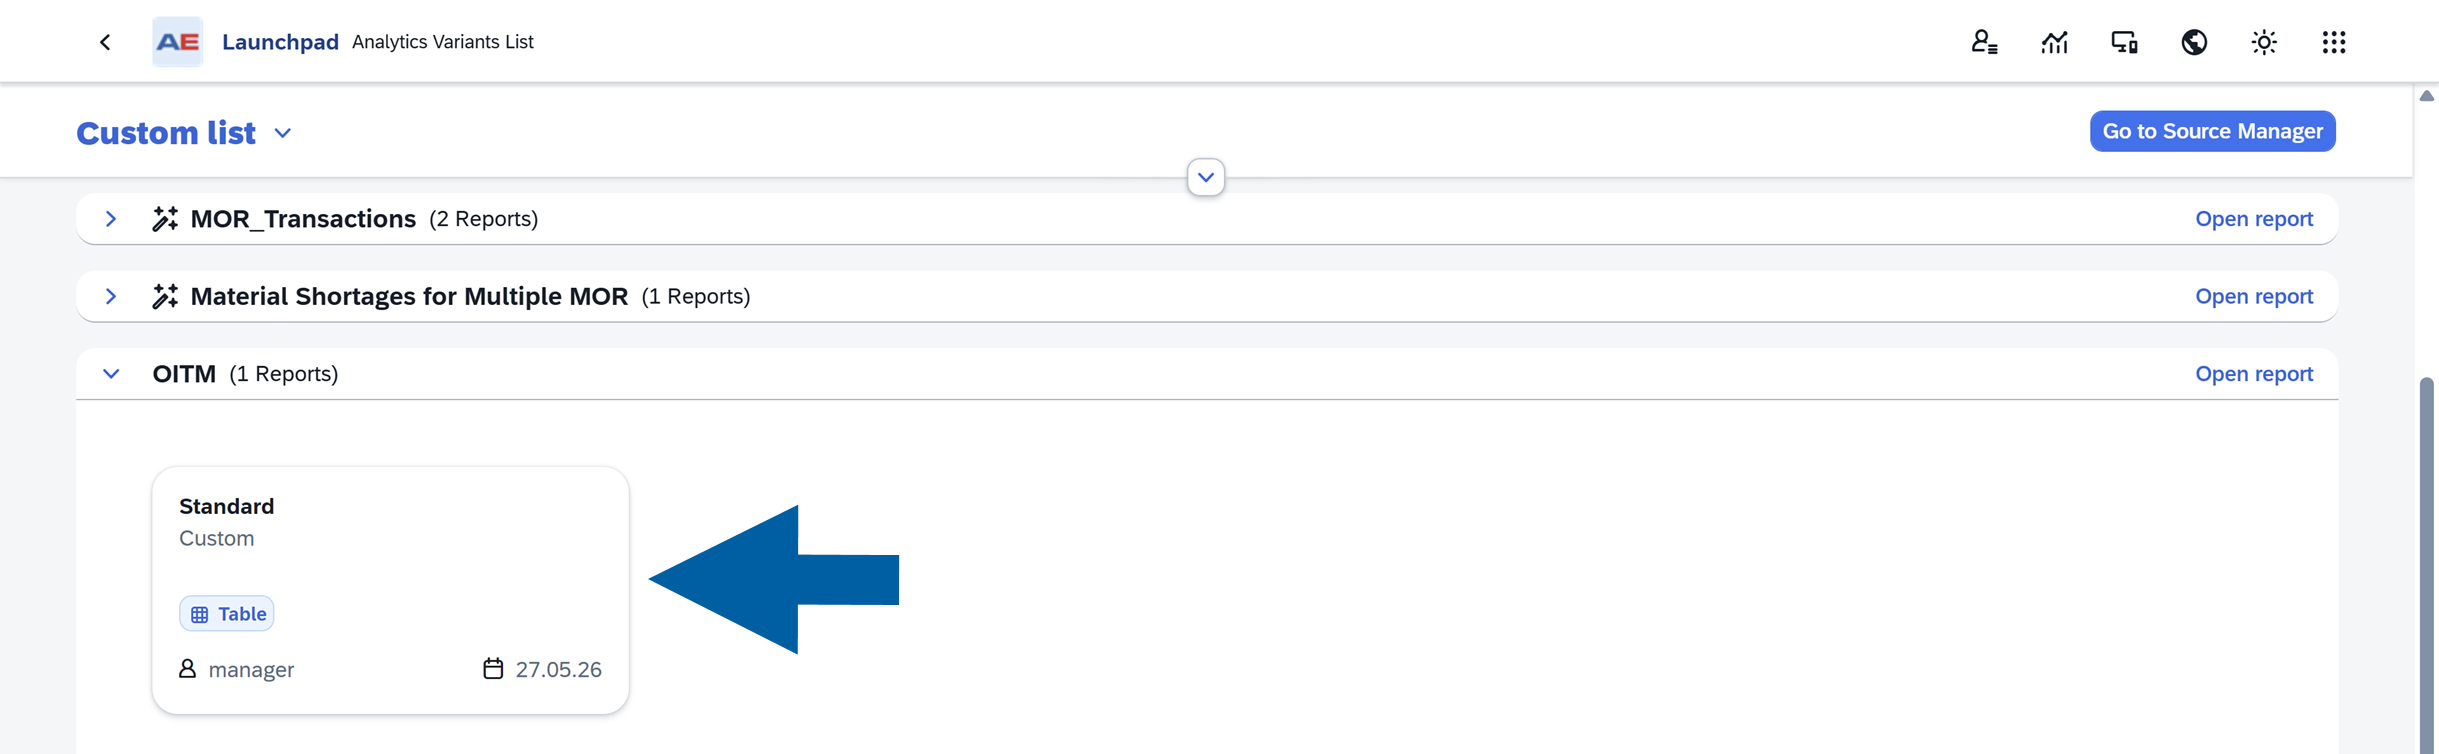 text](media/preview_print/prev-and-print16.png)
 -
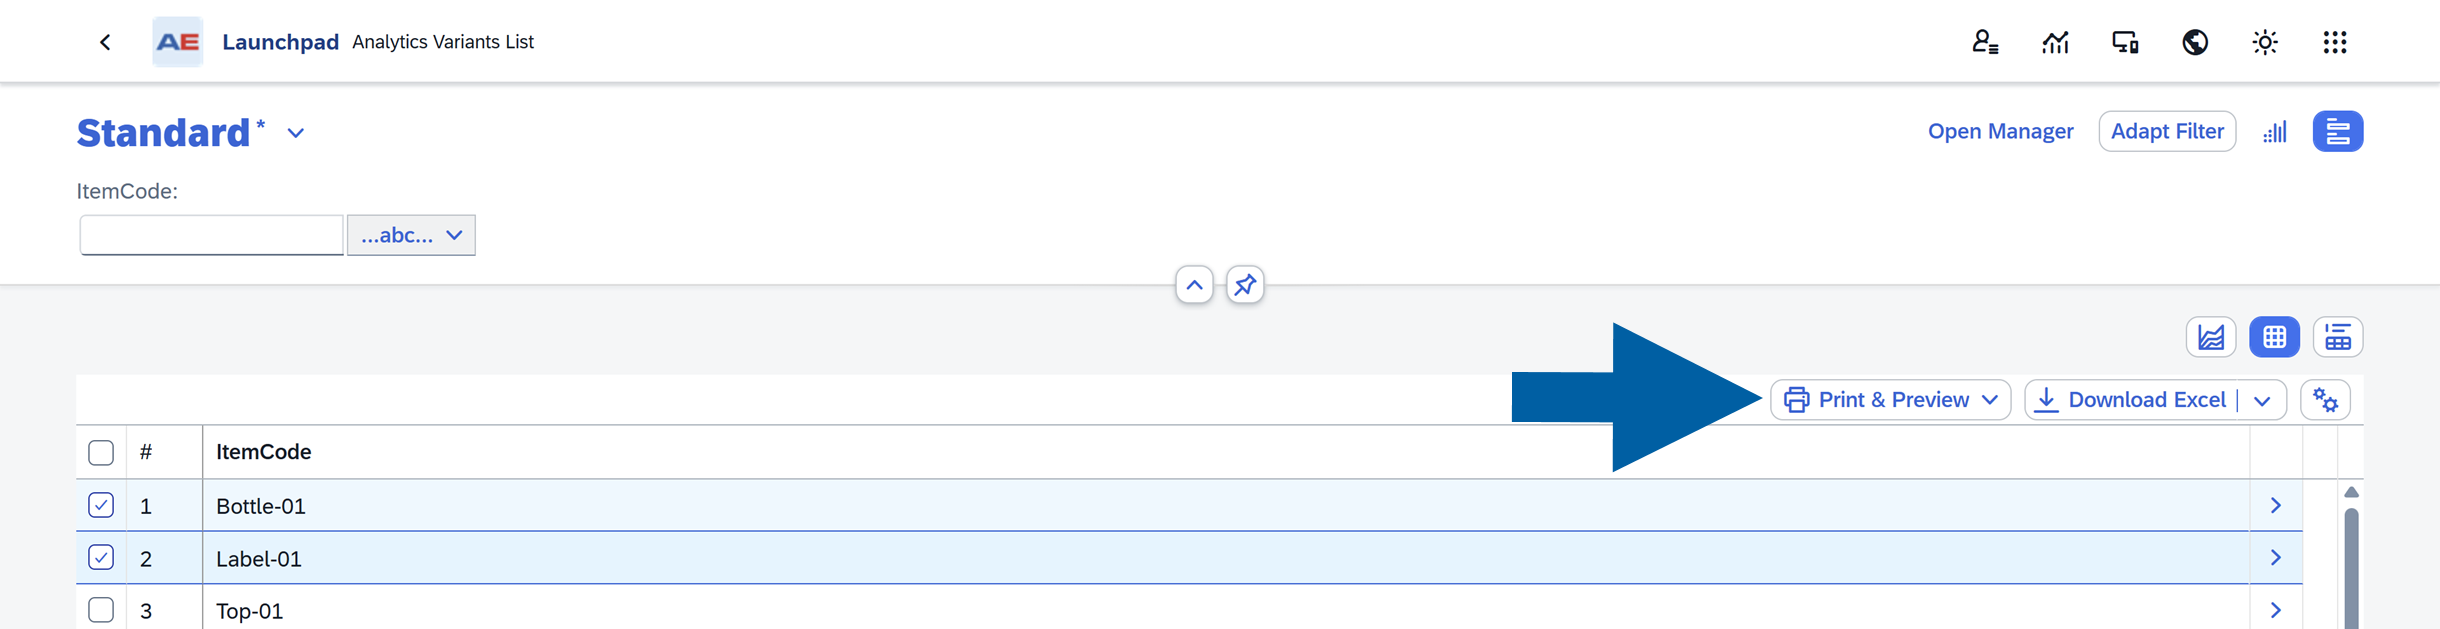
Select one or more rows.
-
Click Preview & Print in the toolbar.
-
Choose a print option from the dropdown list.

-
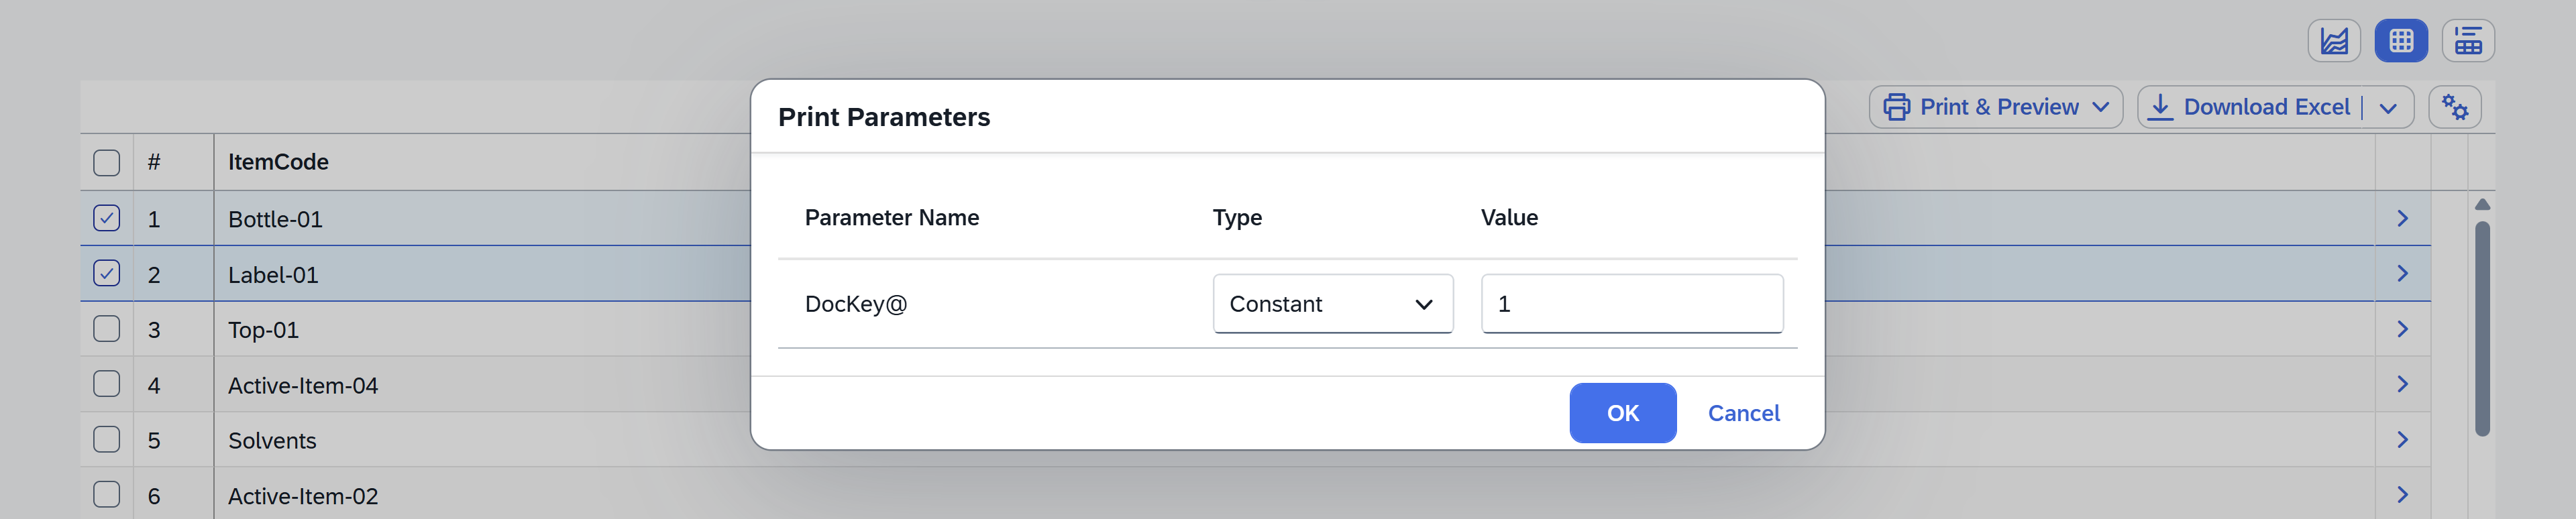
If prompted, enter any required parameter values, and click OK.
-
Wait for the report generation to complete.
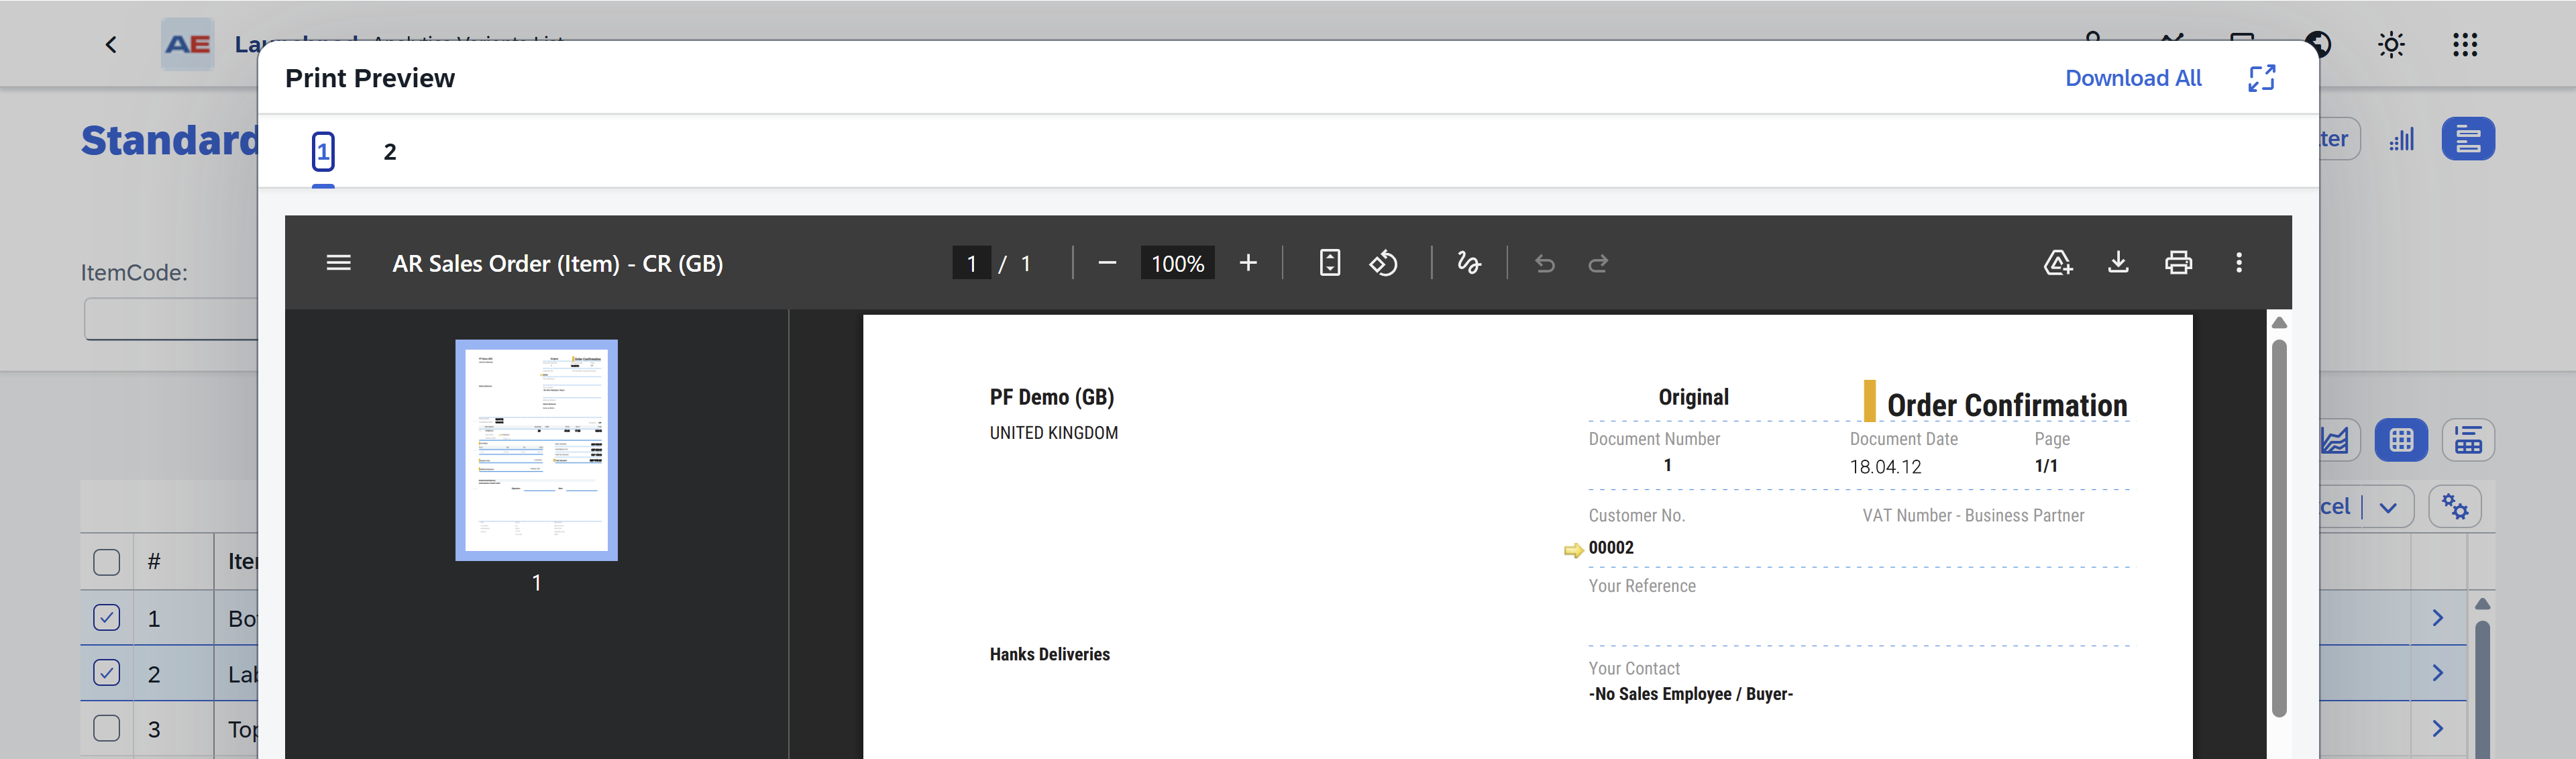
When finished, you can:
- Preview the PDF in your browser
- Download the PDF
- Print the report
Supported Report Types
- Currently, Crystal Reports are supported.
- Layout-based reporting is planned for a future release. If a layout option is selected, the system displays a
not yet implementedmessage.