You are currently viewing documentation for CompuTec AppEngine 2.0 (.NET Framework), which will be supported only until December 31, 2026. After this date, the product will no longer receive regular support or maintenance updates. Read more
We recommend upgrading to CompuTec AppEngine 3.0 built on .NET 8, which provides better performance and a modern, centralized installation process for CompuTec ProcessForce and other CompuTec solutions.
Please note that CompuTec AppEngine 3.0 has a different architecture, and all CompuTec components need to be updated together to ensure full compatibility.
Please review the CompuTec AppEngine 3.0 documentation before starting your installation or upgrade process.
REST/OData API Documentation
Overview
CompuTec AppEngine provides interactive REST and OData API documentation generated using Swagger.
To access the API documentation:
-
Open CompuTec AppEngine login screen.
-
On the login screen, click the WebAPI Documentation.

-
The Swagger API documentation will open in your browser.
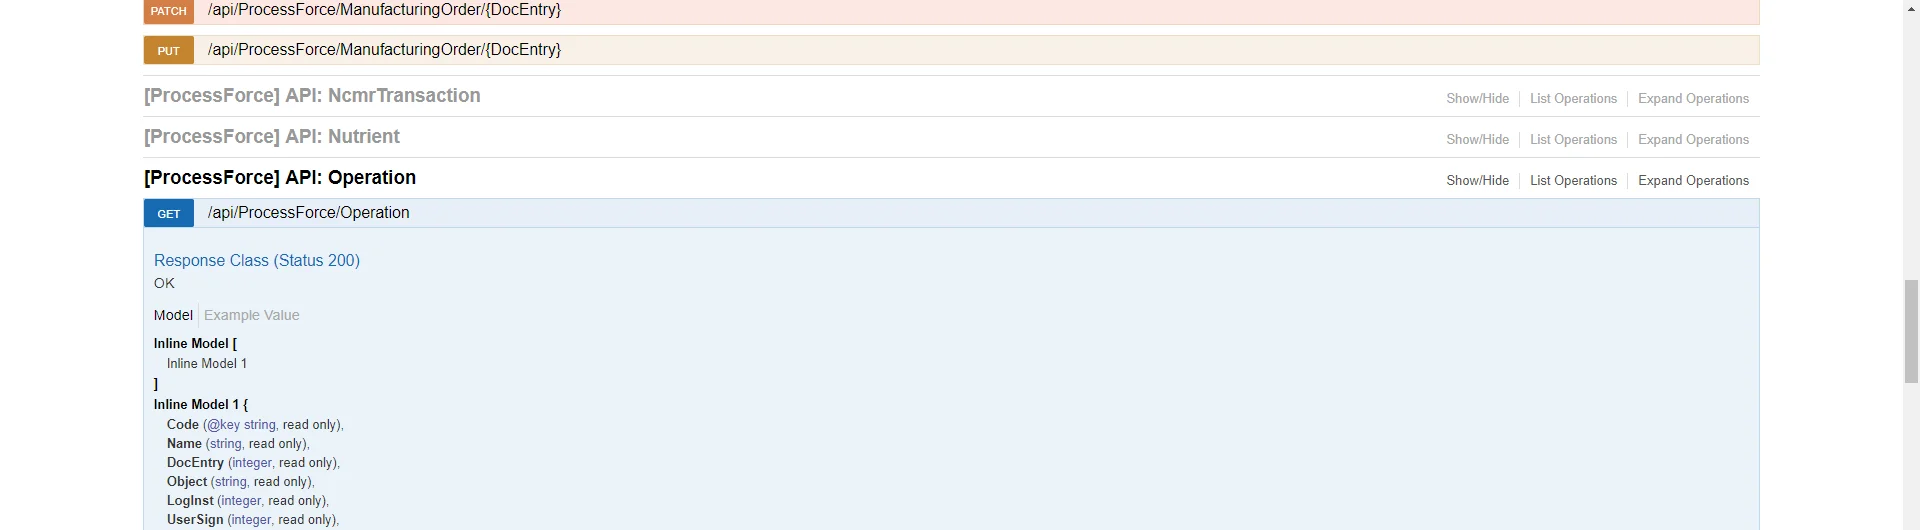
Swagger allows you to:
- Browse available API endpoints
- View request and response formats
- Test API calls directly from the browser
- Explore endpoints for installed plugins
The list of available API definitions depends on the plugins installed and activated in your CompuTec AppEngine instance.
Log in to the API
Before sending API requests, you must authenticate using the /api/login endpoint.
Example of the login request:
POST http://localhost:54000/api/login HTTP/1.1
Content-Type: application/json

{
  "SLDServer": "plsw-hana10-dev00:40000",
  "ServerInstance": "NDB@plsw-hana10-dev00:30013",
  "CompanySchema": "PFDEMOGB_COMPANY",
  "UserName": "manager",
  "Password": "1111"
}
The values in the example request are placeholders. Replace them with the correct values from your environment:
- SLDServer: Address of the SAP Business One System Landscape Directory (SLD) server
- ServerInstance: SAP HANA database server and instance
- CompanySchema: Database schema of the SAP Business One company
- UserName: SAP Business One user name
- Password: Password for the SAP Business One user
Use API with an external tool
You can test API calls using tools such as Postman, Visual Studio Code REST Client, or any other REST API testing tool.
The general workflow for using the API is:
- Send a login request to
/api/login. - After successful authentication, send additional API requests using the same session.
Create Pick Orders or Pick Receipts Using Web API
Creating a Pick Order or Pick Receipt using the Web API requires two steps.
Step 1: Create an Empty Document
Call the appropriate endpoint using the POST method:
-
/ProcessForce/CreatePickOrderForProductionIssue -
/ProcessForce/CreatePickReceiptForProductionReceipt
This creates an empty document.
Step 2: Update the Document
After the document is created, update it using a PATCH request to provide the required item details.
Example: Create Pick Order for a Production Operation
When creating a Pick Order for a specific operation, the request must include operation details.
Example request body:
{
  "IssueType": "Operations",
  "LineNumbers": {
    "<MO DocNum>": [
      <U_LineNum of the operation from @CT_PF_MOR12 table>
    ]
  },
  "ManufacturingOrderDocEntries": [
    "<MO DocNum>"
  ]
}
note
The values in the example request are placeholders. Replace them with the correct values from your environment:
- IssueType: Defines the issue type. For operations use
Operations - LineNumbers: Specifies the manufacturing order operation line
- ManufacturingOrderDocEntries: Manufacturing order document number
The operation line number can be retrieved from the @CT_PF_MOR12 table.