New Goods Receipt PO
The Goods Receipt PO (GRPO) process allows users to document the receipt of goods from suppliers. This guide walks you through the step-by-step procedure to create a new GRPO.
Step-by-Step Instructions
-
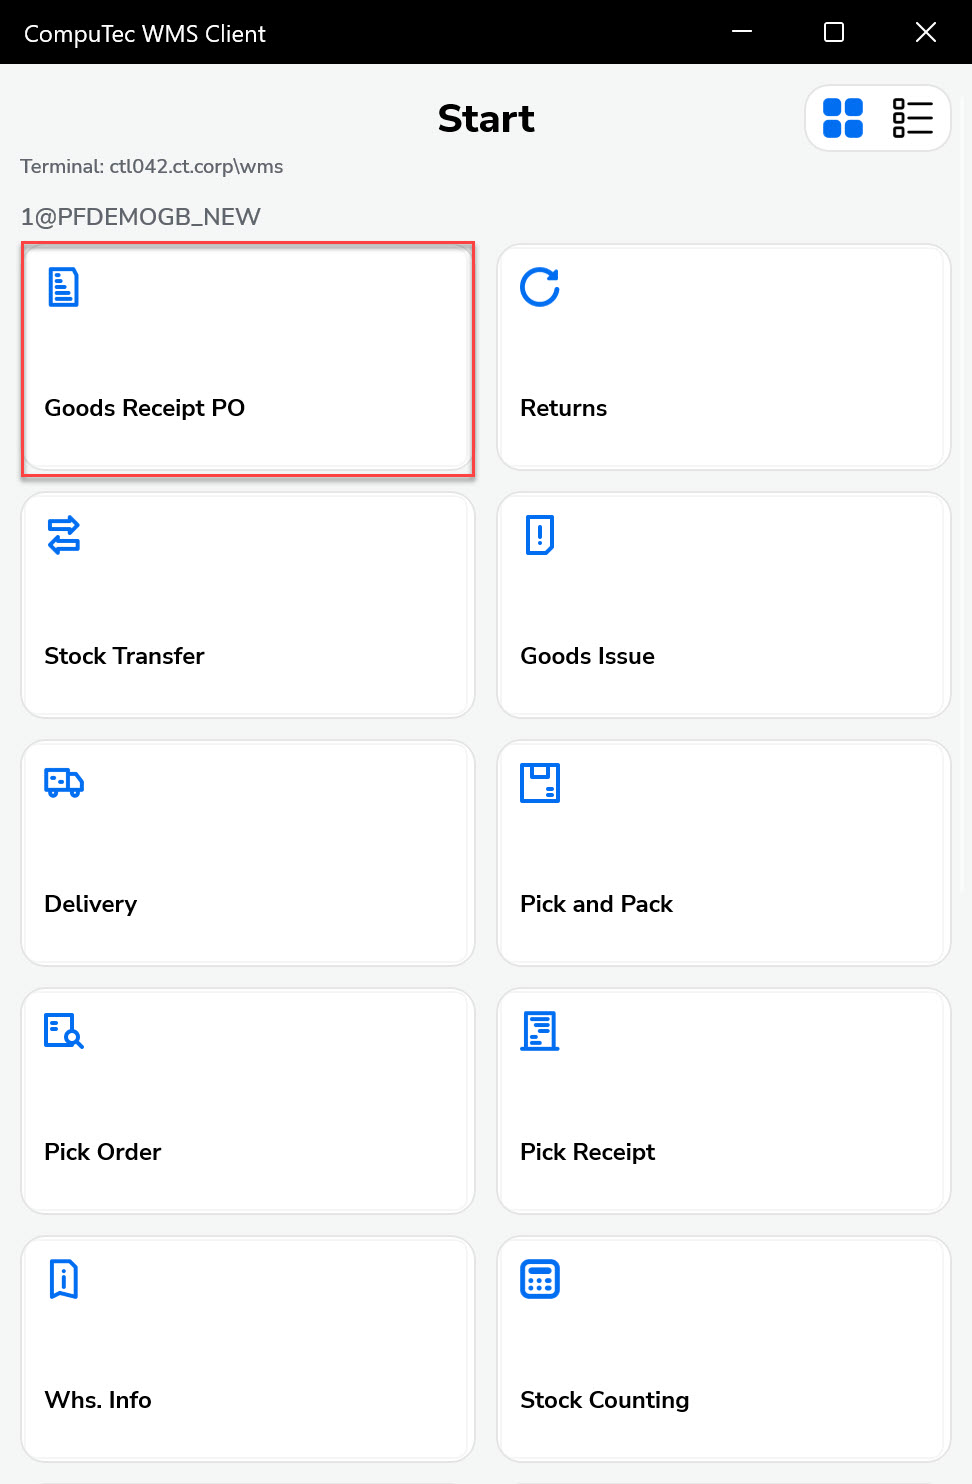
From the main menu, select Goods Receipt PO.
-
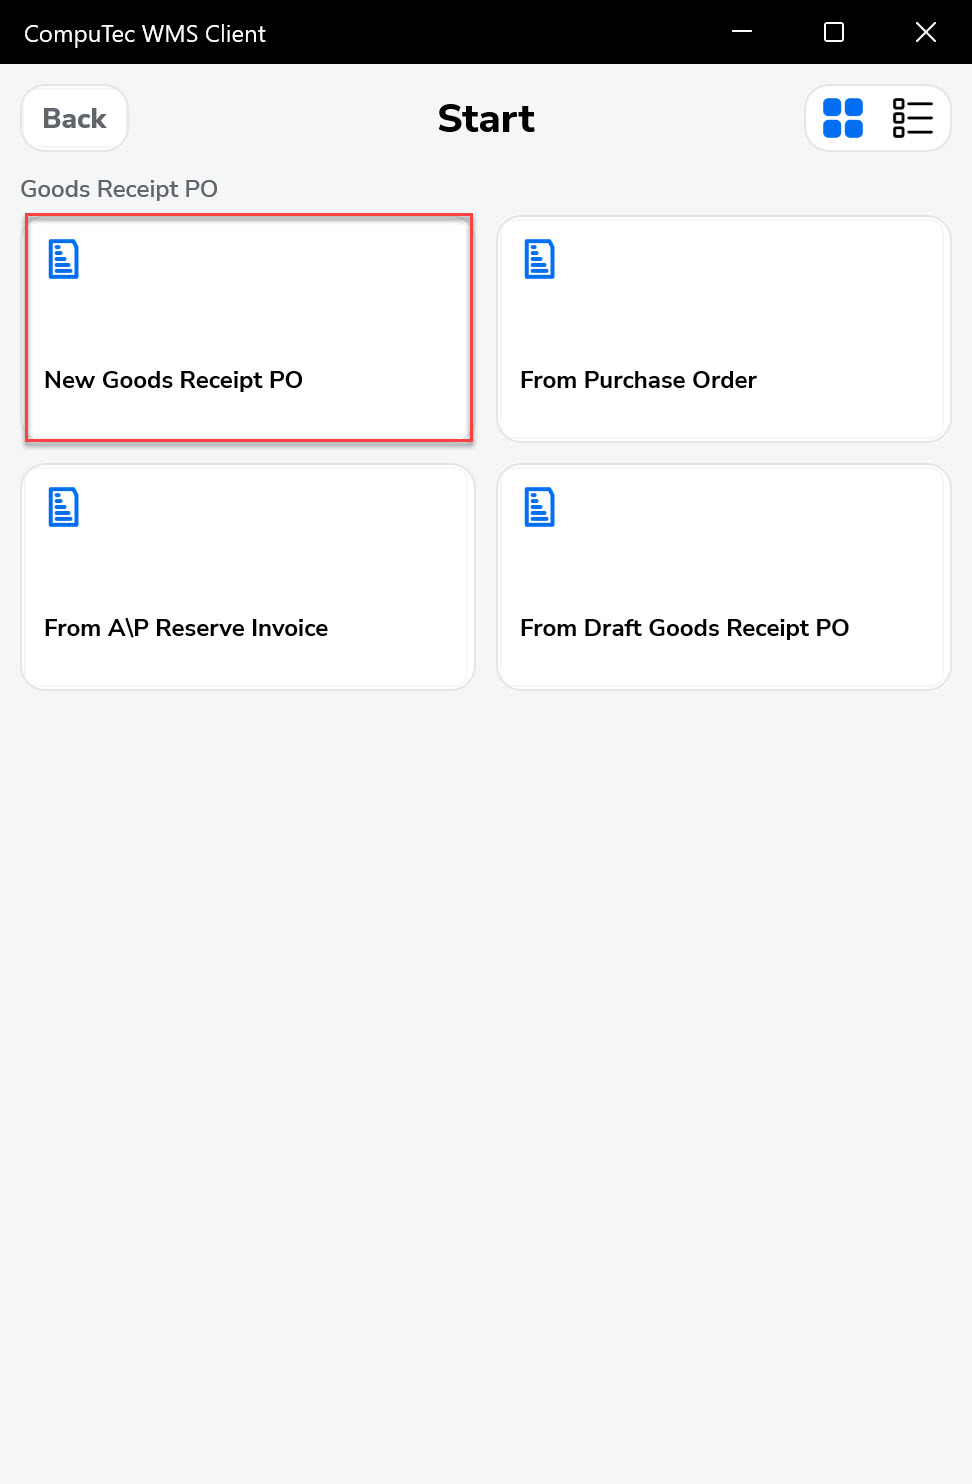
Choose the New Goods Receipt PO option from the GRPO Operations menu.
-
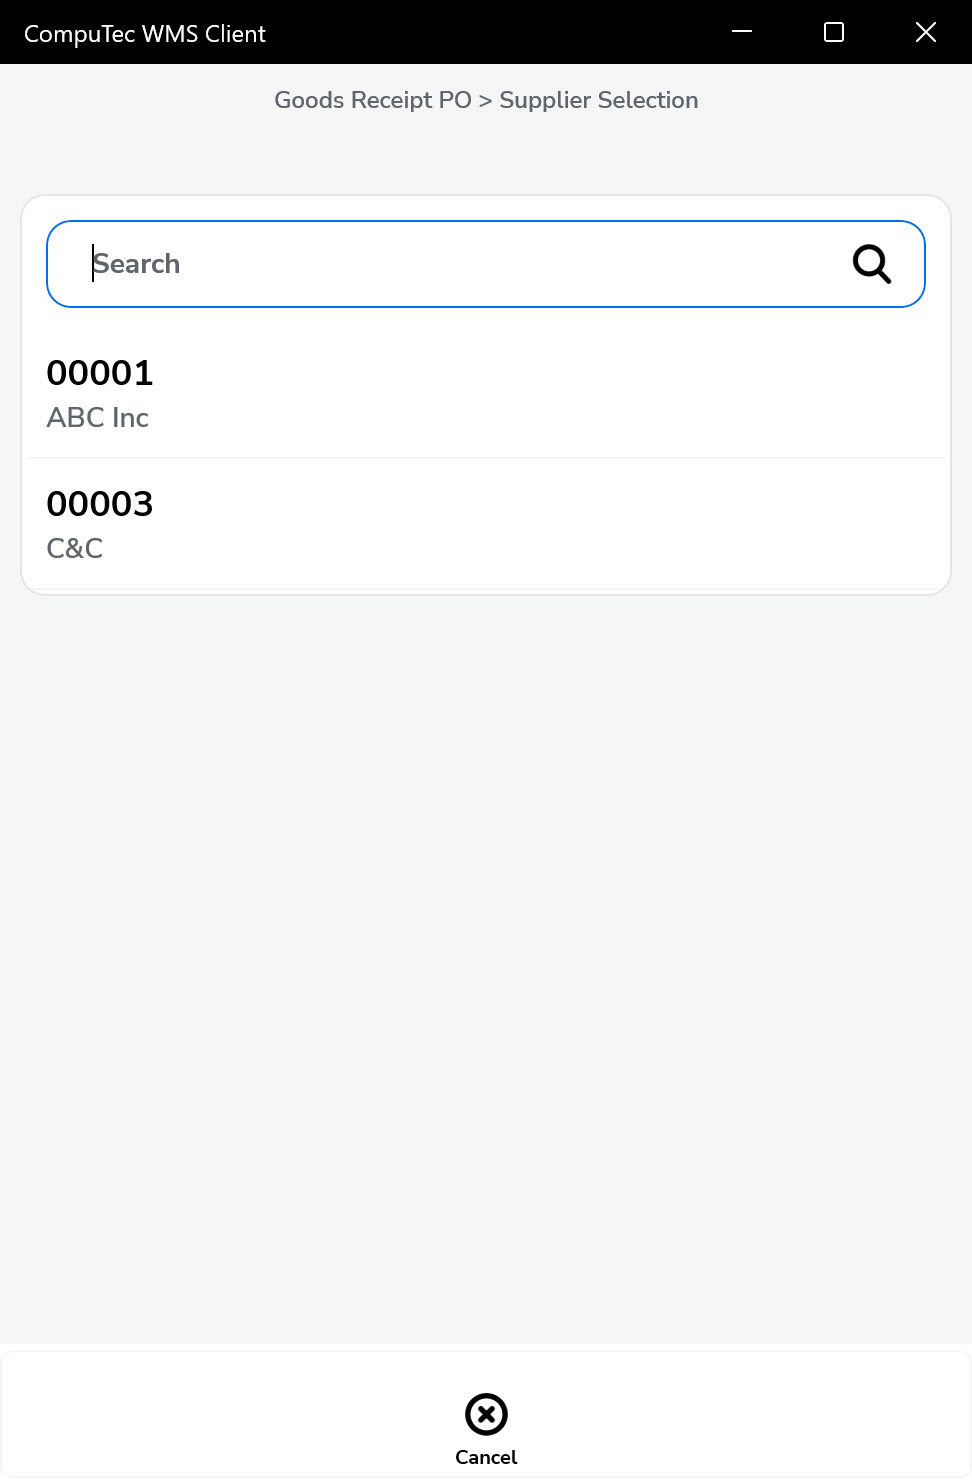
Choose a Supplier. At this stage, the warehouse selection is skipped.
-
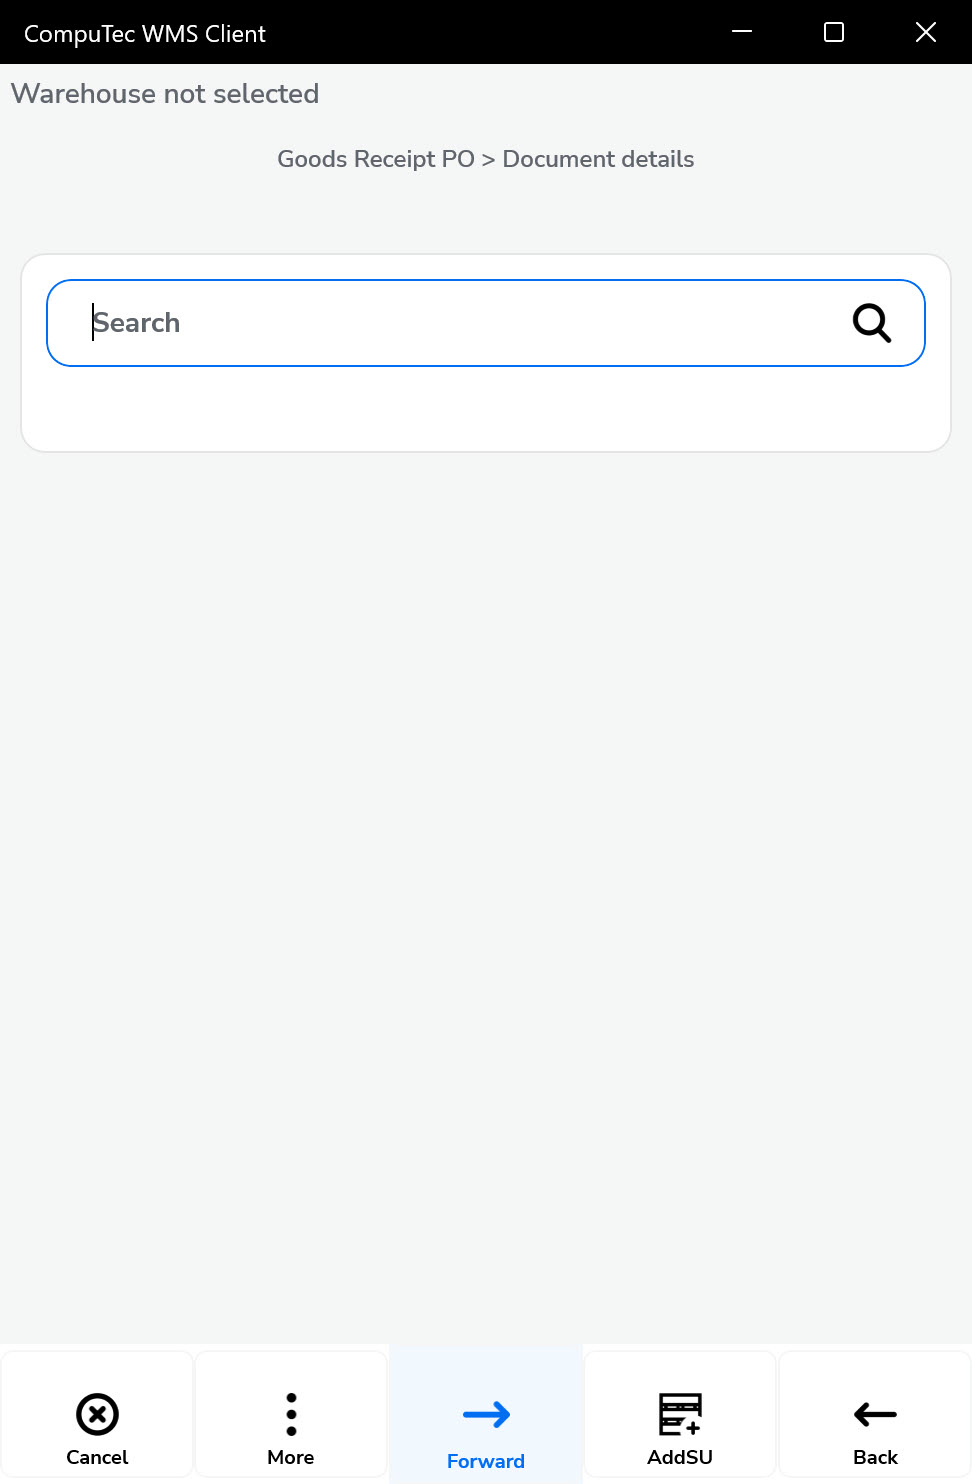
A blank Document Details form opens. Click "Forward" icon.
-
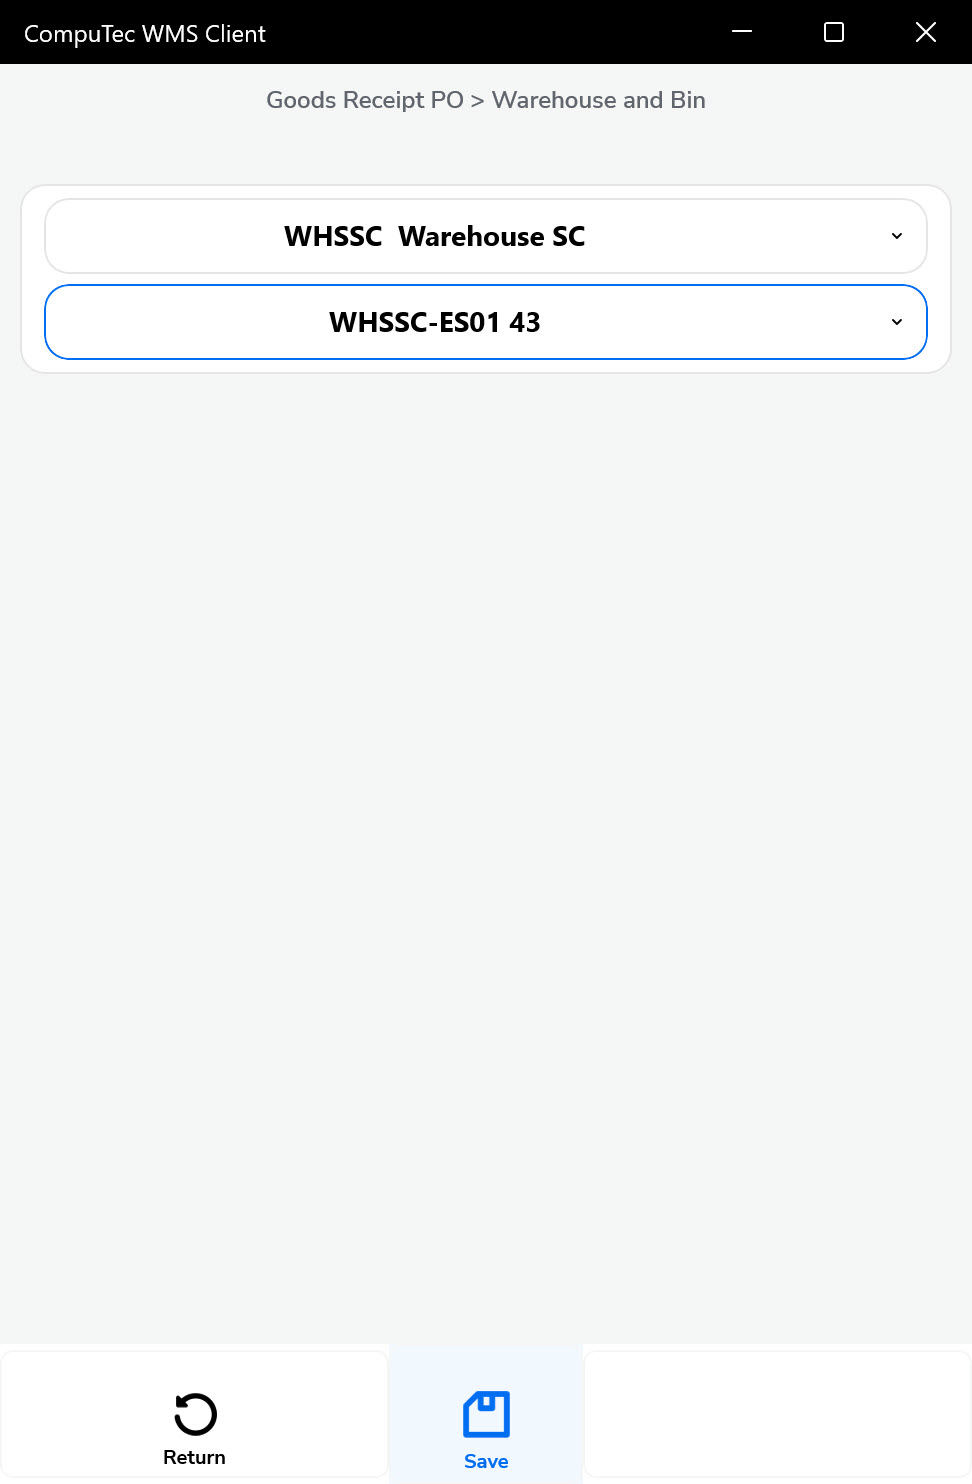
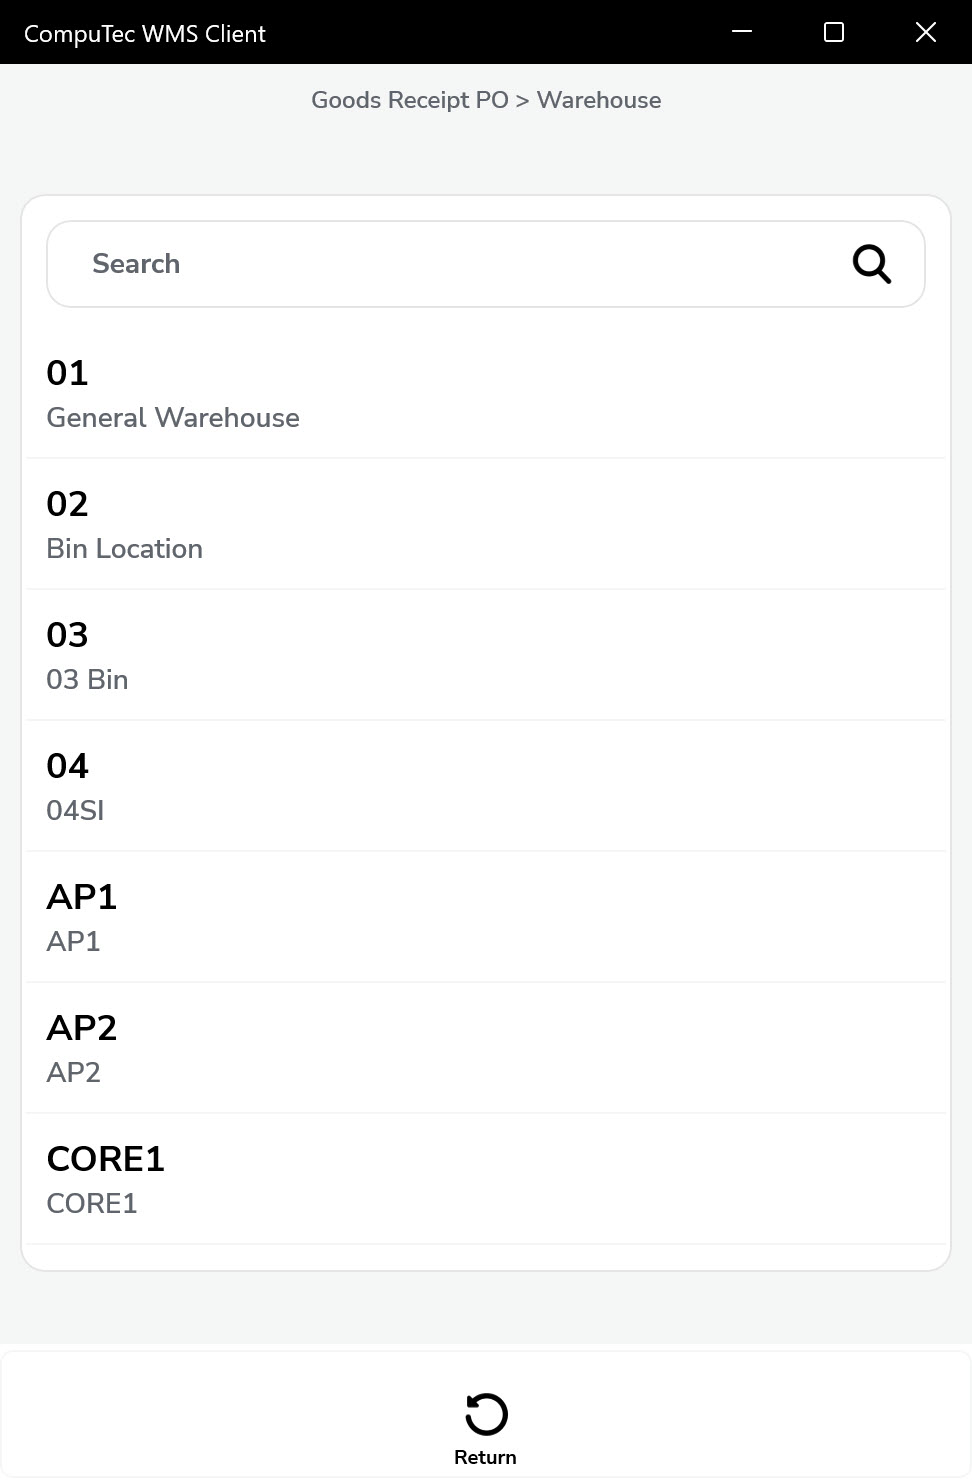
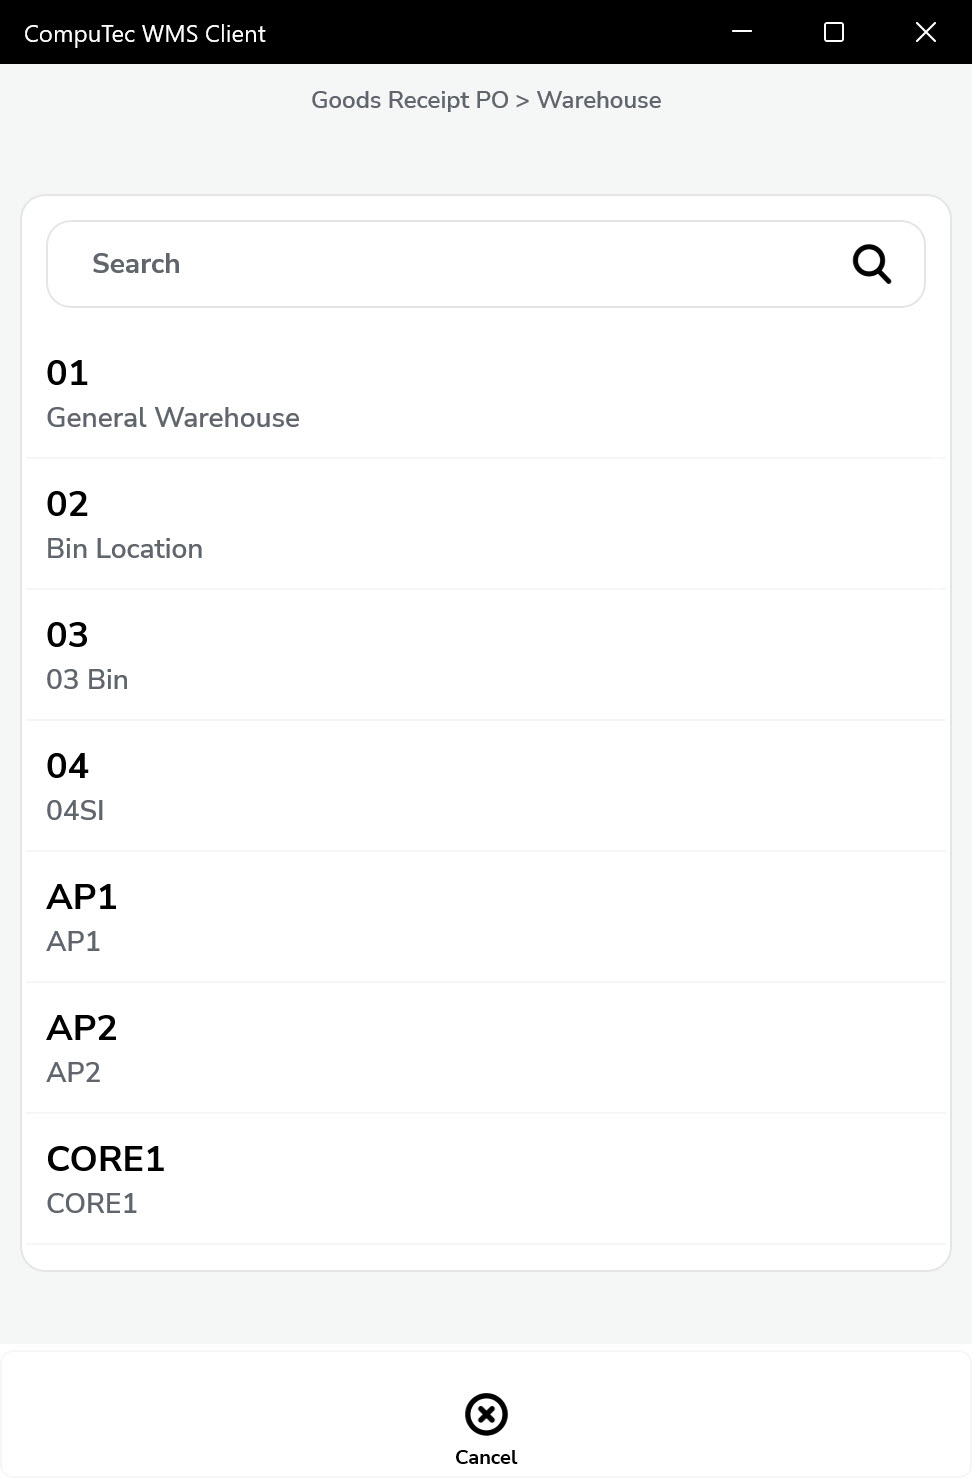
Choose a Warehouse by scanning a barcode (with the 92 prefix) or by choosing it manually (to do it, click the Warehouse not selected info).
-
You can also skip the previous step and add a Warehouse for each Item/SU:
A. Adding an Item without a previously chosen Warehouse:
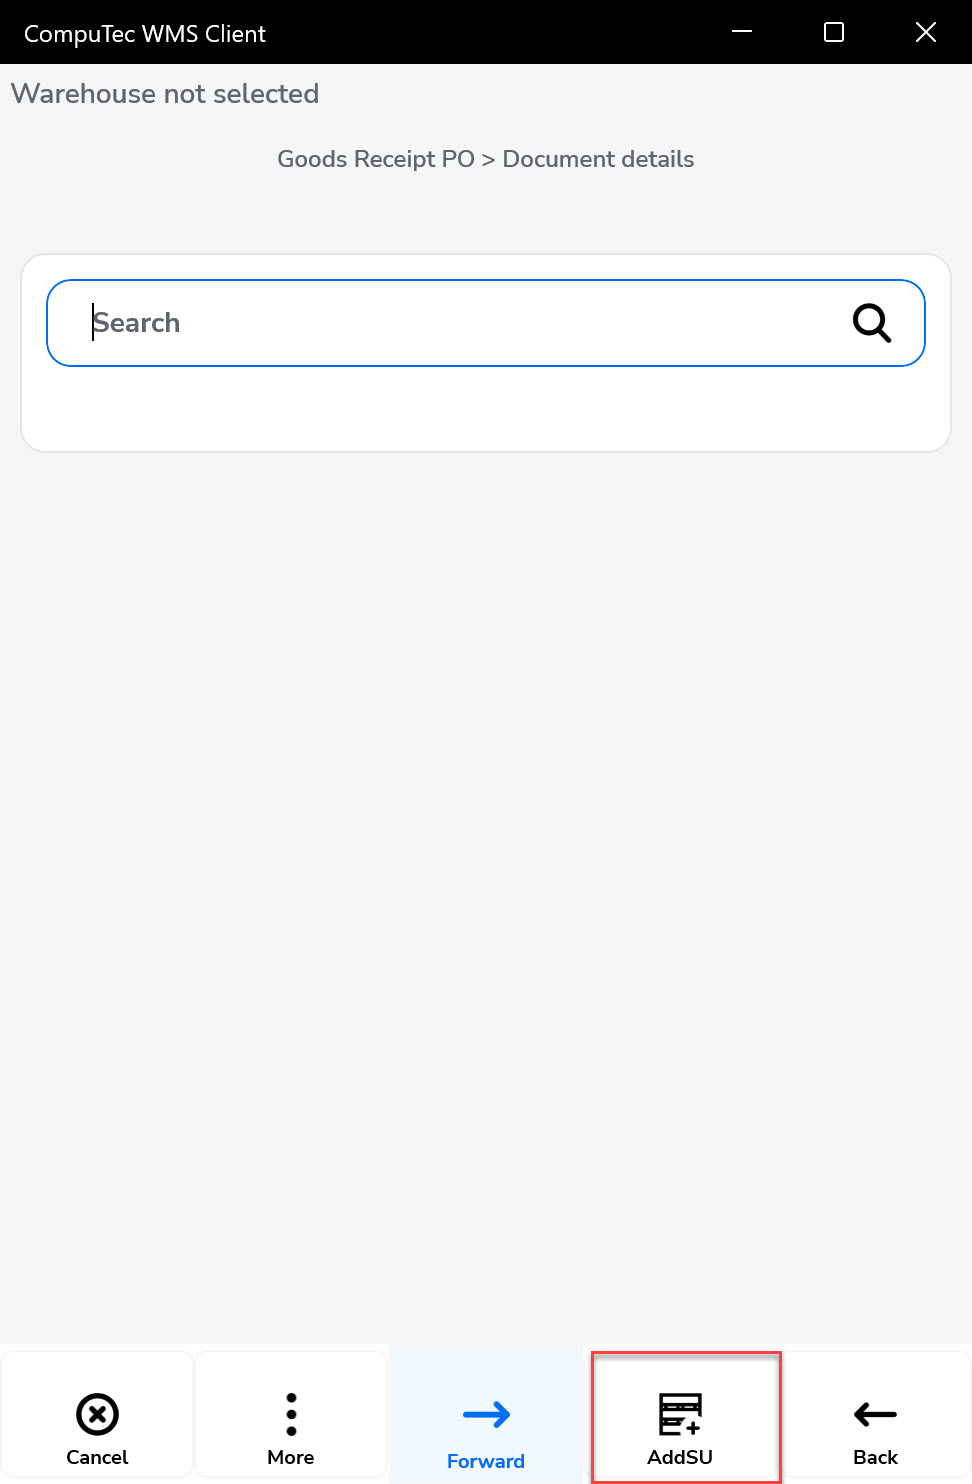
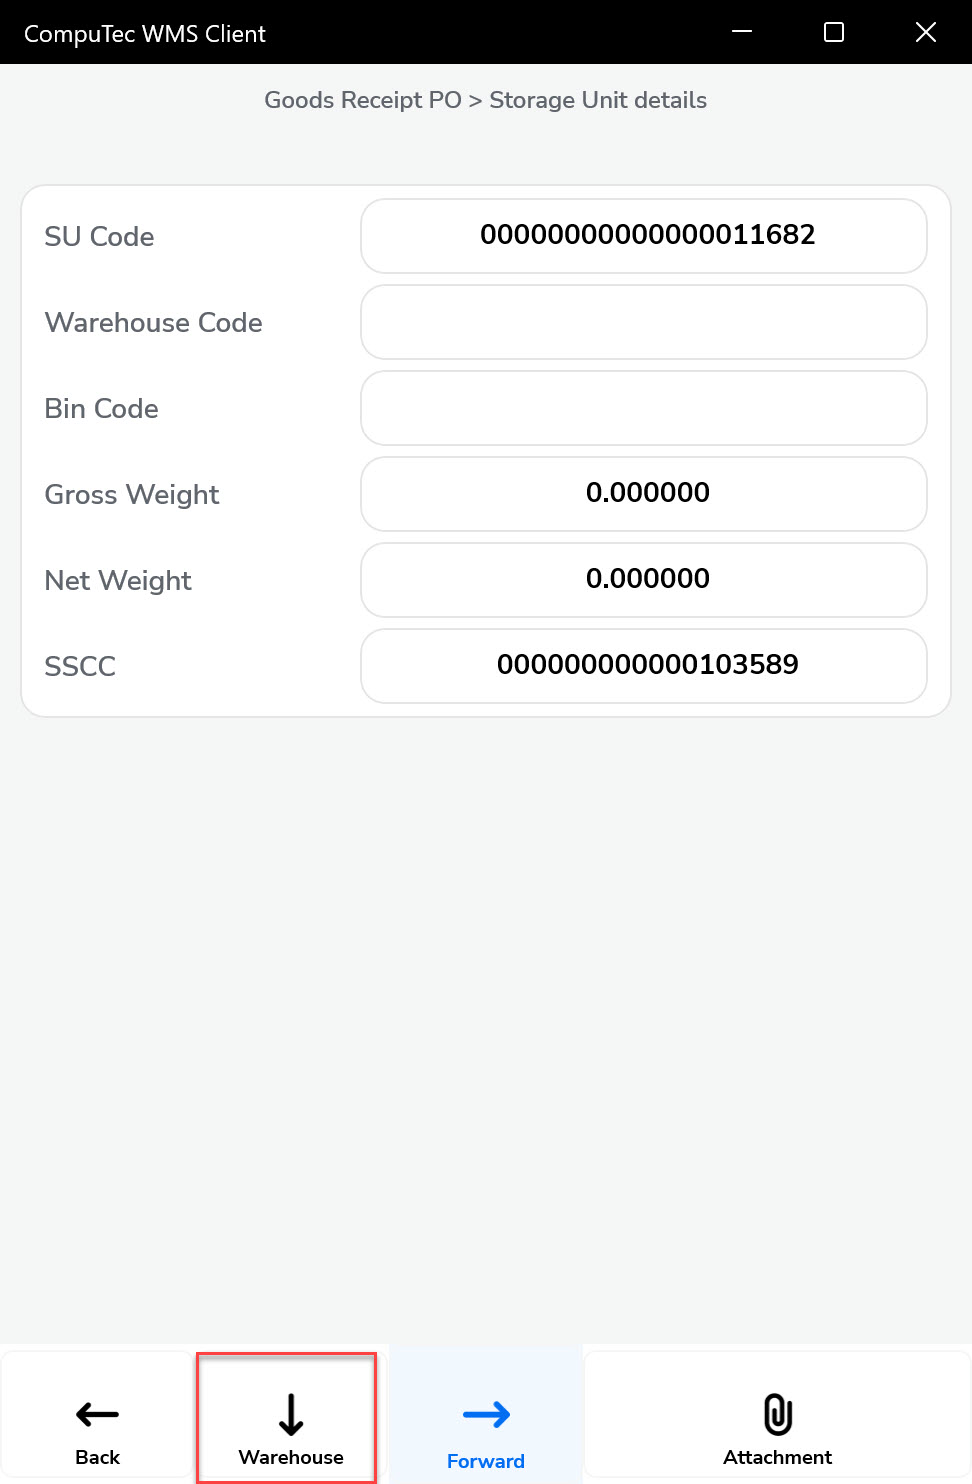
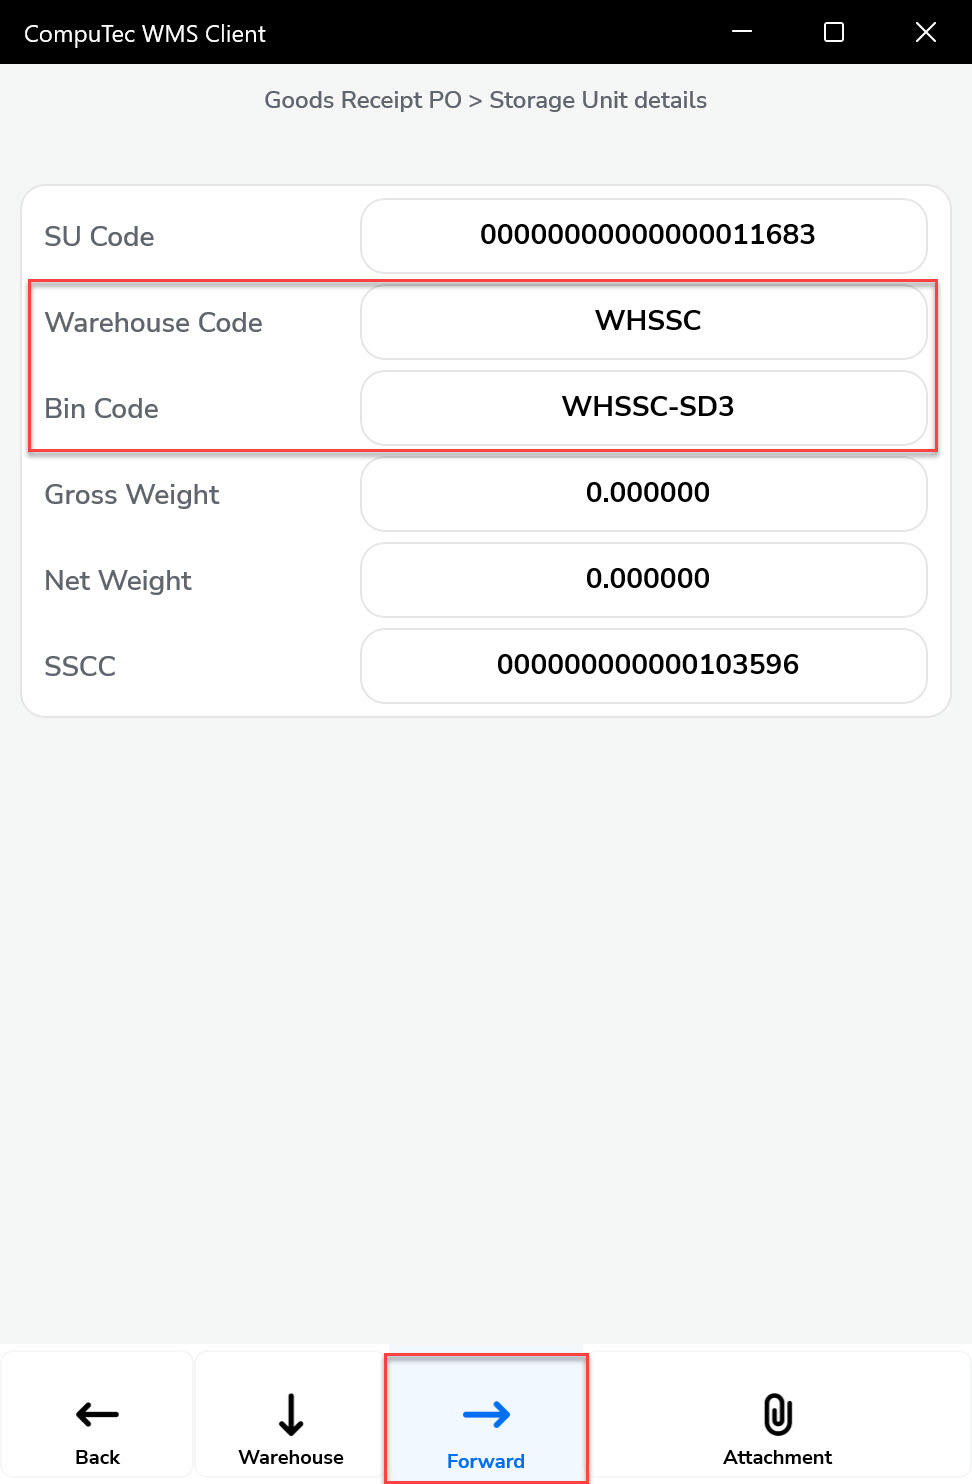
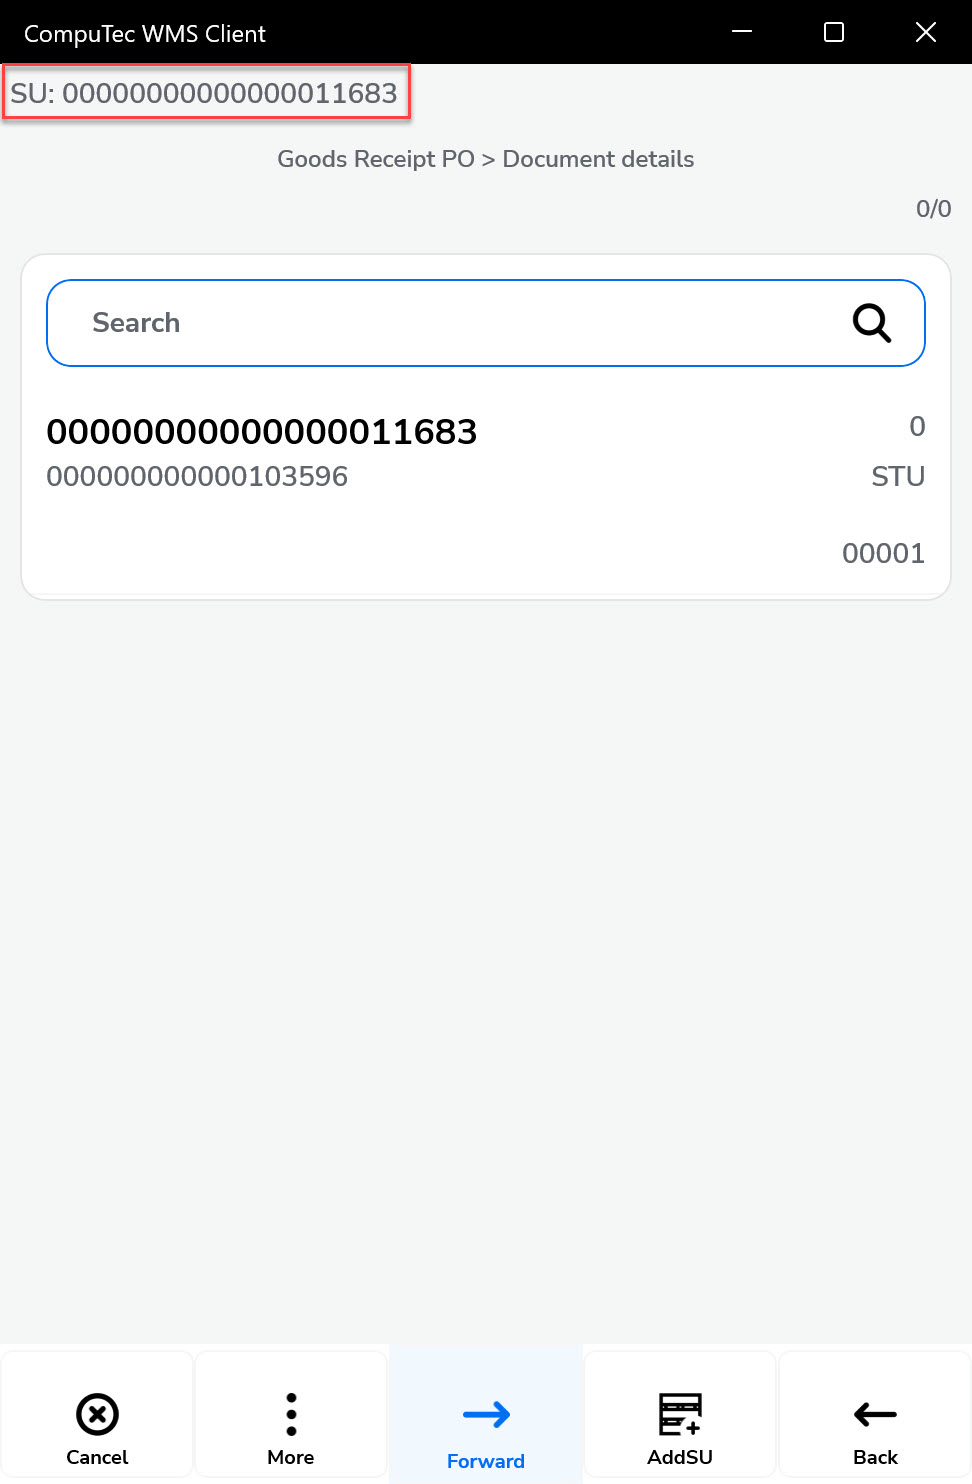
B. Adding an SU without a previously chosen Warehouse:

-
An SU has been added to the document. Now you can add Items to it (manually or by scanning a barcode).
-
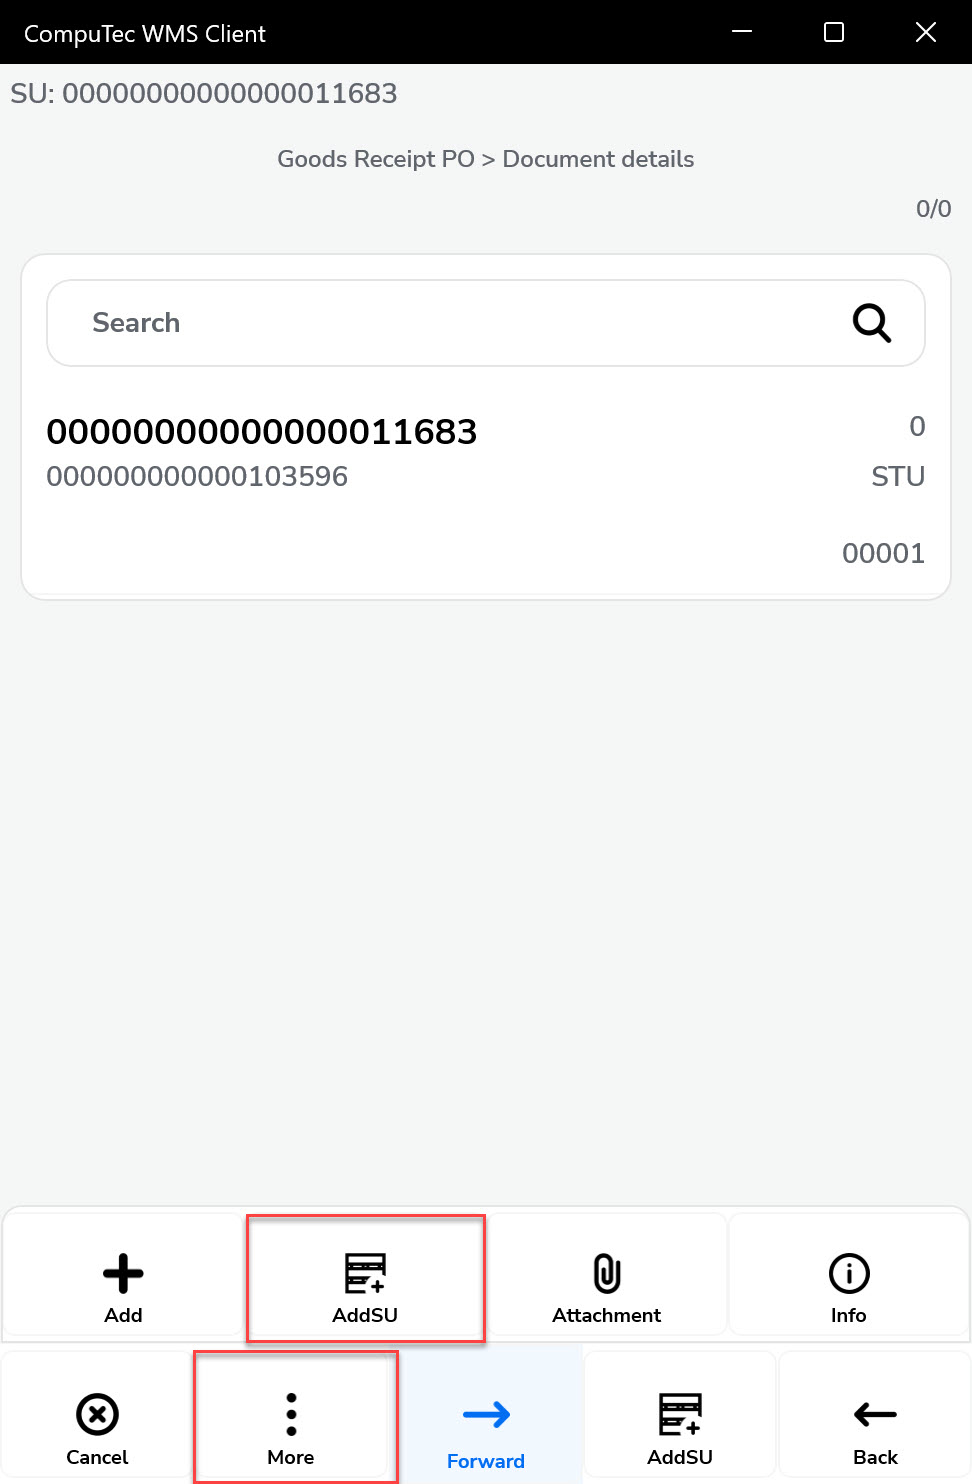
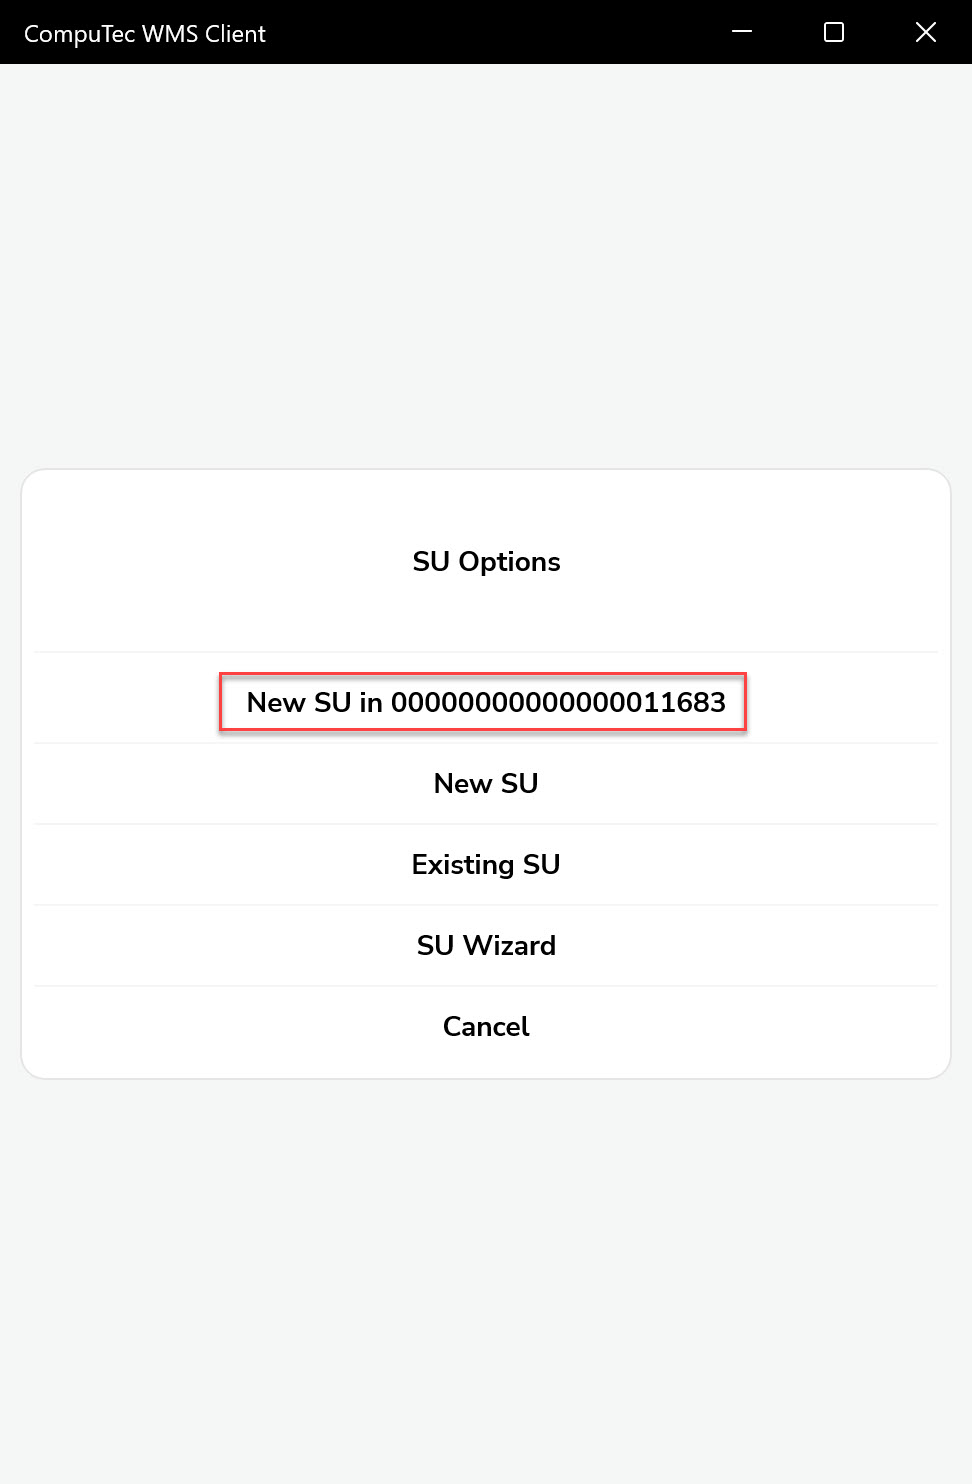
You can add a Child SU under the existing SU.
-
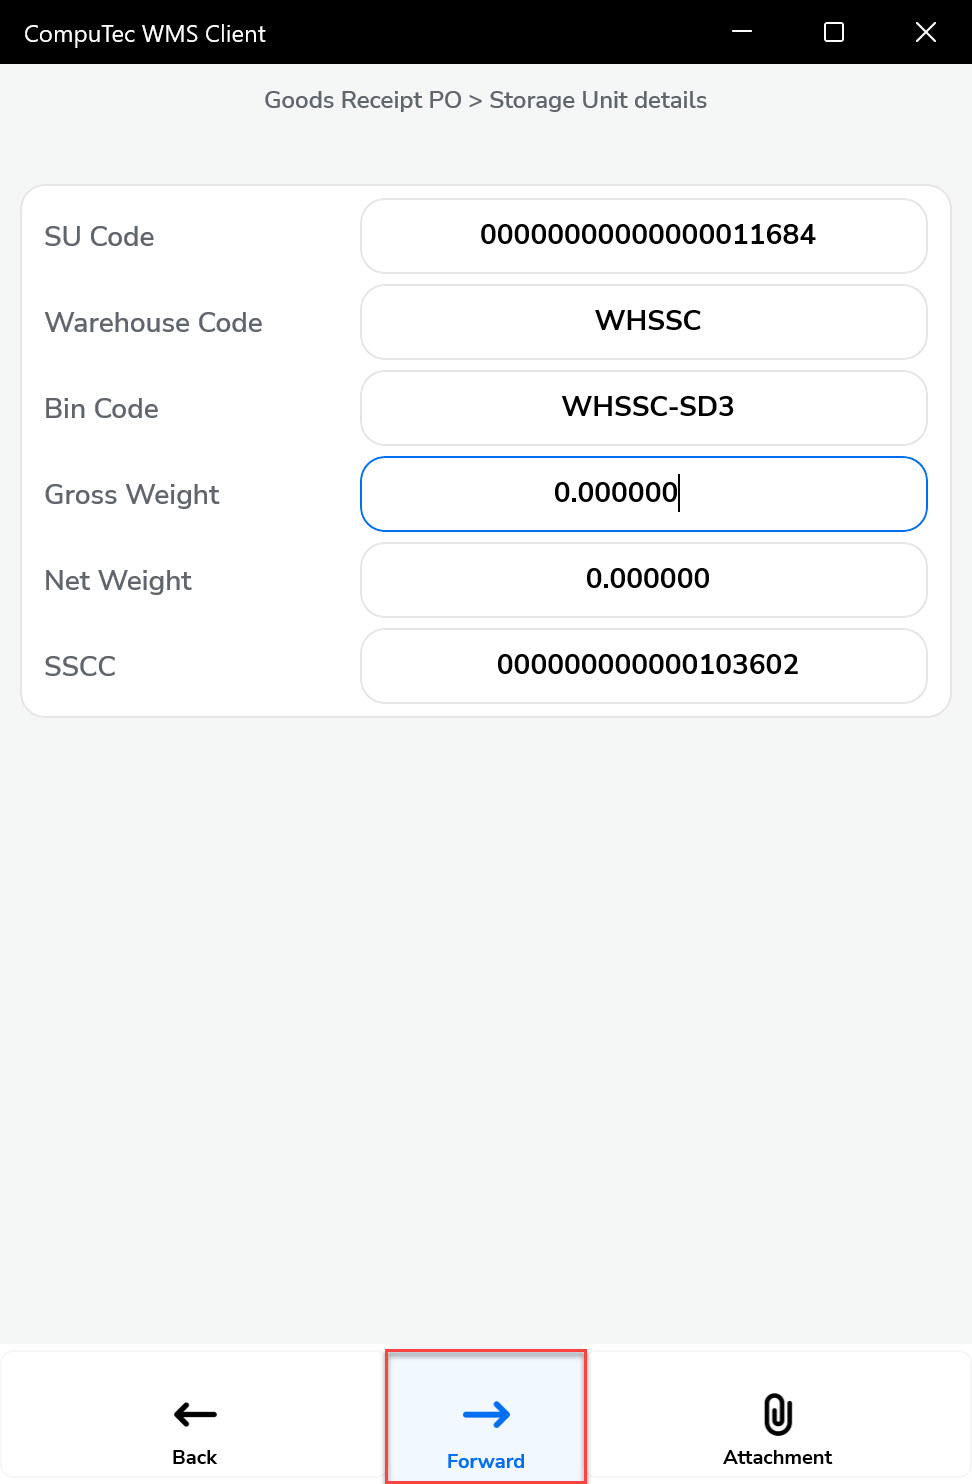
The newly added child SU will be shown with a slight dent marker.
-
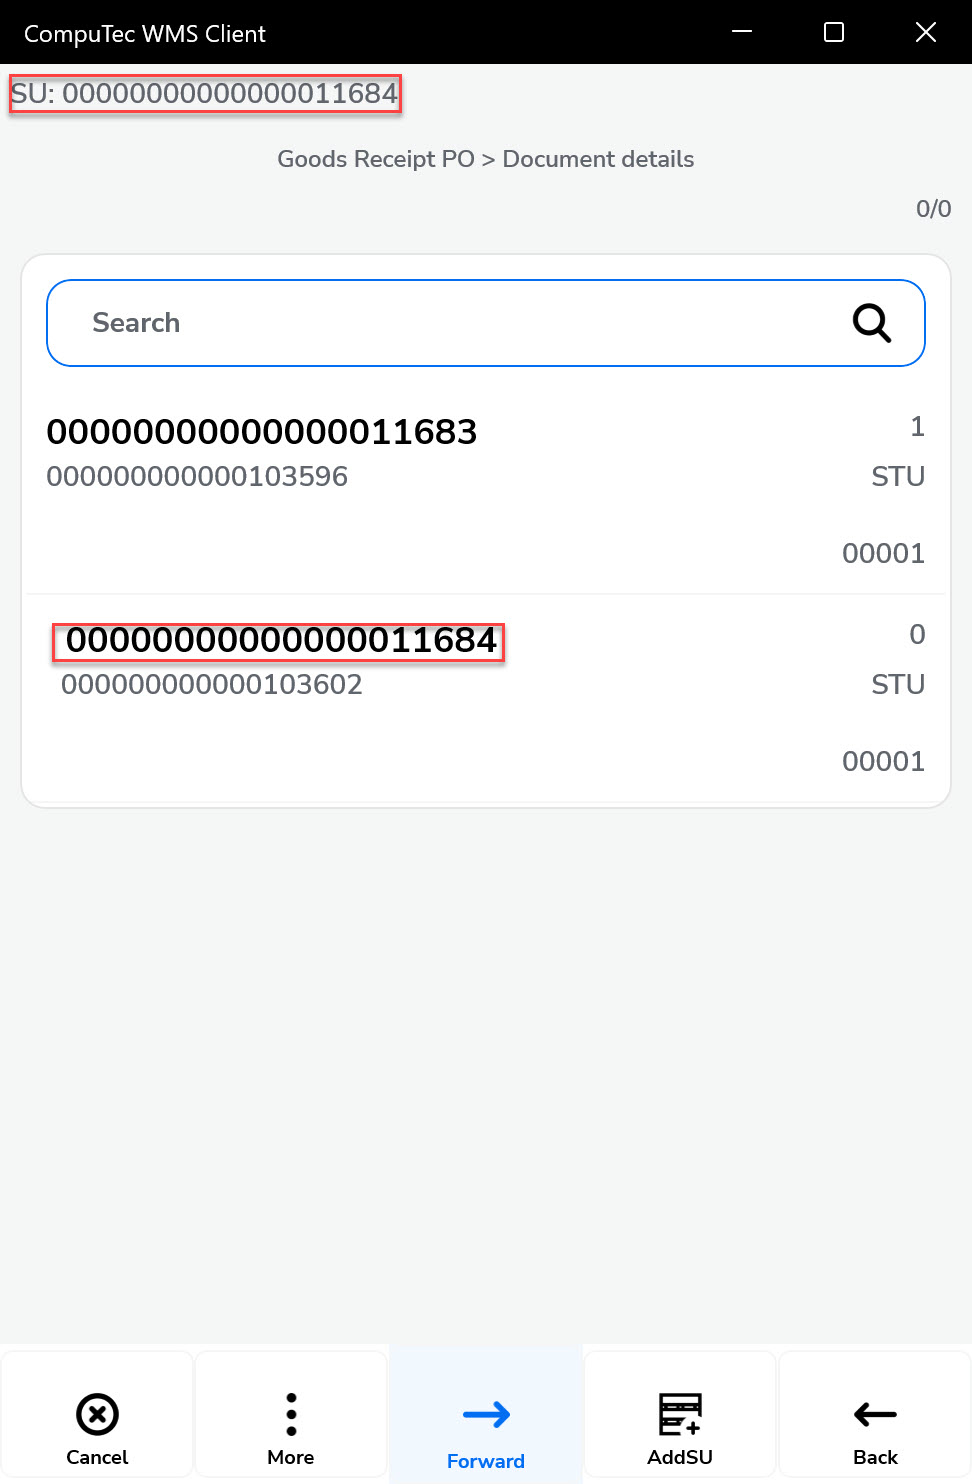
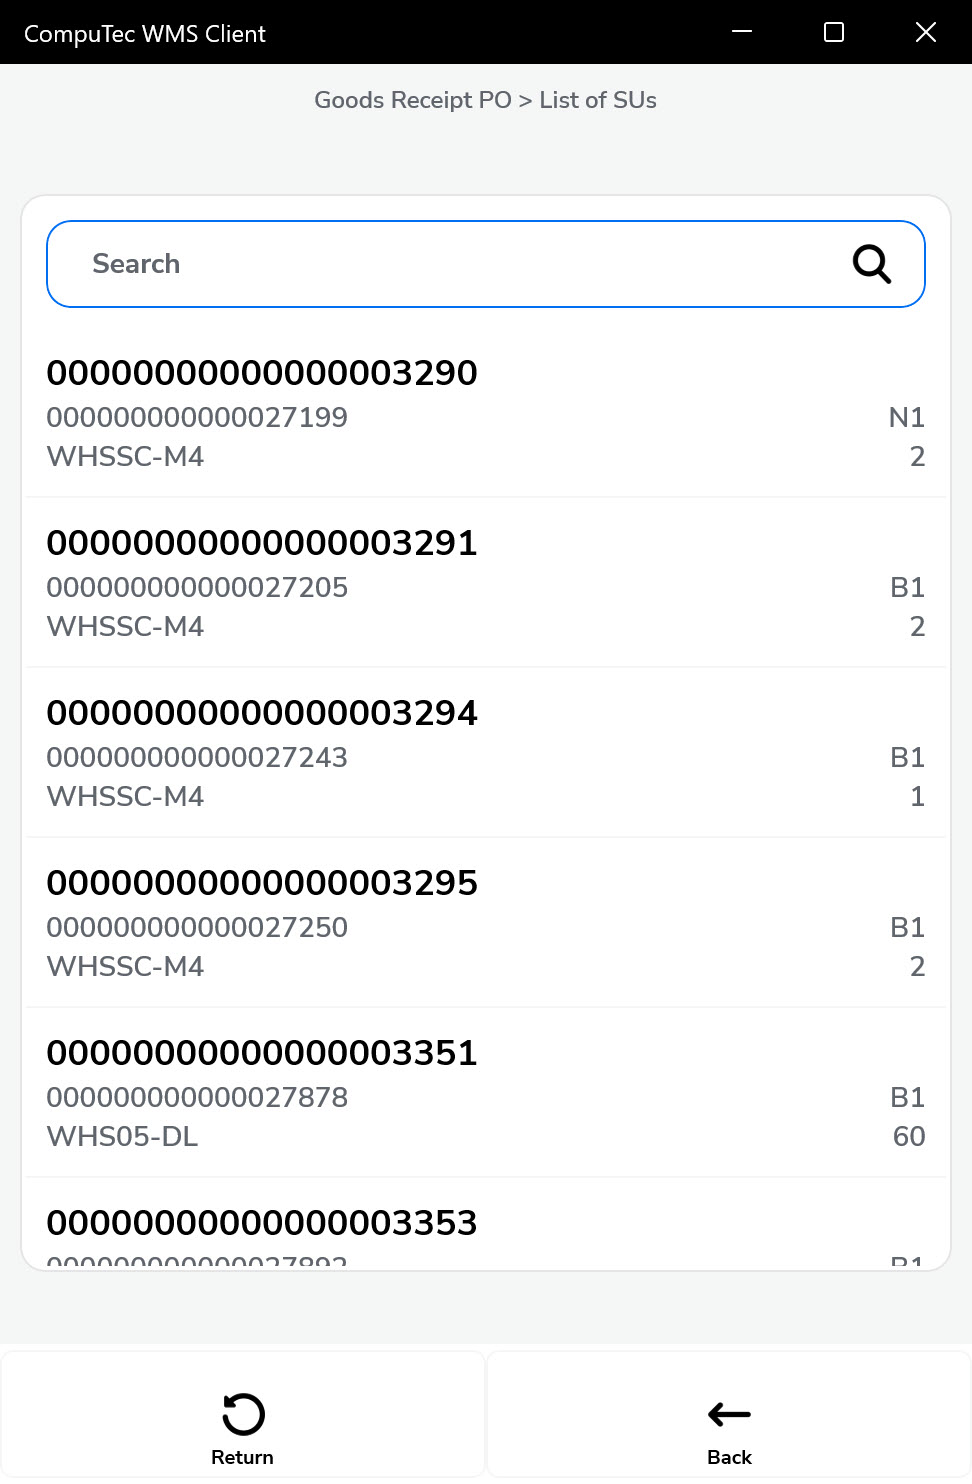
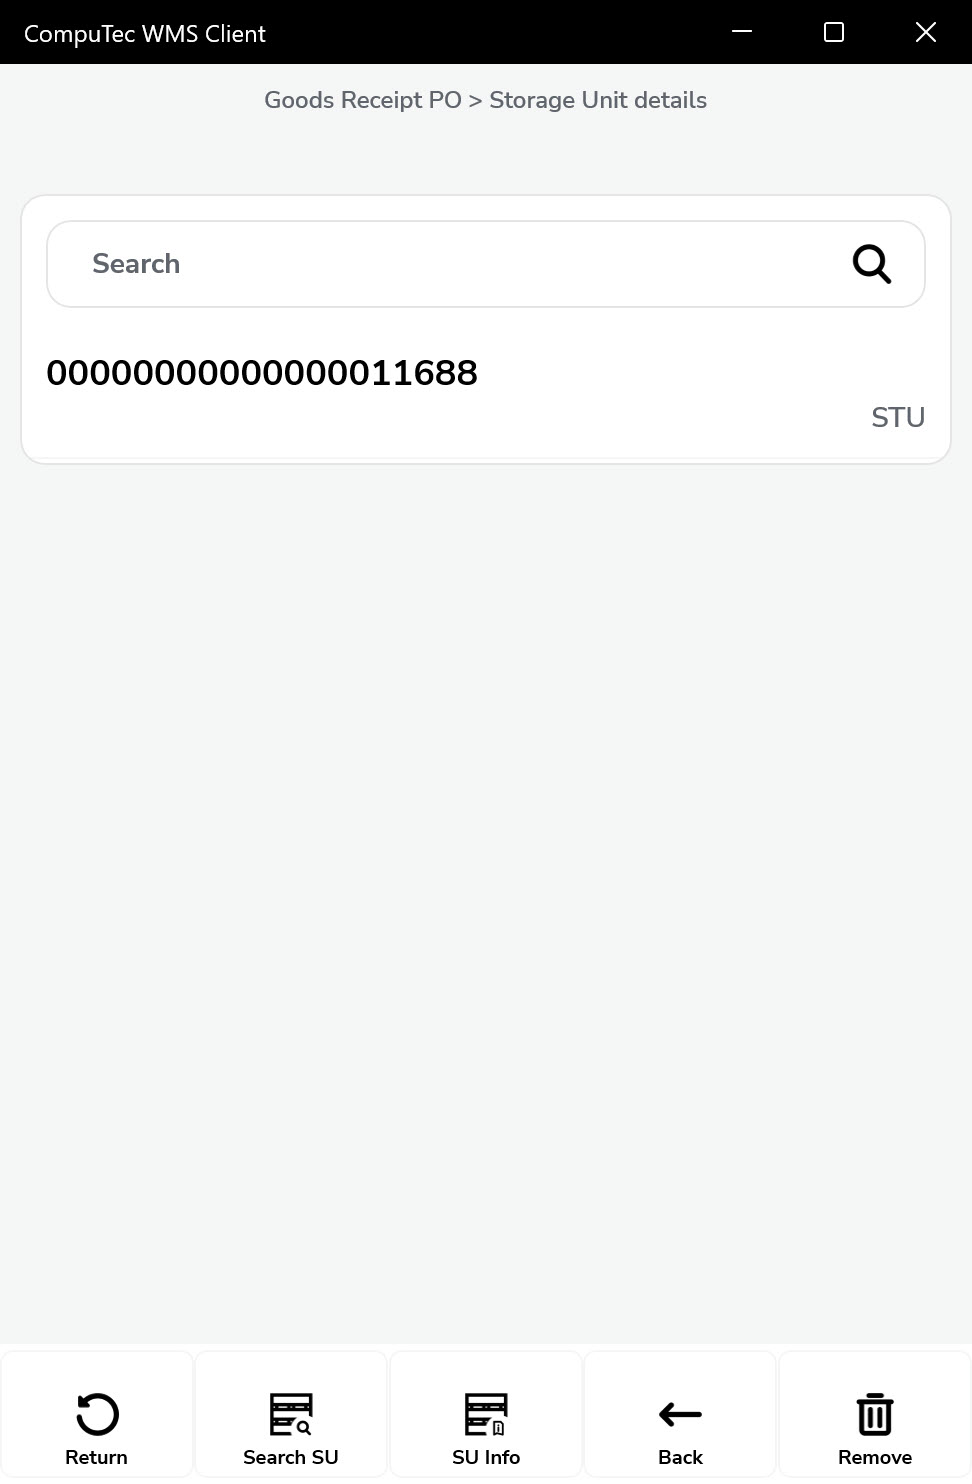
You also have the option to include an existing SU in the document.

-
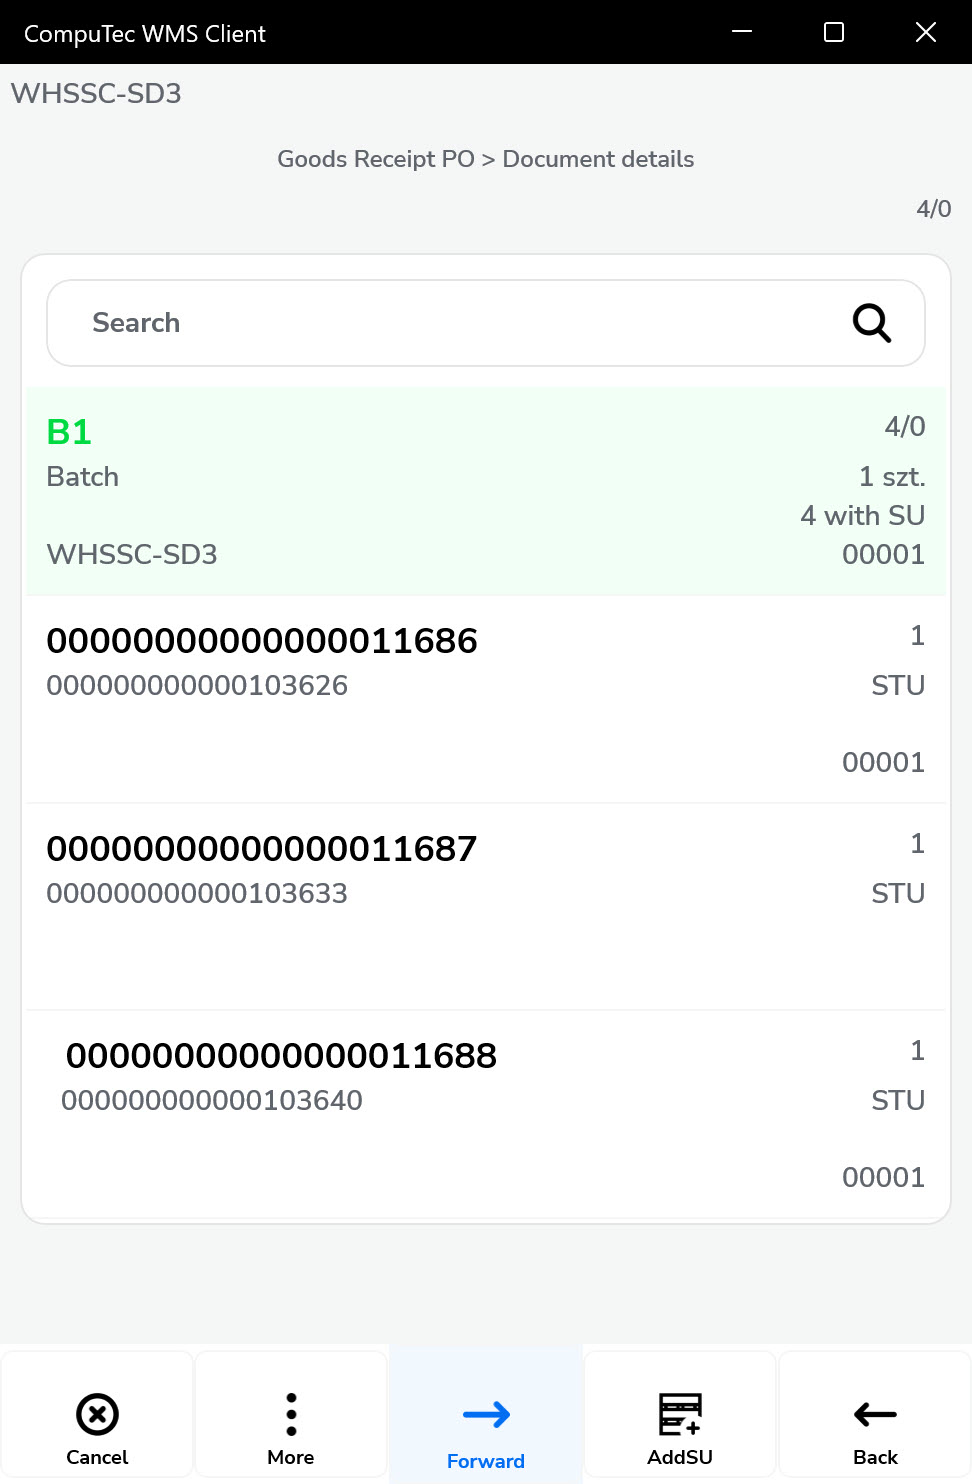
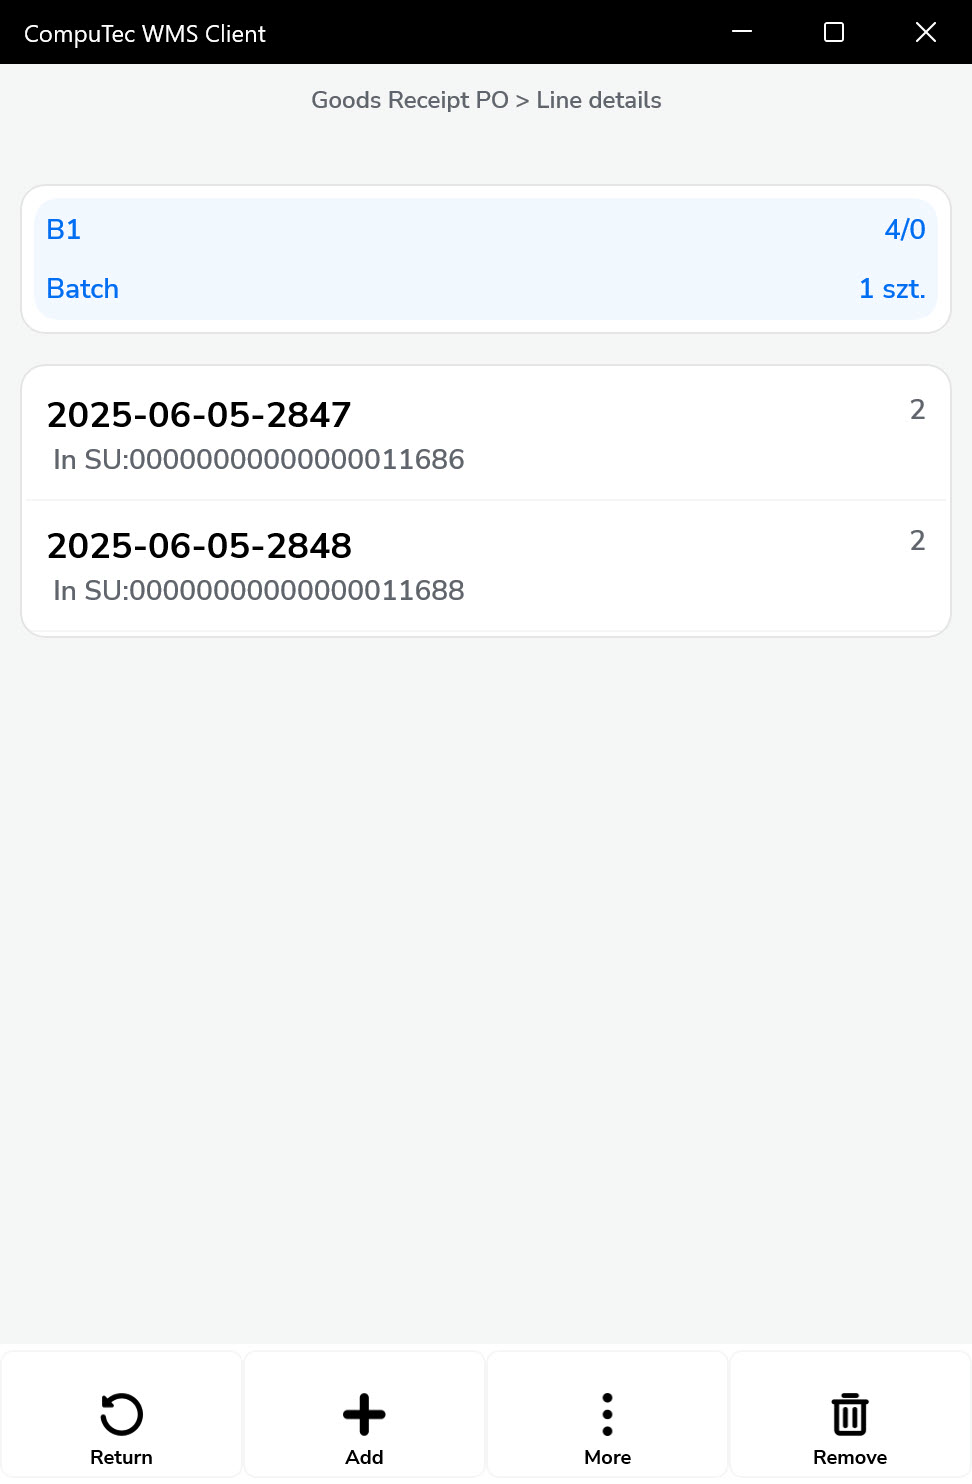
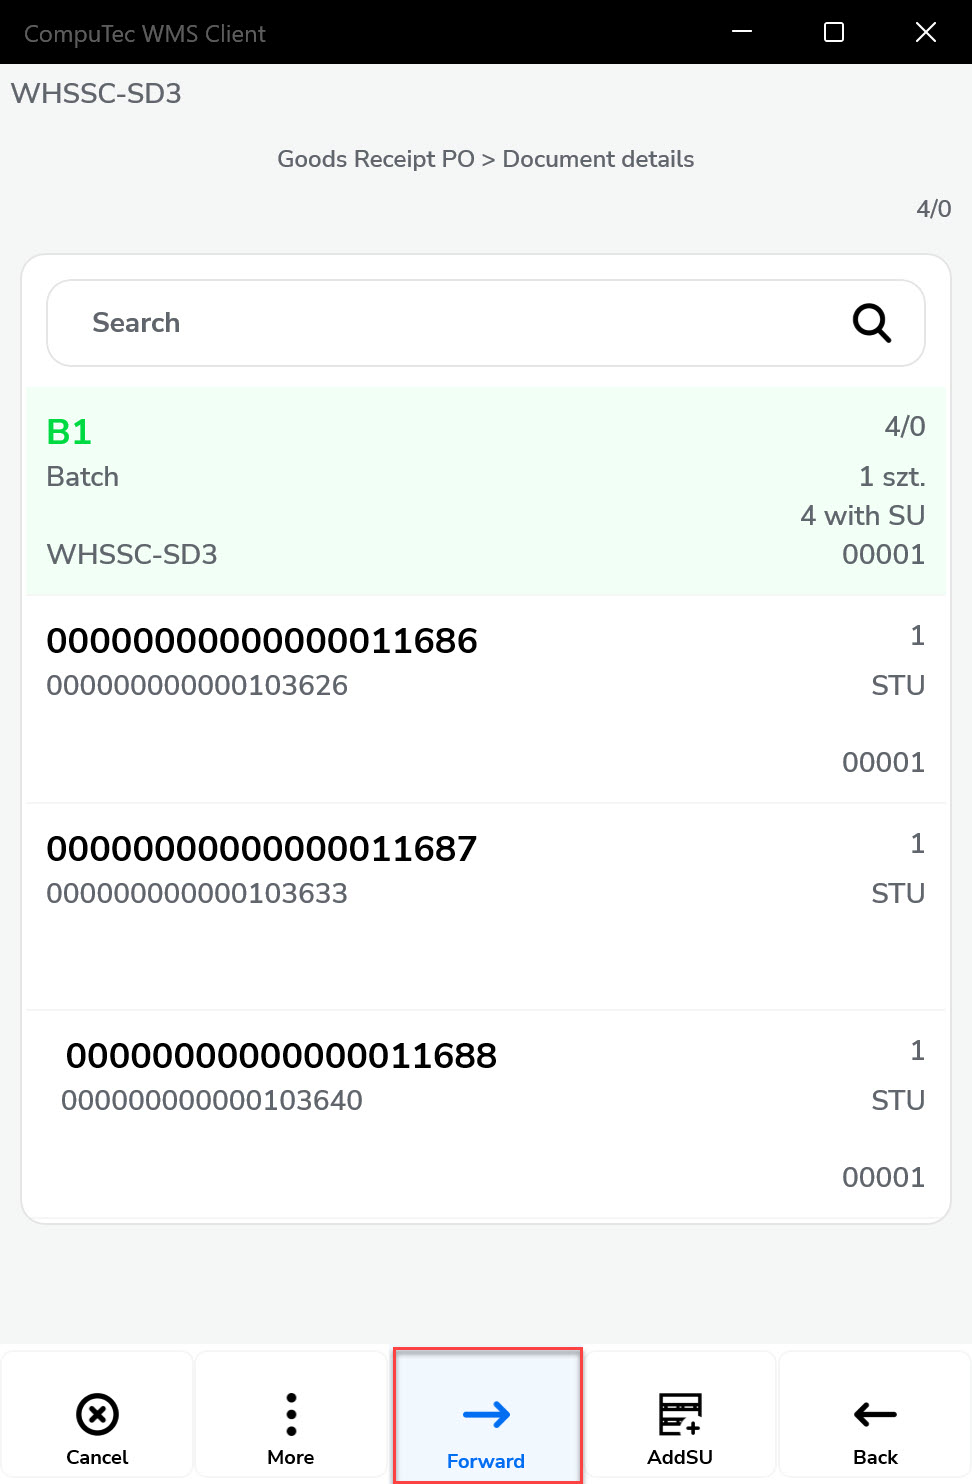
After exiting SU adding mode (the warehouse number will appear at the top), review the line details such as quantity, assigned SUs, or items without SUs.
-
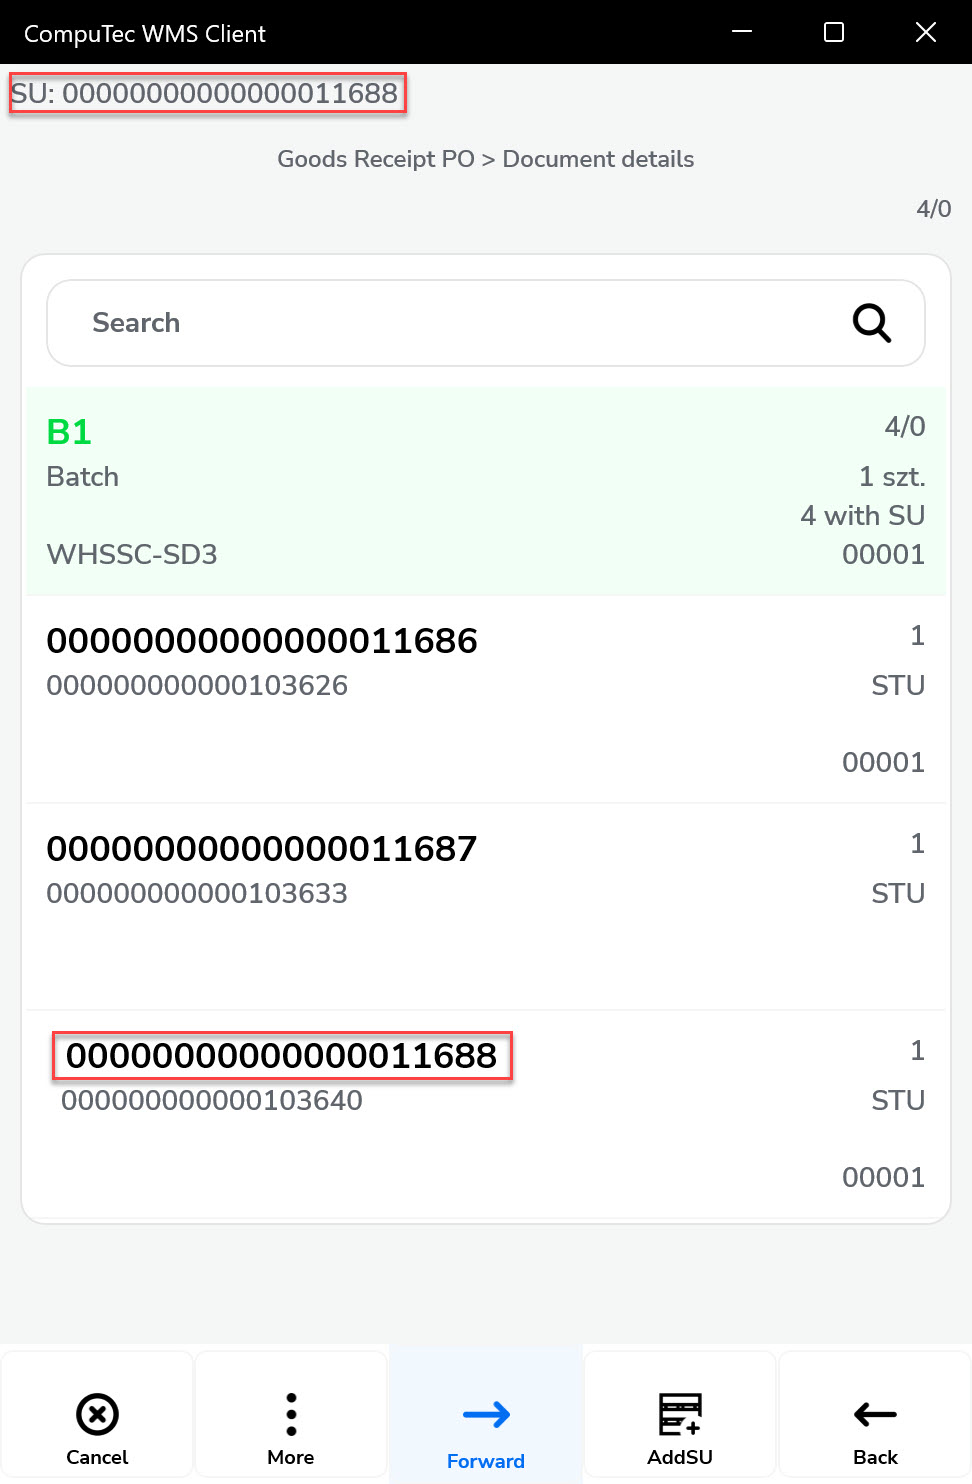
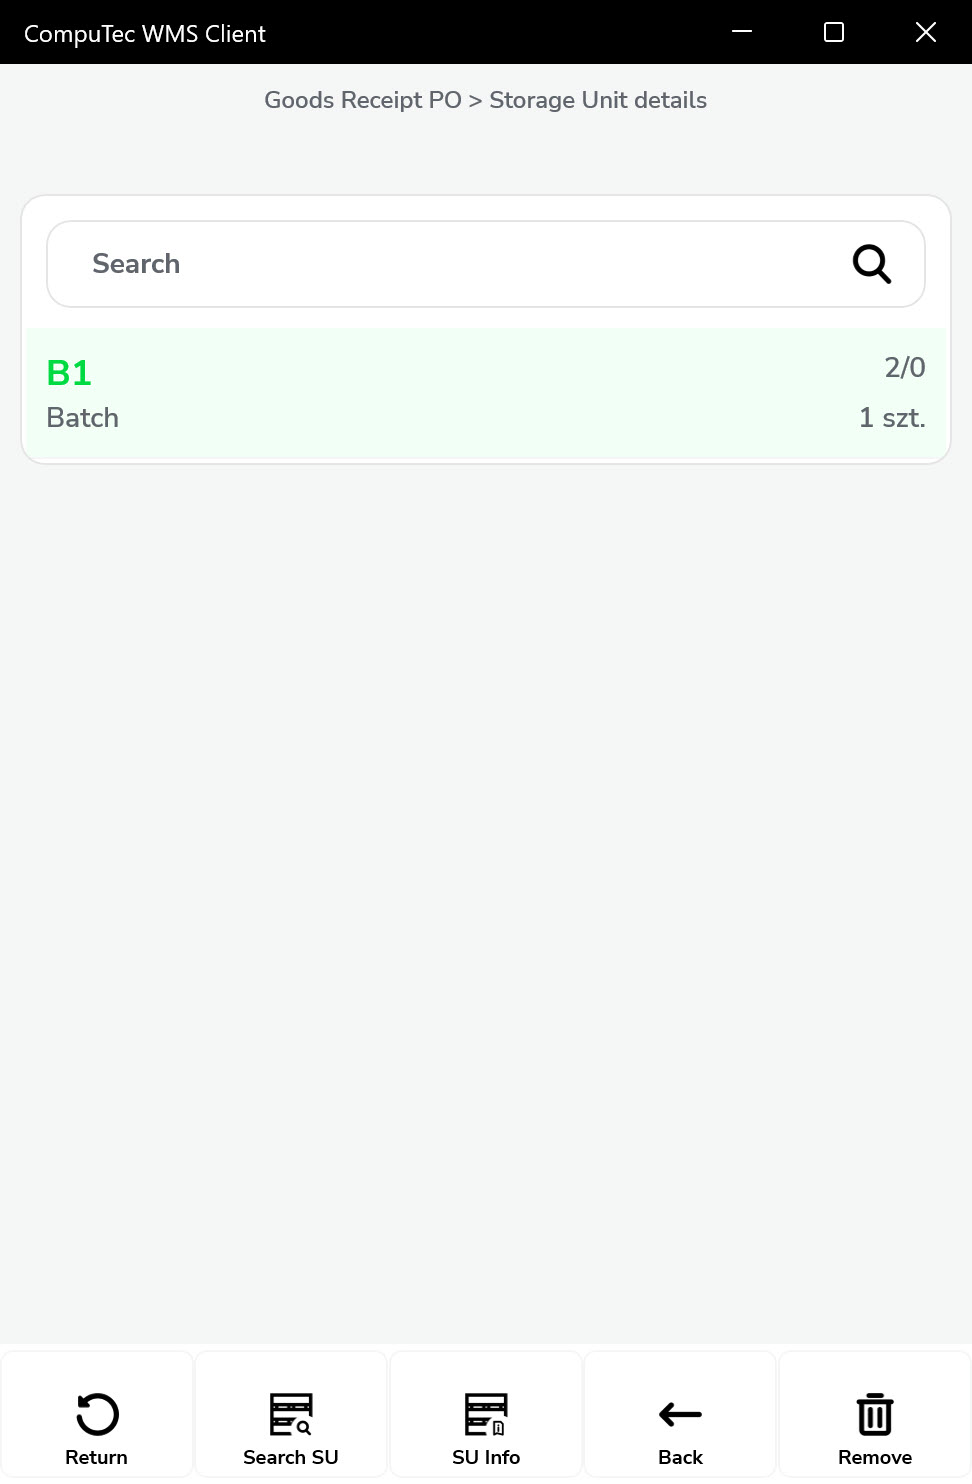
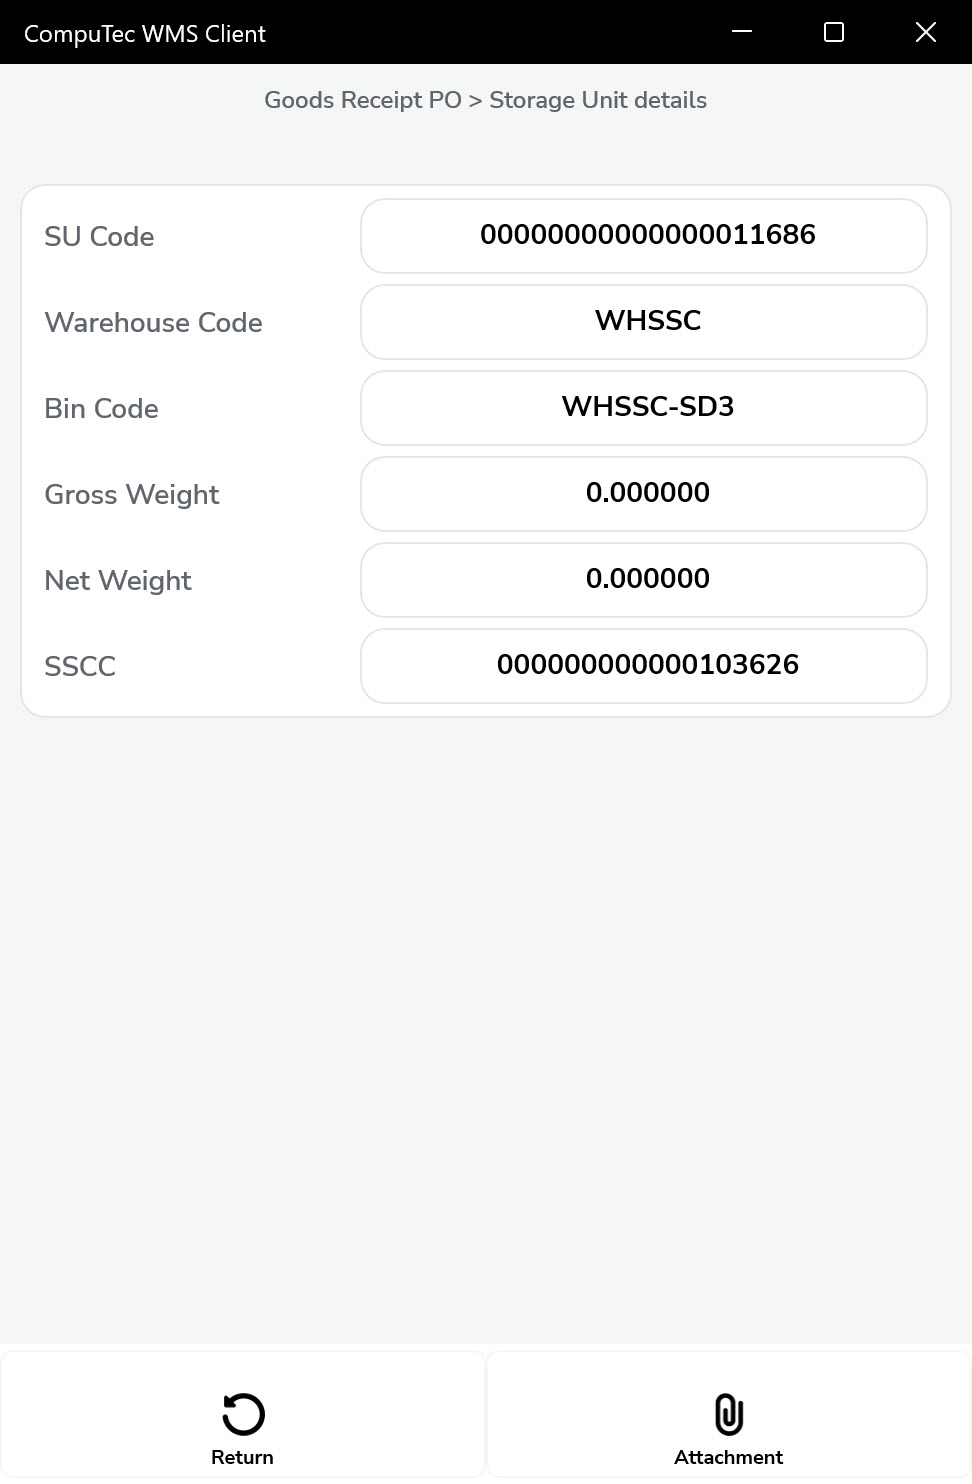
Click on any SU to see what elements (items or child SUs) have been added in the current GRPO document. You will only see items linked to this transaction, not the entire SU contents.
-
Check the complete document summary before proceeding.
-
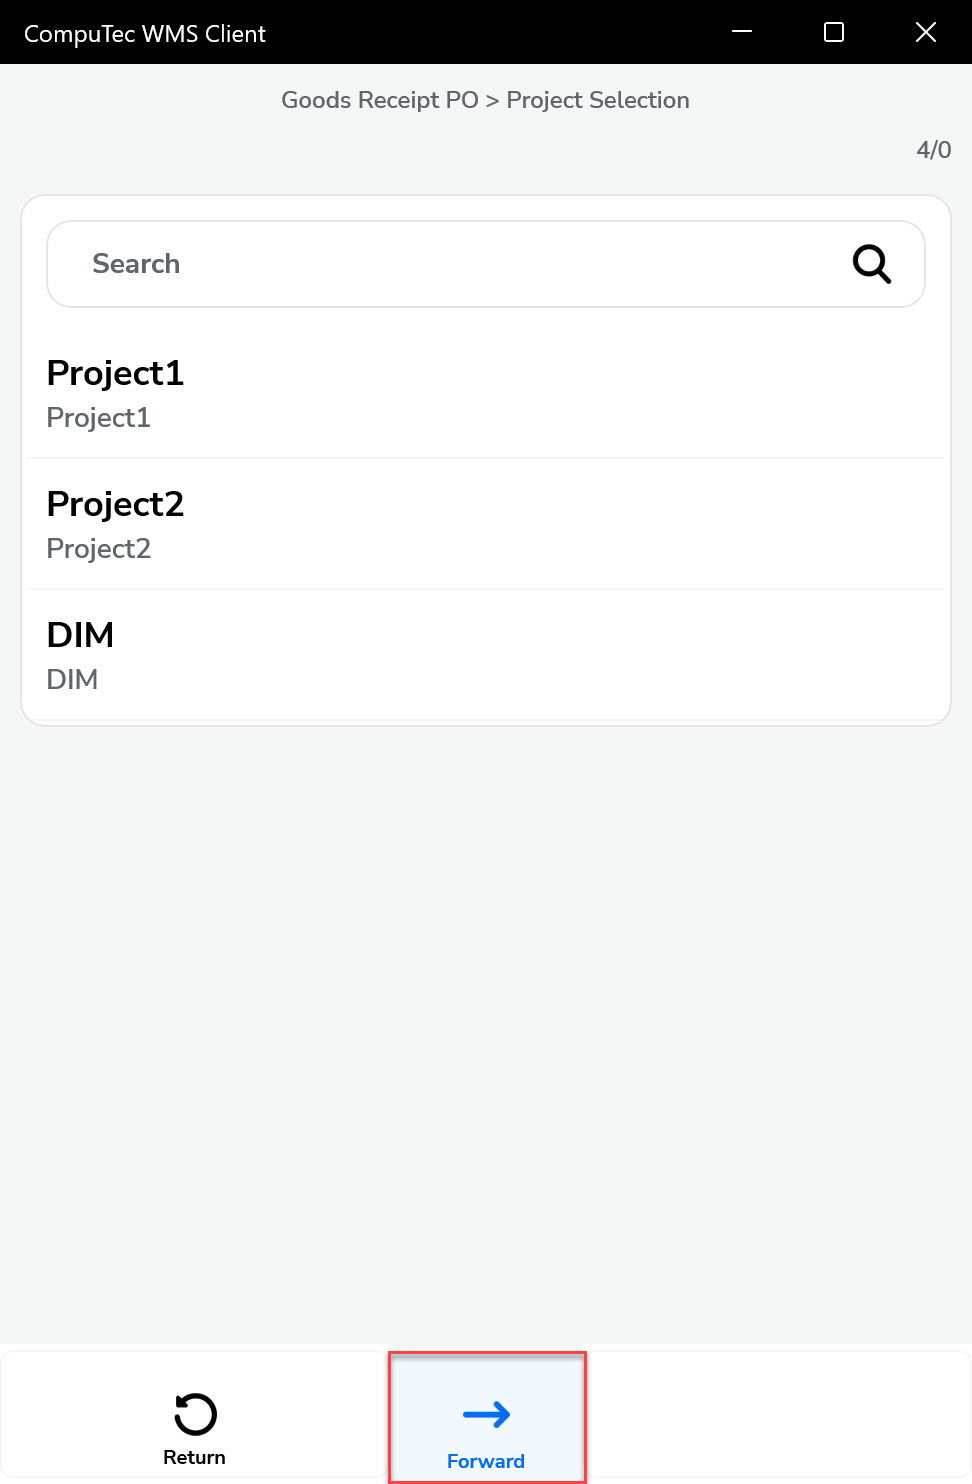
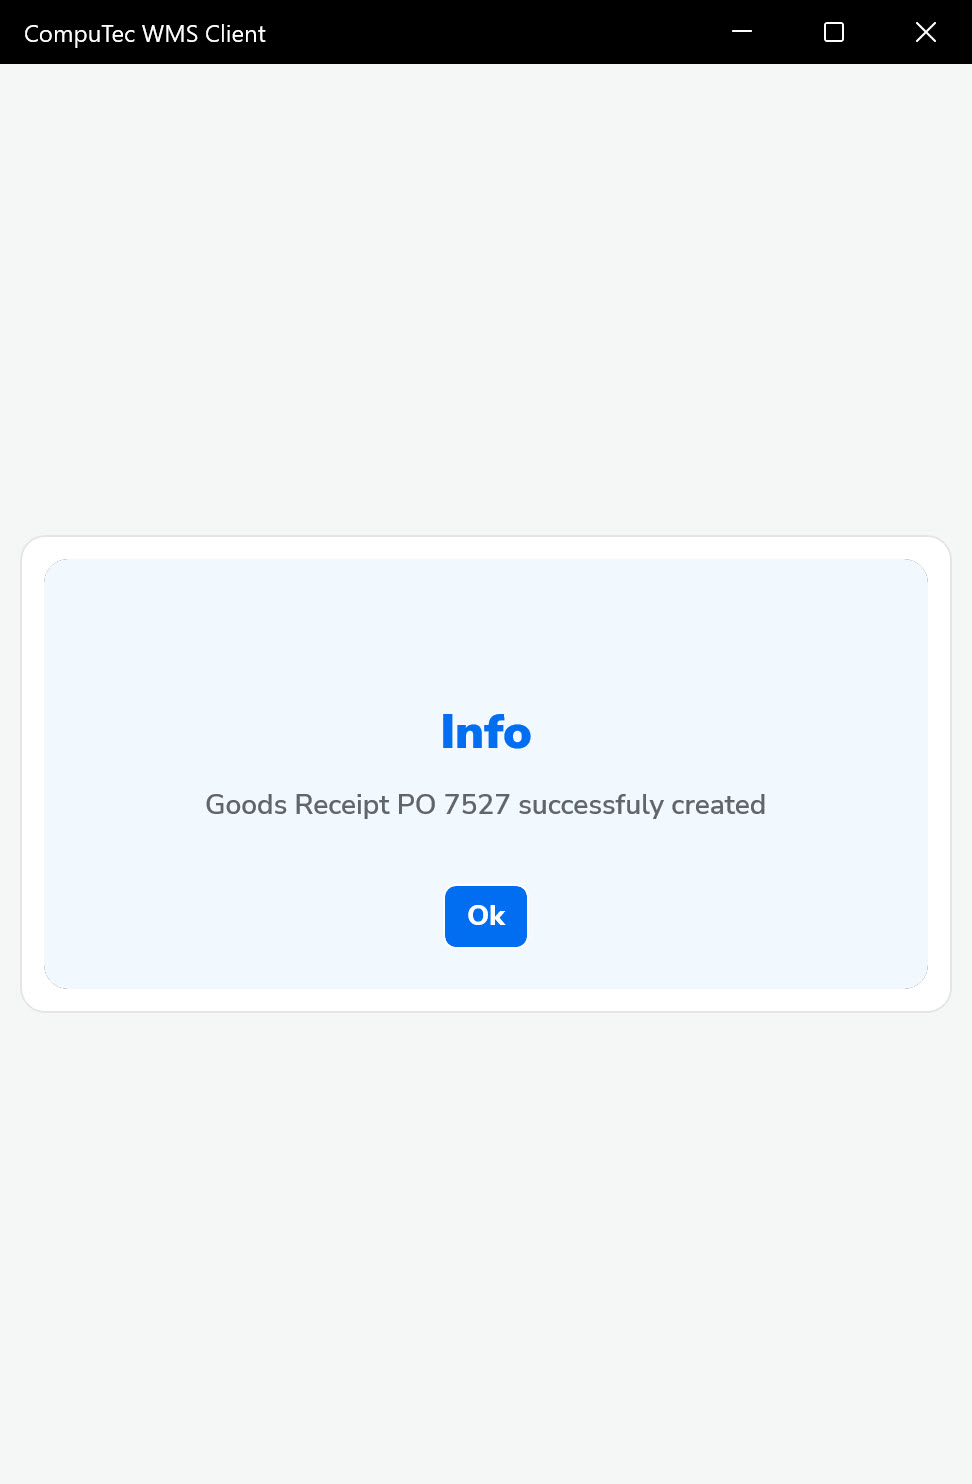
Select the Project related to the GRPO. Click the Forward icon. Add any Remarks, and finally, click the "Save" icon. A confirmation message will appear indicating successful GRPO creation.