Overview
New Stock Counting transactions have been available since the CompuTec WMS 2.10.15_R1 version.
Requirements
CompuTec WMS database objects installation
Click here to find out more.
CompuTec AppEngine plugin installation
Click here to download the installation file.
Click here to find out more about the installation.
Stock Counting Document
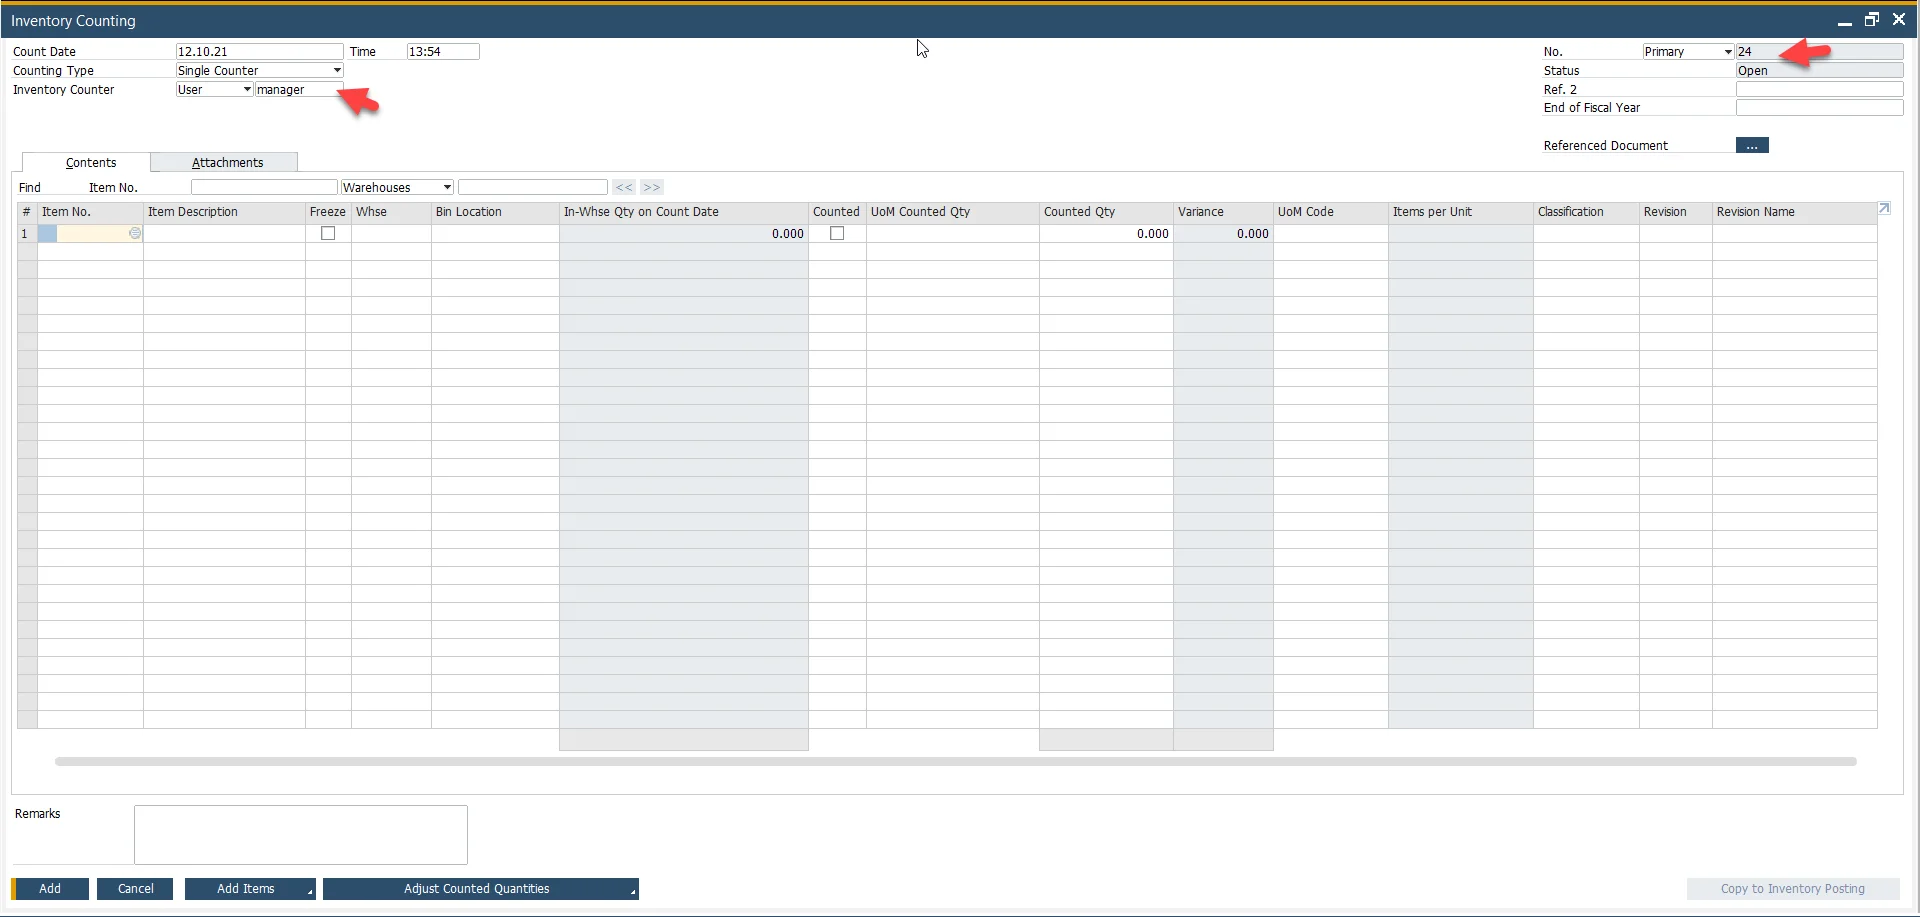
The new Stock Counting is created based on an empty document created in CompuTec WMS. Next, it is sent to SAP Business One. In the old Stock Counting, an SAP Business One user created a document based on which a list was displayed in CompuTec WMS.
Custom Configuration option
You can choose to use either the new or the old Stock Counting. To use the old one, go to Custom Configuration → Stock Counting and check the Use old stock counting checkbox:
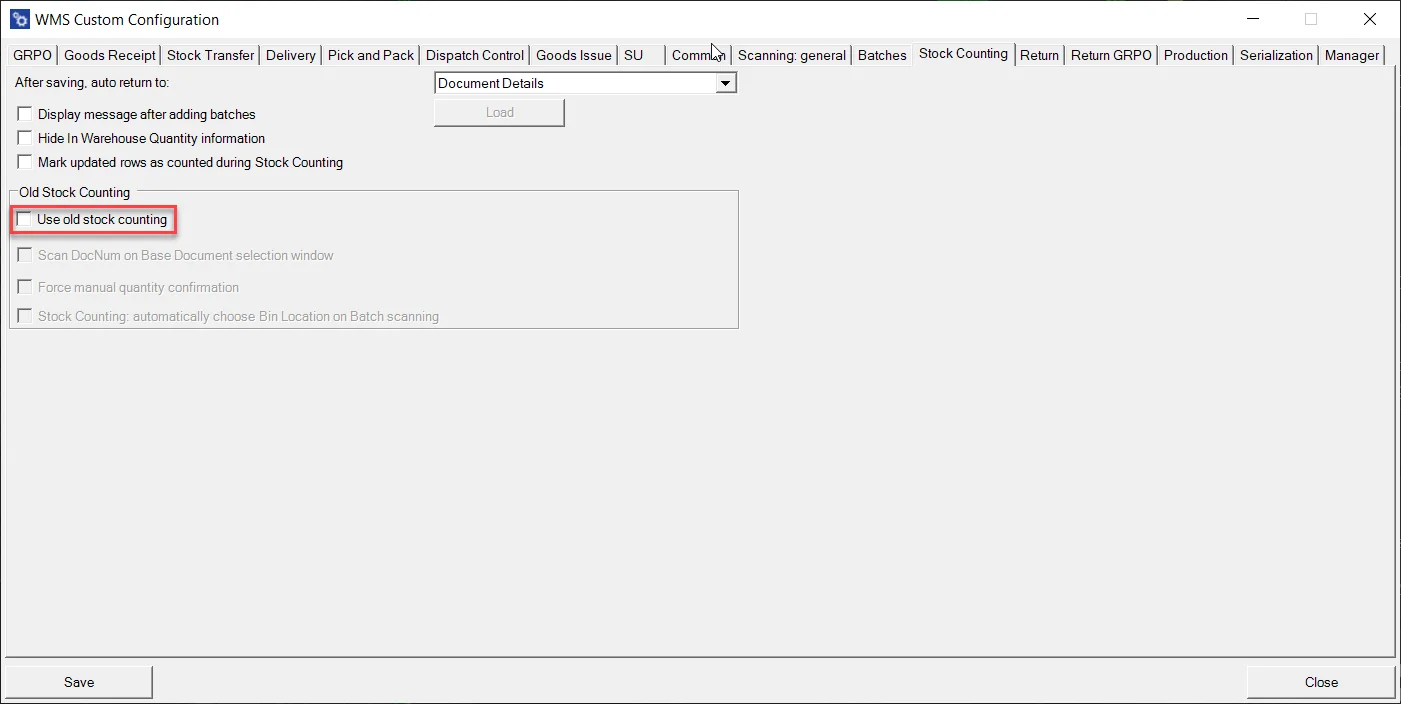
After enabling the old Stock Counting, you can use all of the checkboxes from this view (both for the old and new option versions):
After saving, auto return to: – choose where to return after saving Item Details on a document; you can select the main menu for this operation or the Item list
Display message after adding batches – configure a message displayed on adding a Batch. The message can be based on an SQL query
Scan DocNum on Base Document selection window – checking this option allows you to scan a document by Docnum, not by DocEntry, if a base document was chosen
Force manual quantity confirmation – after reviewing required prefixes (Warehouse, Vendor, Item, Quantity, Batch number), the application forces manual confirmation of quantity (instead of confirmation after scanning a barcode with quantity)
Stock Counting: automatically choose Bin Location on Batch scanning – automatically chooses Bin Location on Batch scanning
Mark updated rows as counted during Stock Counting – self-explanatory
Hide In Warehouse Quantity Information – hides quantities on the Item lines (click here to learn more).
Usage
Interface
CompuTec WMS → Stock Counting:
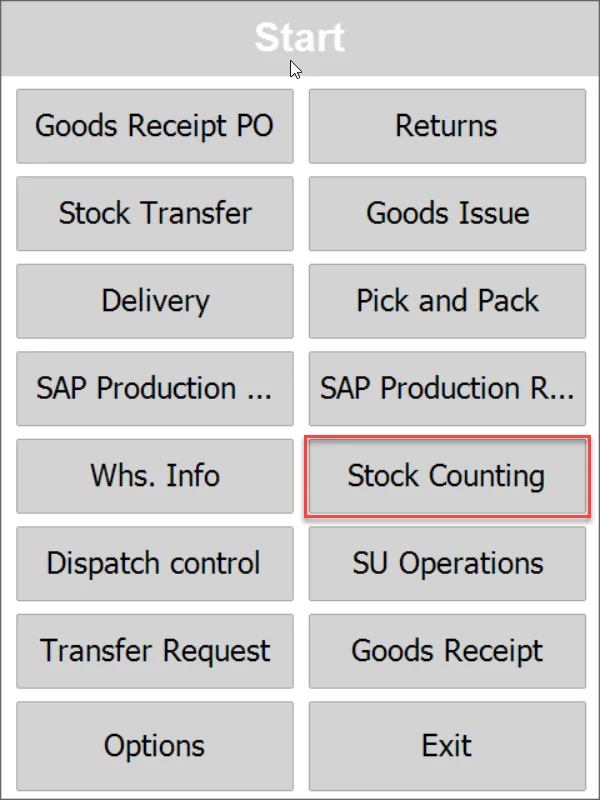
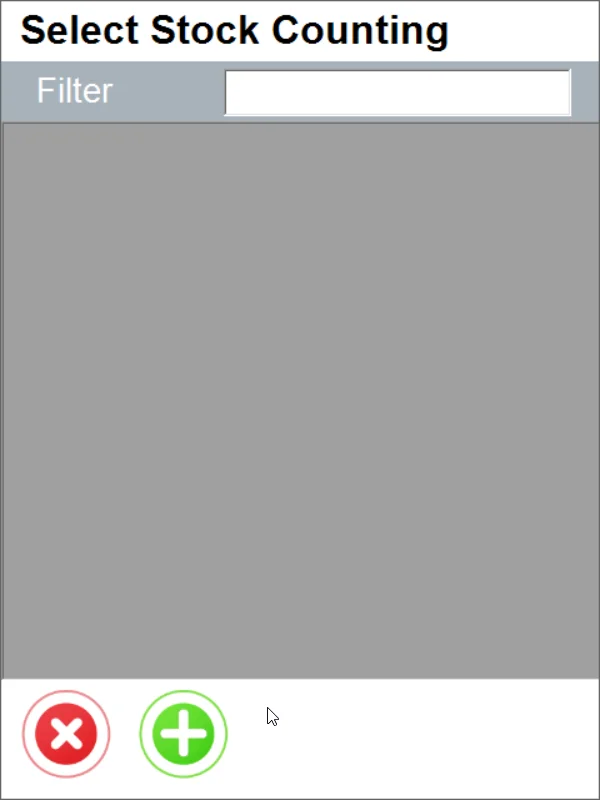
Click the x icon to go back or the + icon to add another document. You can also choose an already created Stock Counting:
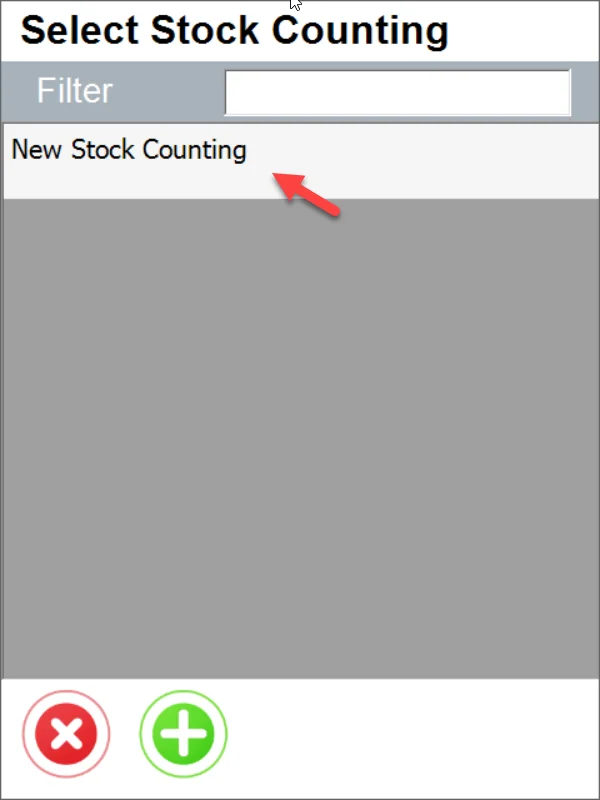
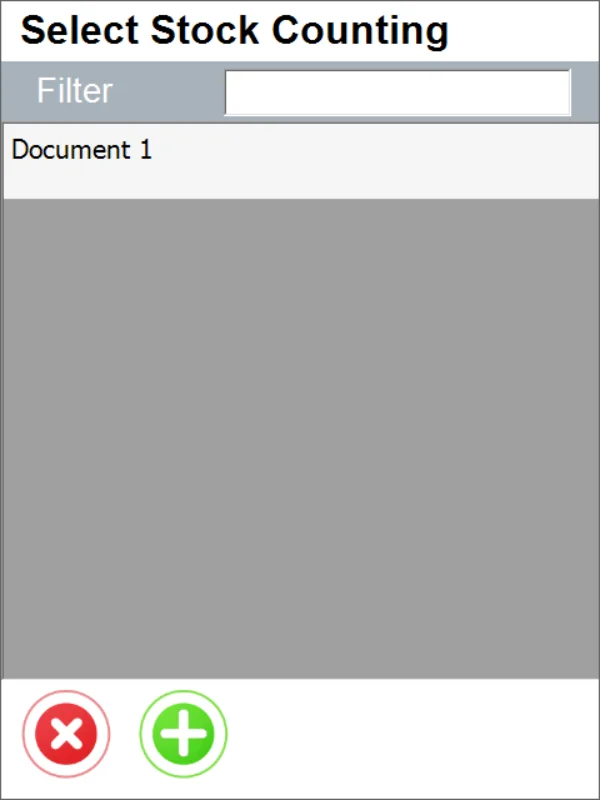
To add a new Stock Counting document, click the plus icon, type in its name, and click the save icon (lower right corner):
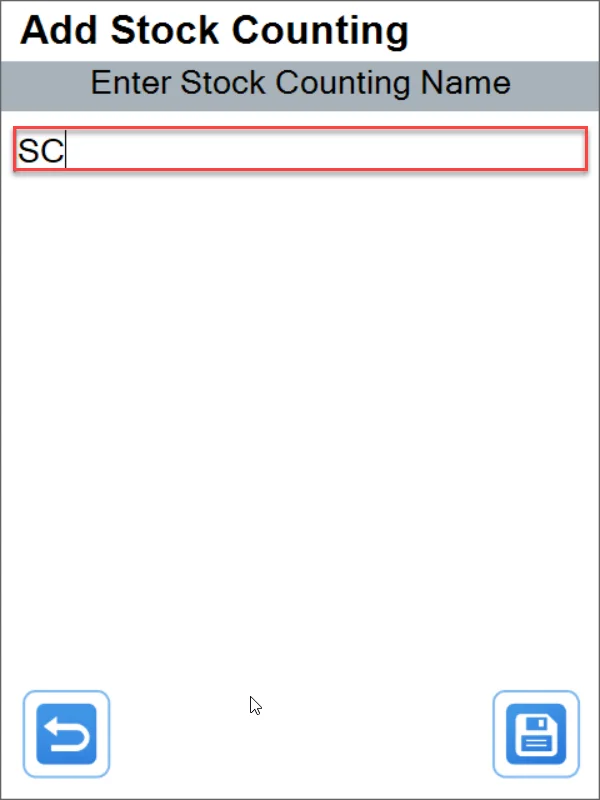
Click the left icon to go back or the right icon to save.
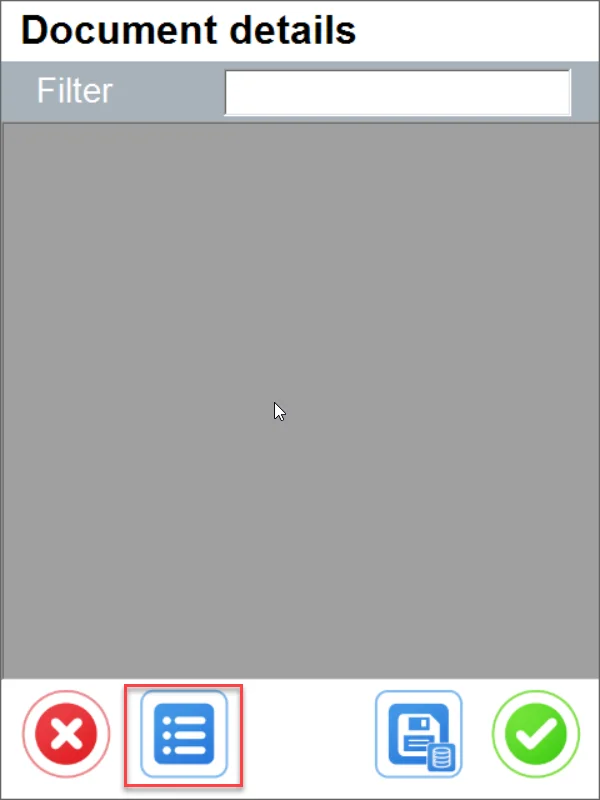
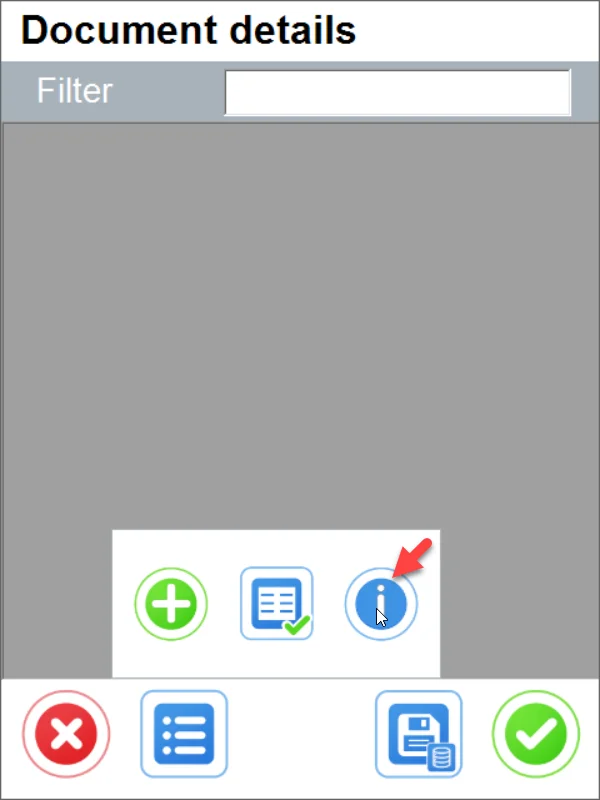
You can edit the name or delete the document by clicking the highlighted icon and then the i icon:
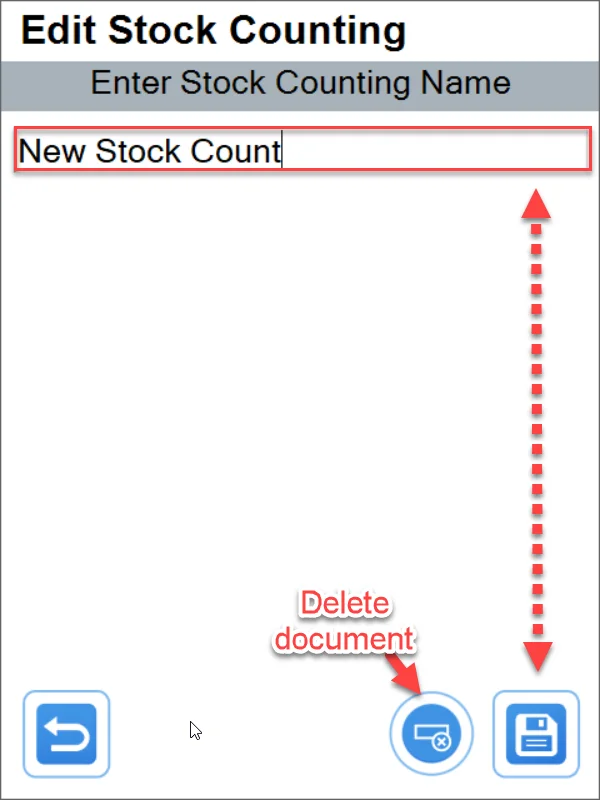
Deleting a document does not cause a status change in SAP Business One (you cannot reverse the process):
Closing the document in SAP Business One deletes the Stock Counting document in CompuTec WMS:
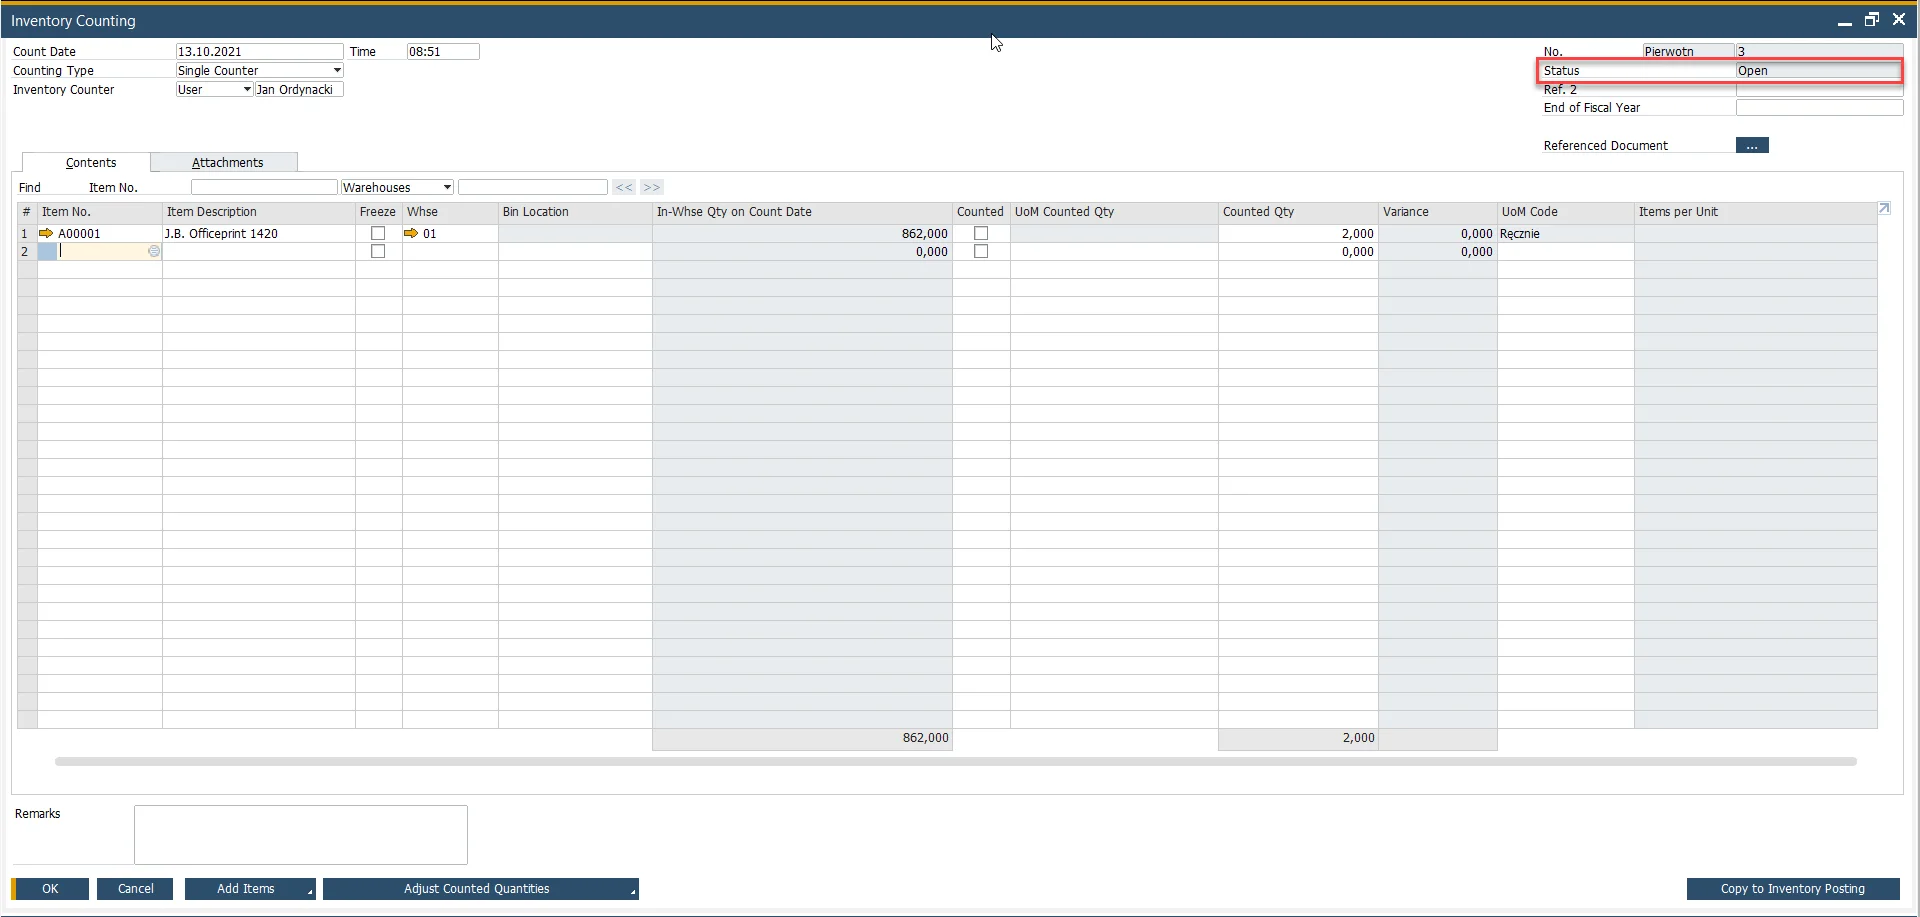
The following document can have the same name, but there cannot be two or more with the same name at the same time:
You can browse the list or use the filter option to find a specific document:
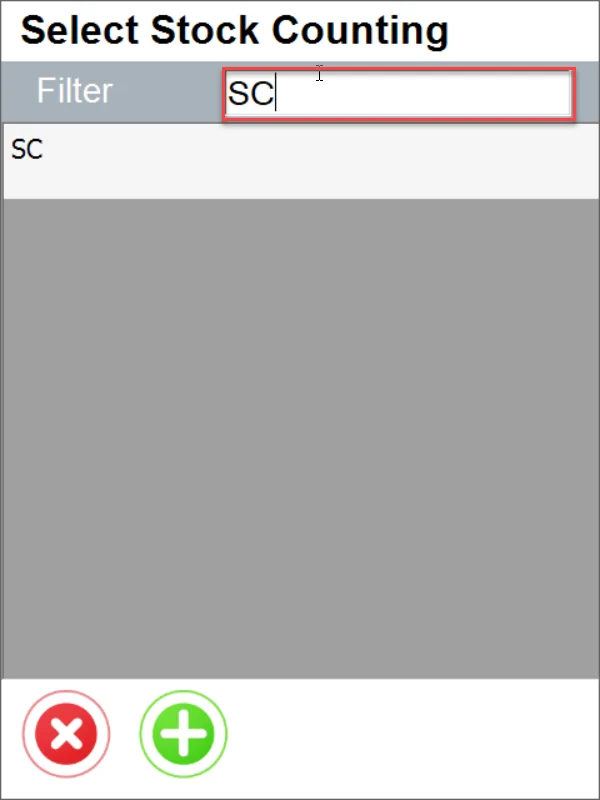
Leaving the document does not delete already set quantities.
Saving to SAP Business One is planned to be performed through the CompuTec AppEngine plugin. Now, to do this, use the save icon:
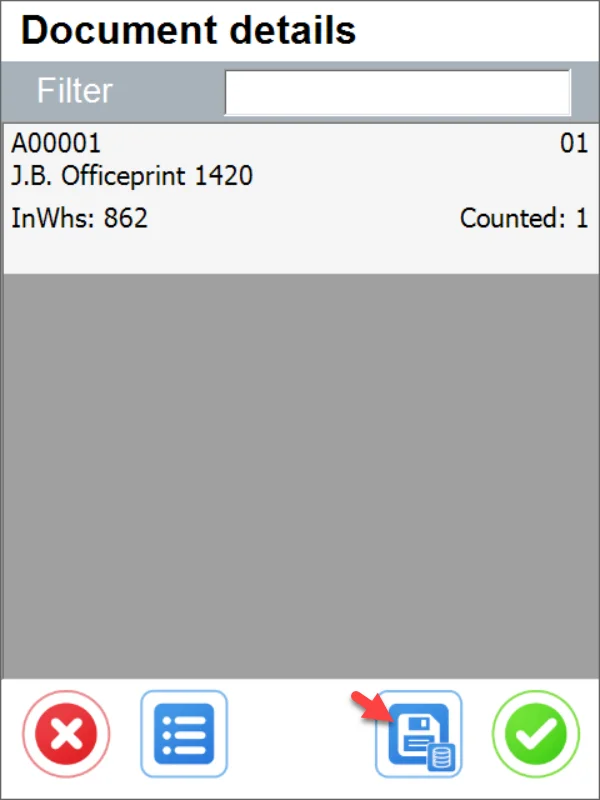
After that, you get a confirmation:
Adding new Items to the Stock Counting list
Manually
Choose a Stock Transfer document, click the list icon, and click the plus icon.
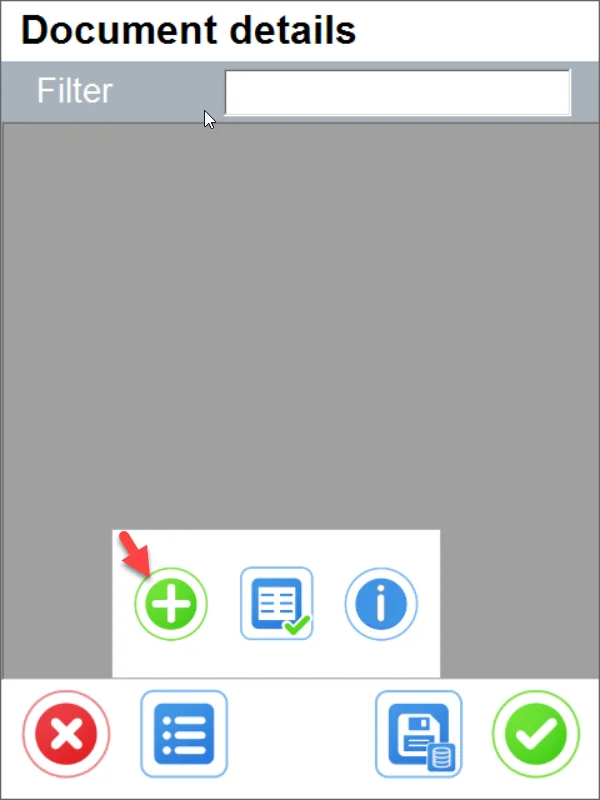
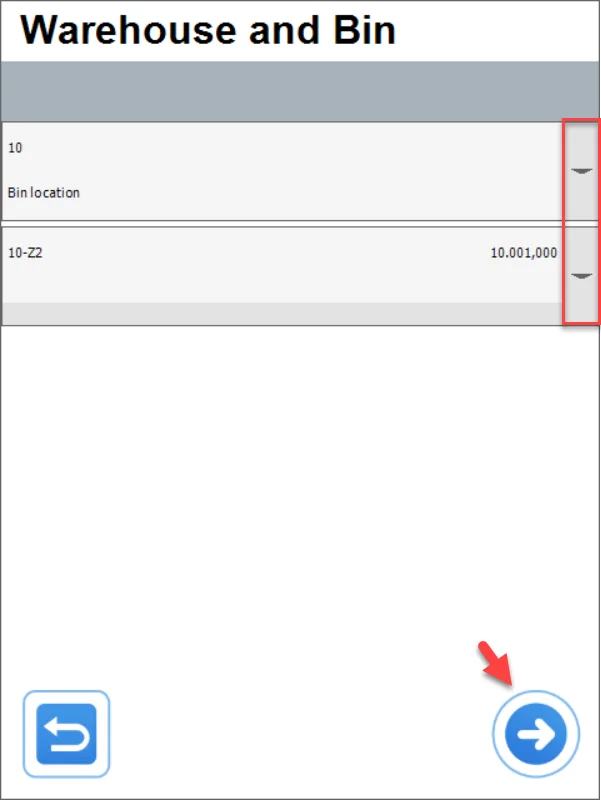
Choose a Warehouse (or a Warehouse and a Bin location) for the Stock Counting (this has to be done for each of the Items):
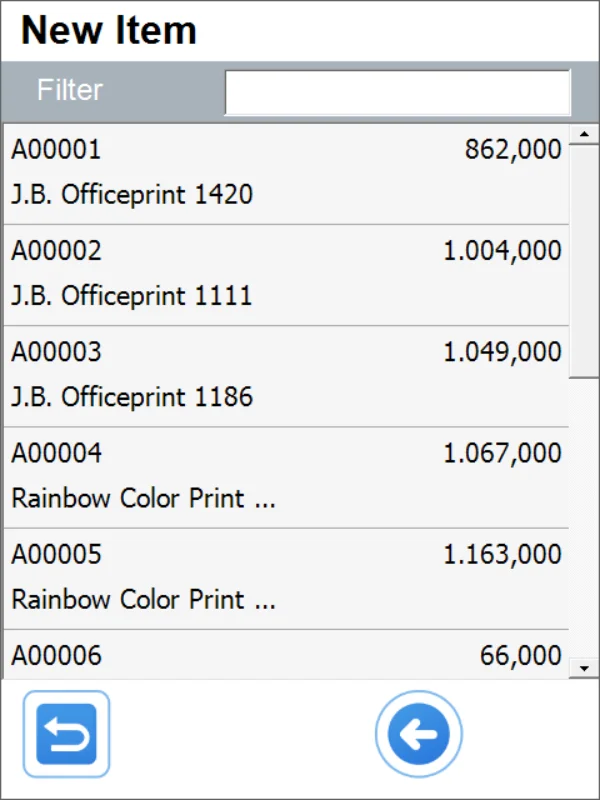
Choose an Item and click the plus icon:
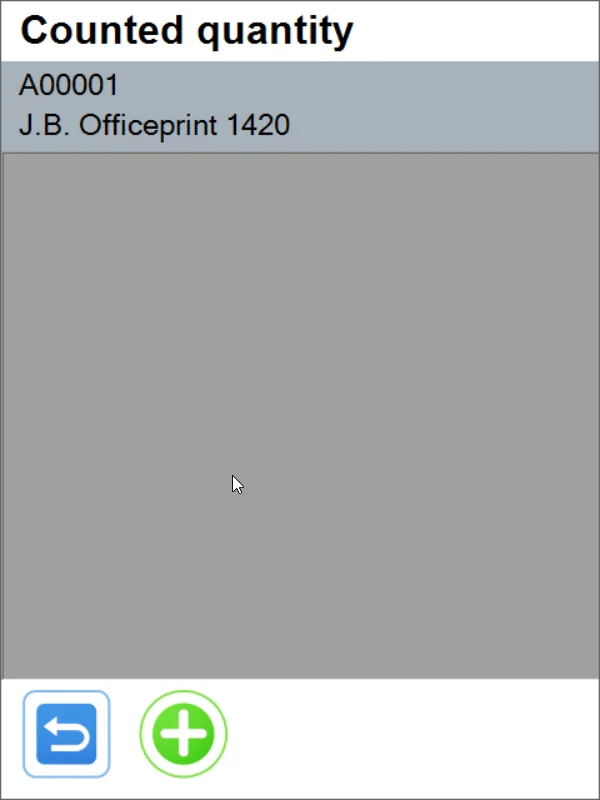
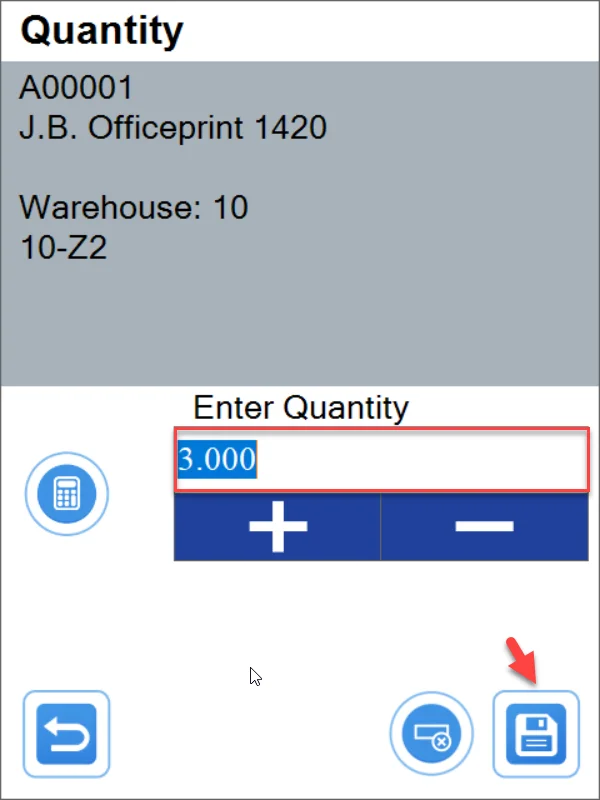
Set quantity and click the save icon:
The Item is now present in the Stock Counting view:
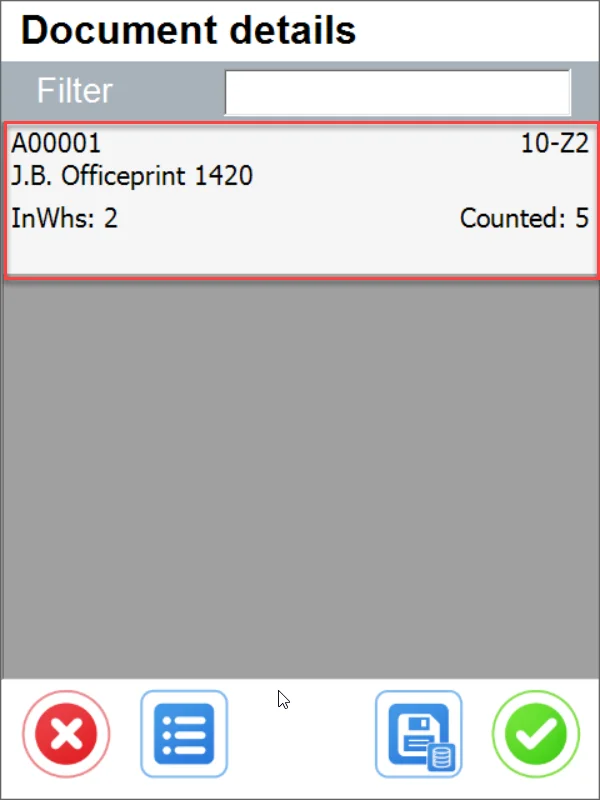
You can edit the quantity for an Item line in two ways:
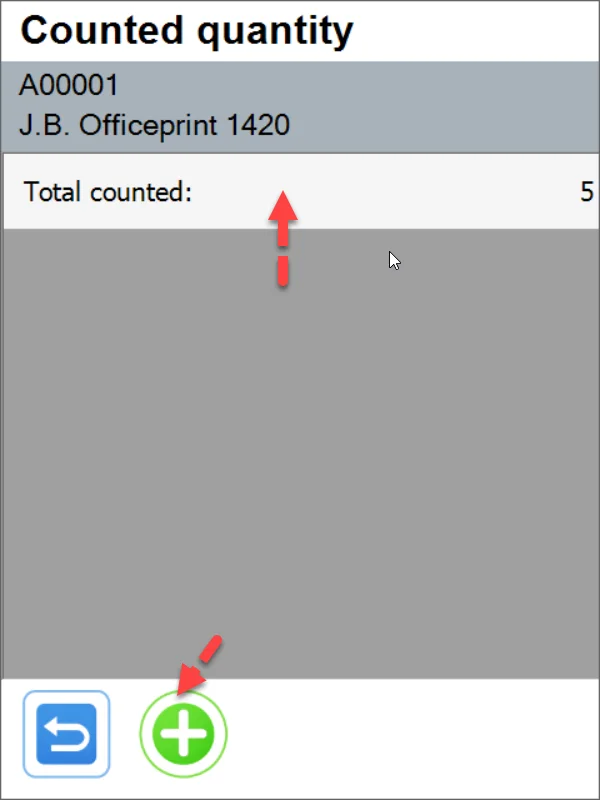
Remove the line with its quantity by clicking this icon:
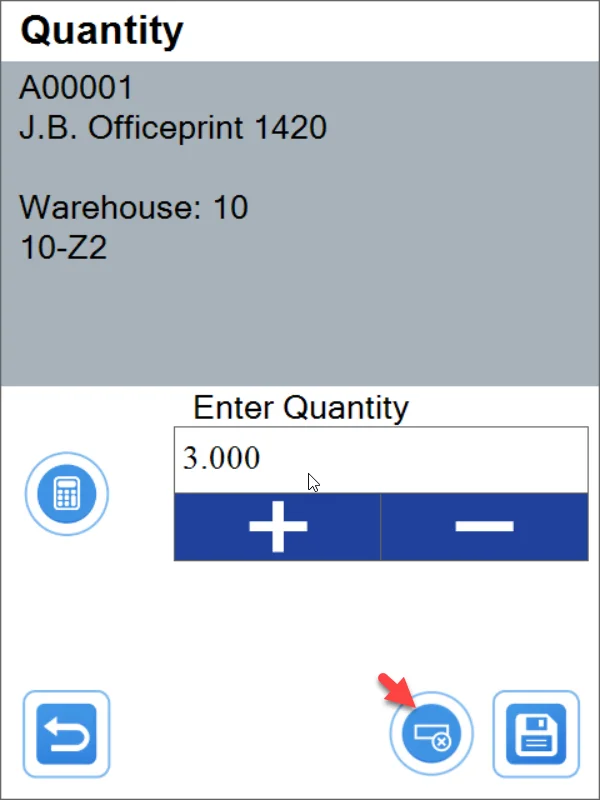
The confirmation:
Adding an Item managed by Batch (a Warehouse has to be chosen every time):
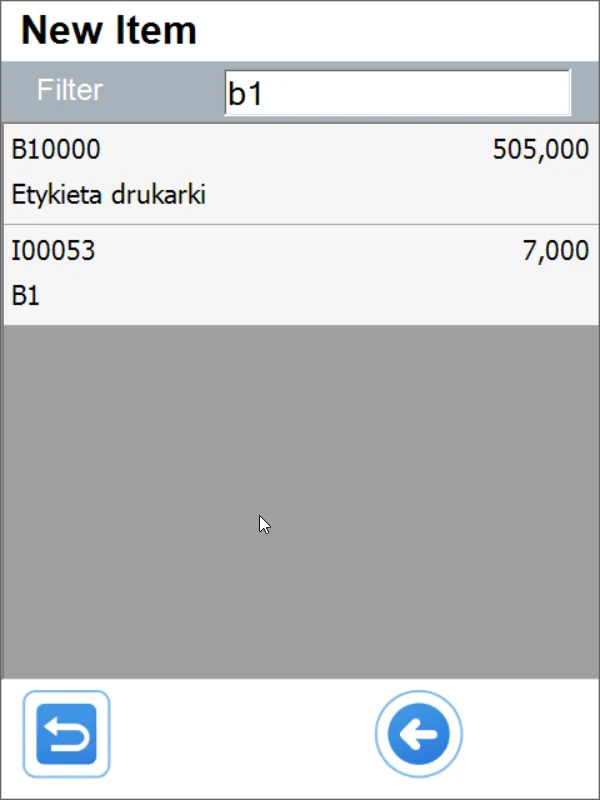
Type in the Batch name and click the save icon:
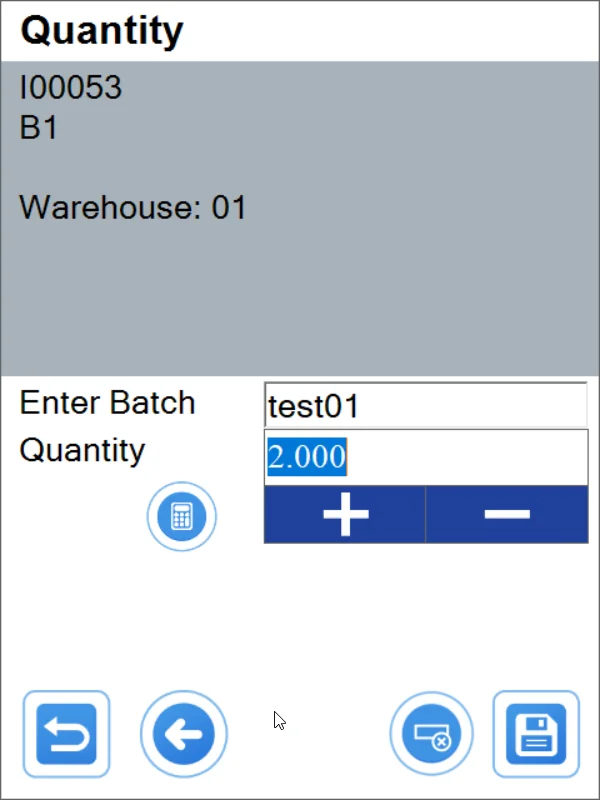
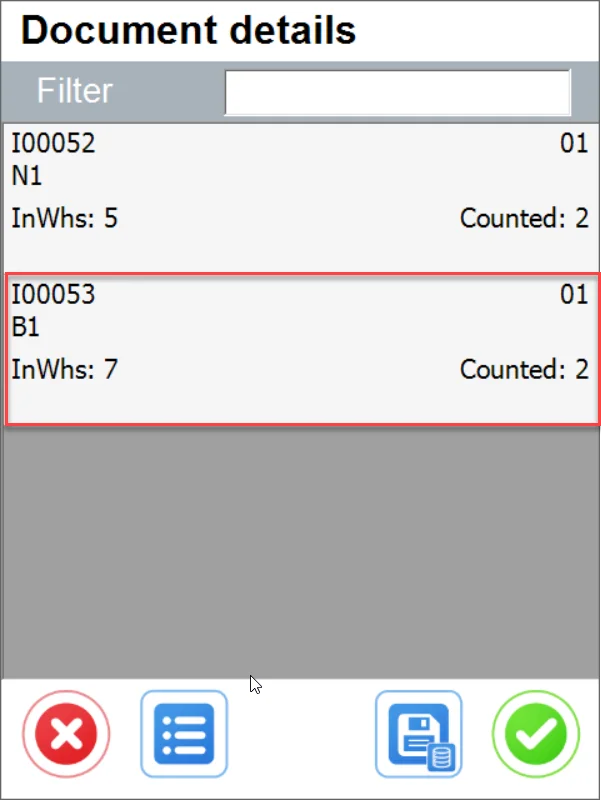
You can edit the Batch quantity by entering its line (you cannot change the Batch name now, but it is possible to delete it along with the counted quantity by clicking the icon next to the save icon).
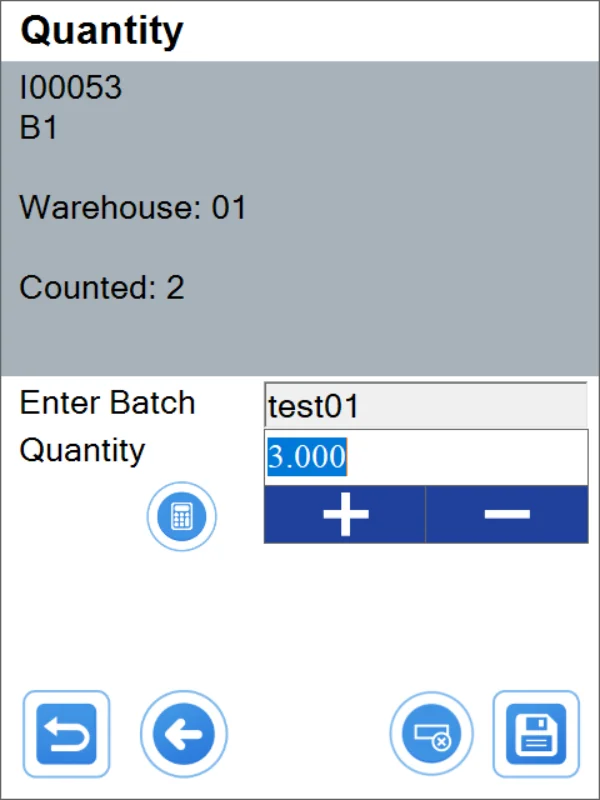
You can add another Batch by clicking the plus icon.
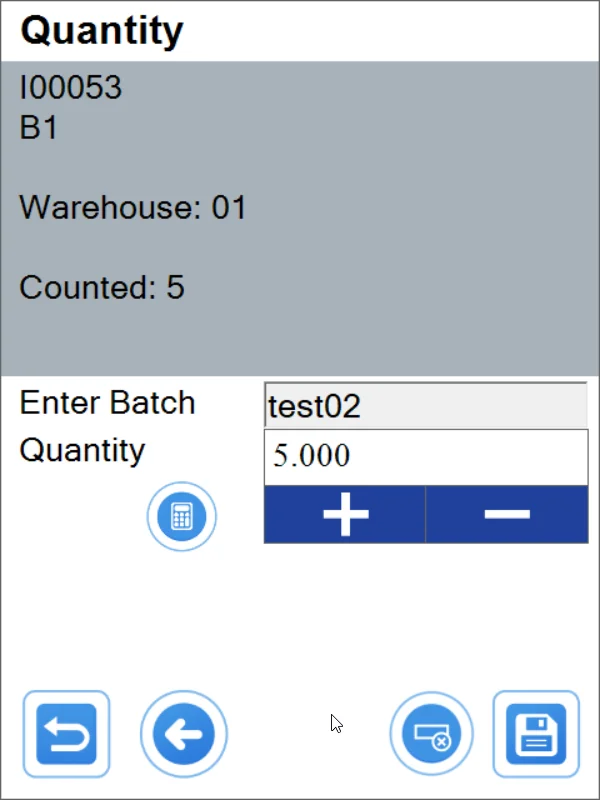
The counter on the Document Details form shows a sum of quantity from all of the Batches of this Item.
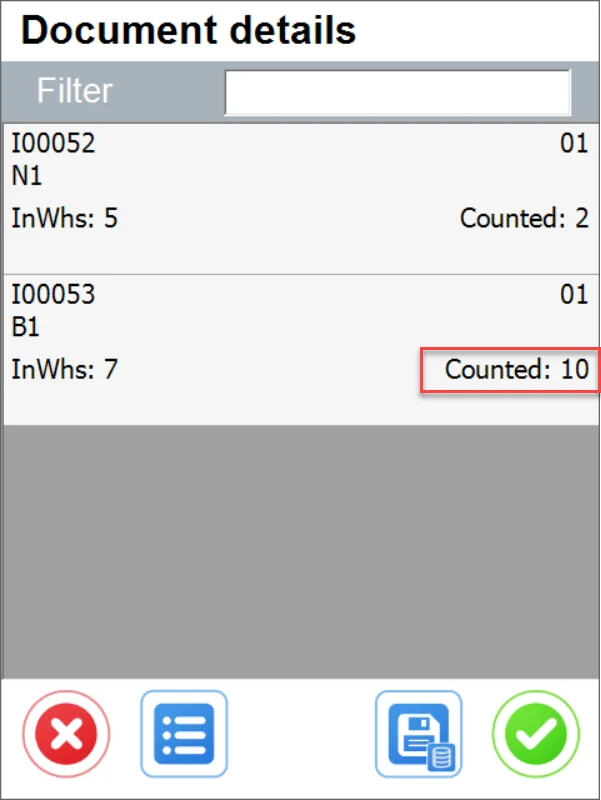
Adding an Item managed by Serial Numbers:
Choose a Warehouse, then a Serial Number Item, and click the plus icon:
Type in the Serial Number and click the save icon:
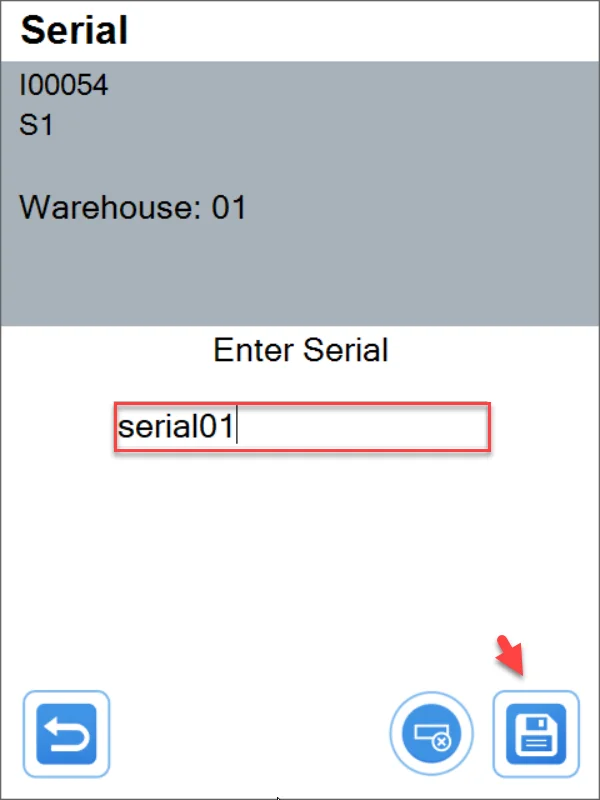
It is not possible to change the Serial Number name. You can only remove it by clicking its line and then the icon next to the save icon:
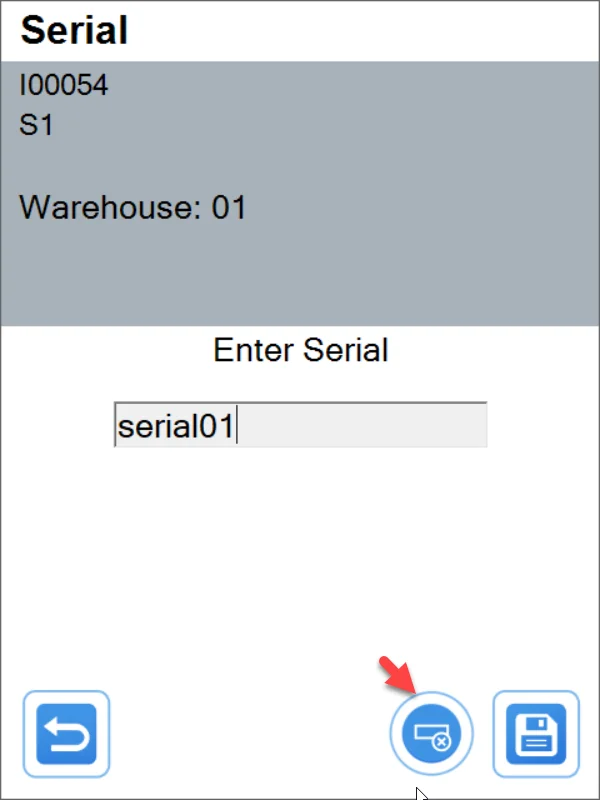
You can add another Serial Number by clicking the plus icon:
Adding quantity for a specific Item is performed by entering its line.
If a specific Item is present in another Warehouse or Bin location, you have to add it again with the required Warehouse and Bin location.
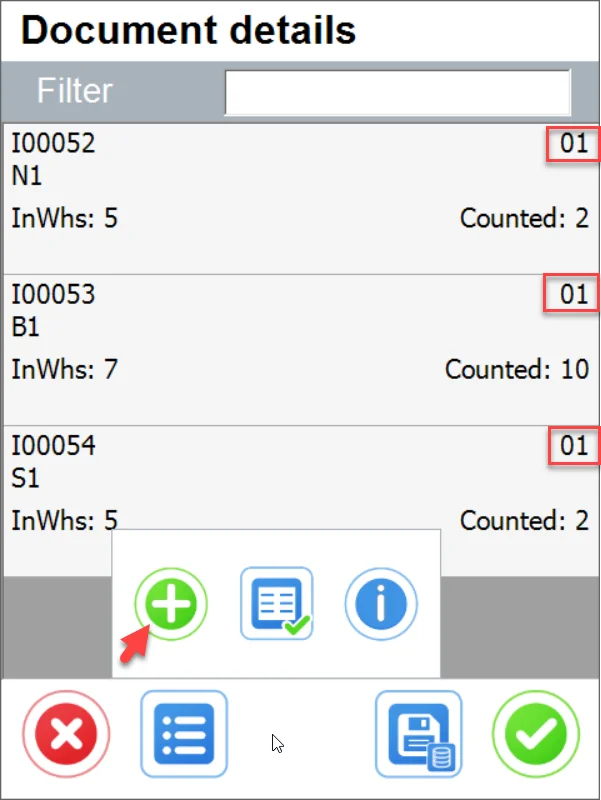
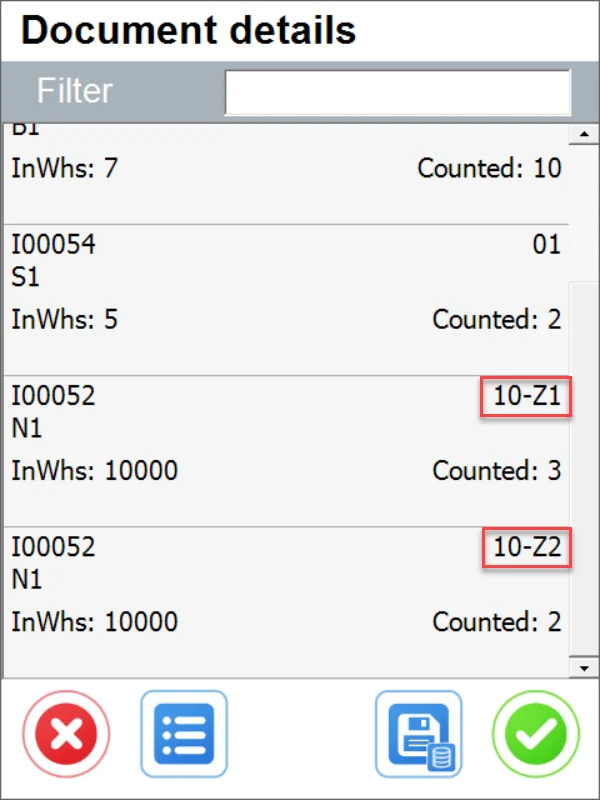
Information on the Item lines
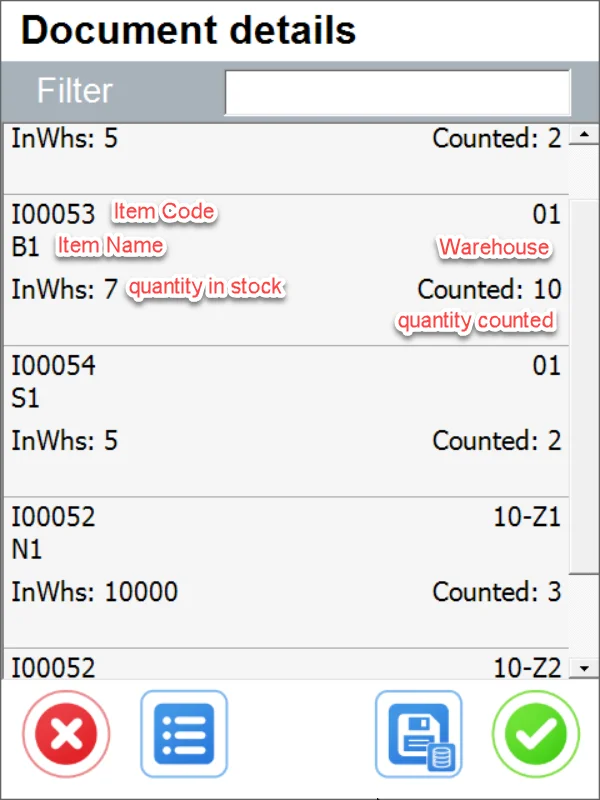
You can hide the Warehouse quantities by checking the Hide in Warehouse Quantity Information in Custom Configuration.
Adding Storage Units
You can add new or already existing SU and edit Items and their quantities. You can also create multi-level SUs.
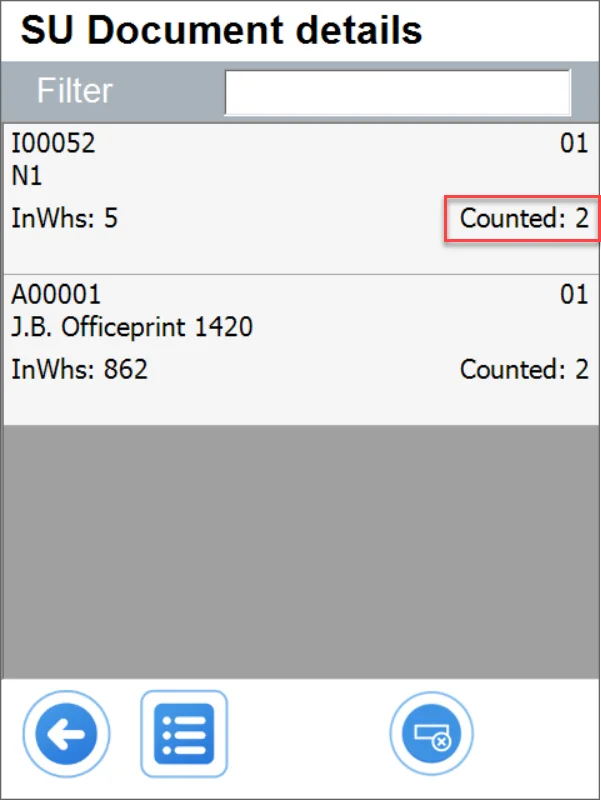
Important: Items added to SUs are unavailable in the Items list. They are available after entering a specific SU.
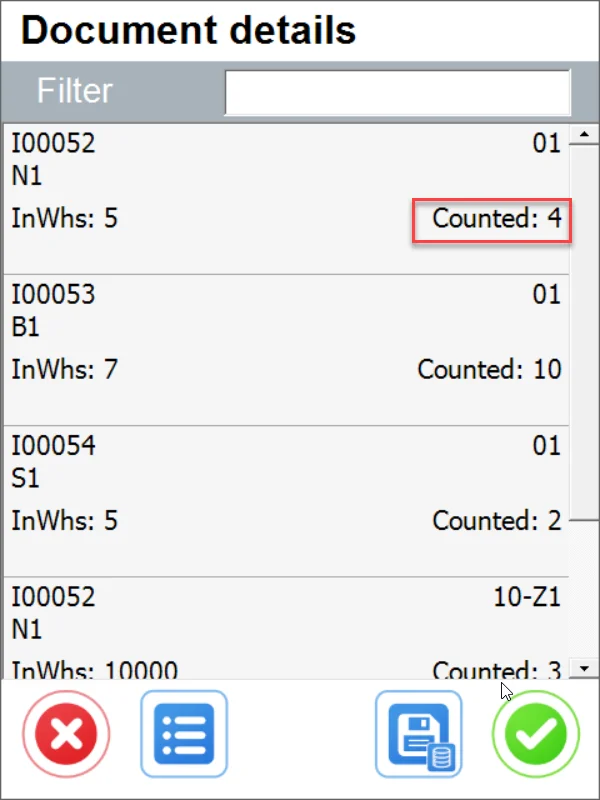
If a specific Item is added outside of an SU, it will be added to the total counted quantity:
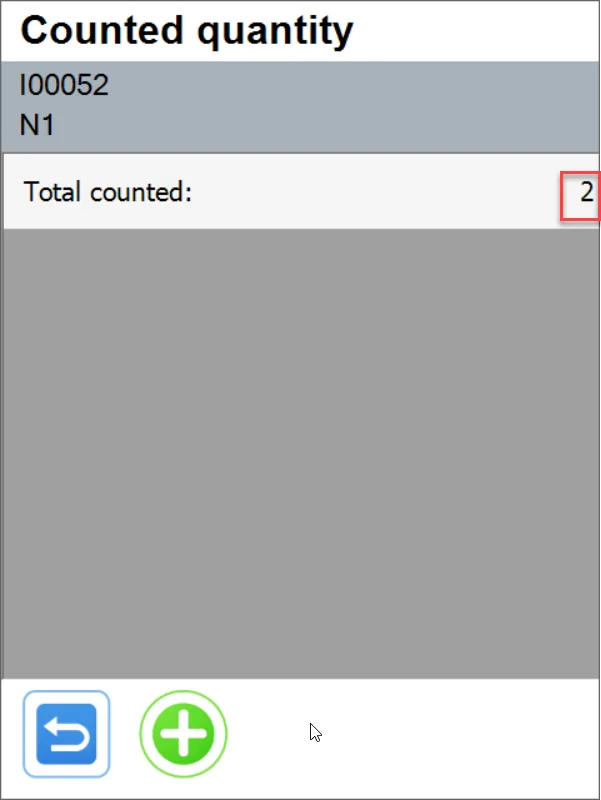
Use this icon to add an SU:
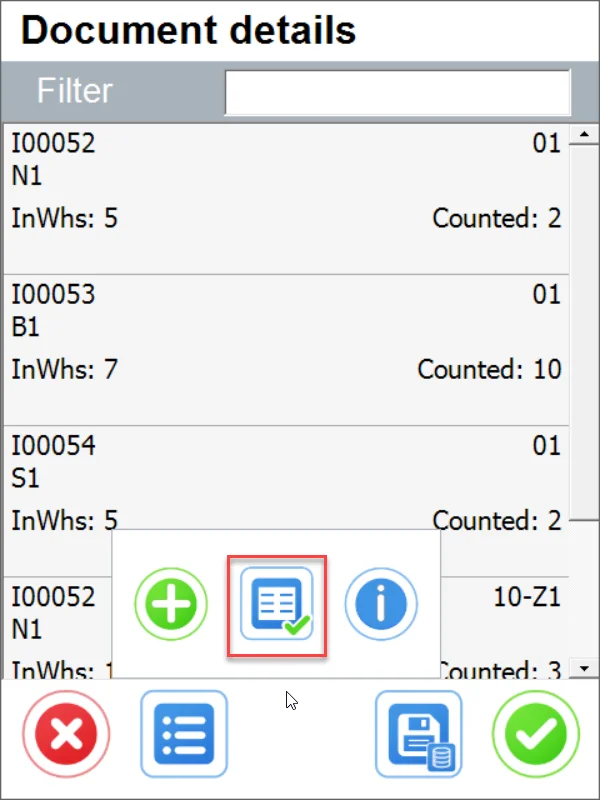
In the following form, you can see already added SUs, and you can add a new one by clicking the plus icon.
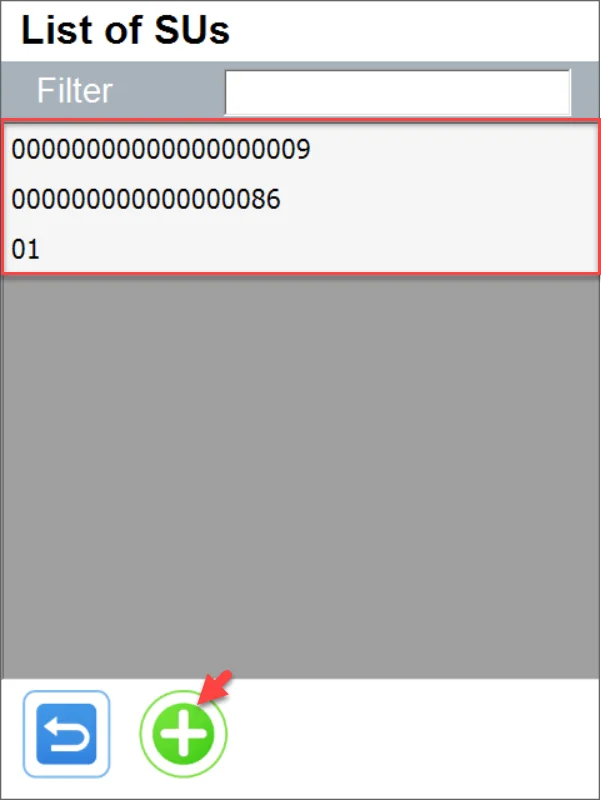
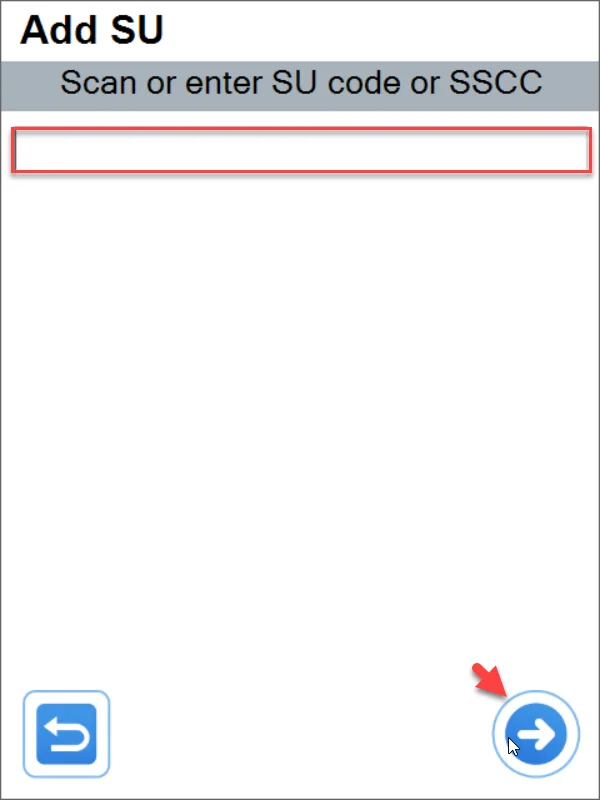
If you do not put anything in the SU Code or SSCC field and click the right arrow, a new SU will be created. Then choose a Warehouse and a Bin location (if required).
Choose the newly created SU in the List of SUs:
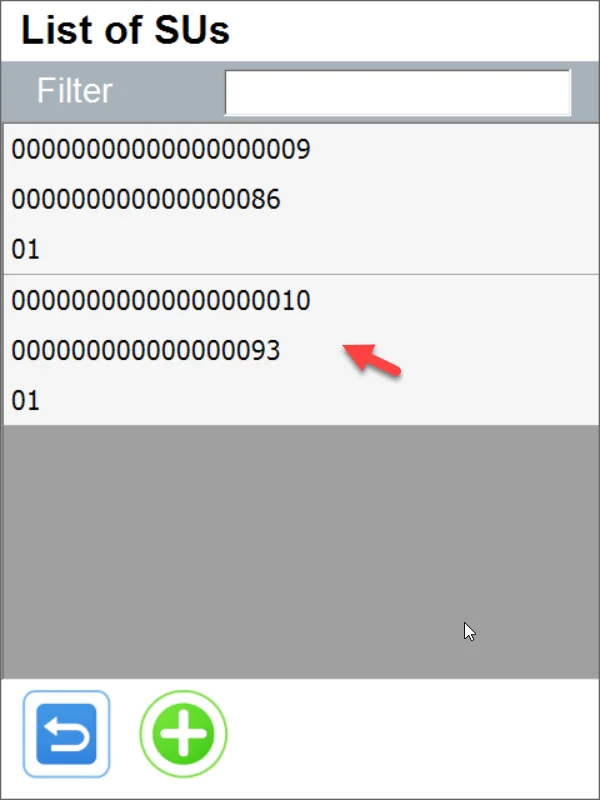
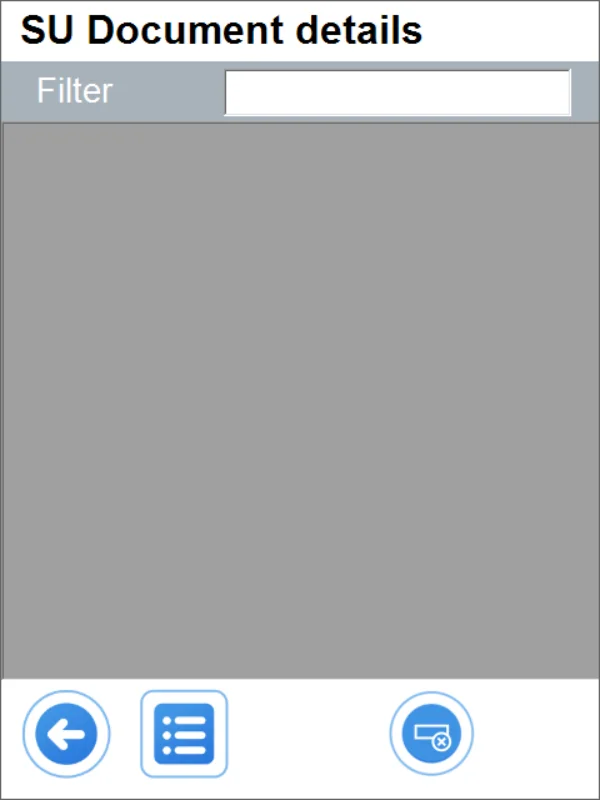
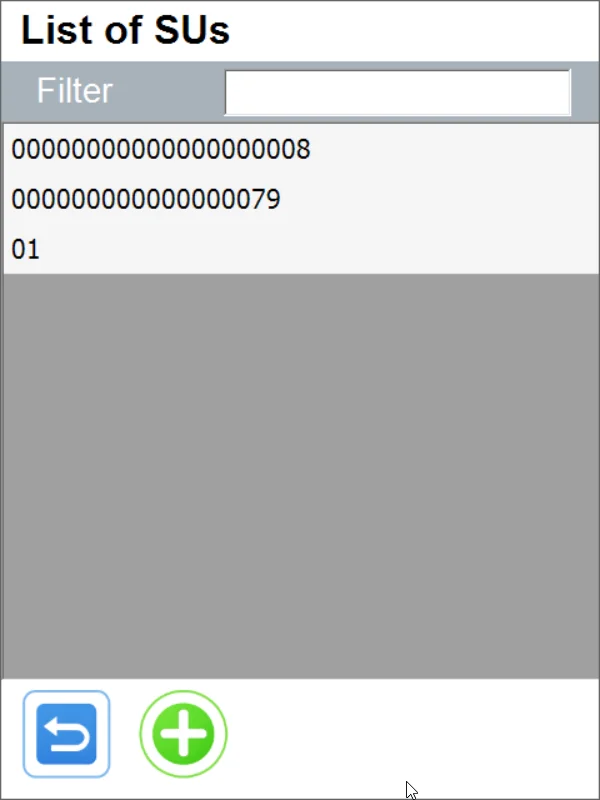
Use this icon to remove an SU from the list (this does not cause the removal of an SU from the system):
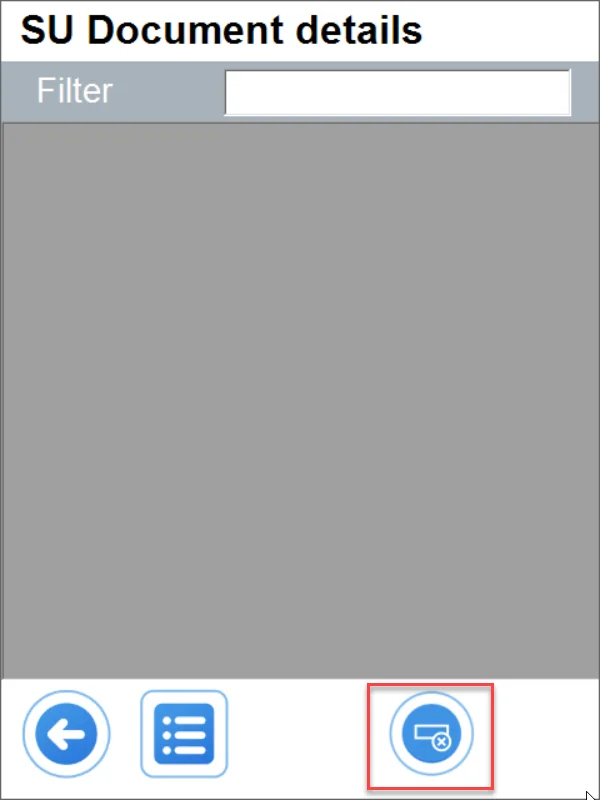
You can delete or edit each Item by entering its line.
Adding already existing SUs
Type SSCC or SU Code (you can also scan a related barcode).
CompuTec WMS checks if the SU exists, is already added, and is already added to another document.
After scanning, choose a Warehouse and Bin location (if required). If the SU was present in another Warehouse and now is in a different one, it can be fixed here.
The following steps are the same as in the case of creating a new SU.
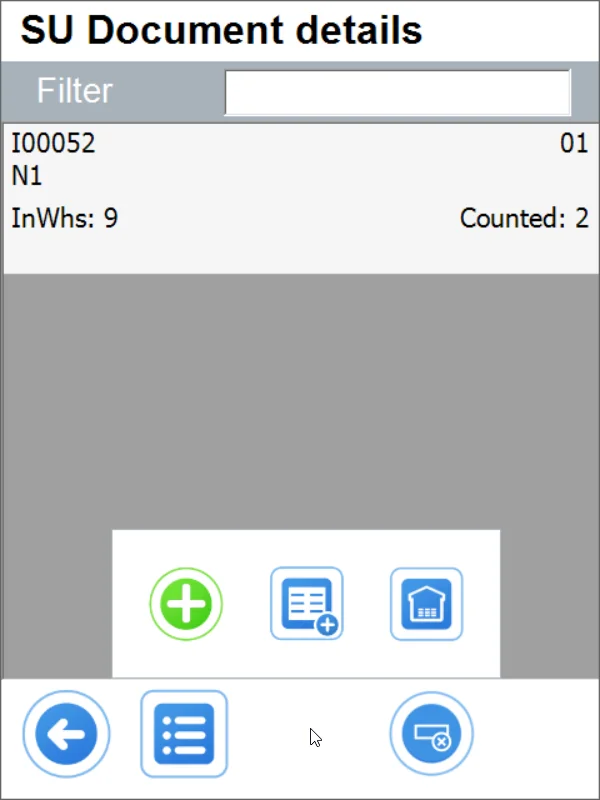
Add an Item by clicking the plus icon:
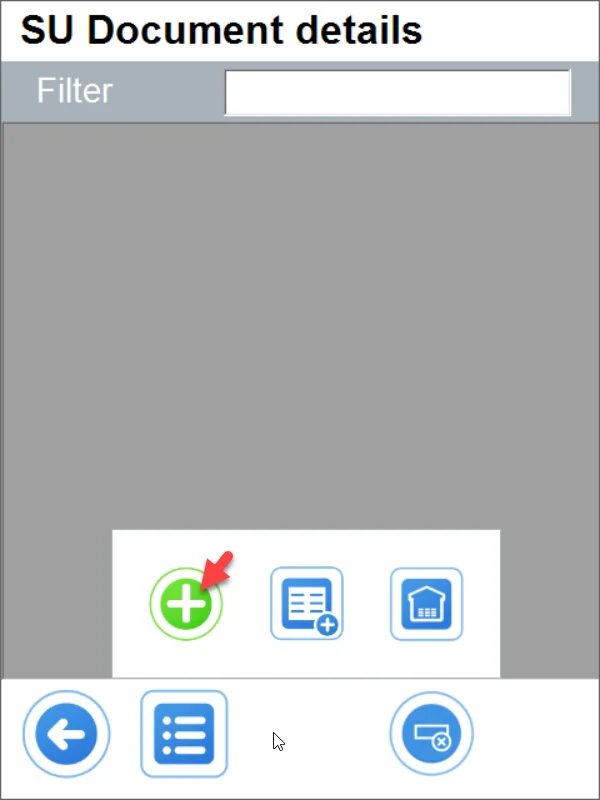
The Warehouse choosing step is skipped because a Warehouse was already selected from during the SU creation.
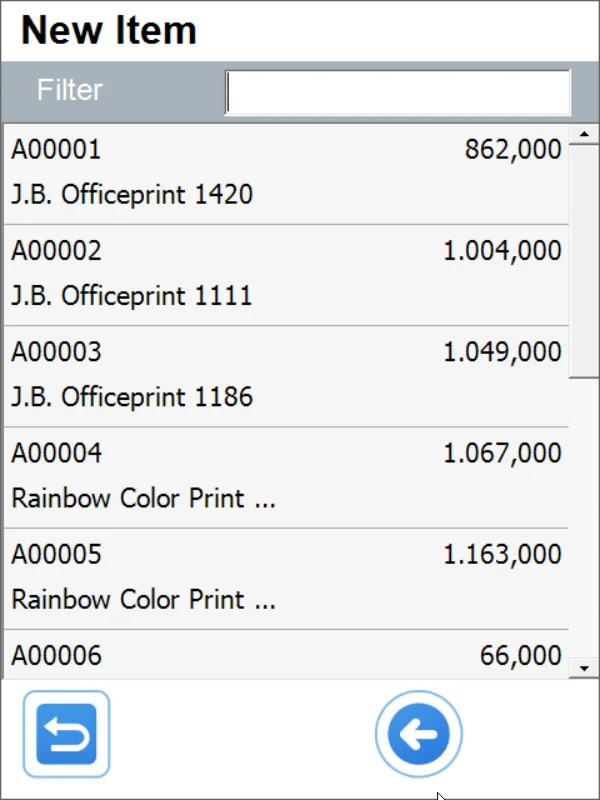
Similarly, you can add three types of Items: Serial-managed Items, Batch-managed Items, Items without Serial Numbers, or Batch.
The way of adding an Item is the same as in the case of adding Items that are not present in SUs.
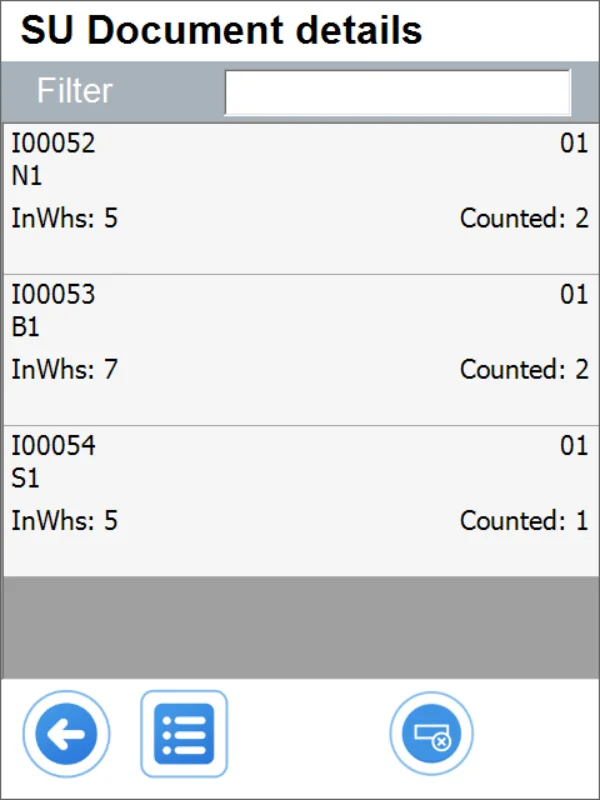
You can change the location of an SU (with its content) by clicking the following icon and choosing another Warehouse (this applies only to the highest-level SUs):
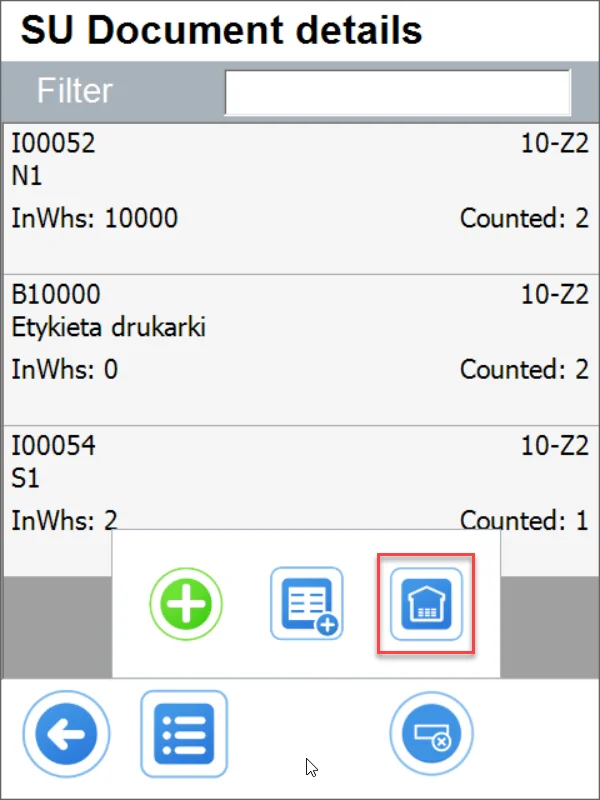
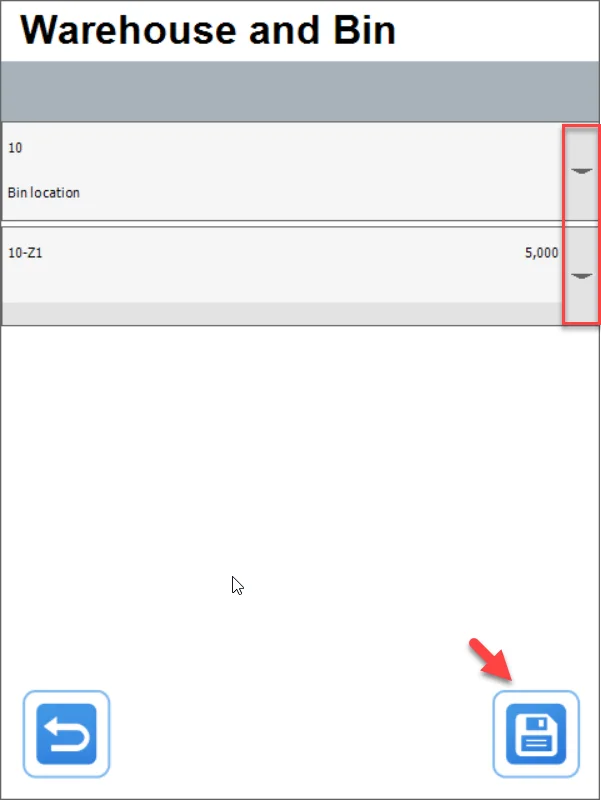
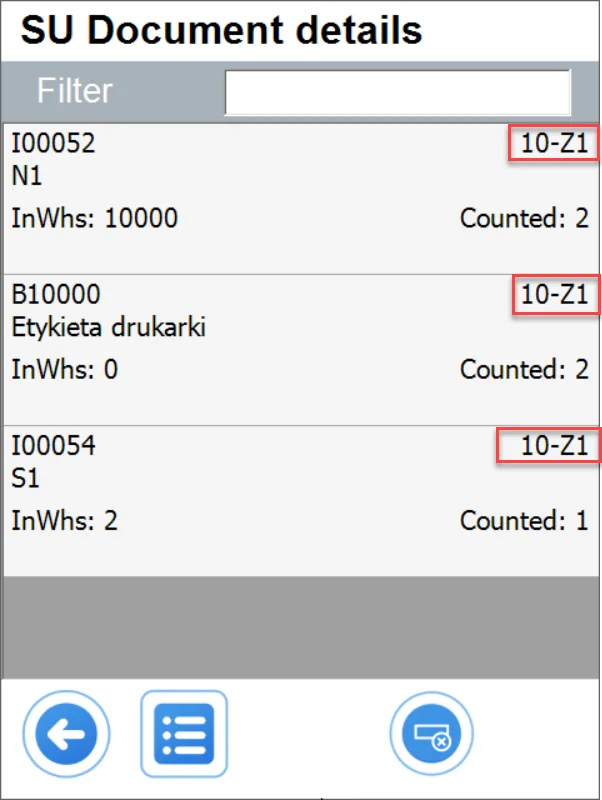
You can add an SU to another SU by clicking this icon:
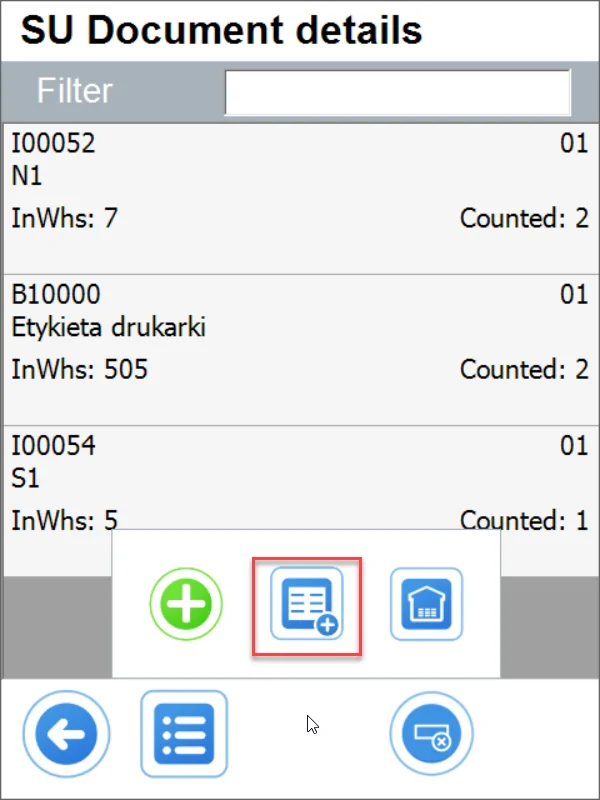
You can add an existing SU or click the right arrow icon to create a new one.
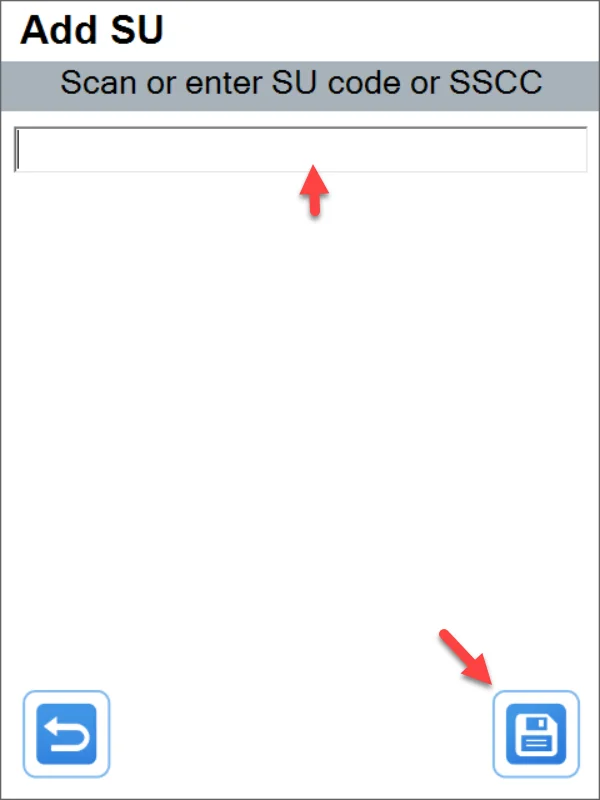
You can access a lower-level SU by entering its line in the higher-level SU:
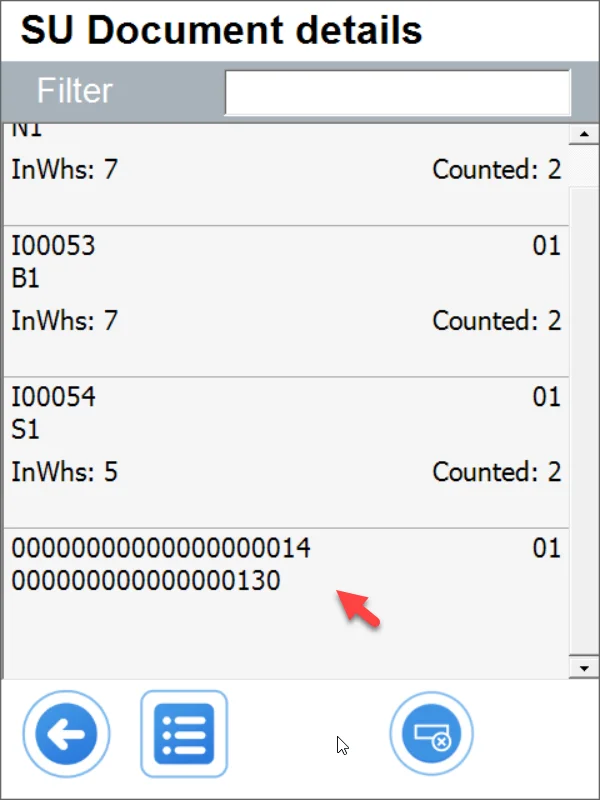
Here you can delete only a lower-level SU (with its content):
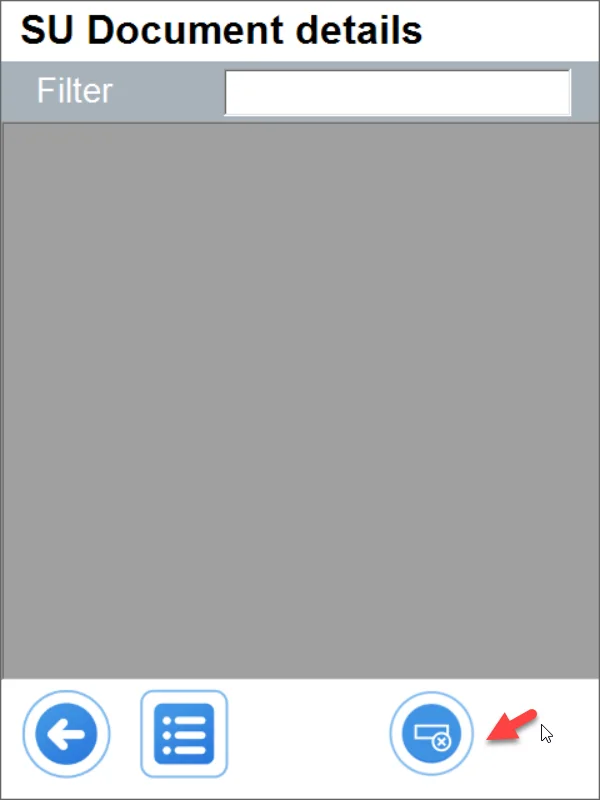
Adding Items works the same way as in the highest-level SU case.
Scanning
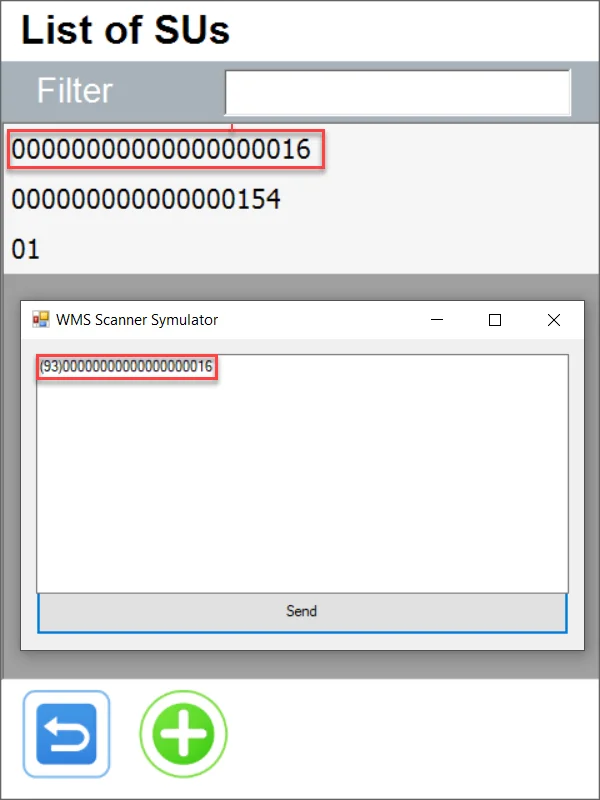
You can scan an SU barcode only in the Add SU form:
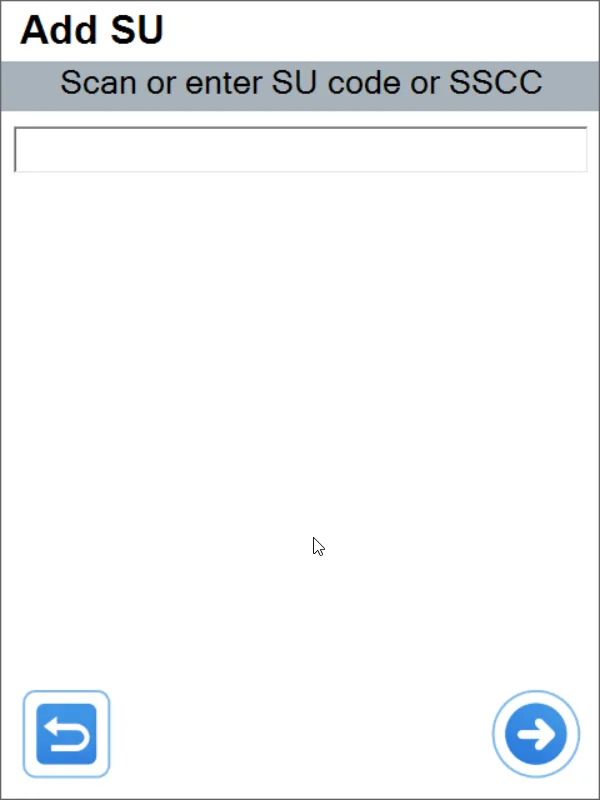
Prefix 93 for an SU Code, e.g. (93)00000000000000000016
Prefix 00 for an SSCC, e.g. (00)0000000000000154
Upon scanning a code, you will get information (not present in the system or already added in this or another document), or the system will move to a related Warehouse.
Choosing an already added SU in the List of SUs form:
Adding Items by scanning:
Possible cases:
In the Document details form:
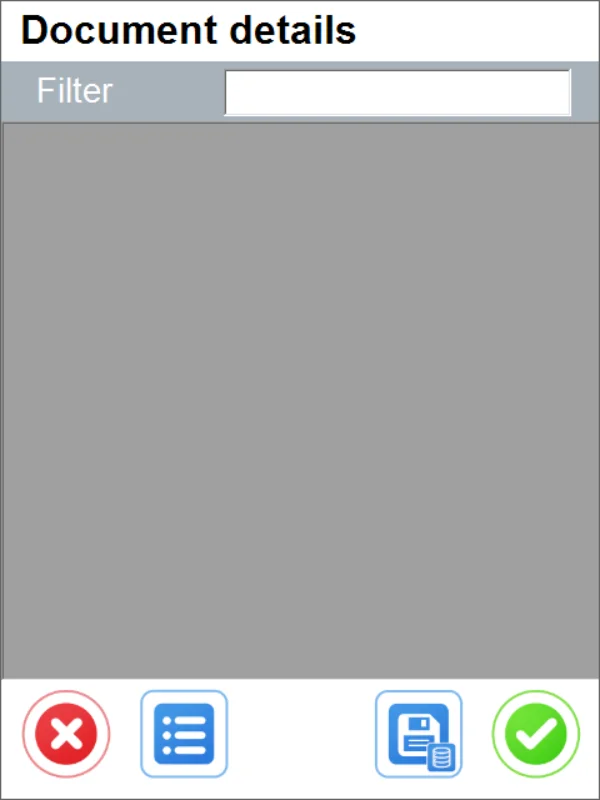
Scan a Warehouse code, an Item code and a quantity code.
You can add a Warehouse along with the Bin location in the code.
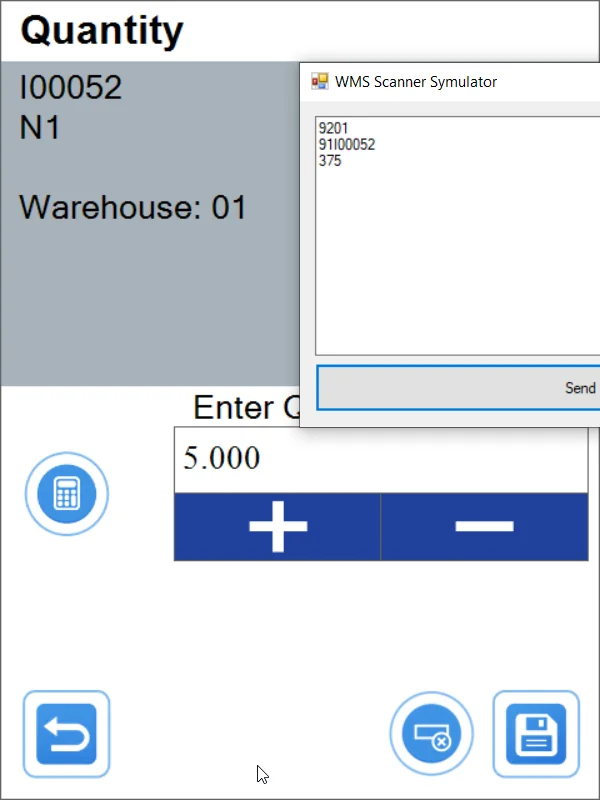
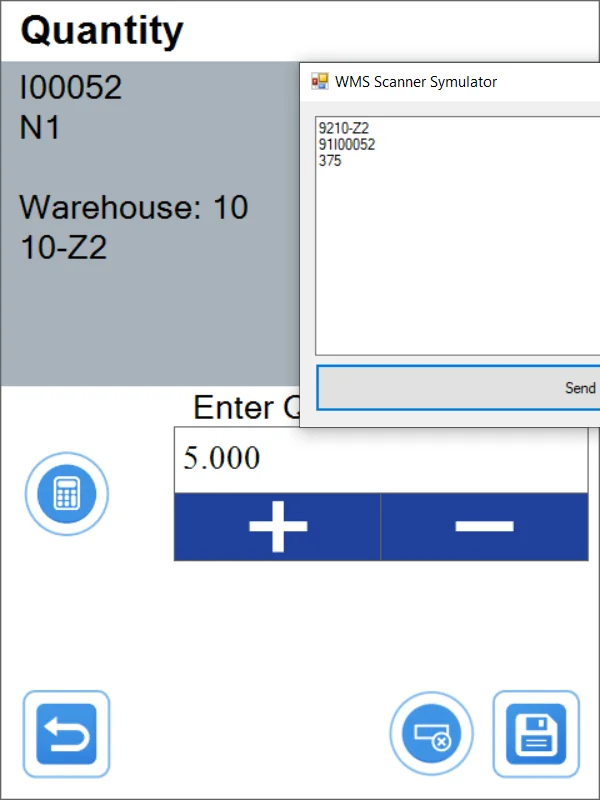
Click the save icon to approve.
Scanning with the 01(GS1GTIN) code:
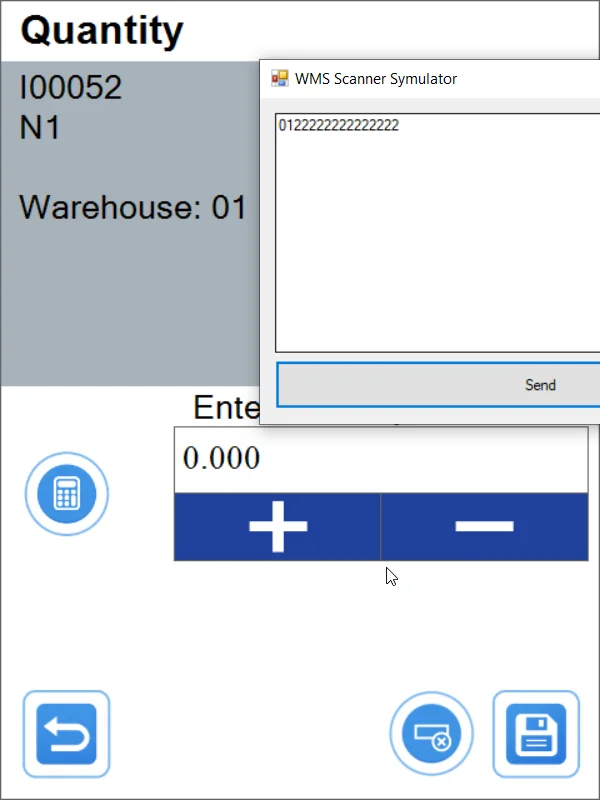
Item code and quantity scanning:
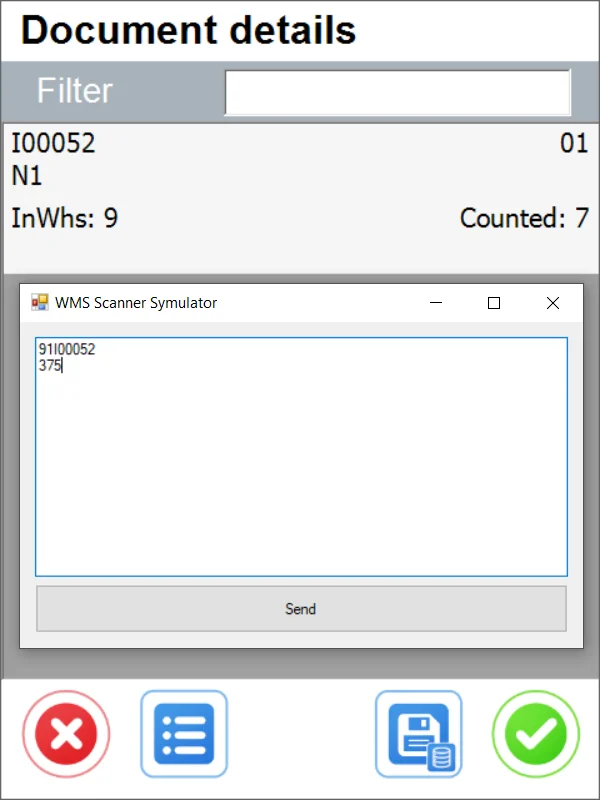
Scan quantity always after entering an Item line:
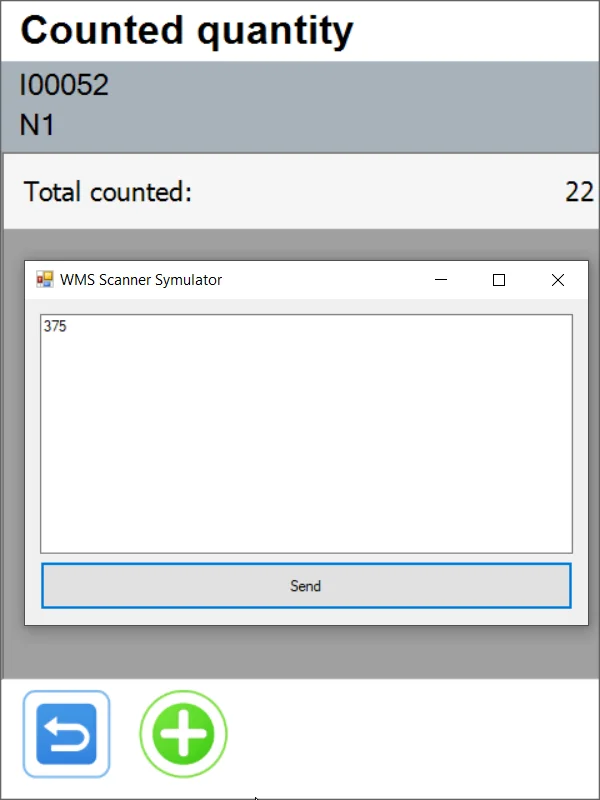
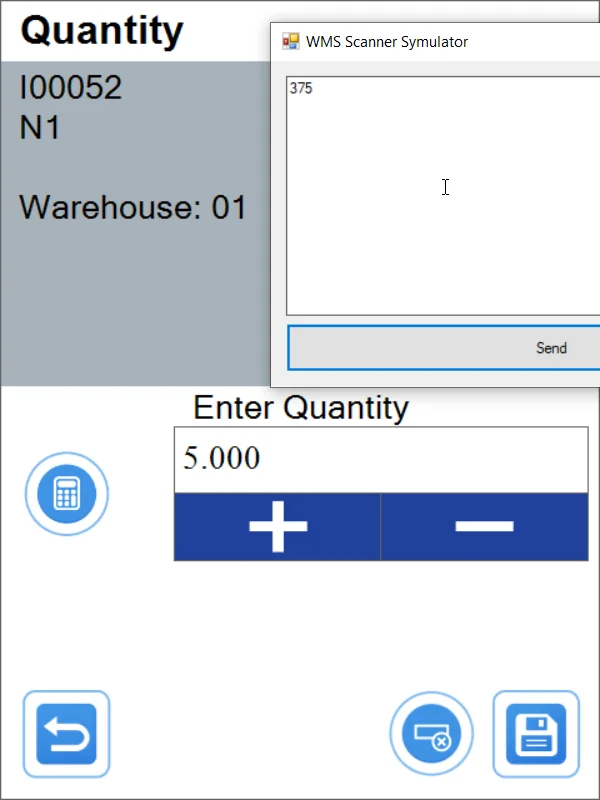
Batch scanning:
Warehouse, Item, Batch, and Quantity:
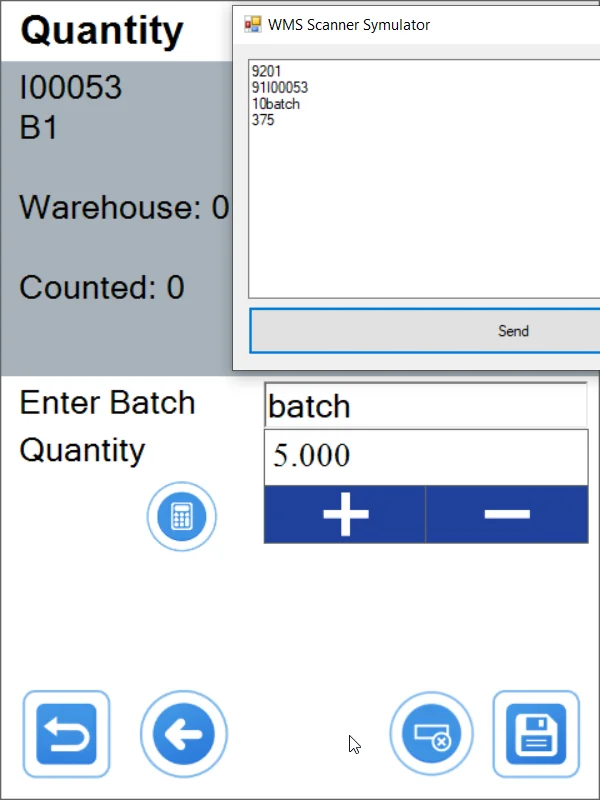
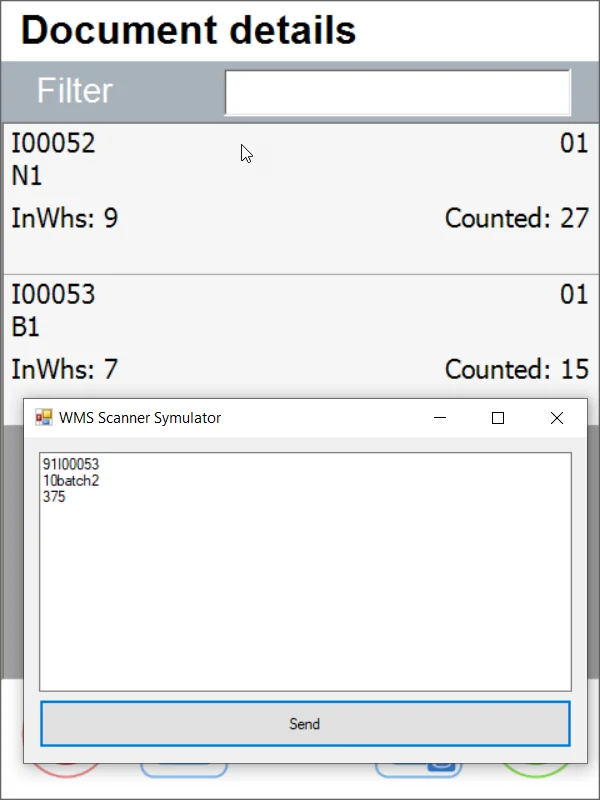
Batch and quantity:
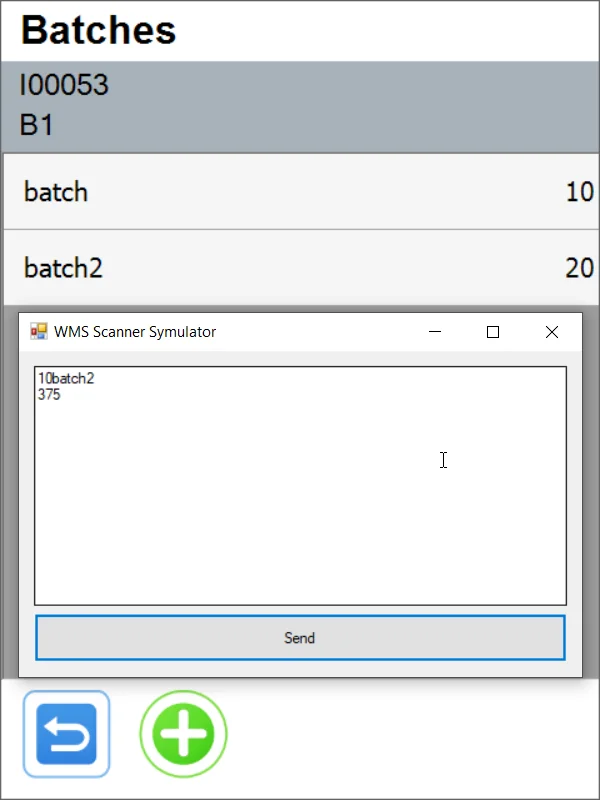
Only quantity:
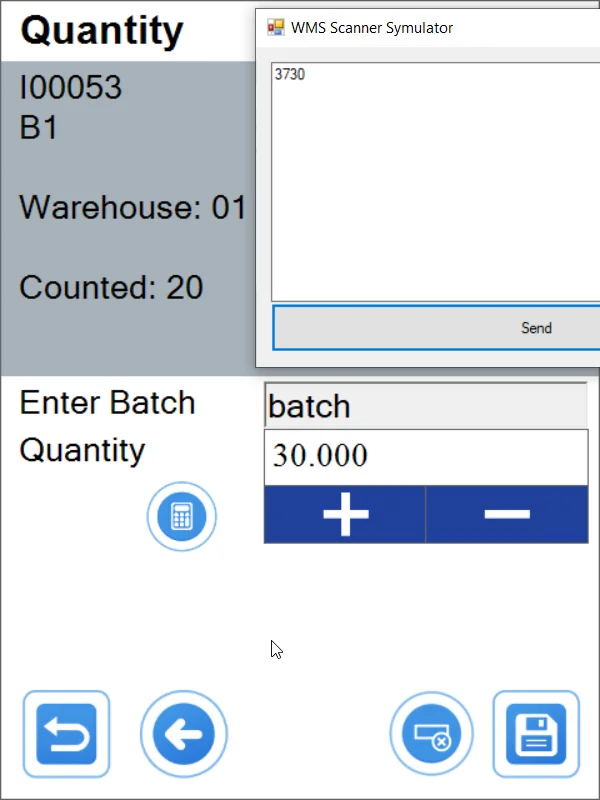
Only Batch:
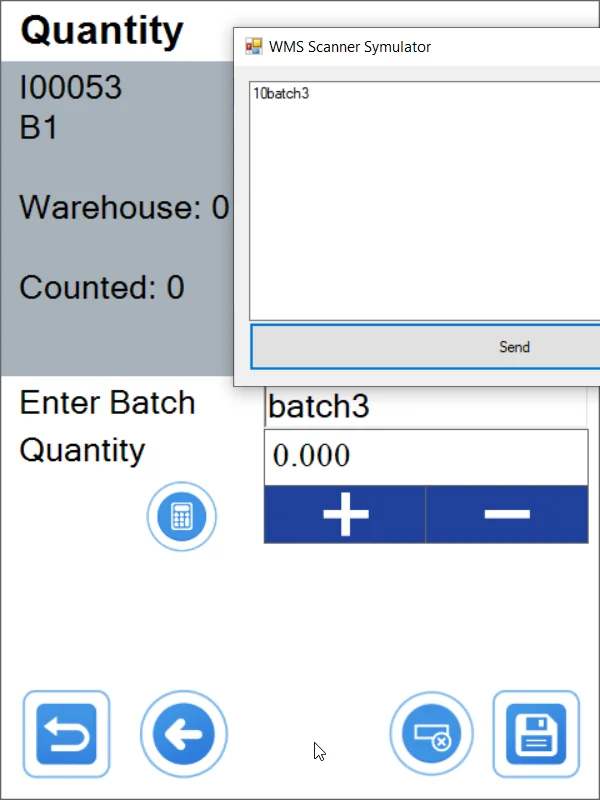
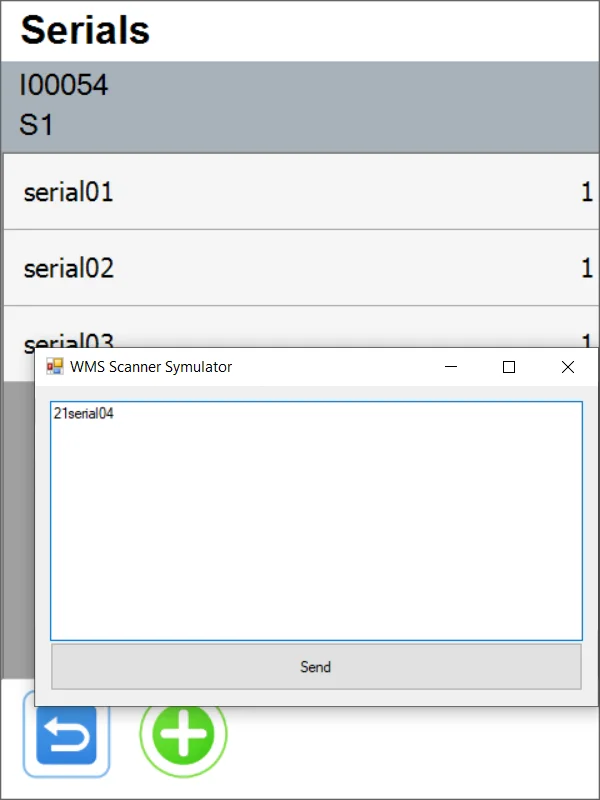
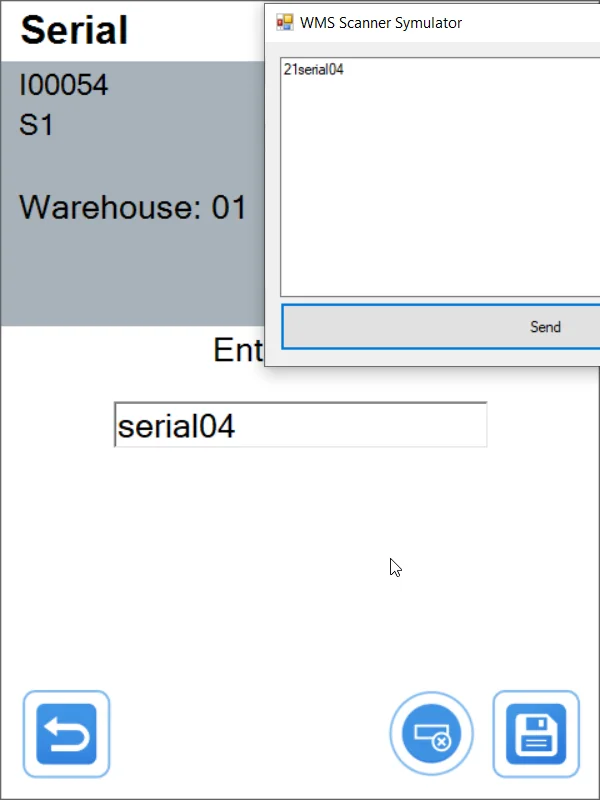
Scanning a Serial Number:
Warehouse, Item, Serial Number.
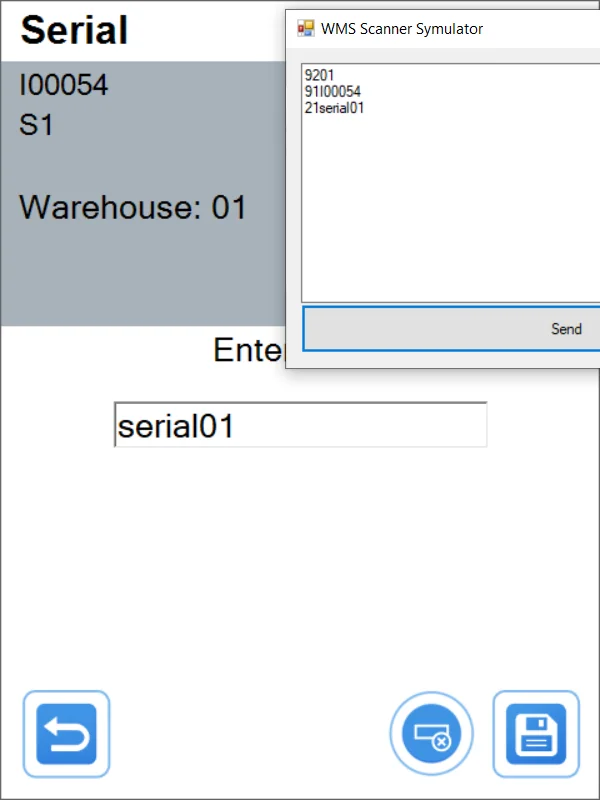
Item and Serial Number.
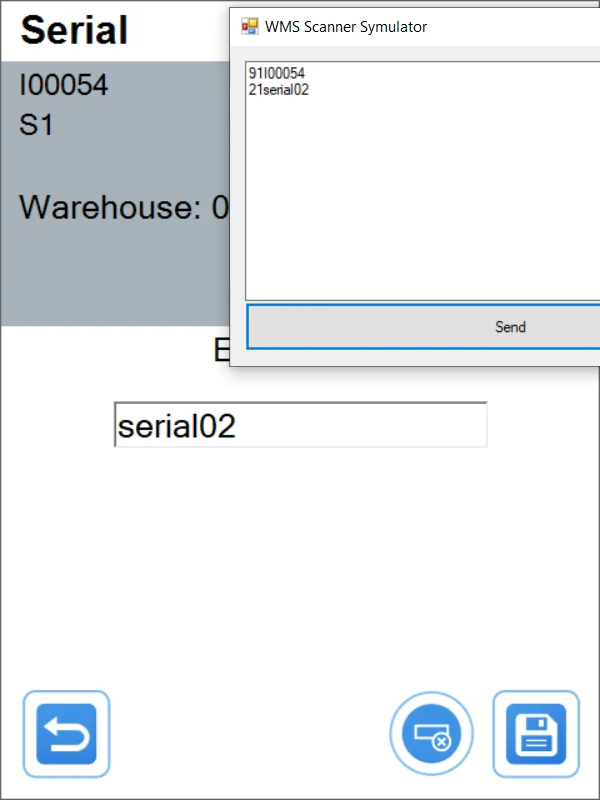
Only Serial Number in the Serial Numbers form and when adding a new one:
