Default Workflow
Managing deliveries efficiently is essential to streamlined warehouse operations. This guide walks you through the default Delivery workflow in the system, ensuring every step is covered - from selecting a customer to posting the final delivery document in SAP Business One.
Click here to check how to set a workflow for the Delivery document.
Some forms' order and availability during a document's creation may vary depending on individual settings. Click here to find out more on custom configuration.
-
Click "Delivery" from the main menu to initiate a new Delivery document.
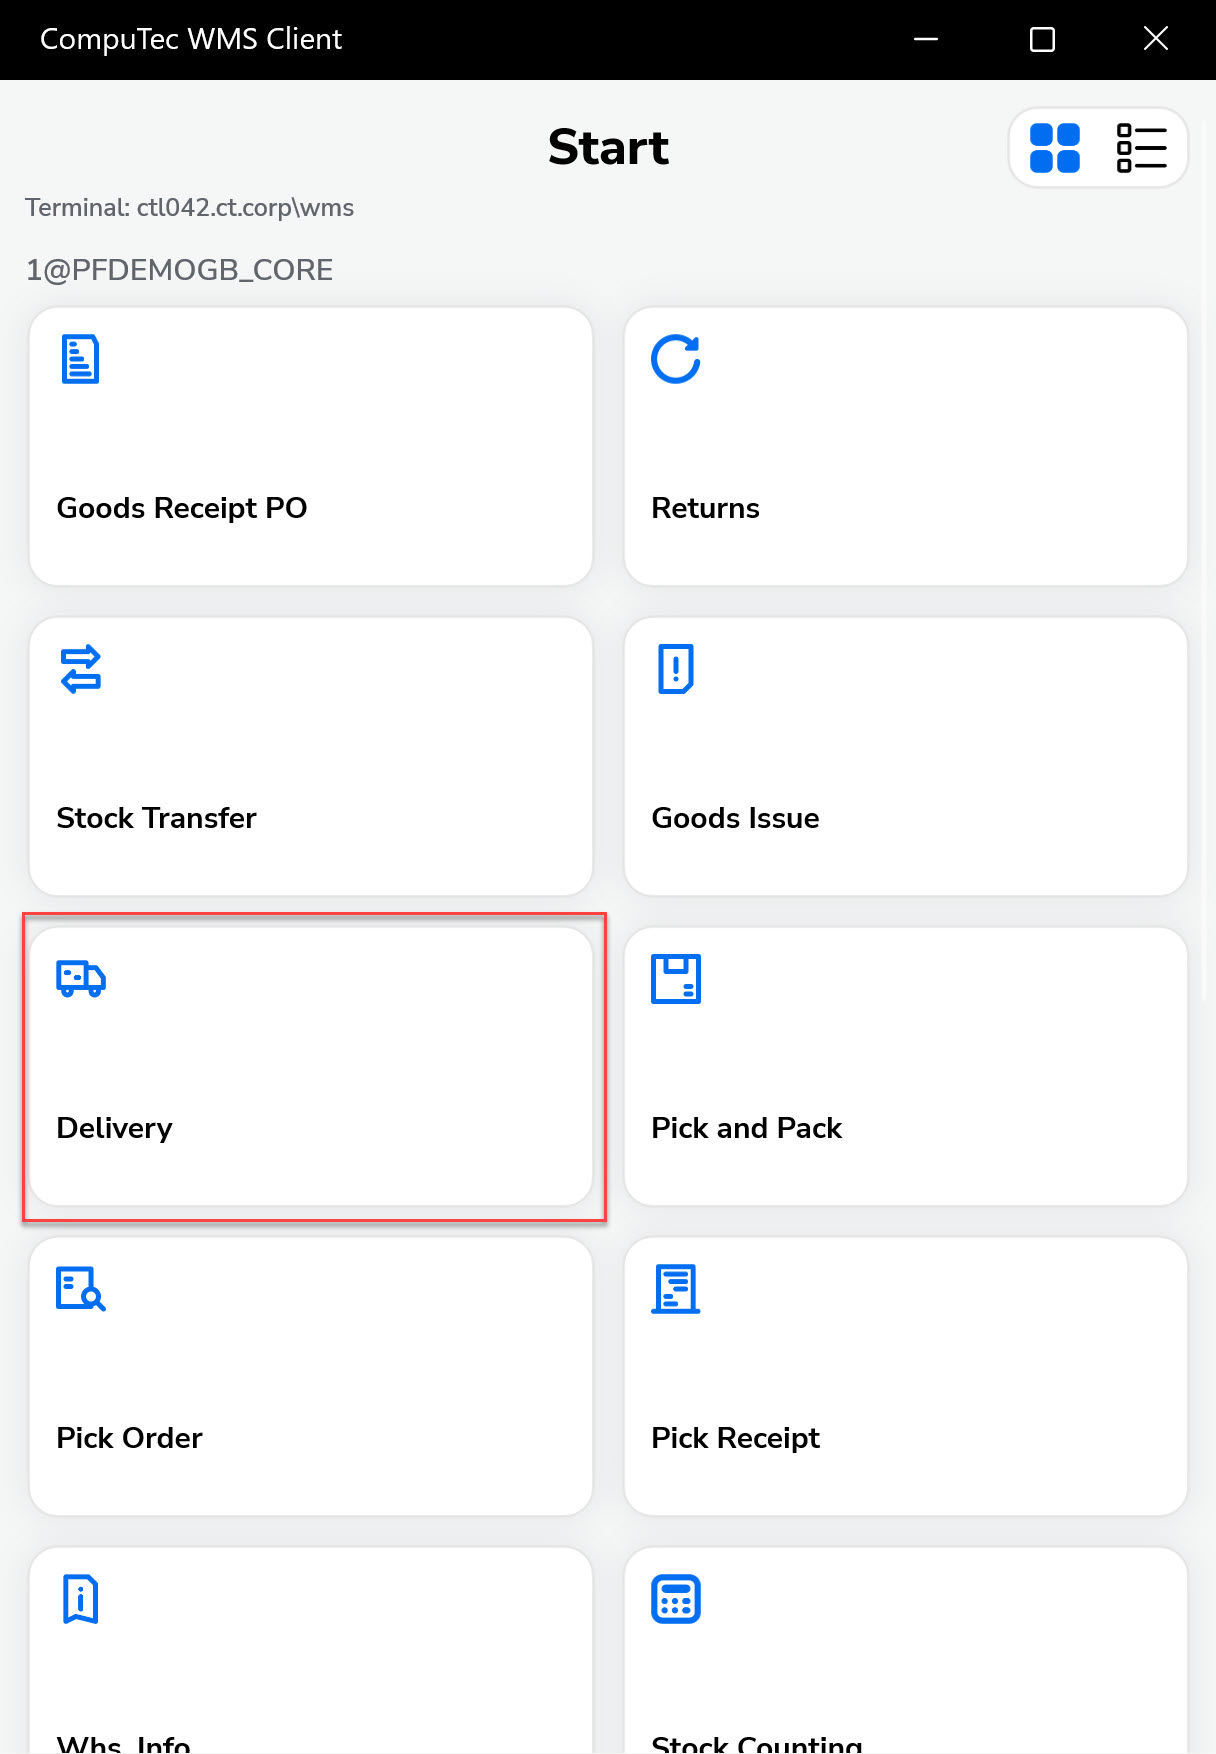
 info
infoIt is possible to set up a default Warehouse. In this case, the Warehouse Selection screen is skipped, and the Warehouse set as default is chosen automatically.
-
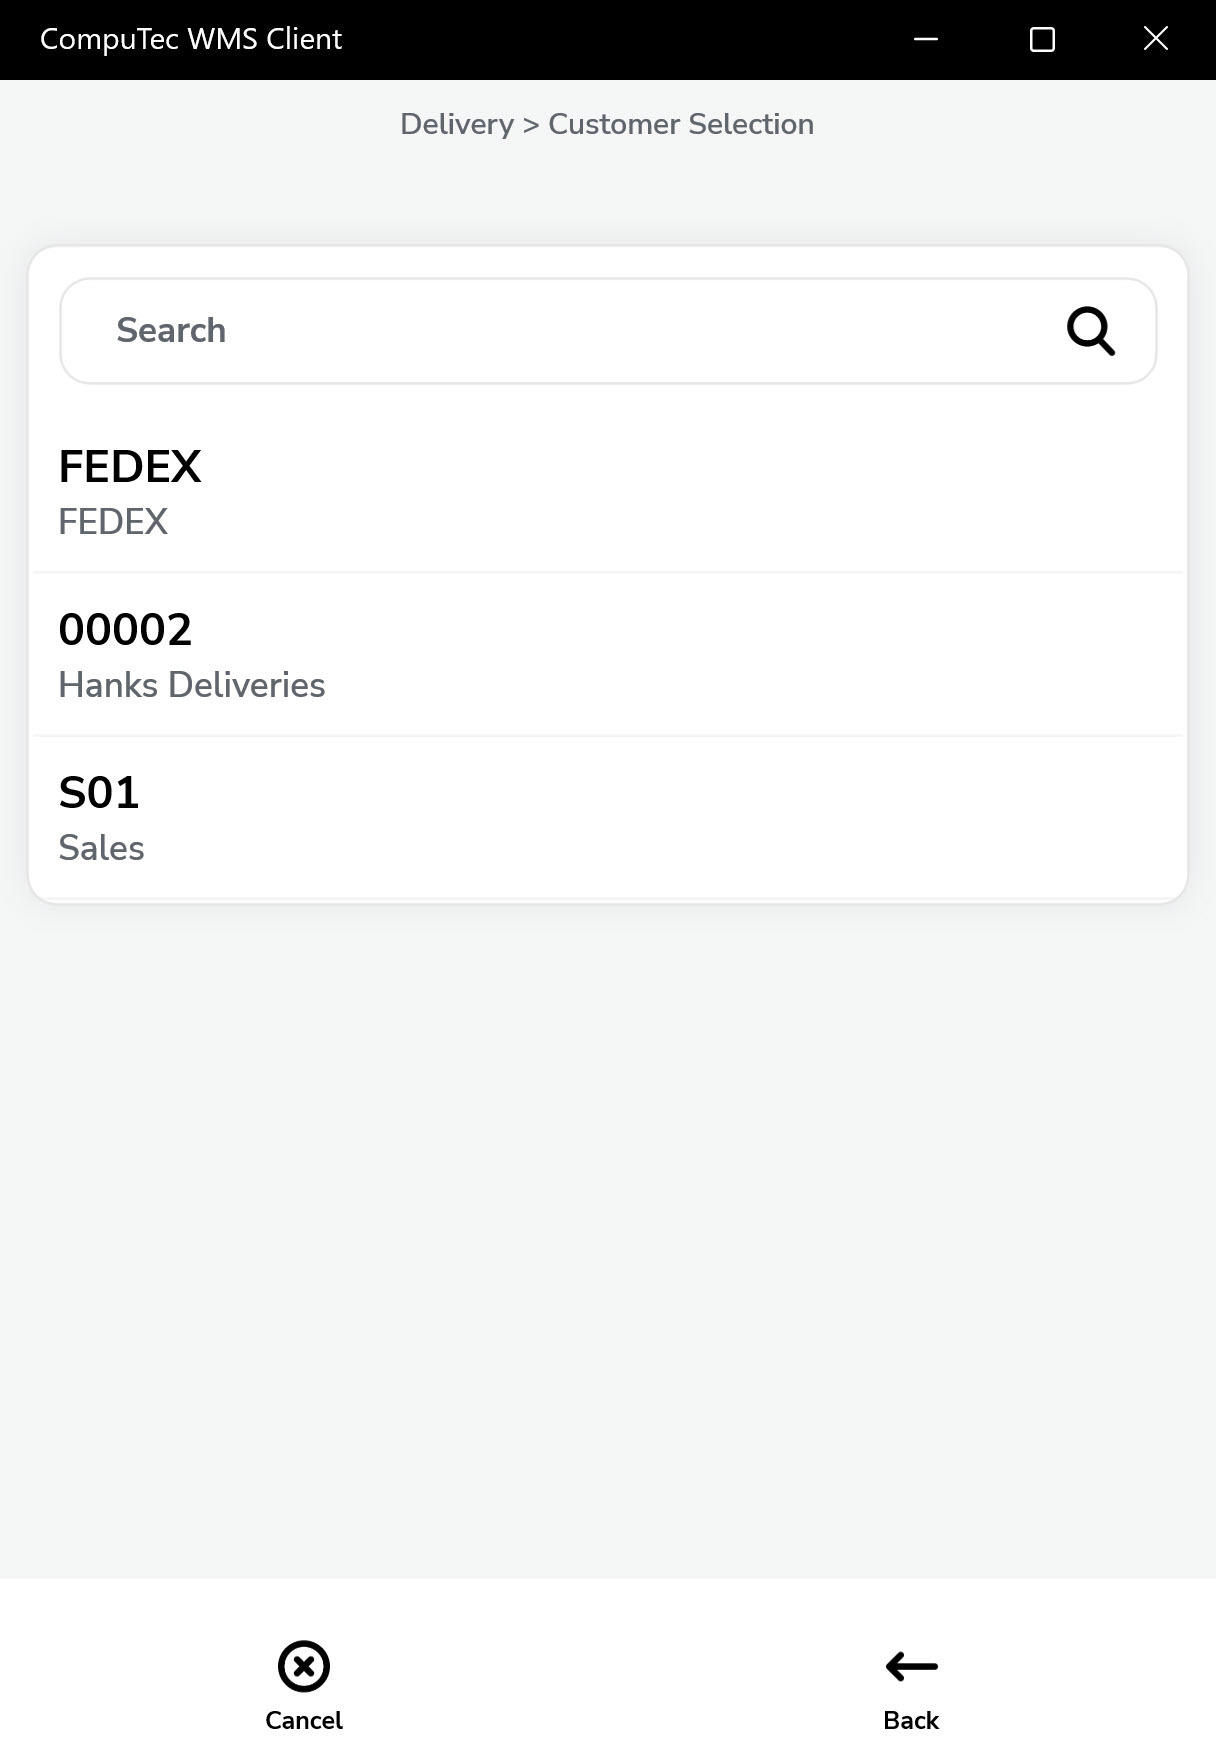
The Customer Selection window will appear.
Clicking a row of a Customer picks it and leads to another window.
-
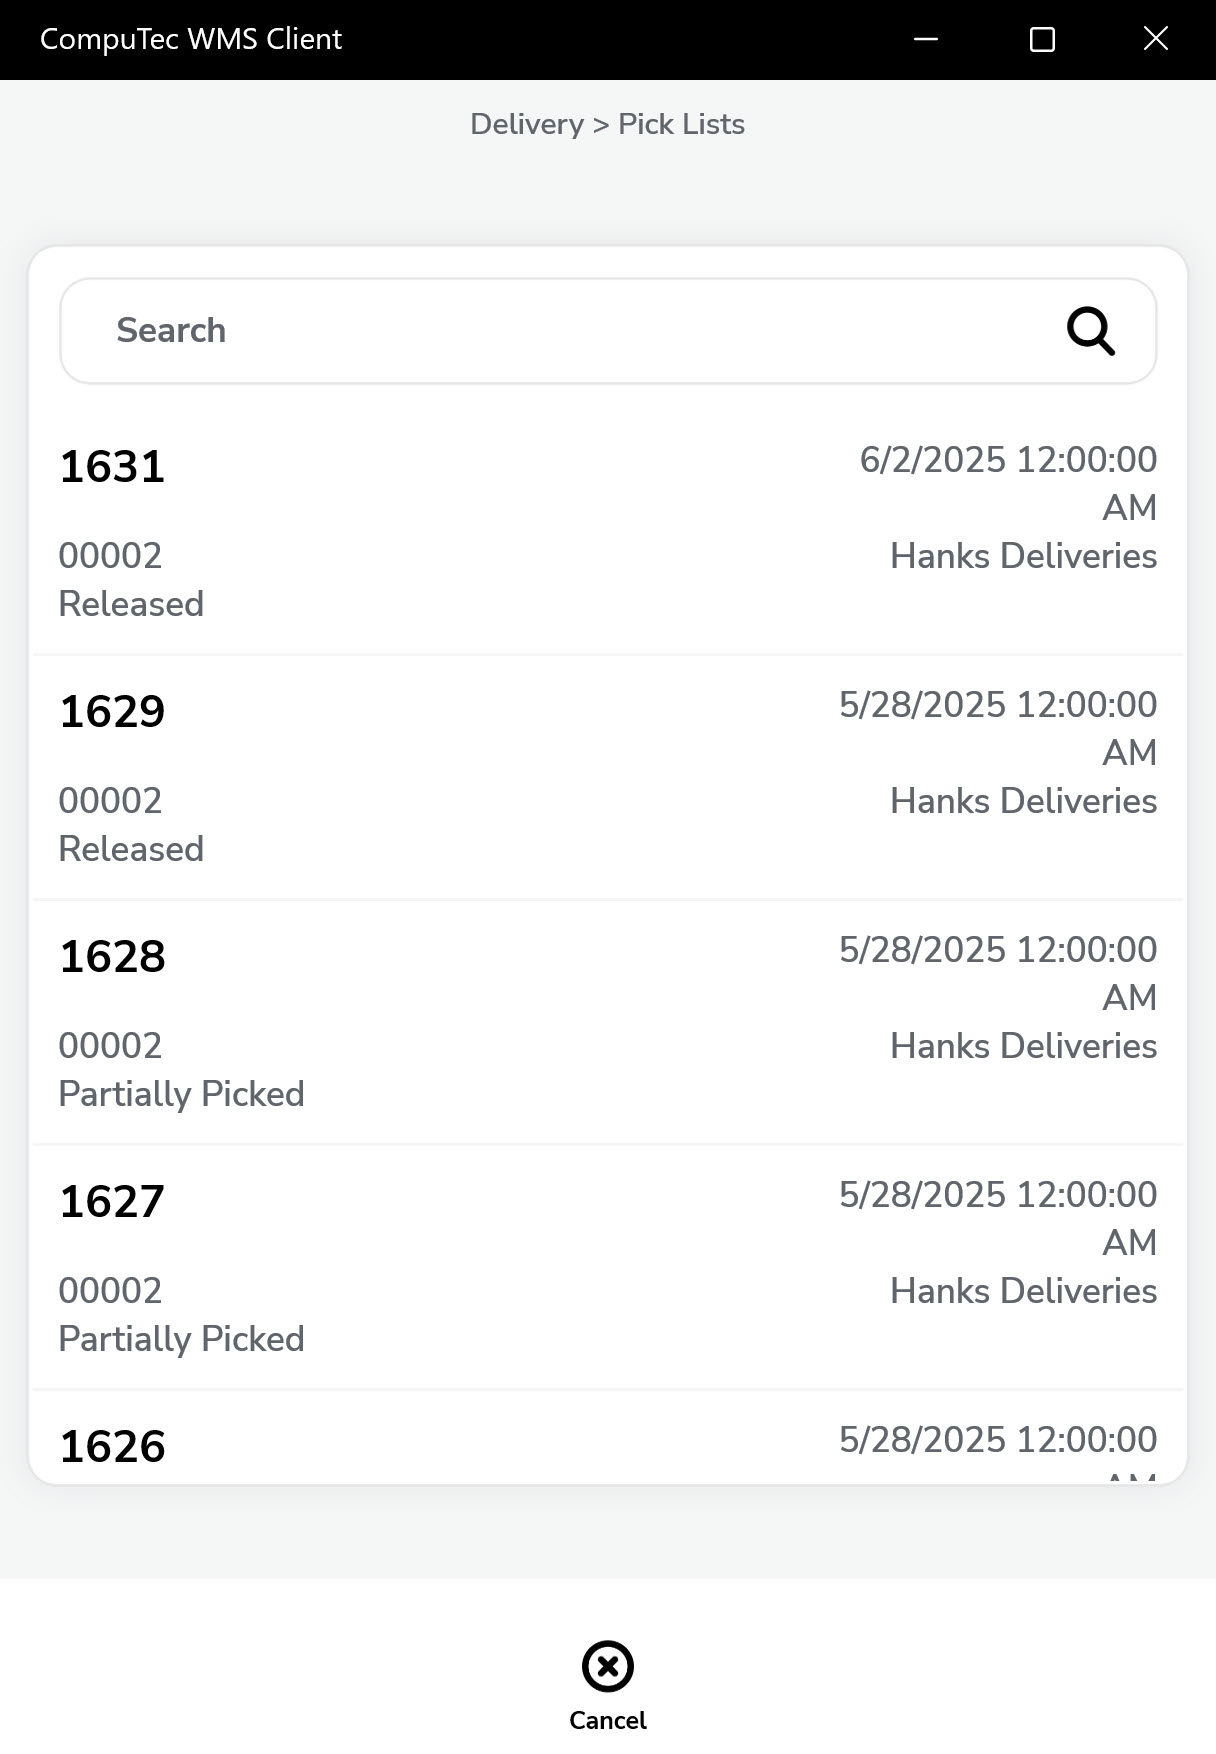
You will now see a list of active Pick Lists (excluding those with status “Closed”) for the selected warehouse. You can filter these by scanning an item code.
-
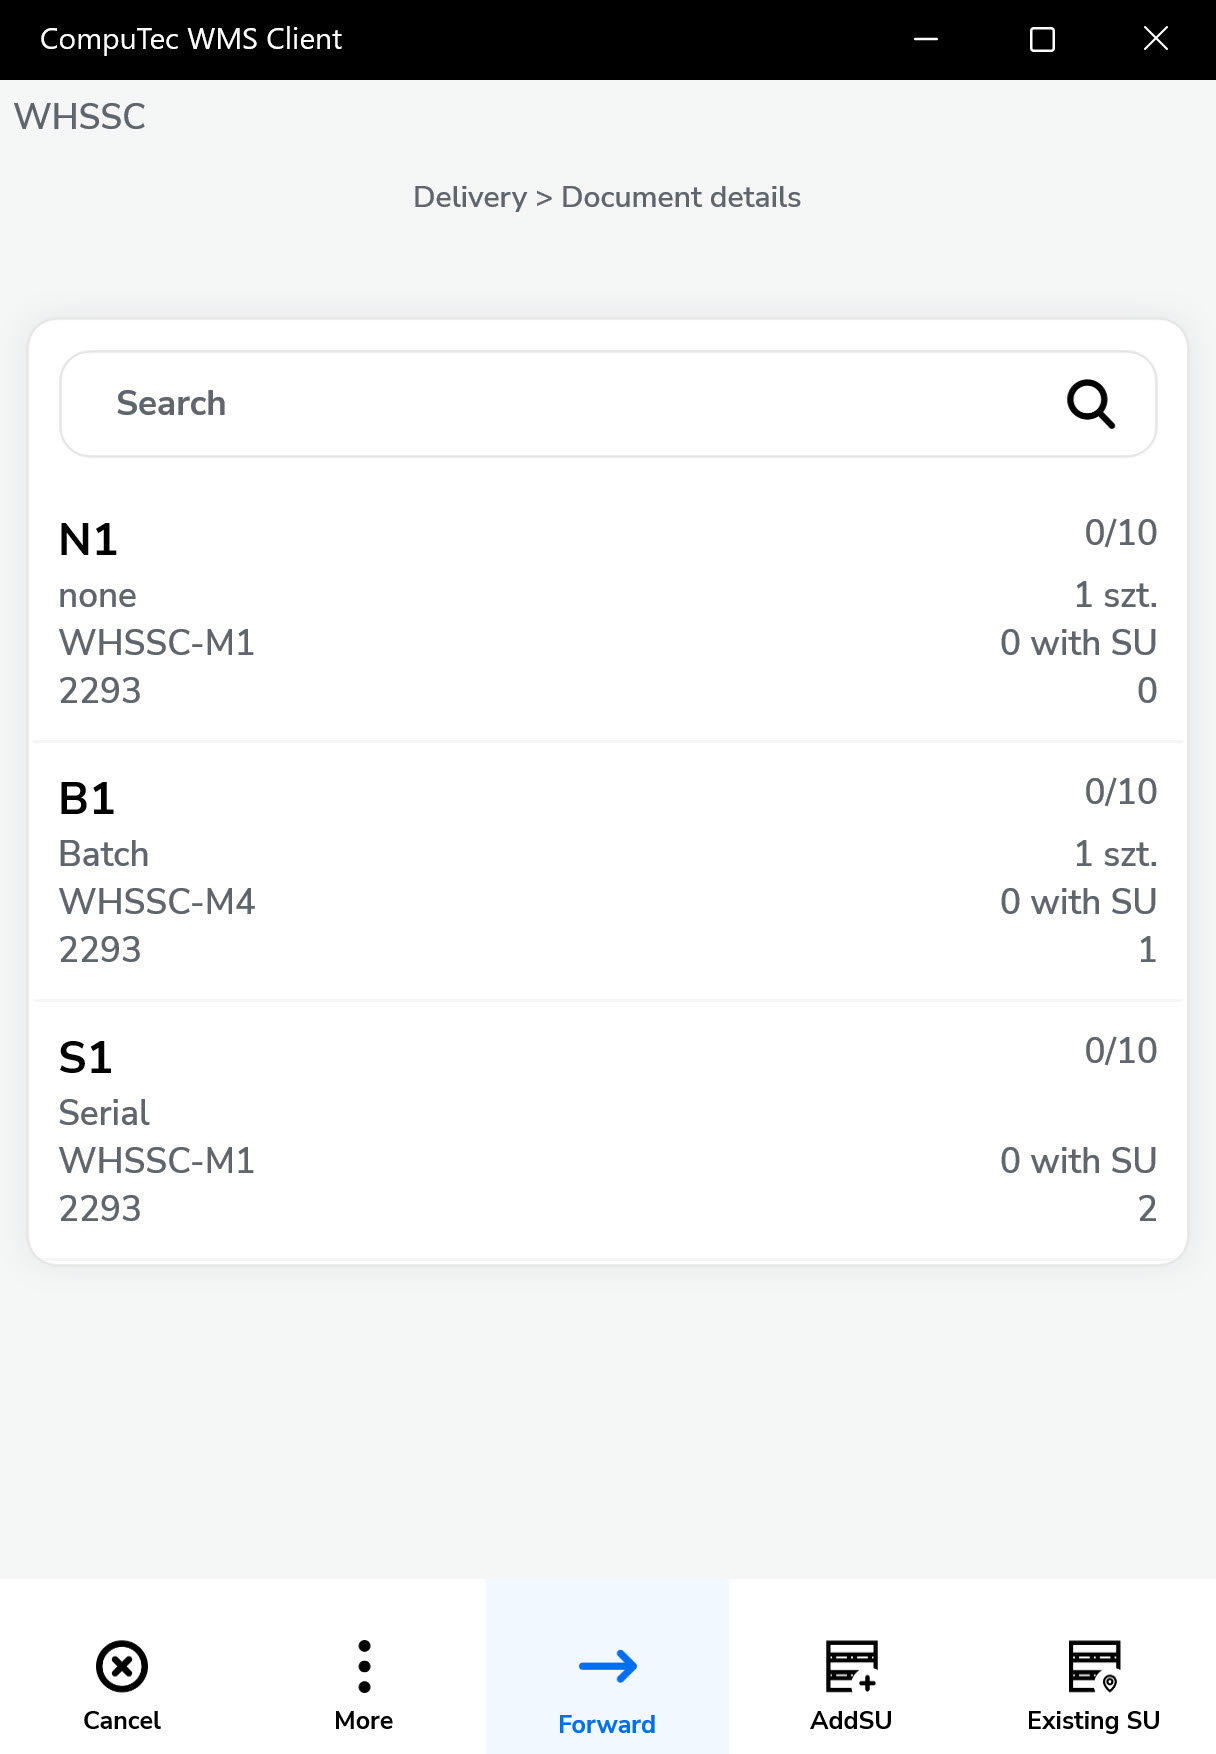
The Document Details window will appear. Select items from the Pick List by clicking a row or scanning the item code to set quantities.
-
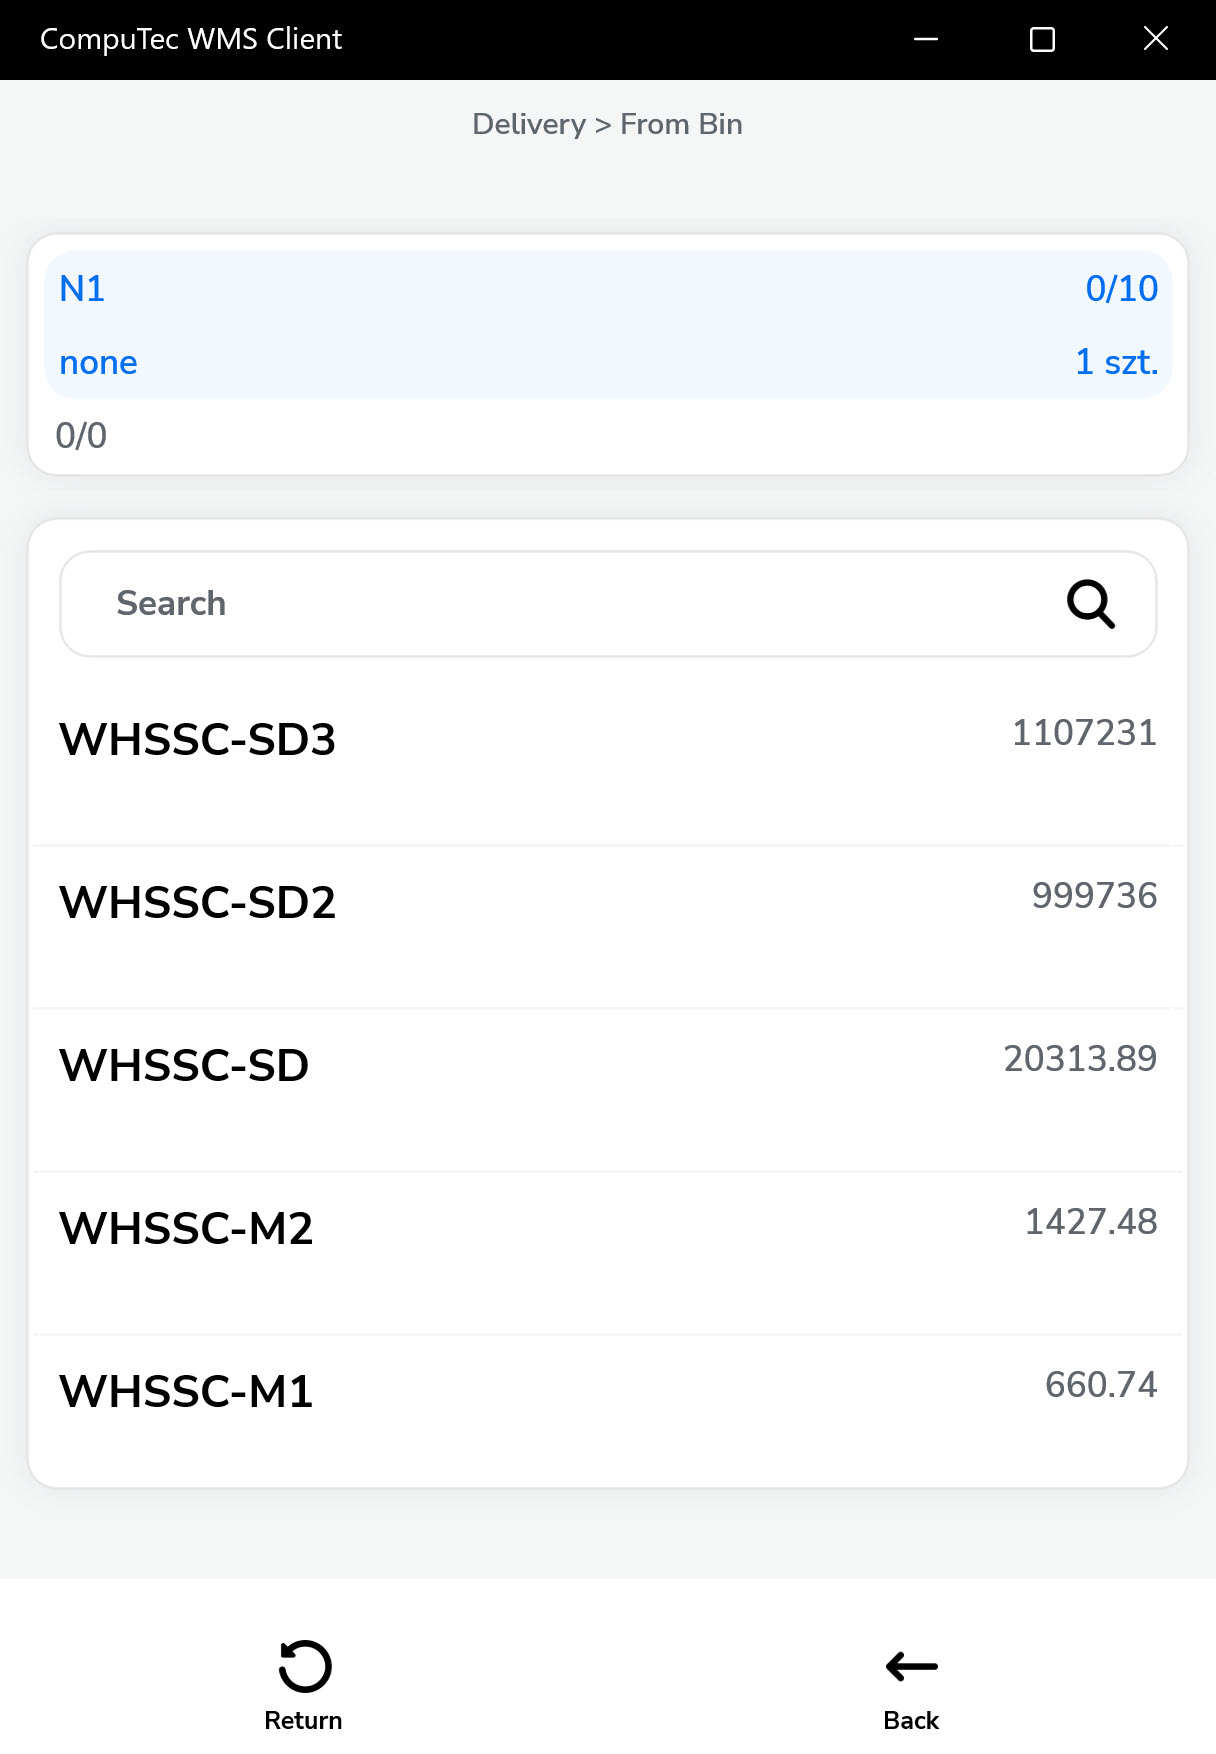
A "From Bin form" will appear if Bin Locations manage a Warehouse. Click a required Bin row or scan its code.
-
Adjust the quantity manually, by scanning, or using the '+' and '-' buttons. Confirm with the right arrow icon. Click the "Save" icon after choosing the correct quantity to return to the Document Details window.

-
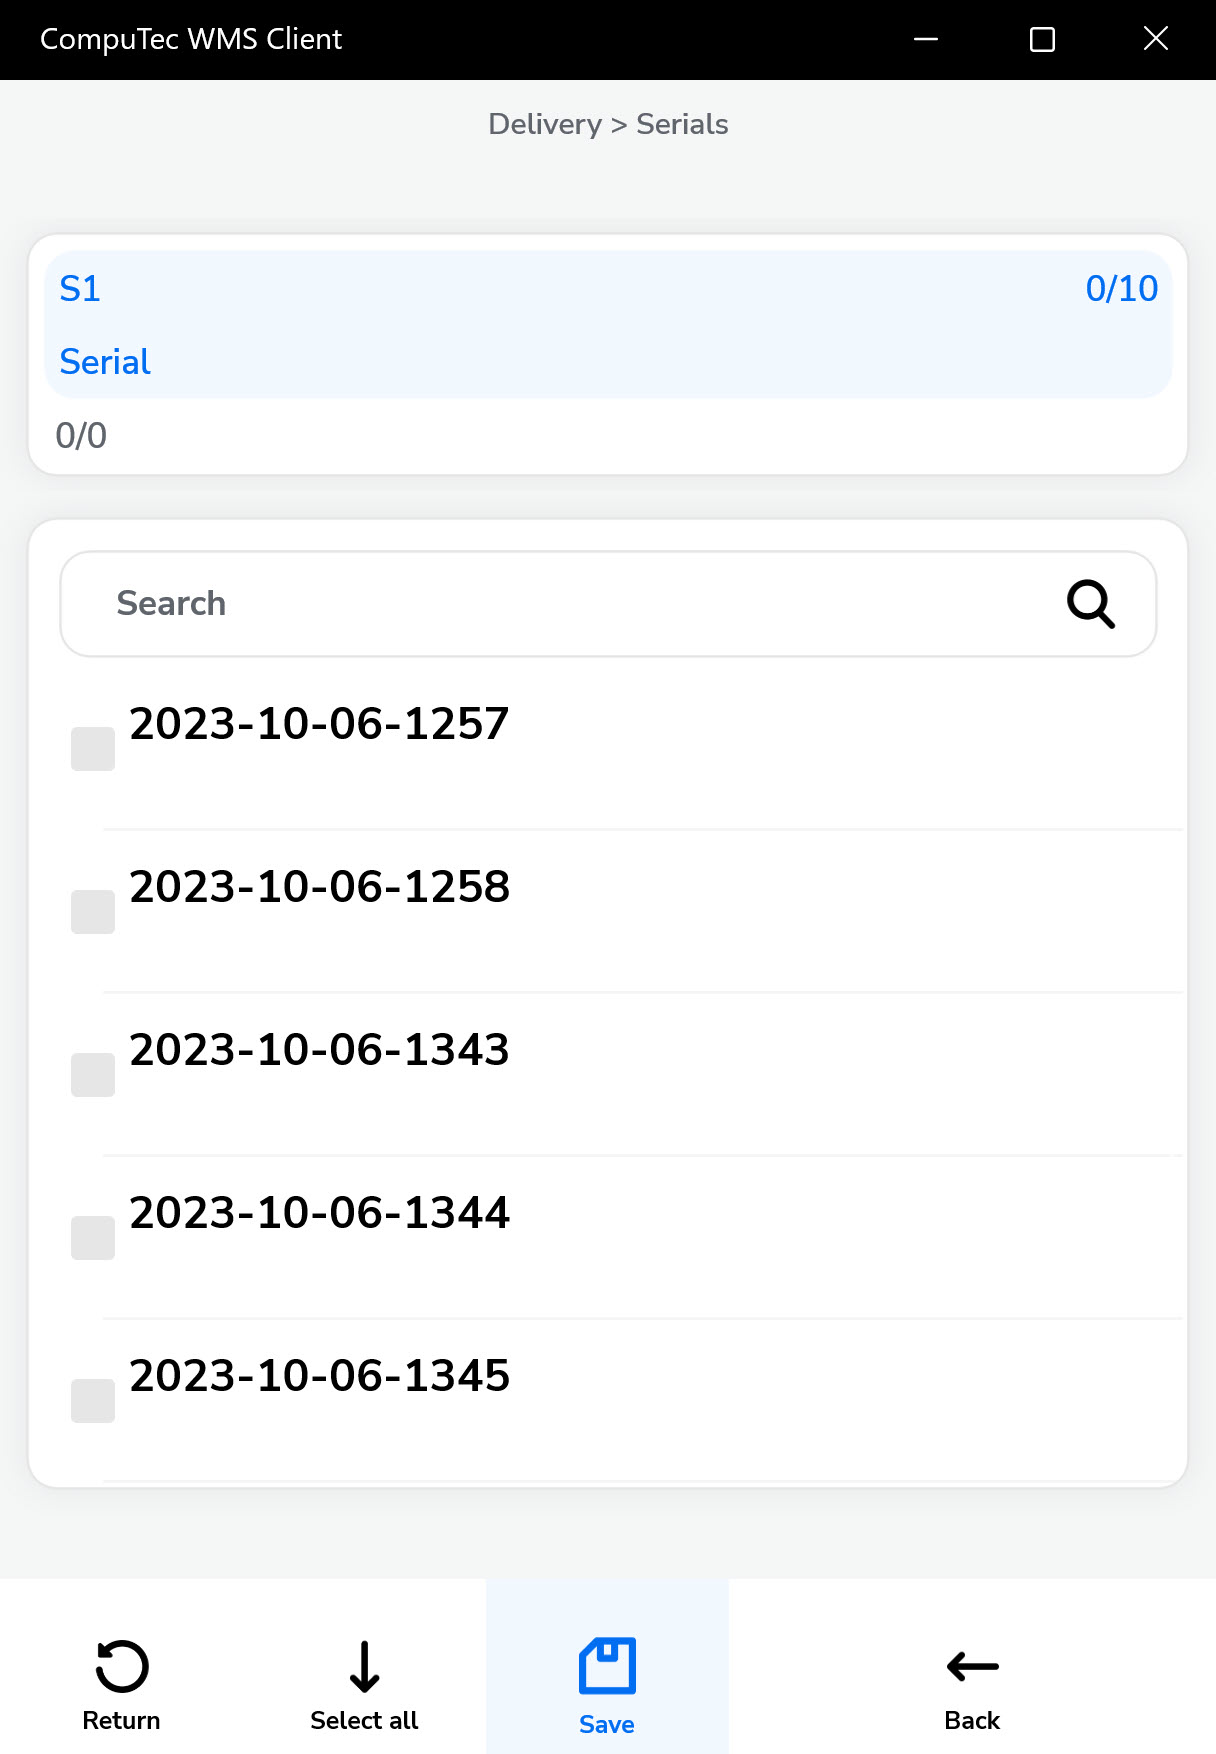
If serial numbers manage an item, the Serial Number window appears after clicking an item row. Clicking a Serial number row picks it and adds it to the Document Details window. This step should be repeated until obtaining the desired quantity.
-
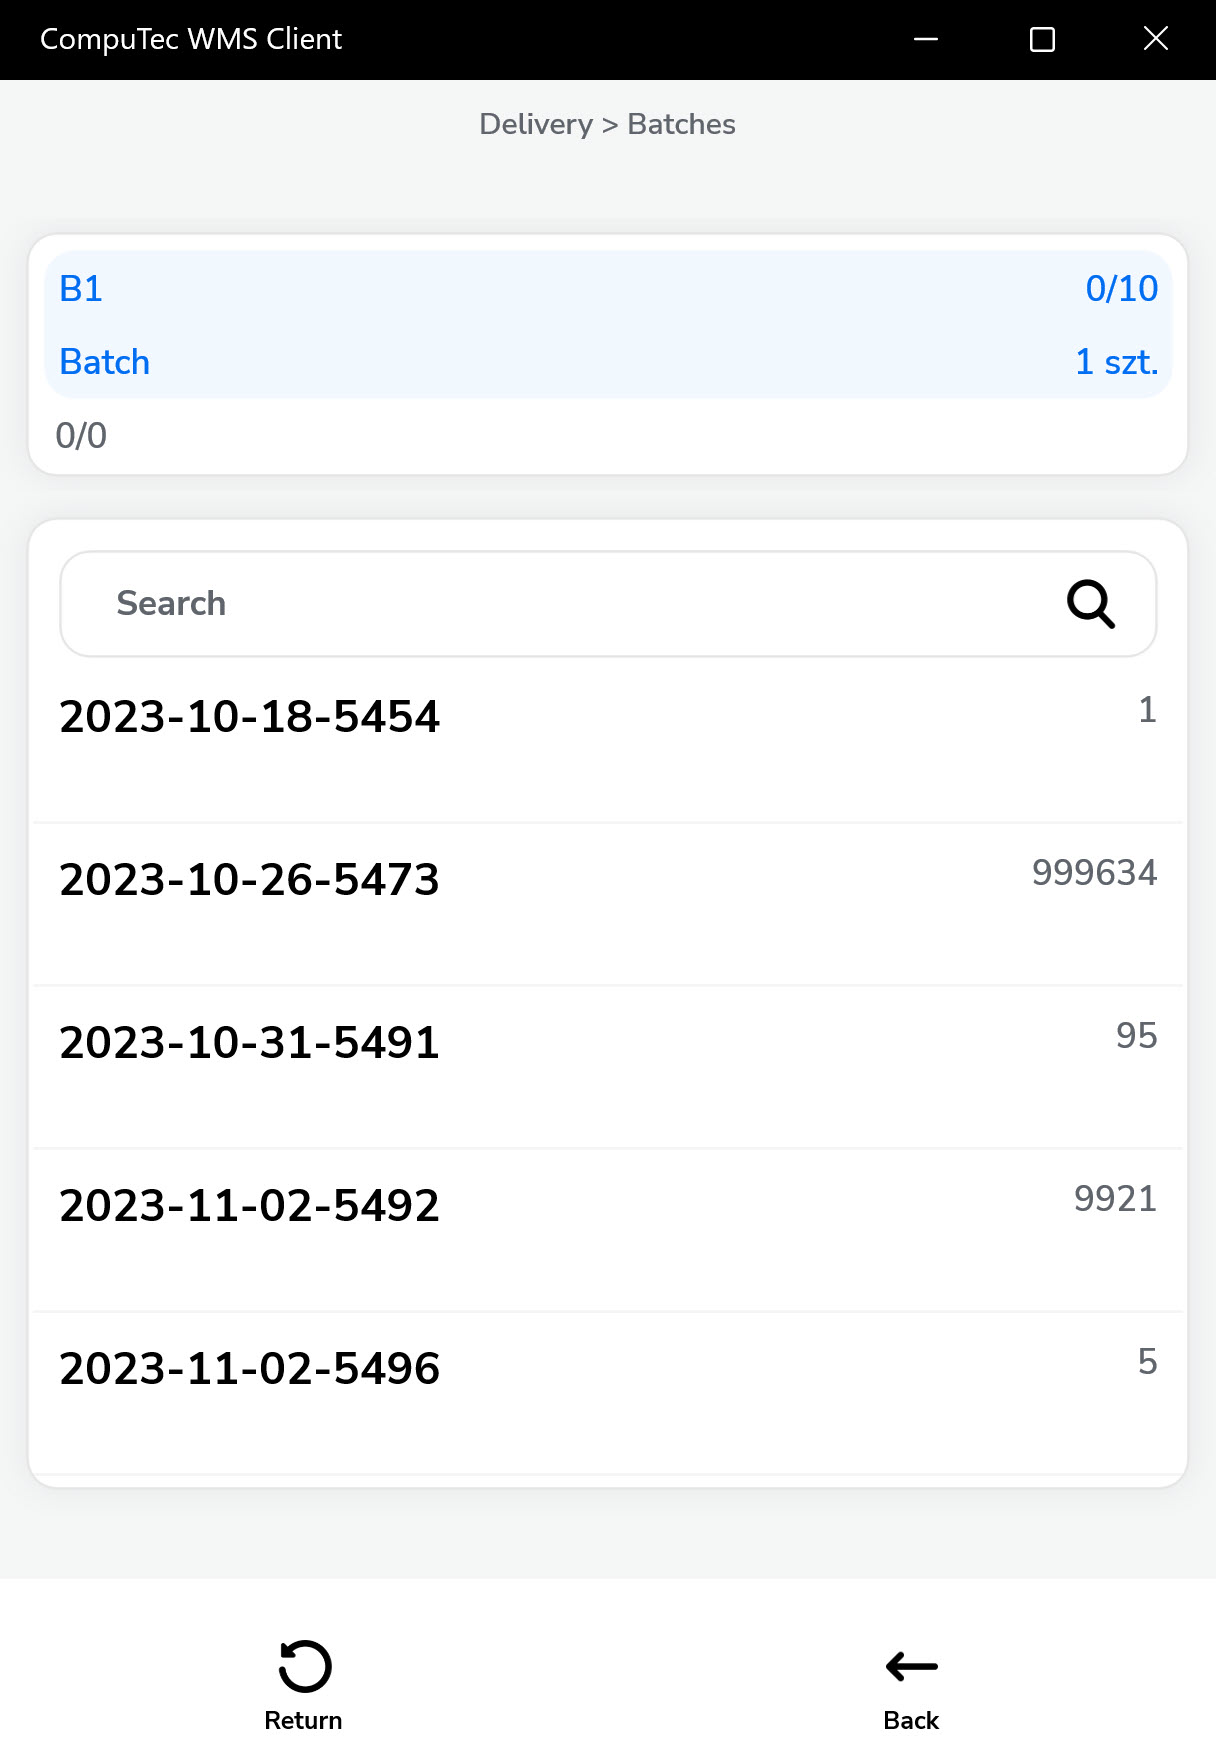
For items managed by Batches, the batch selection screen appears after clicking an item in the Document Details window. The Quantity window appears after clicking the desired batch (see no. 6 of this guide).
-
Click the menu icon → '+' to manually add items not on the Pick List. Then follow the process from step 4 onward for the new item.
Note: If a source Warehouse was not picked in no 2 of this guide, it is available now.
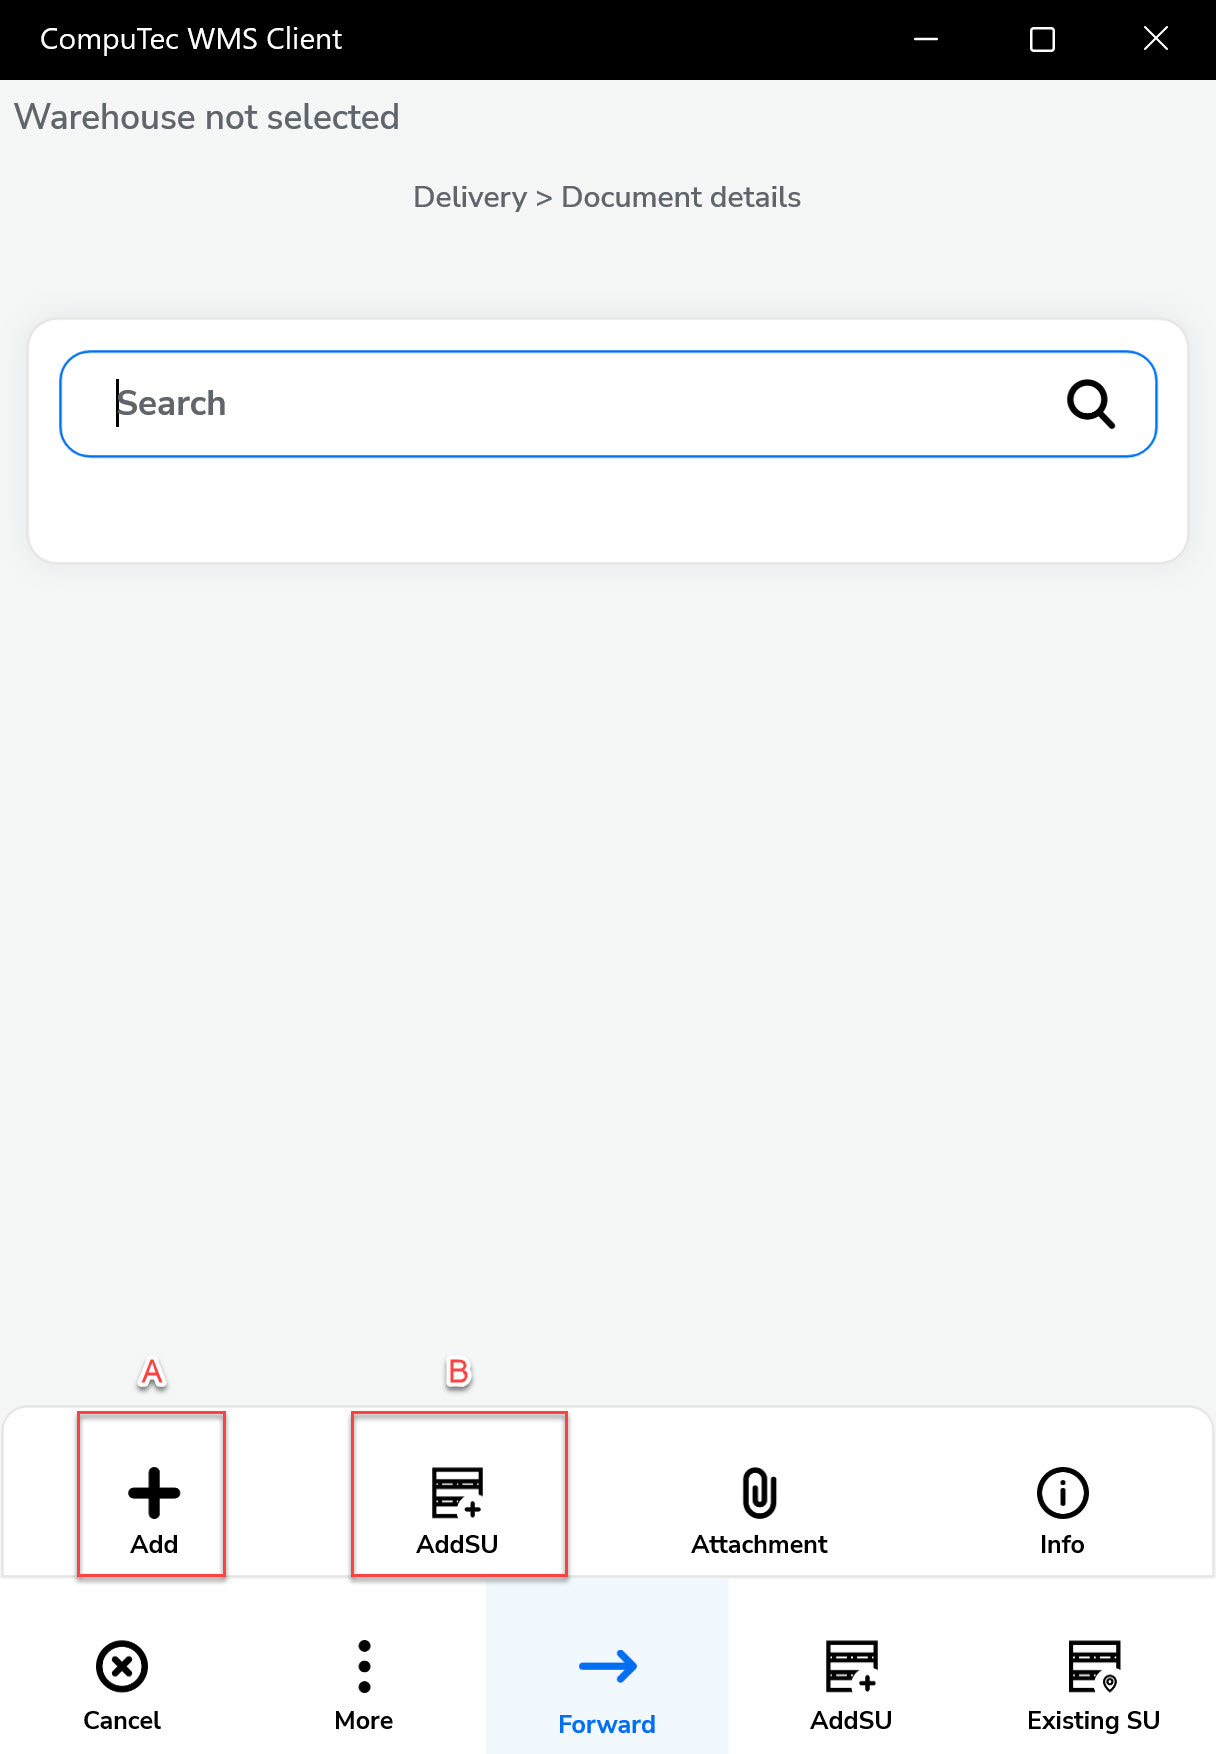
Click the menu icon and then add the storage unit icon (B) to add a new storage unit to the document:
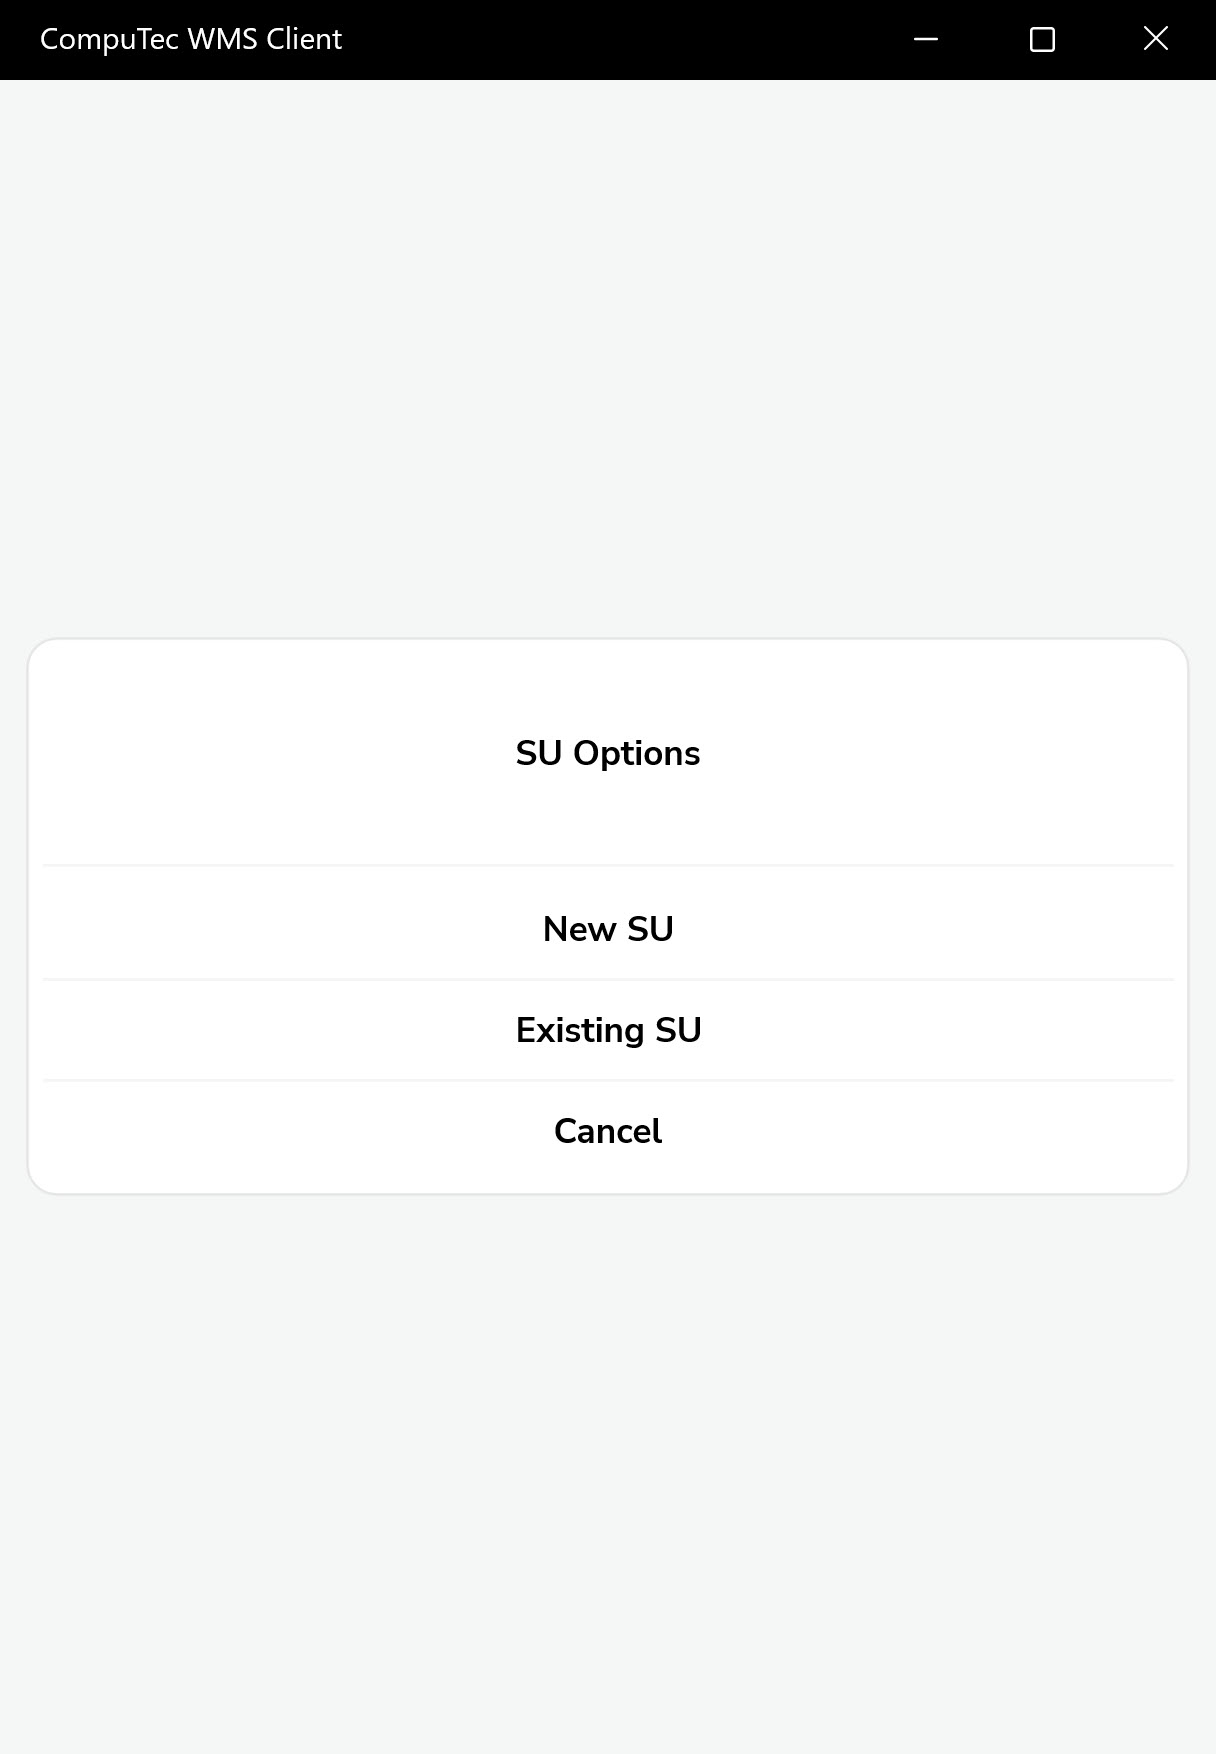
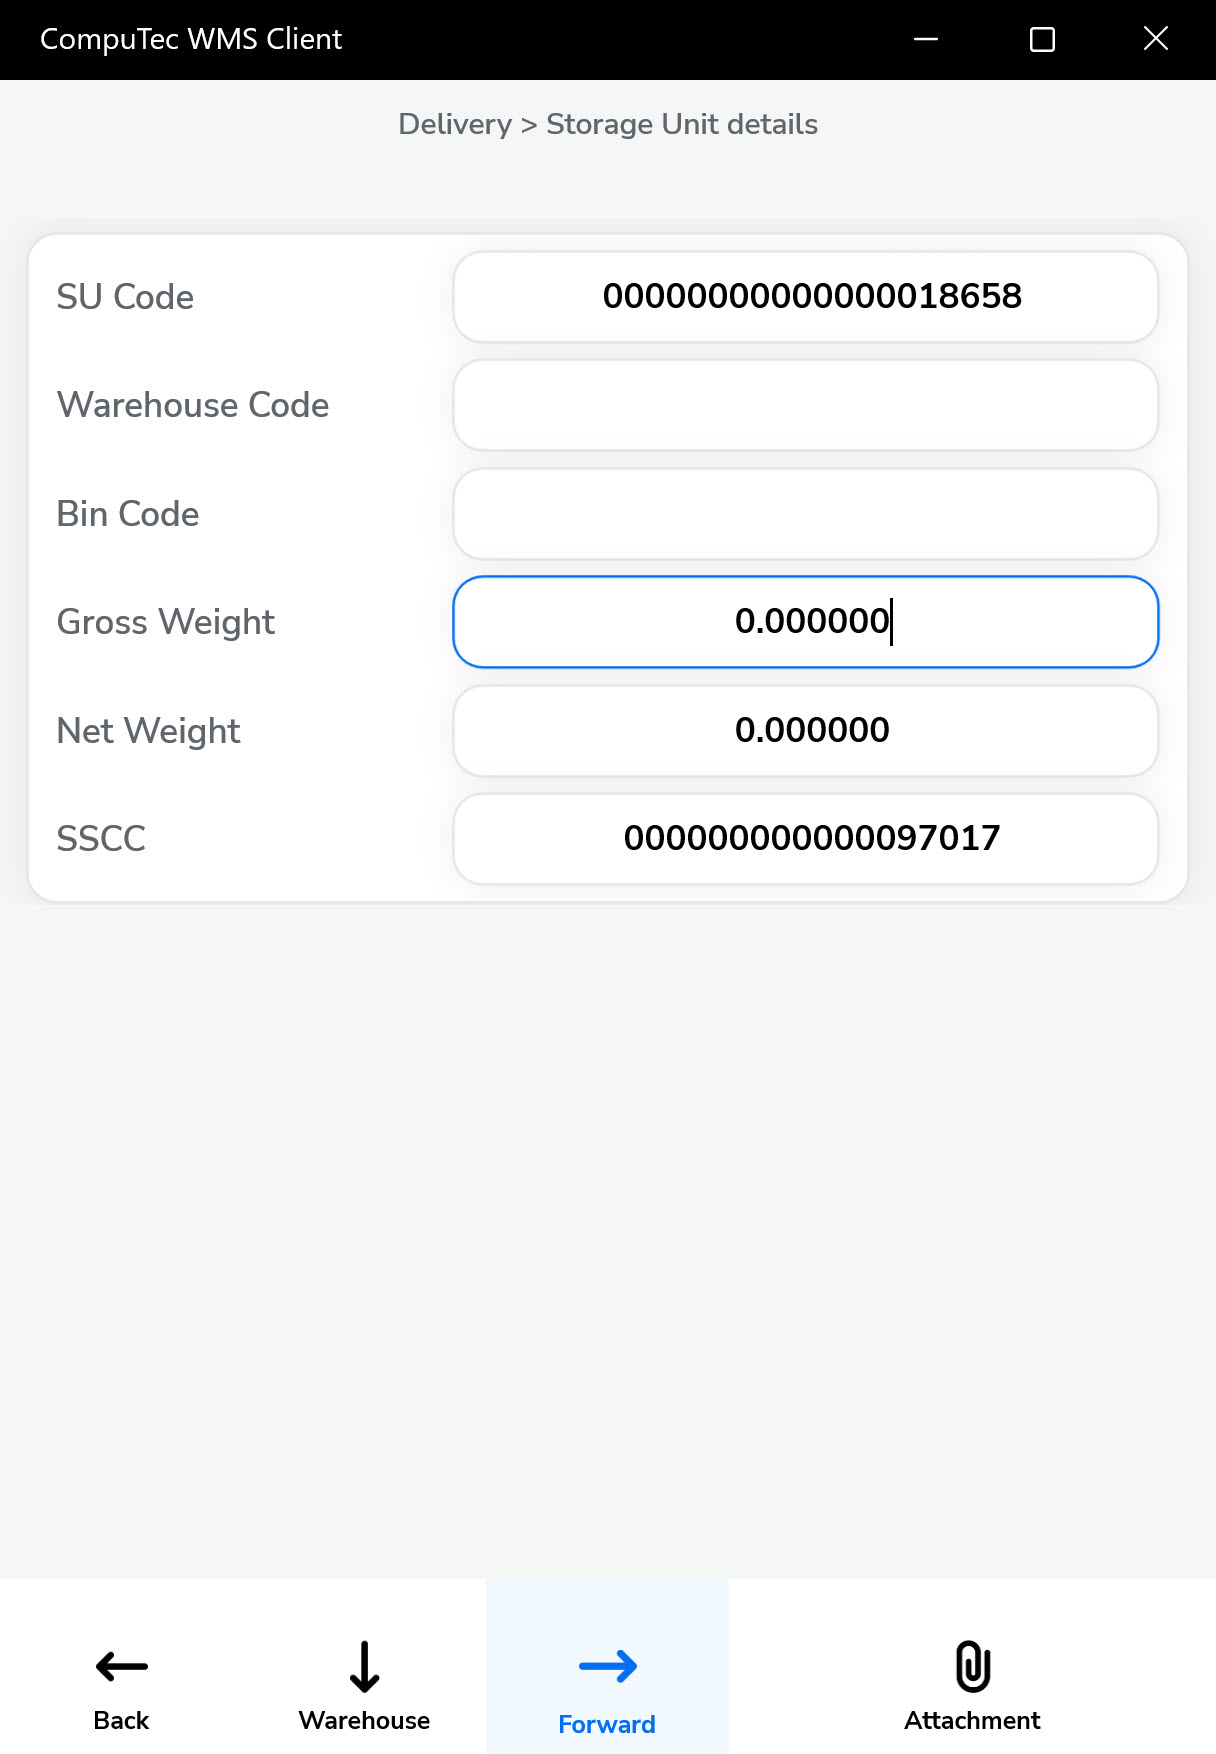
Storage Unit form will be displayed; click the SU row to add it to the document:
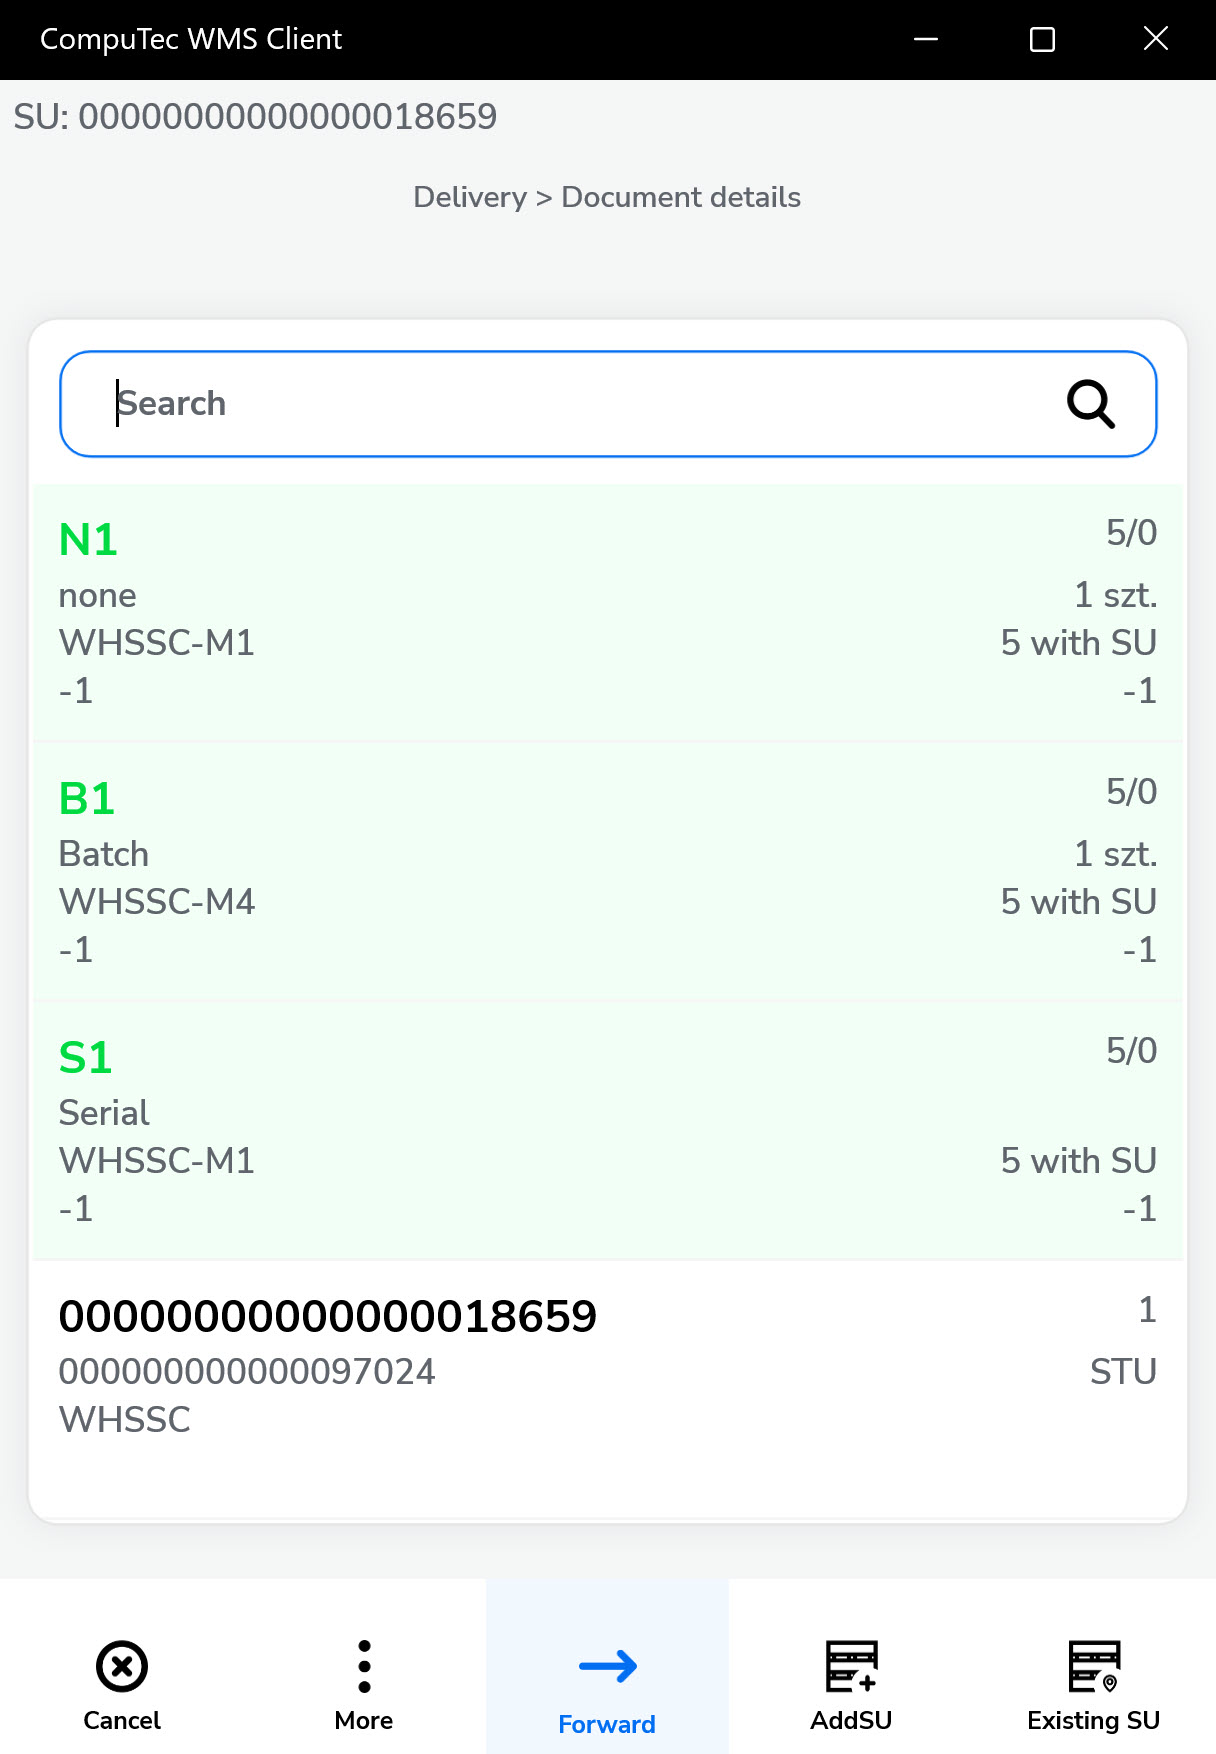
Click the highlighted icon to see information on a Storage Unit added to the document.
-
Click the "Forward" icon after setting document details.
-
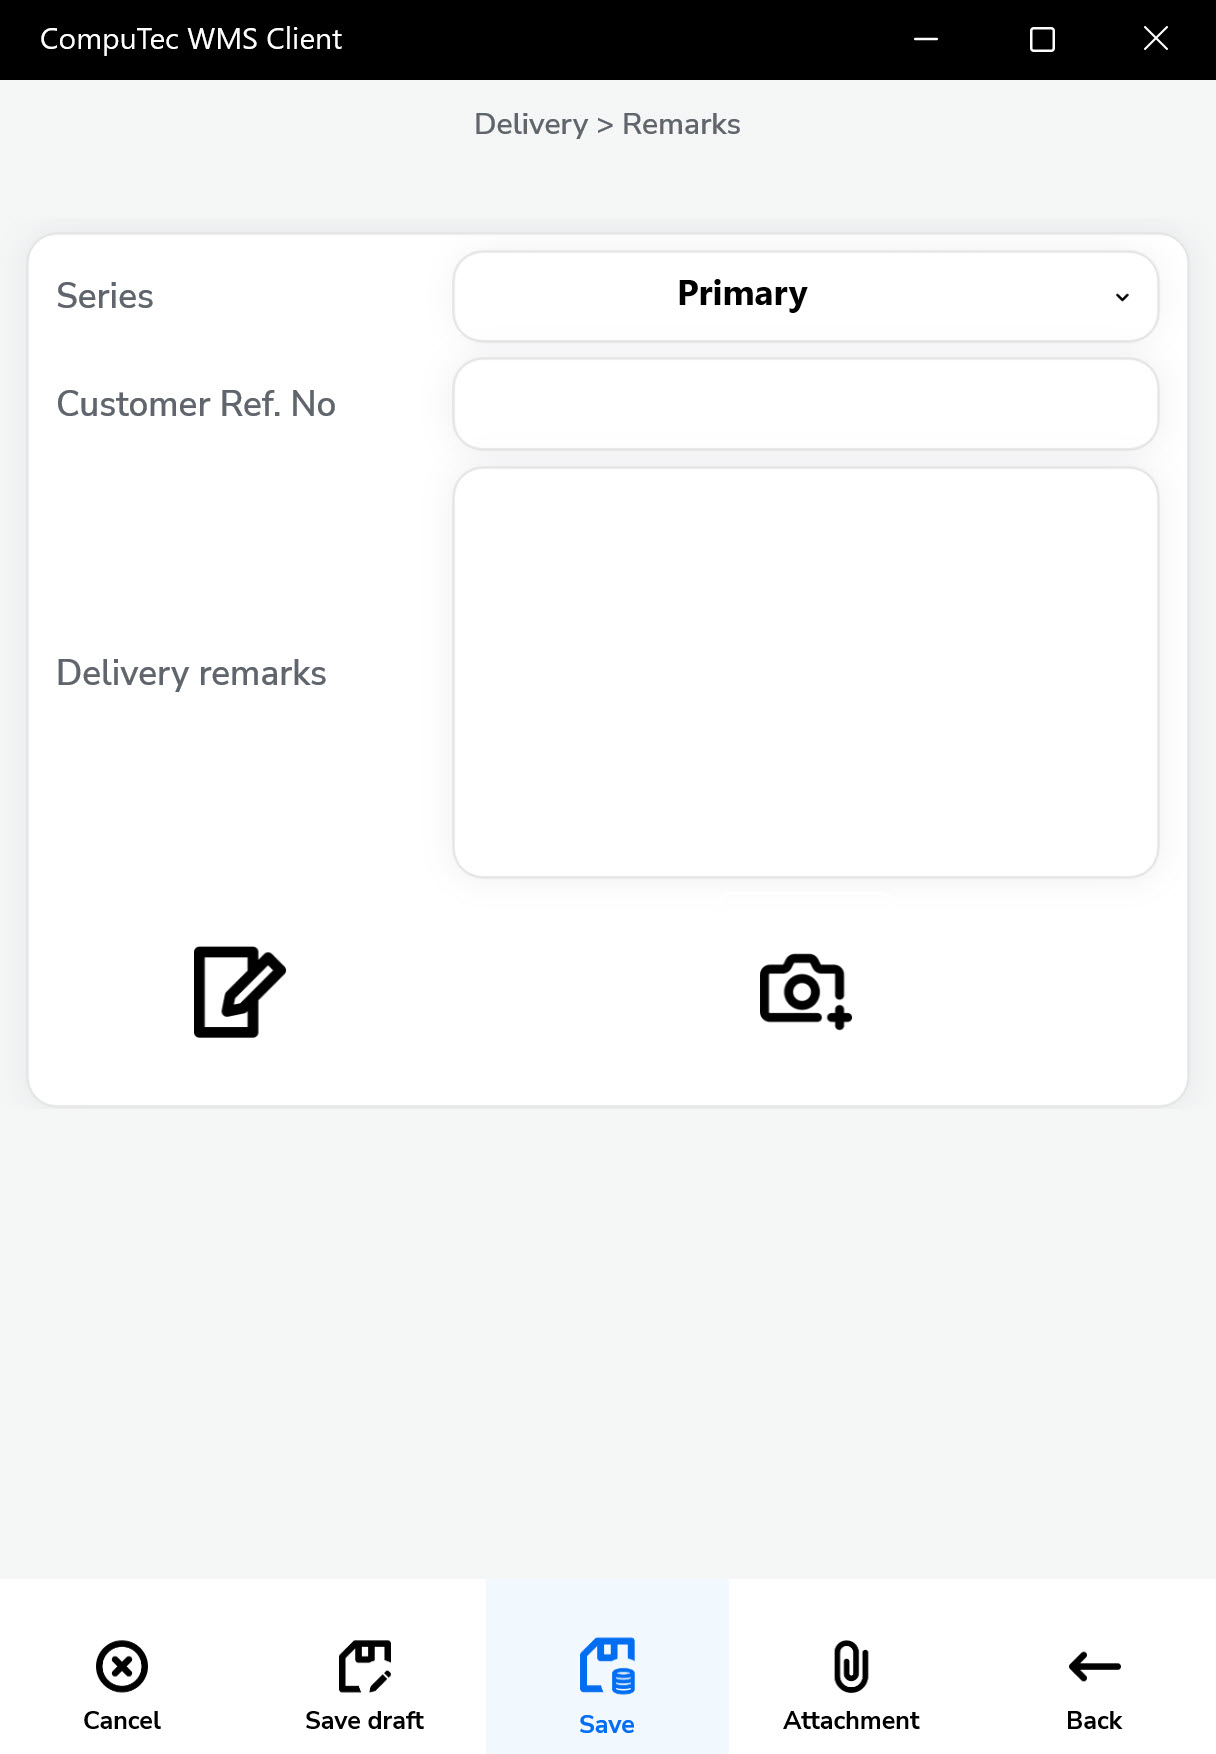
The Remarks window will appear. Filling in a reference number field and a remarks field is optional. You can choose a document series (if it is set in a database).
-
You can save the document as a draft.
-
Click the "Save" icon to generate a delivery document.
-
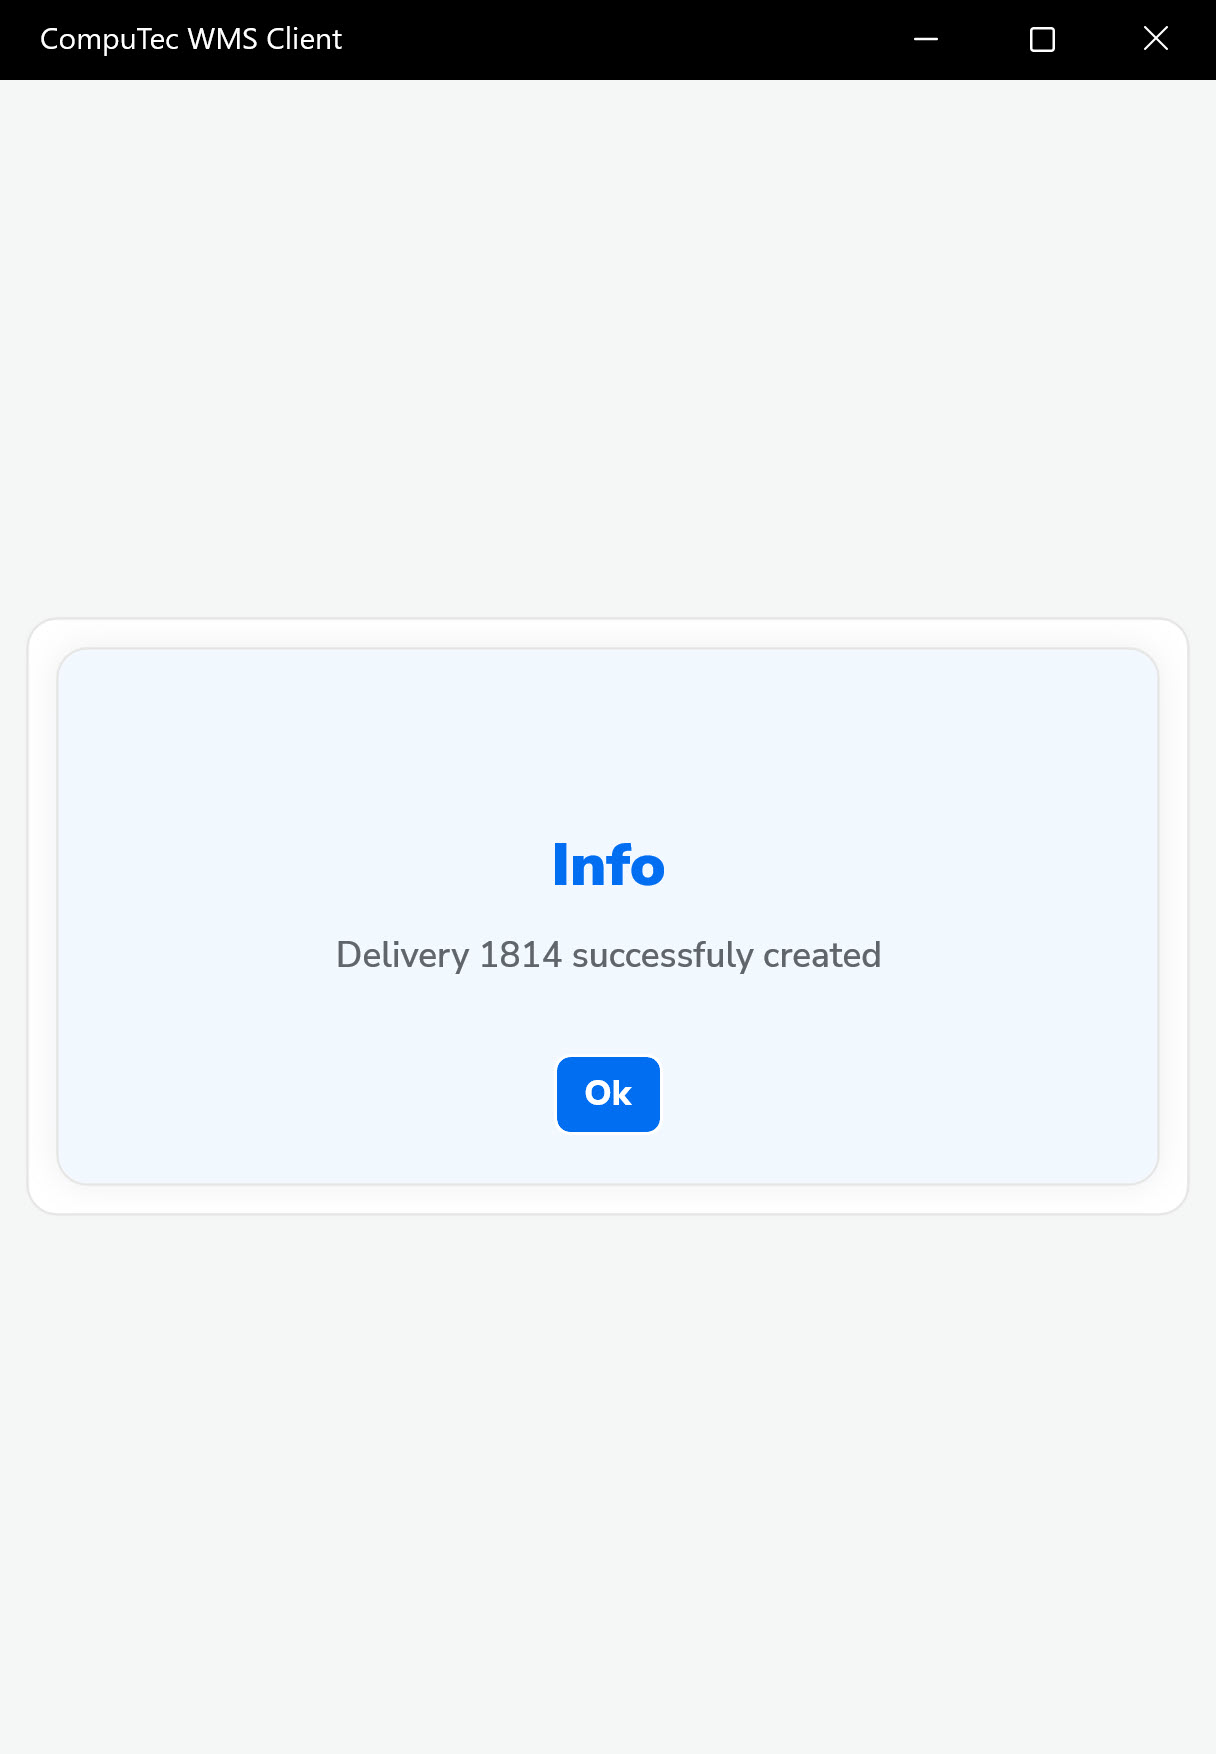
A confirmation message will appear. Click OK to complete the process.
-
Your delivery document is now posted and available in SAP Business One.