You are viewing documentation for CompuTec WMS 3.0, which runs on CompuTec AppEngine 3.0 (.NET 8).
If you use CompuTec WMS 2.0, see the CompuTec WMS 2.0 documentation.
When upgrading to CompuTec WMS 3.0, update all required CompuTec components together to ensure compatibility.
Before installing or upgrading, review the CompuTec WMS Installation Guide and the system requirements.
Enable Context Menu
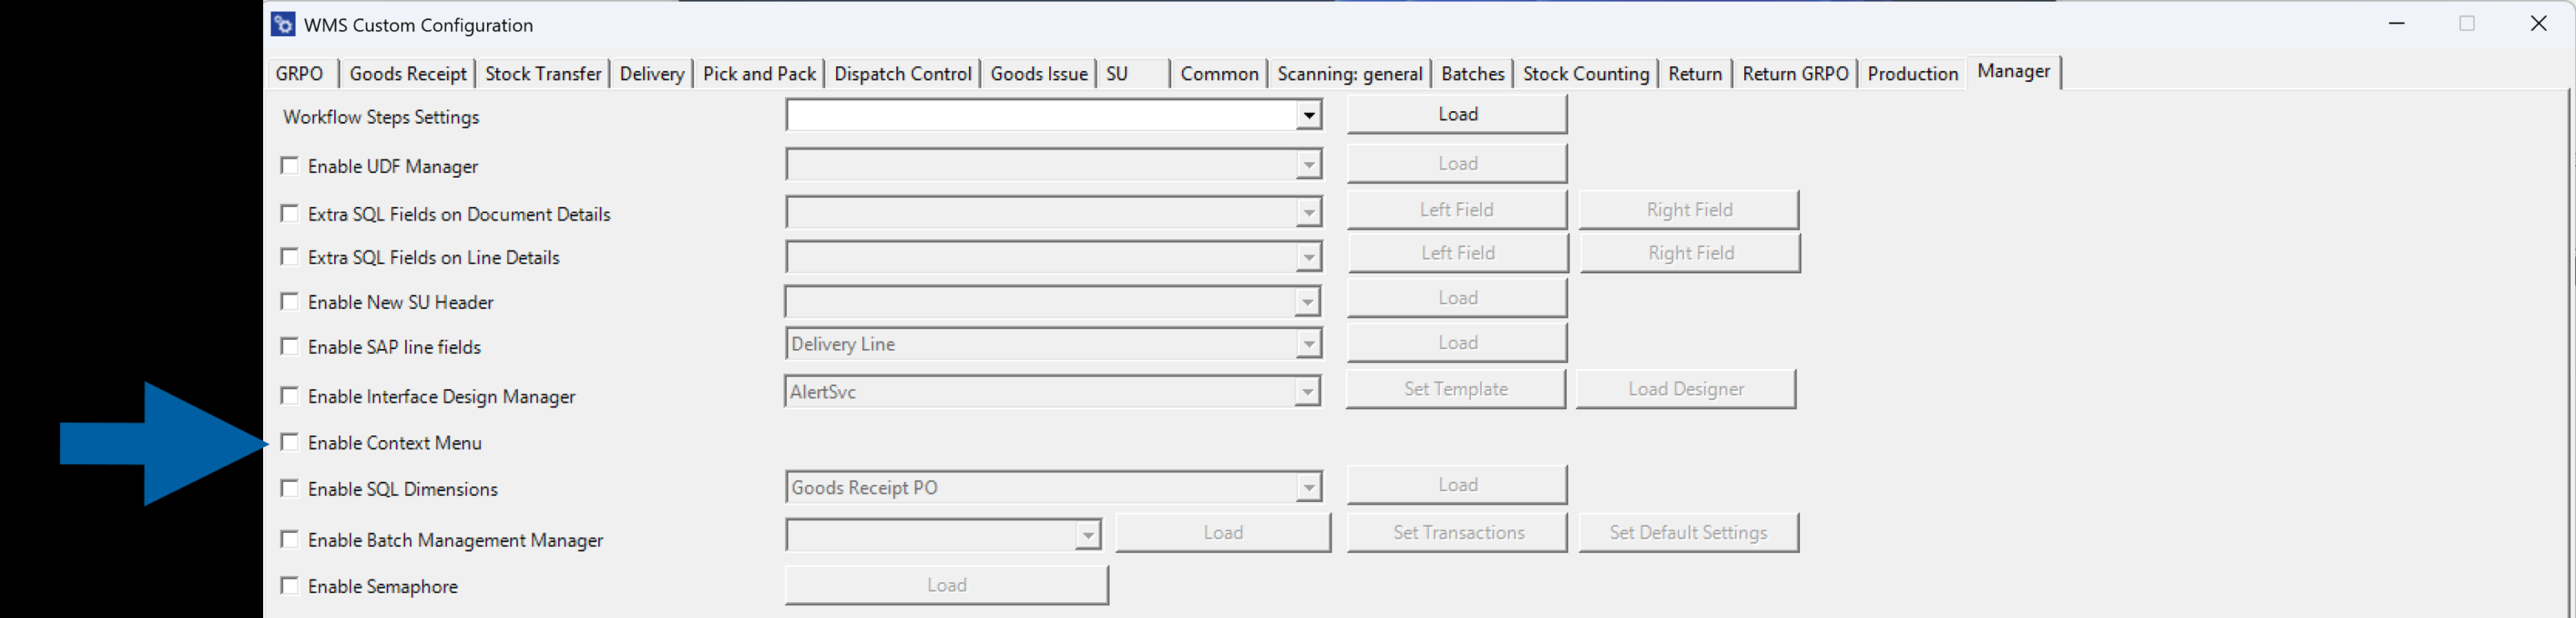
The Enable Context Menu option in WMS Custom Configuration adds a menu of actions to the item and storage unit rows in CompuTec WMS Client. Users open the menu with a right-click on a desktop computer, or with a long press or swipe on an Android device. This saves them from leaving the document screen to run an action.
How the context menu works
The context menu opens on a row in a document. The actions in the menu depend on the row type and on the screen you are on.
| Screen | Row type | Actions in the menu |
|---|---|---|
| Document details | Item | Pick All, Clear Picks, Print, Line fields, Remove Item, Copy text |
| Document details | Storage unit (SU) | Unpin SU, SU Fields, Add a child SU, Add SU by Wizard, Add a new Item, Print, Remove SU, Copy text |
| Line details | Item (batch) | Batch fields, Pick All, Clear Picks, Print, Remove batch, Copy text |
The Line details screen has a menu for items only. Storage units have no menu on that screen.
The examples in this article use the Goods Receipt PO transaction.
Enable the context menu
To enable the context menu, follow these steps:
-
Open WMS Custom Configuration.
-
Go to the Manager tab.
-
Select Enable Context Menu.
-
Click Save.
-
Done! The context menu is enabled.
Open the context menu
Choose the steps for your device:
- Desktop Client
- Android Client
To open the context menu on a desktop computer, follow these steps:
-
Open a document, for example a Goods Receipt PO.
-
Right-click an item or a storage unit.
The context menu opens with the actions for that row.
-
Select an action, or click Cancel to close the menu.


-
To open the menu for a batch, go to Line details and right-click the batch row.

On an Android device, you choose the gesture that opens the context menu. To choose the gesture, follow these steps:
-
In CompuTec WMS Client, open the settings and go to the Options tab.
-
Find the Context Menu setting at the bottom of the list.

-
Select the current value, and then select the gesture you want:
- Long press – Opens the menu when you press and hold a row.
- Swipe left – Opens the menu when you swipe a row to the left.
- Swipe right – Opens the menu when you swipe a row to the right.
- Long press or swipe – Opens the menu with either a long press or a swipe.

-
Click Save.
To open the context menu, use the gesture you chose on an item or storage unit row.
Next steps
See Manager for the other settings in WMS Custom Configuration.